Losing important files from a USB drive can be a nightmare. But fear not, as there are ways to recover deleted files from a USB even without the help of the Recycle Bin. In this article, I will guide you through the steps to retrieve those precious files and restore your peace of mind.
Understanding Where Deleted Files Go
When you delete a file from a USB, it is not immediately erased from the storage device. Instead, the file’s reference is removed from the file system, making it appear as if it has been deleted. The actual data of the file remains intact on the USB until it is overwritten by new data.
To recover deleted files from a USB without the Recycle Bin, follow these steps:
1. Stop using the USB immediately to avoid overwriting the deleted files with new data.
2. Download and install a reputable data recovery software like Windows File Recovery, which is available on the Microsoft Store. This software can scan the USB and recover deleted files.
3. Launch the data recovery software and select the USB drive as the target location for the scan.
4. Initiate a deep scan to thoroughly search for deleted files on the USB. This may take some time depending on the size of the USB and the number of deleted files.
5. Browse through the scan results and locate the deleted files you want to recover. You can preview the files to confirm their integrity before proceeding.
6. Select the deleted files you want to recover and choose a safe location to save them. Avoid saving the recovered files back to the same USB to prevent data loss.
Are USB Deleted Files Recoverable?
![]()
Yes, USB deleted files are recoverable even without the Recycle Bin. To recover deleted files from a USB, you can use the Windows File Recovery tool.
Here’s how to recover deleted files from USB without the Recycle Bin:
1. Open the Windows File Recovery tool. You can find it in the Microsoft Store or download it from the Microsoft website.
2. Connect your USB drive to your computer.
3. Launch the Windows File Recovery tool and follow the on-screen instructions.
4. Select the location where your deleted files were stored. In this case, choose your USB drive.
5. Choose the type of files you want to recover, such as documents, images, or videos.
6. Start the recovery process and wait for the tool to scan your USB drive for deleted files.
7. Once the scan is complete, the tool will display a list of recoverable files.
8. Select the files you want to recover and choose a destination folder to save them.
9. Click on the “Recover” button to restore the deleted files to your chosen location.
Using Recovery Software for Retrieval
- Step 1: Download and install a reliable data recovery software program on your computer.
- Visit the official website of the chosen recovery software.
- Locate the “Download” section on the website.
- Click on the download link to start downloading the software.
- Once the download is complete, run the installer file.
- Follow the on-screen instructions to install the recovery software on your computer.
- Step 2: Connect the affected USB drive to your computer.
- Insert one end of the USB cable into the USB port of your computer.
- Insert the other end of the USB cable into the USB port of the USB drive.
- Ensure that the USB drive is properly connected and recognized by your computer.
- Step 3: Launch the installed recovery software.
- Locate the recovery software icon on your desktop or in the installed programs list.
- Double-click on the recovery software icon to launch the program.
- Step 4: Select the USB drive as the target location for the recovery process.
- In the recovery software program, look for the option to select the target location.
- Choose the connected USB drive as the target location.
- Step 5: Initiate the scanning process to search for deleted files.
- Click on the “Scan” or “Start” button in the recovery software program.
- Wait for the scanning process to complete.
- Step 6: Preview and select the deleted files you want to recover.
- Once the scanning process is finished, the recovery software will display a list of recoverable files.
- Browse through the list and preview the deleted files.
- Select the specific files you wish to recover.
- Step 7: Begin the file recovery process.
- Click on the “Recover” or “Restore” button in the recovery software program.
- Choose a safe location on your computer to save the recovered files.
- Wait for the recovery process to complete.
- Step 8: Verify the recovered files and check for data integrity.
- Once the recovery process is finished, navigate to the chosen location where the recovered files were saved.
- Open and review the recovered files to ensure they are intact and undamaged.
Undoing Deletions with Windows File Recovery
To undo deletions and recover deleted files from a USB without relying on the Recycle Bin, you can use the Windows File Recovery tool. This tool is designed specifically for Windows operating systems and can be a lifesaver when it comes to retrieving accidentally deleted files.
To get started, open the Windows File Recovery tool on your computer. You can access it through the Command Prompt or PowerShell by typing “winfr” and pressing Enter. Make sure you have the necessary permissions to run the tool.
Next, you’ll need to specify the source location where the deleted files were originally stored. This could be the drive letter assigned to your USB or a specific folder path. Use the “/n” switch followed by the source location to indicate where the tool should look for deleted files.
Once you’ve specified the source location, you can set the destination location where the recovered files will be saved. Use the “/d” switch followed by the desired destination folder path. Make sure you have enough storage space available in the destination location.
To start the recovery process, use the “/r” switch followed by the command “start“. This will initiate the scan and recovery of deleted files from your USB.
During the recovery process, the Windows File Recovery tool will analyze the drive and attempt to locate and restore deleted files. It may take some time depending on the size of the USB and the number of deleted files.
Once the recovery process is complete, you can navigate to the destination folder you specified earlier to access the recovered files. Check the folder to see if your deleted files have been successfully restored.
Restoring from Windows Backup
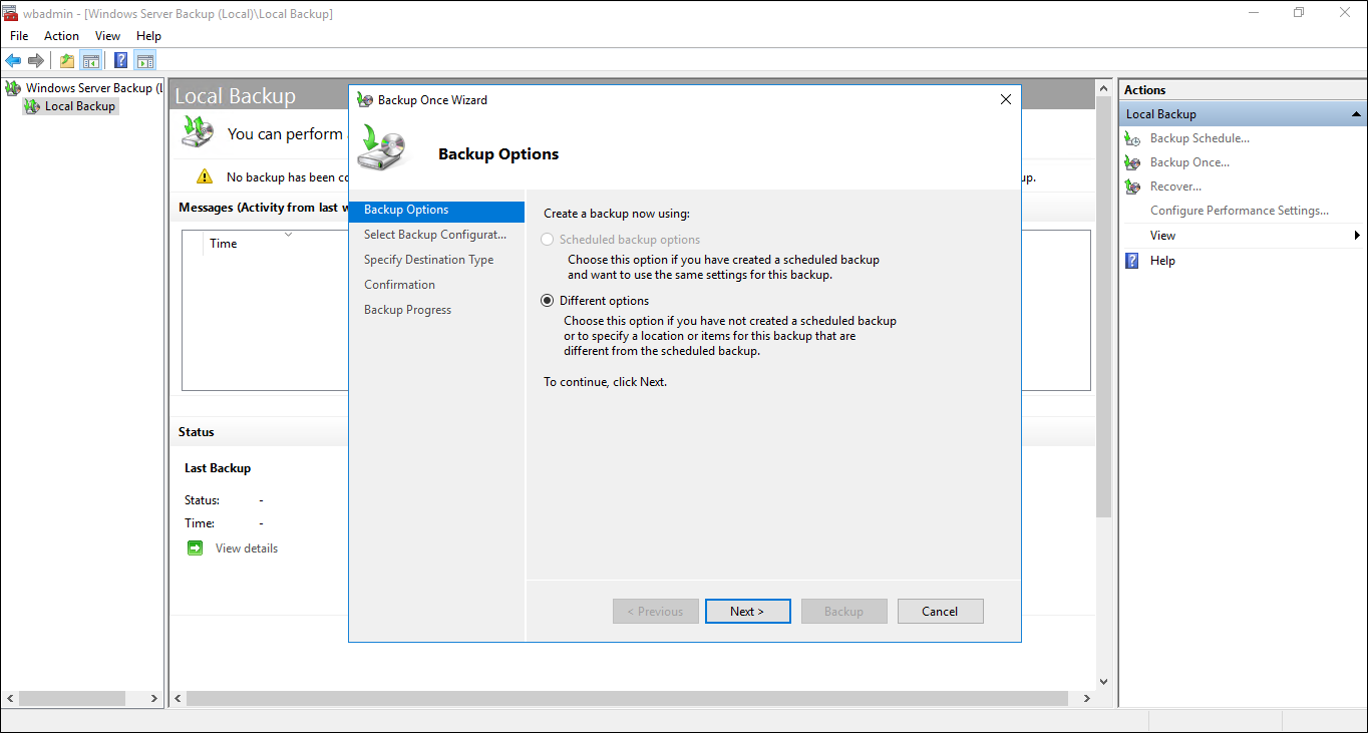
1. Connect your USB to your computer and open the Windows Backup utility.
2. Click on “Restore Files” to initiate the recovery process.
3. Select the backup location where your files were originally stored.
4. Choose the specific files or folders you want to recover.
5. Click on the “Restore” button to begin the restoration process.
6. Follow the on-screen prompts to complete the recovery.
7. Once the process is finished, your deleted files will be restored to their original location on your USB.
Remember to regularly back up your files to prevent data loss in the future. Additionally, consider using features like NTFS, ReFS, or File Allocation Table for improved file management and protection.
Leveraging Previous Versions for Recovery
When you accidentally delete files from a USB drive and they bypass the Recycle Bin, there is still a chance to recover them by leveraging previous versions.
To begin, connect the USB drive to your computer and navigate to the folder where the deleted files were originally stored. Right-click on the folder and select “Restore previous versions” from the context menu.
A list of previous versions of the folder will appear, showing the date and time they were created. Select the most recent version that contains the deleted files you want to recover.
Once you’ve selected a previous version, click on the “Restore” button and confirm your choice. The selected files will be restored to their original location on the USB drive.
It’s important to note that this method only works if you have enabled the “File History” feature on your computer. This feature automatically creates snapshots of your files, allowing you to recover previous versions.
If you don’t have File History enabled or it doesn’t contain the desired previous versions, you can try using file recovery software such as Recuva or TestDisk. These programs can scan the USB drive and potentially recover deleted files that are no longer visible.
Solutions for Files Not Found in Recycle Bin
If you are unable to find your deleted files in the Recycle Bin, don’t worry. There are solutions available to help you recover your files from a USB without relying on the Recycle Bin.
One option is to use a data recovery software. There are several reliable programs available that can scan your USB drive and retrieve deleted files. Make sure to choose a reputable software with positive reviews and ratings.
Another option is to check if your files are hidden. Sometimes, files can be hidden from view, even though they are still present on the USB drive. To check for hidden files, open the USB drive in File Explorer and go to the “View” tab. Check the “Hidden items” box. This will reveal any hidden files.
If the above solutions don’t work, you can also try using the Command Prompt. Open the Command Prompt and navigate to the USB drive using the “cd” command. Once you’re in the correct directory, you can use the “dir” command to list all the files. If you see your deleted files listed, you can use the “copy” command to recover them to a different location.
Remember to avoid saving any new files or making changes to the USB drive until you have successfully recovered your deleted files. This will help prevent overwriting the deleted data and increase your chances of successful recovery.
Adjusting Recycle Bin Settings for Prevention
To adjust the recycle bin settings for prevention, follow these steps:
1. Right-click on the recycle bin icon on your desktop and select “Properties” from the context menu.
2. In the recycle bin properties window, you’ll see options to customize the settings.
3. Under the “Settings for selected location” section, you can choose the maximum size for the recycle bin. By default, it’s set to a percentage of your total disk space, but you can change it to a specific size if you prefer.
4. You can also enable or disable the option to delete files permanently instead of moving them to the recycle bin. This can be useful if you want to bypass the recycle bin altogether.
5. Additionally, you can enable the option to display a confirmation dialog when deleting files. This can help prevent accidental deletions.
6. Once you’ve adjusted the settings to your preference, click on the “Apply” button and then “OK” to save the changes.
By customizing the recycle bin settings, you can prevent accidental deletions and have more control over how deleted files are handled on your computer.
Recovering from Viruses and Malware
Recovering deleted files from a USB without the Recycle Bin can be a daunting task, but with the right steps, you can retrieve your lost data. Here’s a concise guide to help you through the process.
1. Stop using the USB immediately to prevent overwriting the deleted files. This increases the chances of successful recovery.
2. Download and install a reliable data recovery software such as Recuva or Wondershare Recoverit. These programs can scan your USB and retrieve deleted files.
3. Launch the data recovery software and select your USB drive as the target location for scanning.
4. Choose the appropriate scanning mode – Quick Scan or Deep Scan. Quick Scan is faster but may not find all deleted files, while Deep Scan thoroughly searches for all recoverable data.
5. Once the scanning process is complete, the software will display a list of recoverable files. Preview the files to ensure they are intact.
6. Select the files you want to recover and choose a safe location to save them. Avoid saving the recovered files back to the same USB to prevent data loss.
7. After the files are successfully recovered, safely eject the USB and check the recovered files on your computer.
Tips for Prevention and Better Recovery Chances
| Tips | Description |
|---|---|
| 1. Stop using the USB immediately | Continued usage may overwrite deleted files, reducing recovery chances. |
| 2. Do not save any new files on the USB | Minimize changes to the USB to preserve data integrity. |
| 3. Use data recovery software | Employ specialized tools designed to recover deleted files from storage devices. |
| 4. Avoid formatting the USB | Formatting might erase the deleted files permanently, making recovery difficult. |
| 5. Consult professional data recovery services | If DIY methods fail, seek assistance from experts for complex recovery situations. |
| 6. Regularly back up important files | Creating backups reduces the impact of accidental deletions and increases recovery options. |
FAQs
Where do deleted USB files go?
Deleted USB files do not go anywhere. When a file is deleted from a USB drive, it is still physically present on the drive but the storage space it occupies is marked as empty. This allows for the possibility of recovering deleted files using USB recovery software, as long as they haven’t been overwritten yet.
How do I recover deleted files not showing in Recycle Bin?
To recover deleted files that are not appearing in the Recycle Bin, you can try restoring previous versions of the folder. Right-click on the folder that previously contained the deleted file and select “Restore previous versions”. From there, choose the deleted file from the list of available previous versions.
Why are deleted items not in the Recycle Bin?
Deleted items are not in the Recycle Bin because they are permanently deleted instead of being transferred to it. This applies to files stored on external storage devices such as USB flash drives or SD cards. Other factors that may prevent deleted files from appearing in the Recycle Bin include malware and disk corruption.
Why didn’t my deleted files go to the Recycle Bin?
Your deleted files may not have gone to the Recycle Bin due to various reasons such as using the permanent delete option, disabled Recycle Bin, file size exceeding the maximum limit, presence of malware or disk corruption, files not stored in a USB drive or SD card, and other potential factors.
