Having trouble getting your Bluetooth headphones to work with Windows 10? Don’t worry, I’ve got you covered. Let’s dive into some simple solutions to fix connectivity and sound issues.
Preliminary Checks Before Troubleshooting
Before troubleshooting your Bluetooth headphones not working with Windows 10, there are a few preliminary checks you can perform to potentially resolve the issue.
First, ensure that your Bluetooth headphones are fully charged. A low battery can sometimes cause connectivity or sound problems. If needed, plug them into a power source using a USB cable and allow them to charge for a while.
Next, check that your Bluetooth is enabled on your Windows 10 computer. To do this, click on the Bluetooth icon in the taskbar and make sure it is turned on. If not, click on the icon and enable Bluetooth.
If Bluetooth is already enabled, try disconnecting and reconnecting your Bluetooth headphones. Sometimes, a simple reconnection can solve any temporary glitches in the connection. To do this, go to the Bluetooth settings on your computer and disconnect your headphones. Then, reconnect them and see if the issue persists.
If the problem continues, it may be worth checking for any available software updates for your Bluetooth headphones. Visit the manufacturer’s website or use their software to check for any firmware or driver updates. Installing the latest updates can often fix compatibility issues with Windows 10.
Additionally, ensure that your Windows 10 operating system is up to date. Microsoft regularly releases updates to address bugs and improve system performance. To check for updates, click on the Start button, go to Settings, and select Update & Security. From there, click on Check for updates and install any available updates.
Lastly, if none of the above steps resolve the issue, try restarting your computer. Sometimes, a simple restart can clear any temporary software glitches that may be causing the problem.
Ensure Airplane Mode is Off

To ensure your Bluetooth headphones are working properly with Windows 10, one of the first things you should check is the Airplane Mode setting. Airplane Mode can disable all wireless communication on your device, including Bluetooth. If Airplane Mode is turned on, it can prevent your headphones from connecting to your computer.
To turn off Airplane Mode in Windows 10, follow these steps:
1. Open the Action Center by clicking on the speech bubble icon in the bottom-right corner of your taskbar.
2. In the Action Center, you’ll see a row of quick settings icons. Look for the icon that resembles an airplane and click on it. This will toggle Airplane Mode on or off.
3. If the icon is highlighted or has a slash through it, Airplane Mode is currently on. Click on the icon again to turn it off.
4. Once Airplane Mode is turned off, try connecting your Bluetooth headphones to your computer again.
If Airplane Mode was already turned off and you’re still experiencing issues with your Bluetooth headphones, there may be other factors at play. It’s possible that there is a glitch or compatibility issue with your operating system or device driver. In this case, it may be helpful to update your Windows 10 operating system and device drivers to the latest versions.
Additionally, make sure that your Bluetooth headphones are fully charged or have fresh batteries. A low battery can sometimes cause connectivity issues.
If you’re still having trouble, you can try the following troubleshooting steps:
1. Restart your computer and your Bluetooth headphones.
2. Disconnect and reconnect your Bluetooth headphones to your computer.
3. Remove any other Bluetooth devices paired with your computer, as they may be interfering with the connection.
4. Try connecting your Bluetooth headphones to a different USB port on your computer, especially if you’re using a USB adapter.
5. If possible, try pairing your Bluetooth headphones with a different device to see if the issue is specific to your computer.
If none of these steps resolve the issue, it may be helpful to contact technical support for further assistance. They may be able to provide more specific troubleshooting steps or recommend a patch or update for your specific setup.
Toggle Bluetooth Functionality
To toggle the Bluetooth functionality on your Windows 10 device, follow these simple steps:
1. Go to the Start menu and type “Bluetooth settings” in the search bar. Press Enter to open the Bluetooth & other devices settings.
2. In the Bluetooth & other devices settings window, locate the toggle switch under the Bluetooth section. This switch allows you to turn Bluetooth on or off.
3. To turn Bluetooth on, click on the toggle switch so that it slides to the right and turns blue. To turn Bluetooth off, click on the toggle switch again and it will slide to the left, turning gray.
4. Once Bluetooth is turned on, you can pair your Bluetooth headphones with your Windows 10 device. Make sure your headphones are in pairing mode and then click on the “Add Bluetooth or other device” button in the Bluetooth & other devices settings window.
5. In the Add a device window, select the “Bluetooth” option. Windows will then search for available Bluetooth devices.
6. Select your Bluetooth headphones from the list of available devices. If prompted, follow any additional on-screen instructions to complete the pairing process.
7. Once your headphones are successfully paired, you should see them listed under the “Audio” section in the Bluetooth & other devices settings window.
8. To ensure that your Bluetooth headphones are set as the default audio device, click on the drop-down list next to the “Choose your output device” option. Select your headphones from the list.
9. You can also check the sound settings by clicking on the “Sound settings” link in the Bluetooth & other devices settings window. Make sure the volume is turned up and the output device is set to your Bluetooth headphones.
Remove and Re-Pair Headphones
If you’re experiencing connectivity and sound issues with your Bluetooth headphones on Windows 10, here are some steps to remove and re-pair them:
1. Make sure your headphones are fully charged or connected to a power source. A low battery can sometimes cause connectivity problems. If necessary, charge your headphones before proceeding.
2. On your Windows 10 computer, go to the settings menu by clicking on the Start button and selecting the gear icon.
3. In the Settings menu, click on “Devices” and then select “Bluetooth & other devices” from the left-hand side.
4. Under the “Bluetooth & other devices” section, locate your Bluetooth headphones in the list of paired devices. If your headphones are currently connected, click on them and select “Remove device.” Confirm the action if prompted.
5. Now, put your headphones into pairing mode. This process may vary depending on the specific model of your headphones, so refer to the manufacturer’s instructions. Typically, you’ll need to press and hold a button on the headphones to enter pairing mode.
6. Once your headphones are in pairing mode, go back to the “Bluetooth & other devices” section in the Windows settings. Click on the “Add Bluetooth or other device” button.
7. In the “Add a device” window, select “Bluetooth” and wait for Windows to search for available devices. When your headphones appear in the list, click on them to start the pairing process.
8. Follow any additional prompts or instructions provided by Windows to complete the pairing process. Once your headphones are successfully paired, they should appear in the list of paired devices under the “Bluetooth & other devices” section.
9. Test the connectivity and sound of your Bluetooth headphones by playing some audio or video on your computer. If the issues persist, try restarting your computer and repeating the steps above.
Remember to keep your headphones within range of your computer and ensure that there are no physical obstructions or interference that could affect the Bluetooth connection.
If you’re still experiencing problems, you may need to update your device drivers. Visit the manufacturer’s website for your headphones and download the latest drivers for Windows 10. Updating your drivers can sometimes resolve compatibility issues and improve overall performance.
If all else fails, consider reaching out to the manufacturer’s technical support for further assistance.
These steps should help you remove and re-pair your Bluetooth headphones with Windows 10, resolving any connectivity and sound problems you may be facing.
Manual and Automatic Driver Updates
To fix Bluetooth headphone connectivity and sound issues on Windows 10, you can manually update your drivers or use automatic driver updates.
Manual driver updates allow you to have more control over the process and ensure compatibility with your specific device. To manually update your drivers, follow these steps:
1. Press the Windows key + X on your keyboard and select “Device Manager” from the drop-down list.
2. In the Device Manager window, locate and expand the “Bluetooth” category.
3. Right-click on your Bluetooth device and select “Update driver.”
4. Choose the option to “Browse my computer for drivers.”
5. Select the folder where you have downloaded the latest driver for your Bluetooth device and click “Next.”
6. Follow the on-screen instructions to complete the installation.
Automatic driver updates, on the other hand, can save you time and effort by automatically detecting and installing the latest drivers for your Bluetooth device. To use automatic driver updates, follow these steps:
1. Download a driver update tool such as Driver Booster or Driver Easy.
2. Install the program and launch it.
3. Click on the “Scan” or “Start Scan” button to initiate the scan for outdated drivers.
4. Once the scan is complete, the program will display a list of available driver updates.
5. Select the Bluetooth driver from the list and click on the “Update” or “Download” button.
6. Follow the on-screen instructions to complete the installation.
Remember to restart your computer after updating the drivers to ensure the changes take effect.
If you’re still experiencing issues after updating the drivers, you can try other troubleshooting steps such as resetting your Bluetooth device, checking for Windows updates, or running the Bluetooth troubleshooter. Additionally, referring to the screenshots provided in the article can help you visualize the steps mentioned.
Utilize the Bluetooth Troubleshooter
If you’re experiencing issues with your Bluetooth headphones not working on Windows 10, you can try using the Bluetooth Troubleshooter to fix connectivity and sound problems. The Bluetooth Troubleshooter is a built-in tool in Windows 10 that can help identify and resolve common Bluetooth issues.
To access the Bluetooth Troubleshooter, follow these steps:
1. Press the Windows key + I on your keyboard to open the Settings app.
2. Click on “Update & Security” and then select “Troubleshoot” from the left sidebar.
3. Scroll down and click on “Bluetooth” under the “Find and fix other problems” section.
4. Click on “Run the troubleshooter” and follow the on-screen instructions.
The troubleshooter will scan your system for any Bluetooth-related issues and attempt to fix them. It may provide you with specific instructions or prompts to resolve the problem.
Remember to try these basic troubleshooting steps before using the Bluetooth Troubleshooter:
– Make sure your Bluetooth headphones are charged and turned on.
– Check if your headphones are properly paired with your Windows 10 device.
– Verify that your device has the latest Bluetooth driver installed. You can usually find the driver on the manufacturer’s website.
– Restart your computer and try reconnecting your headphones.
If the Bluetooth Troubleshooter doesn’t resolve the issue, you may need to consider other solutions such as updating your device drivers, checking for Windows updates, or resetting your Bluetooth settings.
In some cases, a screenshot of any error messages or relevant settings can help others provide more specific assistance. If you encounter a problem that requires further troubleshooting, consider taking a screenshot to share with support forums or experts who can assist you.
Remember, if you’re using a device with Windows 11 or a different operating system, the troubleshooting steps may vary. It’s always a good idea to check for specific instructions related to your operating system.
By utilizing the Bluetooth Troubleshooter and following these steps, you can increase the chances of resolving connectivity and sound issues with your Bluetooth headphones on Windows 10.
Activate Bluetooth Support Service
![]()
1. Open the Start menu and search for “Services” to open the Services app.
2. Scroll down and find “Bluetooth Support Service” in the list of services.
3. Right-click on “Bluetooth Support Service” and select “Properties.”
4. In the Properties window, ensure that the “Startup type” is set to “Automatic” to enable the service to start automatically with Windows.
5. If the service is not currently running, click on the “Start” button to activate it.
6. Click “Apply” and then “OK” to save the changes.
Once you have activated the Bluetooth Support Service, you should be able to connect your Bluetooth headphones to your Windows 10 device.
If you are still experiencing connectivity or sound issues with your Bluetooth headphones, consider the following troubleshooting steps:
1. Update your device drivers: Visit the manufacturer’s website for your Bluetooth headphones and download the latest drivers for Windows 10. Install the drivers and restart your computer if prompted.
2. Check for Windows updates: Go to Settings > Update & Security > Windows Update and click on “Check for updates.” Install any available updates for your system, as they may include patches or fixes for Bluetooth connectivity issues.
3. Restart your computer and headphones: Sometimes, a simple restart can resolve temporary glitches. Turn off your computer and Bluetooth headphones, then turn them back on after a few seconds.
4. Disconnect other Bluetooth devices: If you have multiple Bluetooth devices connected to your computer, disconnect them temporarily to see if it improves the connection with your headphones.
5. Reset Bluetooth settings: Open the Start menu and go to Settings > Devices > Bluetooth & other devices. Under the “Bluetooth” section, click on “More Bluetooth options.” In the Bluetooth Settings window, click on the “Options” tab and then click on “Reset.” Confirm the action and try connecting your headphones again.
Remember to ensure that your Bluetooth headphones are properly charged and within range of your Windows 10 device. Additionally, consider checking the manufacturer’s website for any specific troubleshooting guides or firmware updates for your headphones.
Avoid Interference Sources
1. Move away from other wireless devices: Ensure there are no devices such as routers, cordless phones, or other Bluetooth devices nearby that may be causing interference. Keep a distance of at least 10 feet between your headphones and these devices.
2. Check for physical obstructions: Make sure there are no physical obstructions like walls or objects between your headphones and the computer. These can weaken the Bluetooth signal and affect connectivity.
3. Disable Wi-Fi on your computer: Sometimes, Wi-Fi signals can interfere with Bluetooth connections. Temporarily disable Wi-Fi on your computer to see if it resolves the issue. Right-click on the Wi-Fi icon in the taskbar and select “Disable” or use the keyboard shortcut Win + A to open the Action Center, then click on the Wi-Fi button to turn it off.
4. Update your Bluetooth drivers: Outdated or incompatible Bluetooth drivers can cause connectivity problems. Visit the manufacturer’s website for your computer or Bluetooth adapter and download the latest drivers for Windows 10.
5. Restart Bluetooth services: Sometimes, restarting the Bluetooth services can resolve connection issues. Press Win + R to open the Run dialog, type “services.msc,” and hit Enter. Locate “Bluetooth Support Service,” right-click on it, and select “Restart.” Repeat the same process for “Bluetooth Audio Gateway Service” if available.
6. Reset your Bluetooth headphones: Resetting your headphones can help clear any glitches. Refer to the manufacturer’s instructions on how to reset your specific model.
7. Pair your headphones again: Remove the existing pairing between your headphones and Windows 10. Go to the Bluetooth settings on your computer, locate your headphones, and click on “Remove device.” Then, put your headphones in pairing mode and follow the on-screen instructions to pair them again.
Charge and Reset Your Headphones
If your Bluetooth headphones are not working with Windows 10, there are a few steps you can take to fix the connectivity and sound issues.
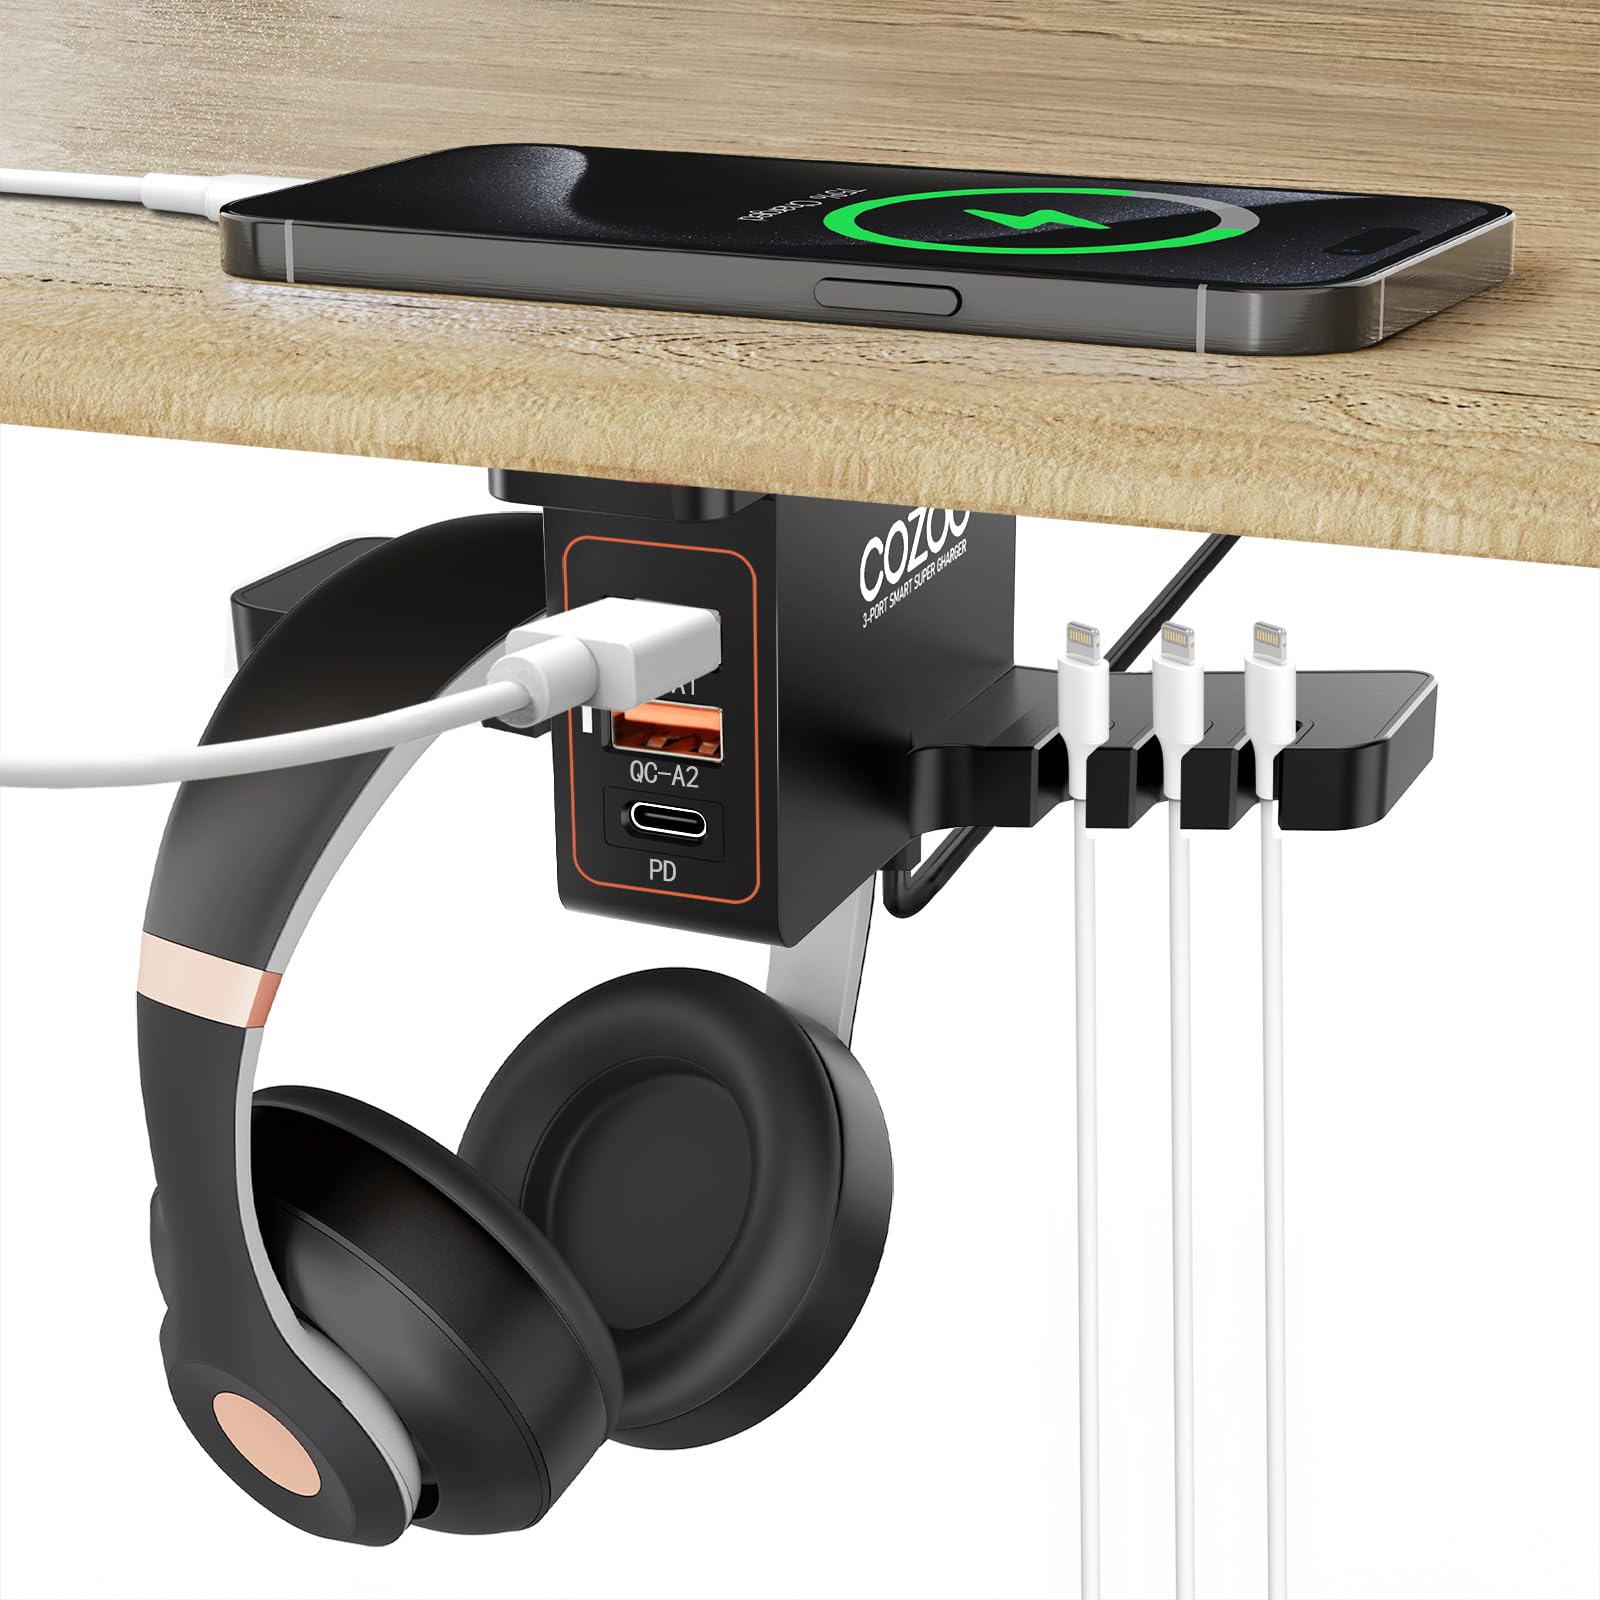
Firstly, make sure your headphones are properly charged. Connect them to a power source using the provided USB cable and allow them to charge fully. This will ensure that they have enough power to establish a stable connection with your computer.
Next, try resetting your headphones. This can often resolve any minor glitches or connectivity issues. To reset your headphones, locate the reset button (usually a small pinhole) and press it using a paperclip or a similar object. Hold the button down for a few seconds and then release it. Your headphones should now be reset and ready to connect.
Once your headphones are charged and reset, it’s time to check the device drivers on your computer. Device drivers are software programs that allow your computer to communicate with external devices like headphones. If the drivers are outdated or corrupted, it can cause connectivity and sound problems.
To update your device drivers, follow these steps:
1. Press the Windows key + X on your computer keyboard and select “Device Manager” from the menu that appears.
2. In the Device Manager window, expand the “Audio inputs and outputs” category.
3. Right-click on your headphones and select “Update driver.”
4. Choose the option to search automatically for updated driver software.
5. Windows will search for the latest driver and install it if available. Follow any on-screen prompts to complete the process.
If updating the device drivers doesn’t resolve the issue, try uninstalling and reinstalling them. To do this, follow these steps:
1. Press the Windows key + X on your computer keyboard and select “Device Manager.”
2. Expand the “Audio inputs and outputs” category.
3. Right-click on your headphones and select “Uninstall device.”
4. Restart your computer.
5. After the restart, Windows will automatically reinstall the device drivers.
If you’re still experiencing problems, consider checking for any available patches or updates for Windows 10. Microsoft regularly releases updates to address various issues and improve compatibility with different devices.
Set as Default Playback Device
To set your Bluetooth headphones as the default playback device on Windows 10, follow these steps:
1. Right-click on the speaker icon in the bottom-right corner of your screen and select “Sounds.”
2. In the “Playback” tab, locate your Bluetooth headphones. They may be listed as a separate device or under the “Headset” or “Audio” category.
3. Right-click on your Bluetooth headphones and select “Set as Default Device.” If you see an option for “Set as Default Communication Device,” select that as well.
4. Click “Apply” and then “OK” to save the changes.
If your Bluetooth headphones are not appearing in the playback devices list, there are a few possible solutions:
1. Ensure that your headphones are properly paired and connected to your Windows 10 device. Refer to the manufacturer’s instructions for assistance with this process.
2. Check for any available software updates or patches for your Bluetooth headphones. Visit the manufacturer’s website or use their software if available.
3. Update the device driver for your Bluetooth headphones. Right-click on the Start button, select “Device Manager,” and expand the “Bluetooth” category. Right-click on your headphones and select “Update Driver.” Choose the option to automatically search for updated driver software.
If you are experiencing connectivity or sound issues with your Bluetooth headphones on Windows 10, try the following troubleshooting steps:
1. Restart your Windows 10 device and your headphones. Sometimes a simple restart can resolve temporary glitches or connection issues.
2. Check the battery level of your headphones. If the battery is low, charge them fully before using them.
3. Disable any other Bluetooth devices that might be interfering with the connection. This includes other headphones, speakers, or peripherals.
4. Move closer to your Windows 10 device to ensure a stable Bluetooth connection. Obstacles such as walls or other electronic devices can weaken the signal.
If you are still experiencing issues with your Bluetooth headphones on Windows 10, it may be helpful to consult the manufacturer’s support website or contact their customer support for further assistance.
Manage Apps Using Microphones
To manage apps using microphones on Windows 10, follow these steps:
1. Open the Settings app by clicking on the Start menu and selecting “Settings.”
2. In the Settings window, click on the “Privacy” category.
3. In the left sidebar, click on “Microphone.”
4. Under the “Allow apps to access your microphone” section, make sure the toggle switch is turned on.
5. Scroll down to see the list of apps that have access to your microphone. Toggle the switch next to each app to enable or disable microphone access.
6. If you want to manage microphone access for individual desktop apps, click on the “Change” button under the “Desktop apps” section. From there, you can toggle the microphone access for each app.
7. Additionally, you can control microphone access on a per-app basis while using the app itself. To do this, follow these steps:
a. Open the app for which you want to manage microphone access.
b. Look for the microphone icon or settings within the app’s interface.
c. Click on the microphone icon or settings, and you should see options to enable or disable microphone access for that specific app.
Remember to check if the issue with your Bluetooth headphones not working on Windows 10 is related to microphone access. Sometimes, apps may require microphone permission to function properly with Bluetooth headphones.
If you continue to experience connectivity or sound issues with your Bluetooth headphones, consider these additional troubleshooting steps:
1. Update your Windows 10 operating system to the latest version. Microsoft often releases patches and updates that address various compatibility issues.
2. Check your Bluetooth headphones’ compatibility with Windows 10. Visit the manufacturer’s website or product documentation to ensure they are compatible with your operating system.
3. Ensure that your Bluetooth headphones are properly paired with your Windows 10 device. Follow the manufacturer’s instructions for pairing and connecting your headphones.
4. Restart your Windows 10 device and try reconnecting your Bluetooth headphones.
5. If you’re using a USB Bluetooth adapter, make sure it is plugged into a USB 3.0 port. USB 3.0 ports provide better power and data transfer capabilities, which can enhance the performance of your Bluetooth headphones.
6. If you’re using a laptop, ensure that the Bluetooth functionality is enabled. Some laptops have a physical switch or a keyboard shortcut to enable or disable Bluetooth.
7. Check the battery level of your Bluetooth headphones. Low battery levels can cause connectivity and sound issues. Charge your headphones if needed.
Update Drivers and Windows System
![]()
To fix connectivity and sound issues with Bluetooth headphones on Windows 10, it is crucial to update your drivers and Windows system. Outdated drivers can cause compatibility problems, while an outdated Windows system may lack essential patches and updates. Here’s how you can update both:
1. Update Drivers:
First, identify the specific model of your Bluetooth headphones. Visit the manufacturer’s website and locate the appropriate drivers for your headset model. Download the latest drivers and follow the installation instructions provided by the manufacturer.
Alternatively, you can update the drivers through Device Manager. Press the Windows key + X and select “Device Manager” from the menu. Expand the “Bluetooth” category, right-click on your headphones, and select “Update driver.” Choose the option to search automatically for updated drivers online.
2. Update Windows System:
Keeping your Windows system up to date is crucial for optimal performance. To update Windows 10, follow these steps:
– Press the Windows key + I to open the Settings app.
– Select “Update & Security” and navigate to the “Windows Update” section.
– Click on “Check for updates” and wait for Windows to search for available updates.
– If any updates are found, click on “Download” and let the process complete.
– Restart your computer once the updates are installed.
Regularly checking for updates and installing them will ensure that your Windows system has the latest bug fixes, patches, and improvements.
Updating both the drivers and Windows system can resolve many connectivity and sound issues with Bluetooth headphones on Windows 10. Remember to restart your computer after completing the updates to apply the changes.
Additionally, if you recently upgraded to Windows 11 and are experiencing Bluetooth headphone issues, make sure to check for any Windows 11-specific updates from Microsoft. They may address compatibility issues and provide necessary fixes.
Restart PC and Revert Updates if Necessary
Sometimes, Bluetooth headphones may stop working properly on Windows 10. If you’re facing this issue, one of the first things you can try is restarting your PC. This simple step can help resolve many connectivity and sound issues.
To restart your PC, follow these steps:
1. Save any open files or documents.
2. Click on the “Start” button in the bottom left corner of your screen.
3. Select the “Power” option.
4. Click on “Restart” from the drop-down menu.
5. Wait for your computer to shut down and restart.
After your PC restarts, check if your Bluetooth headphones are working properly. If not, you may need to revert the recent updates on your Windows 10 system. Sometimes, updates can cause compatibility issues with certain devices, including Bluetooth headphones.
To revert updates on Windows 10:
1. Press the “Windows” key and “I” key simultaneously to open the Settings app.
2. Click on “Update & Security.”
3. Select “Windows Update” from the left-hand menu.
4. Click on the “View update history” option.
5. Locate the recent update that may have caused the issue with your Bluetooth headphones.
6. Click on the “Uninstall updates” link.
7. Find the problematic update in the list and select it.
8. Click on the “Uninstall” button.
Once the update is uninstalled, restart your PC again. After the restart, check if your Bluetooth headphones are now working properly. If not, there may be other underlying issues that need to be addressed.
Remember to ensure that your Bluetooth headphones are charged and in pairing mode. Additionally, make sure that your laptop or personal computer has the necessary drivers and software to support Bluetooth connectivity. You can visit the manufacturer’s website or contact their support for further assistance.
Investigate Potential Hardware Issues
- Check Bluetooth connection: Ensure that Bluetooth is turned on and your headphones are in pairing mode.
- Update Bluetooth drivers: Update the drivers for your Bluetooth adapter to the latest version.
- Restart Bluetooth services: Restart the Bluetooth services on your Windows 10 device.
- Check headphone battery: Ensure that your headphones have sufficient charge to establish a connection.
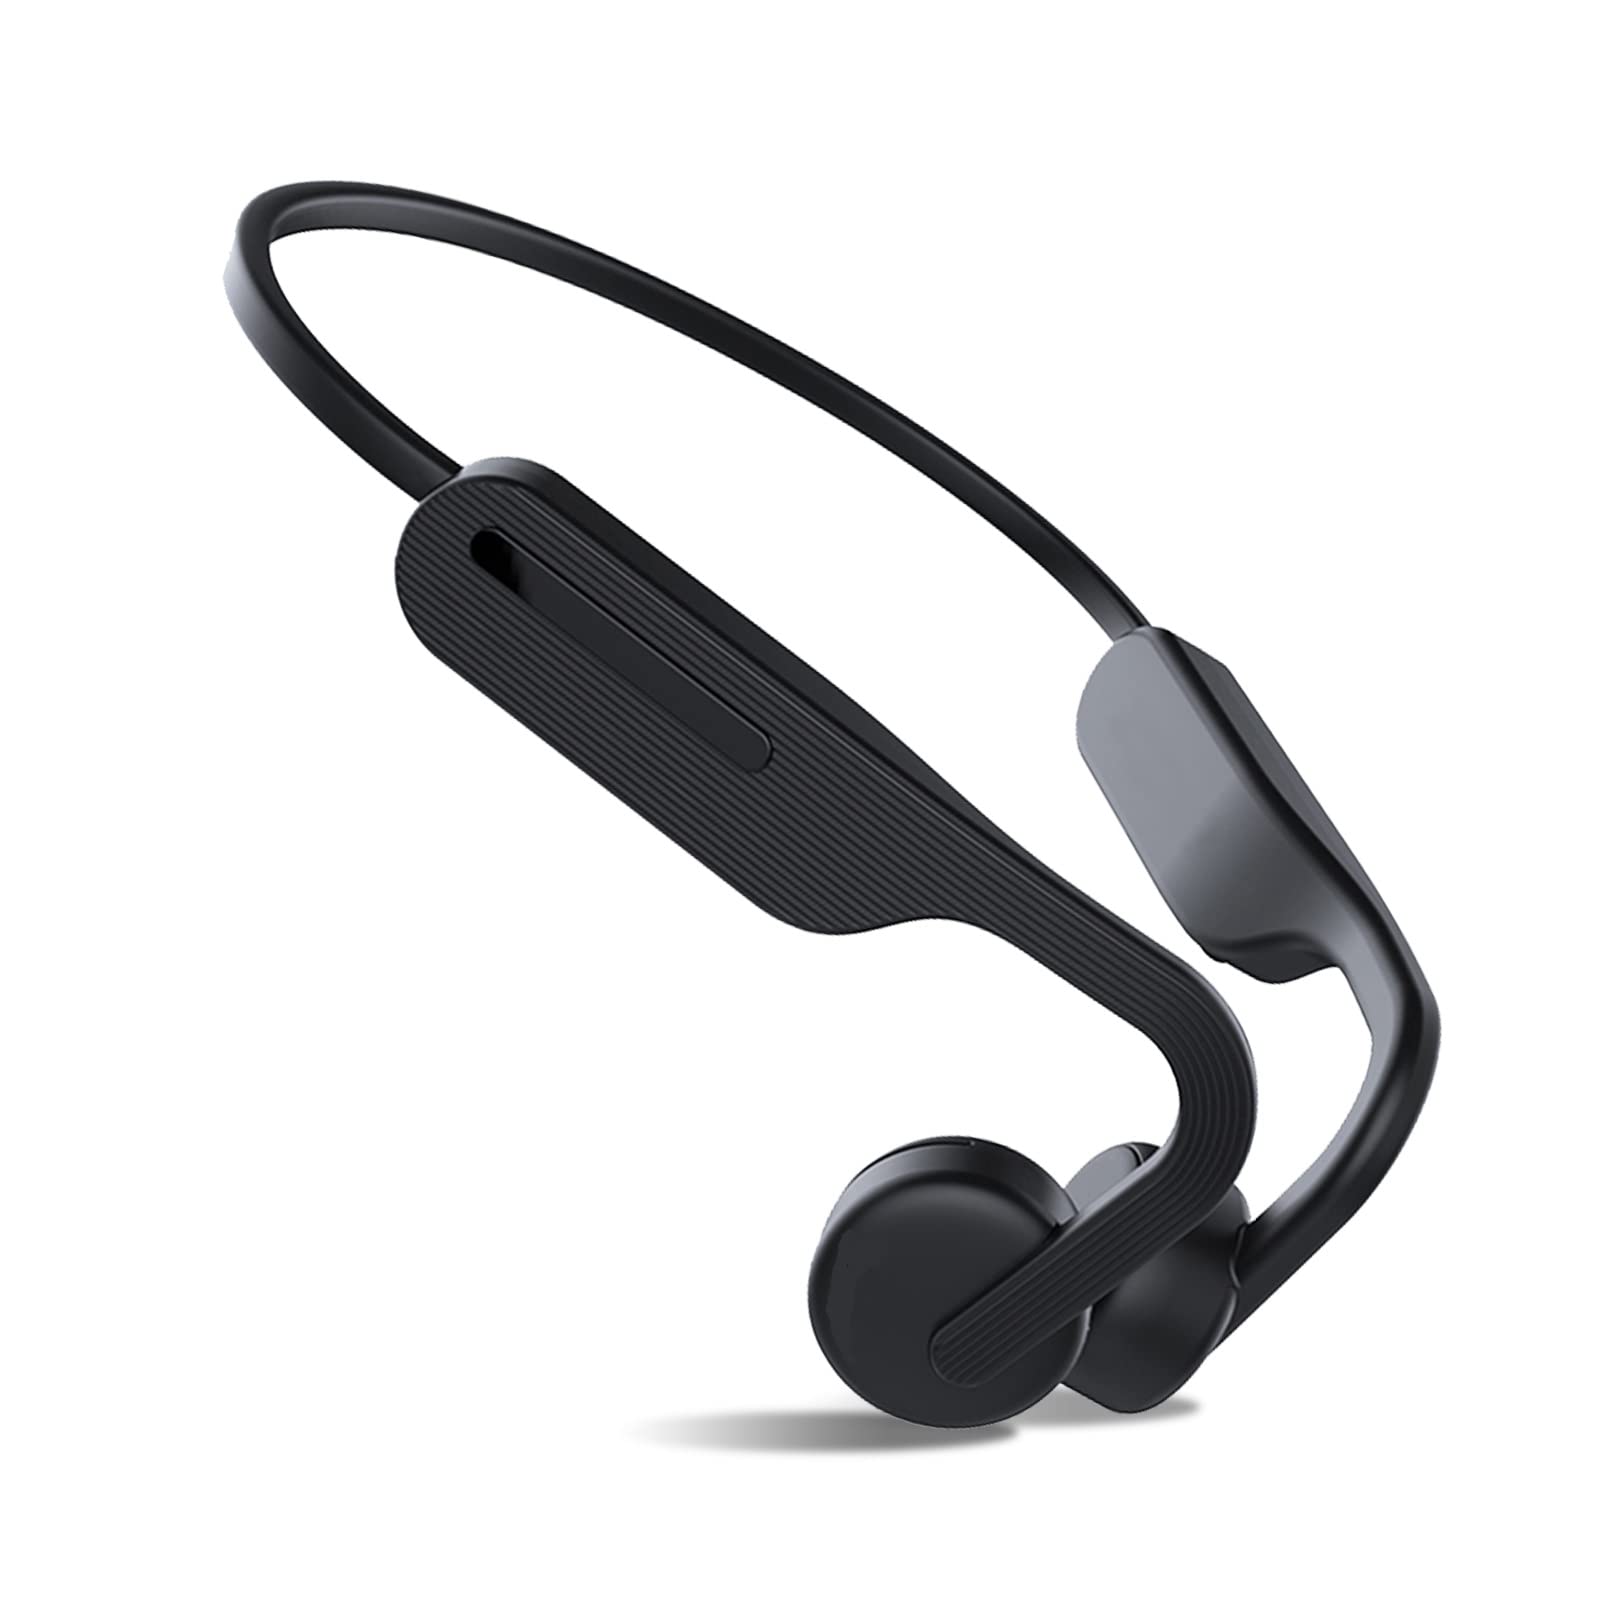
- Test with another device: Verify if the headphones work with another device to determine if the issue lies with your Windows 10 PC.
- Remove and re-pair the headphones: Remove the existing pairing on your PC and re-pair the headphones.
- Run the Bluetooth troubleshooter: Use the built-in Bluetooth troubleshooter to automatically fix common Bluetooth issues.
- Check for Windows updates: Ensure that your Windows 10 is up to date with the latest patches and updates.
- Disable conflicting applications: Temporarily disable any programs that may interfere with the Bluetooth connection.
- Reset network settings: Reset the network settings on your Windows 10 PC to default.
F.A.Q.
Why are my headphones not being detected on Bluetooth?
Your headphones may not be detected on Bluetooth due to outdated drivers or software. Make sure to check and update the software on both your device and headphones if needed.
Why are my Bluetooth headphones connecting but not playing audio?
Your Bluetooth headphones may be connecting but not playing audio due to interference from other Bluetooth devices or electronics. To resolve this issue, try removing your headphones from the list of paired devices in your Bluetooth settings and then pair them again. Additionally, you can try turning off other devices or moving to a different location to see if that improves the audio playback.
How do I get my Bluetooth headphones to work on Windows 10?
To get your Bluetooth headphones to work on Windows 10, follow these steps:
1. Click on Start and go to Settings.
2. Select Devices and then Bluetooth & other devices.
3. Click on Add Bluetooth or other device.
4. Choose Bluetooth and follow any additional instructions that may appear.
5. Finally, select Done to complete the pairing process.
Why are my Bluetooth headphones connected but not working Windows 10?
Your Bluetooth headphones may be connected but not working on Windows 10. To resolve this issue, you can try unpairing and then re-pairing the device. Start by going to Start, then select Settings > Devices > Bluetooth & other devices. Locate the Bluetooth device that is paired but not working, and select Remove device, followed by Yes. Afterward, you can pair the device again to see if it resolves the problem.

