Having trouble formatting a new hard drive? Here’s what you need to know.
Reasons You Can’t Format the Drive
1. Write protection: If the drive is write-protected, you won’t be able to format it. To remove write protection, check for a physical switch on the drive or use the diskpart command in Command Prompt. Open Command Prompt by pressing the Windows key + R, type “cmd,” and press Enter. Then, type “diskpart” and press Enter. Type “list disk” to display all connected disks, and identify the one you want to format. Finally, type “select disk [disk number]” and “attributes disk clear readonly” to remove write protection.
2. In use by another program: If the drive is in use by another program or process, formatting will be blocked. Close all applications and processes that might be accessing the drive, including any open windows or applications that display its contents.
3. File system error: A corrupted file system can prevent formatting. To fix this, open Command Prompt and type “chkdsk [drive letter]: /f“. This command will scan and fix any errors on the drive, allowing you to format it afterward.
4. Bad sectors: If the drive has bad sectors, formatting may fail. Use the “chkdsk” command mentioned above to check for and repair bad sectors. If the problem persists, the drive may need to be replaced.
5. Partitioning issues: If the drive has existing partitions that cannot be deleted or resized, you won’t be able to format it. Use Disk Management in Windows to delete all partitions on the drive, and then try formatting again.
6. Virus or malware infection: Viruses or malware can interfere with formatting processes. Perform a thorough scan of the drive using reliable antivirus software to remove any infections before attempting to format.
Remove Write Protection Before Formatting
1. Connect the new hard drive to your computer using the appropriate cables or adapter.
2. Open File Explorer and locate the new hard drive.
3. Right-click on the drive and select “Properties” from the context menu.
4. In the Properties window, go to the “Security” tab.
5. Click on the “Edit” button to change the permissions.
6. In the Permissions window, click on your user account and check if you have full control over the drive.
7. If you don’t have full control, click on the “Full Control” checkbox to grant yourself the necessary permissions.
8. Click “Apply” and then “OK” to save the changes.
9. Close the Properties window.
10. Now, you can format the new hard drive without any write protection.
Check and Repair Bad Sectors
| Step | Description |
|---|---|
| Step 1 | Connect the new hard drive to your computer. |
| Step 2 | Open the Disk Management tool by right-clicking on the Start button and selecting “Disk Management”. |
| Step 3 | Locate the new hard drive in the Disk Management window. |
| Step 4 | Right-click on the new hard drive and select “Properties”. |
| Step 5 | In the Properties window, go to the “Tools” tab. |
| Step 6 | Click on the “Check” button under the “Error Checking” section. |
| Step 7 | A dialog box will appear asking if you want to schedule the disk check on the next system restart. Click “Schedule disk check”. |
| Step 8 | Restart your computer to initiate the disk check. |
| Step 9 | Wait for the disk check to complete. This process may take some time depending on the size of your hard drive. |
| Step 10 | If any bad sectors are found, the disk check will attempt to repair them automatically. |
| Step 11 | Once the disk check is complete, try formatting the new hard drive again. |
Update the Hardware Driver
1. Press the Windows key + X on your keyboard to open the context menu.
2. From the menu, select “Device Manager” to open the Device Manager window.
3. In the Device Manager window, expand the “Disk drives” category to see a list of all connected drives.
4. Right-click on your new hard drive and select “Update driver” from the options.
5. Choose the option to search automatically for updated driver software.
6. Windows will now search for the latest driver for your hard drive and install it if found.
7. Once the driver update is complete, restart your computer to apply the changes.
Updating the hardware driver can help resolve many issues, including the inability to format a new hard drive. This process ensures that your computer recognizes and communicates properly with the drive.
Remember to keep your computer protected from viruses and malware by regularly scanning your system with reliable antivirus software. Also, make sure to keep your operating system up to date with the latest security patches.
If you continue to encounter formatting issues after updating the driver, it may be worth checking for bad sectors on the hard drive. You can use the CHKDSK command-line tool to scan and repair any errors on the drive.
Force Format via Command Prompt
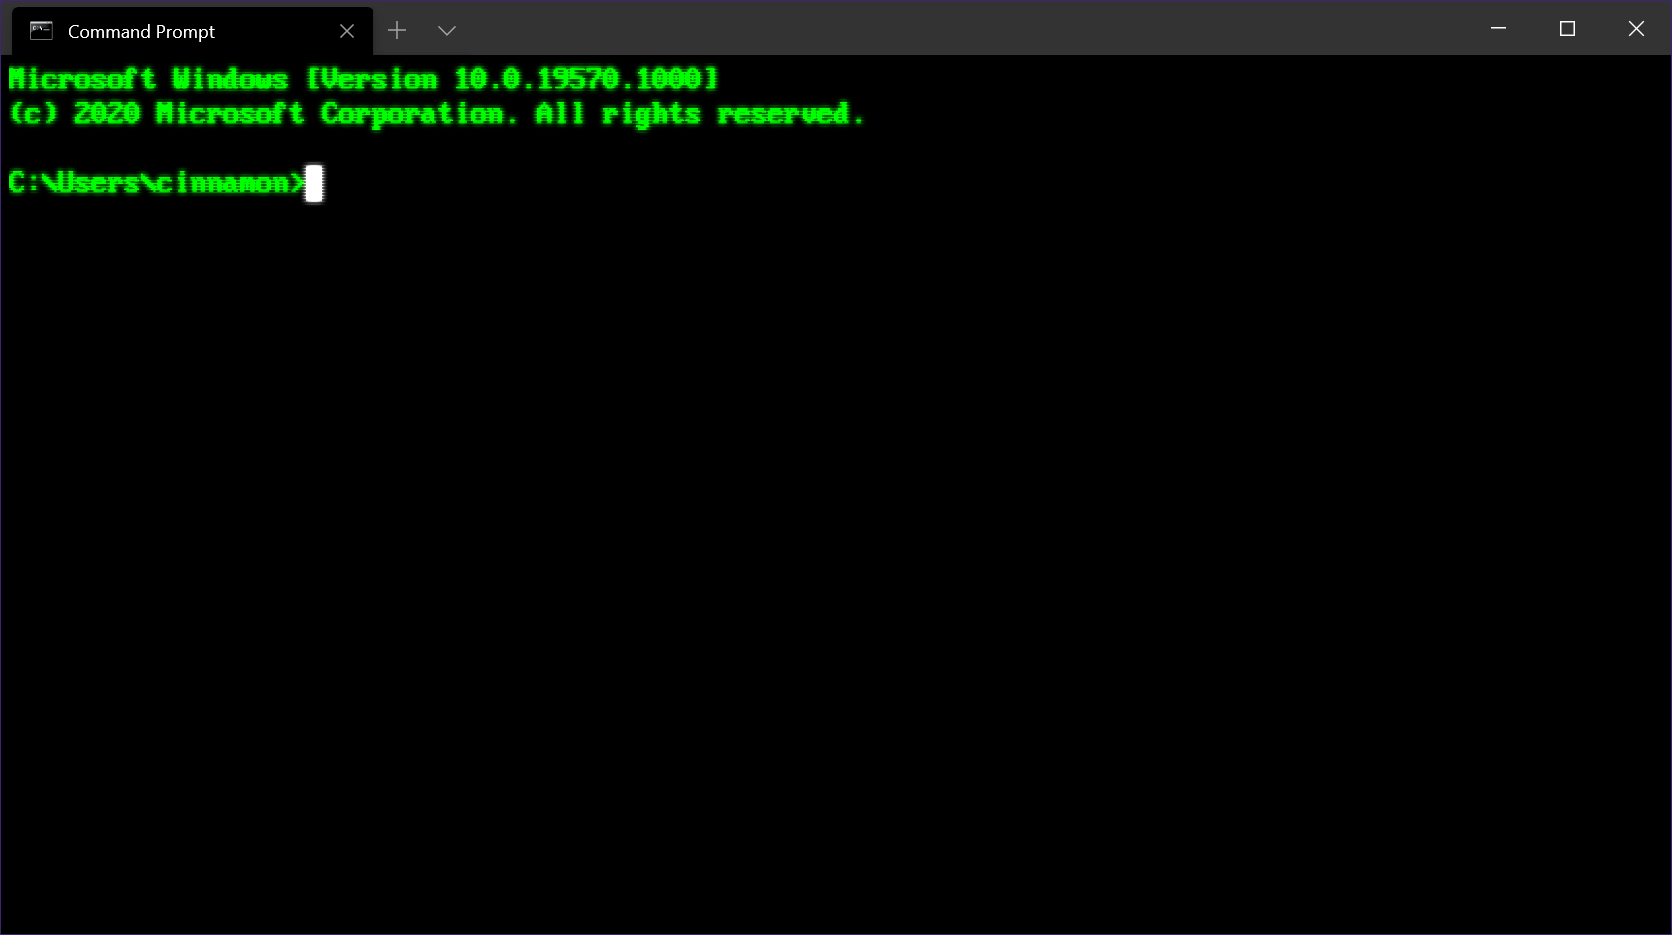
If you are unable to format a new hard drive using the regular methods, you can try force formatting it via Command Prompt. This method can help overcome any issues or errors that are preventing the formatting process from completing successfully.
Here’s how you can force format a new hard drive using Command Prompt:
1. Press the Windows key + R on your keyboard to open the Run dialog box.
2. Type “cmd” and press Enter to open Command Prompt.
3. In Command Prompt, type diskpart and press Enter. This will open the DiskPart command-line interface.
4. Type list disk and press Enter to see a list of all the disks connected to your computer.
5. Identify the disk number of the new hard drive you want to format.
6. Type select disk [disk number] and press Enter, replacing [disk number] with the actual disk number of your new hard drive.
7. Type clean and press Enter. This will remove all partitions and volumes from the selected disk.
8. Type create partition primary and press Enter. This will create a new primary partition on the disk.
9. Type format fs=ntfs quick and press Enter to quickly format the new partition with the NTFS file system.
10. Wait for the formatting process to complete.
11. Type exit and press Enter to exit DiskPart.
12. Close Command Prompt.
After following these steps, you should have successfully force formatted your new hard drive using Command Prompt. You can now use it for storing data or installing an operating system.
Note: Force formatting a hard drive will remove all data on it, so make sure to back up any important files before proceeding.
If you encounter any errors or issues during the formatting process, it could indicate a problem with the hard drive itself. In such cases, you may need to troubleshoot further or consider replacing the hard drive if it is faulty.
Use Disk Management for Formatting
To format a new hard drive that is not being recognized or is unable to be formatted, you can use Disk Management in Microsoft Windows. Disk Management is a built-in tool that allows you to manage and format your computer’s storage devices. Here’s how you can use it to format your new hard drive:
1. Press the Windows key + R to open the Run dialog box.
2. Type “diskmgmt.msc” and press Enter to open Disk Management.
3. Locate your new hard drive in the list of available drives. It may be listed as “Unknown” or have a black bar indicating that it is unallocated.
4. Right-click on the new hard drive and select “Initialize Disk.” Choose the appropriate disk type (MBR or GPT) and click OK.
5. Right-click on the unallocated space and select “New Simple Volume.” Follow the on-screen instructions in the New Simple Volume Wizard to set the volume size, assign a drive letter, and format the drive with a file system (such as NTFS).
6. Once the formatting process is complete, you should see your new hard drive listed as a healthy partition with a drive letter assigned.
By using Disk Management, you can easily format your new hard drive and make it usable for storing your data. If you encounter any issues or error messages during the formatting process, you can try troubleshooting using other methods or seeking further assistance.
Try Formatting with an Alternative Tool
-
Download a Third-Party Formatting Software:
- Search for a reliable third-party formatting software online.
- Choose a software that is compatible with your operating system.
- Download and install the software on your computer.
-
Open the Formatting Software:
- Locate the installed third-party formatting software.
- Double-click on the software’s icon to launch it.
-
Connect the New Hard Drive:
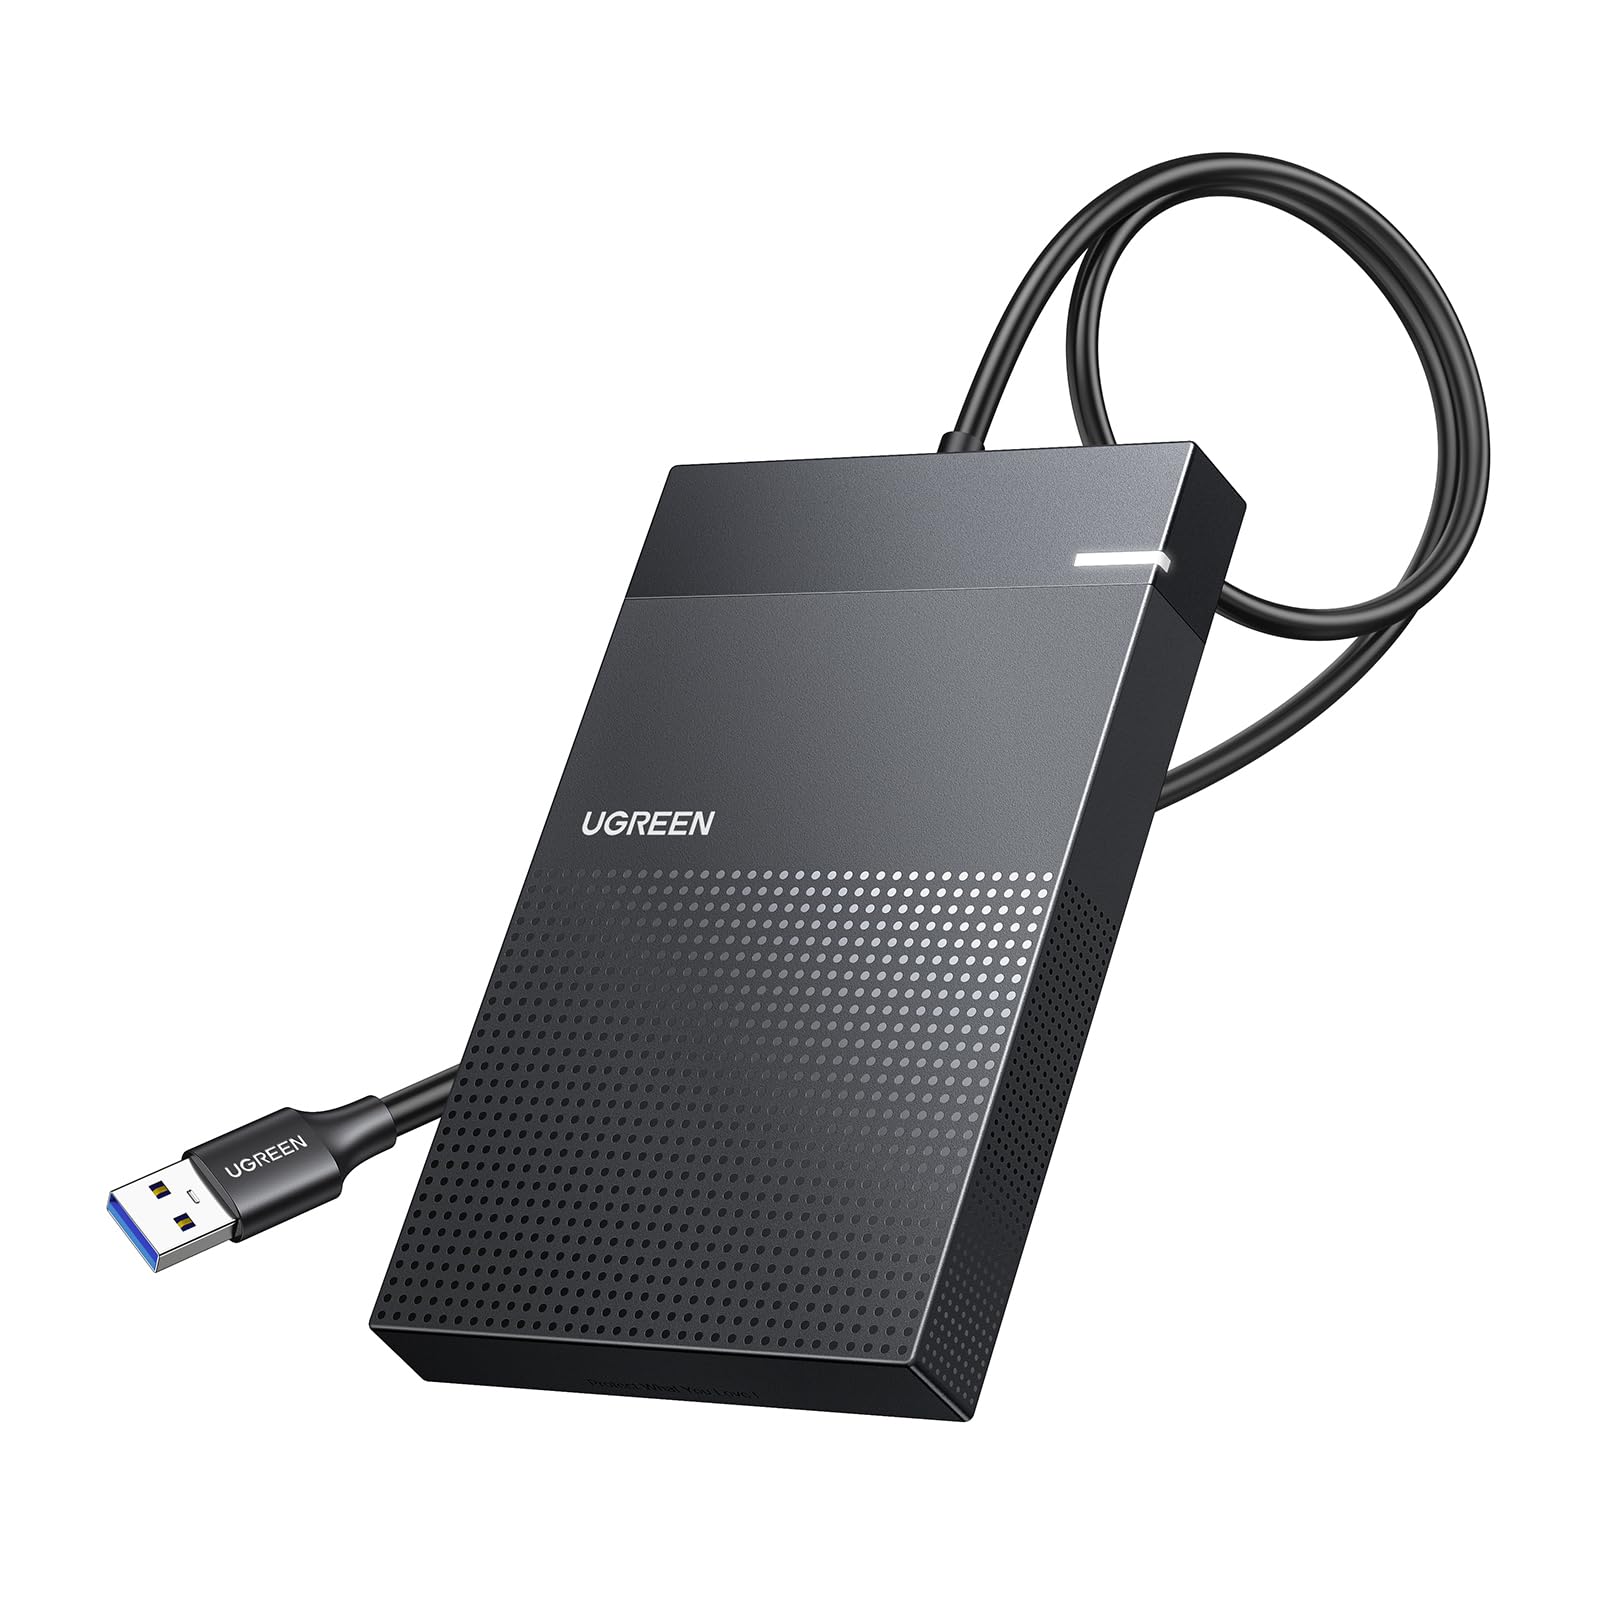
- Connect the new hard drive to your computer using the appropriate cable.
- Ensure the hard drive is properly connected and powered on.
-
Select the New Hard Drive:
- In the formatting software, look for a list of available drives.
- Identify the new hard drive from the list.
- Select the new hard drive by clicking on it.
-
Choose the Formatting Options:
- Look for the formatting options provided by the software.
- Decide on the file system you want to format the hard drive with (e.g., NTFS, FAT32, exFAT).
- Select the desired file system from the available options.
-
Start the Formatting Process:
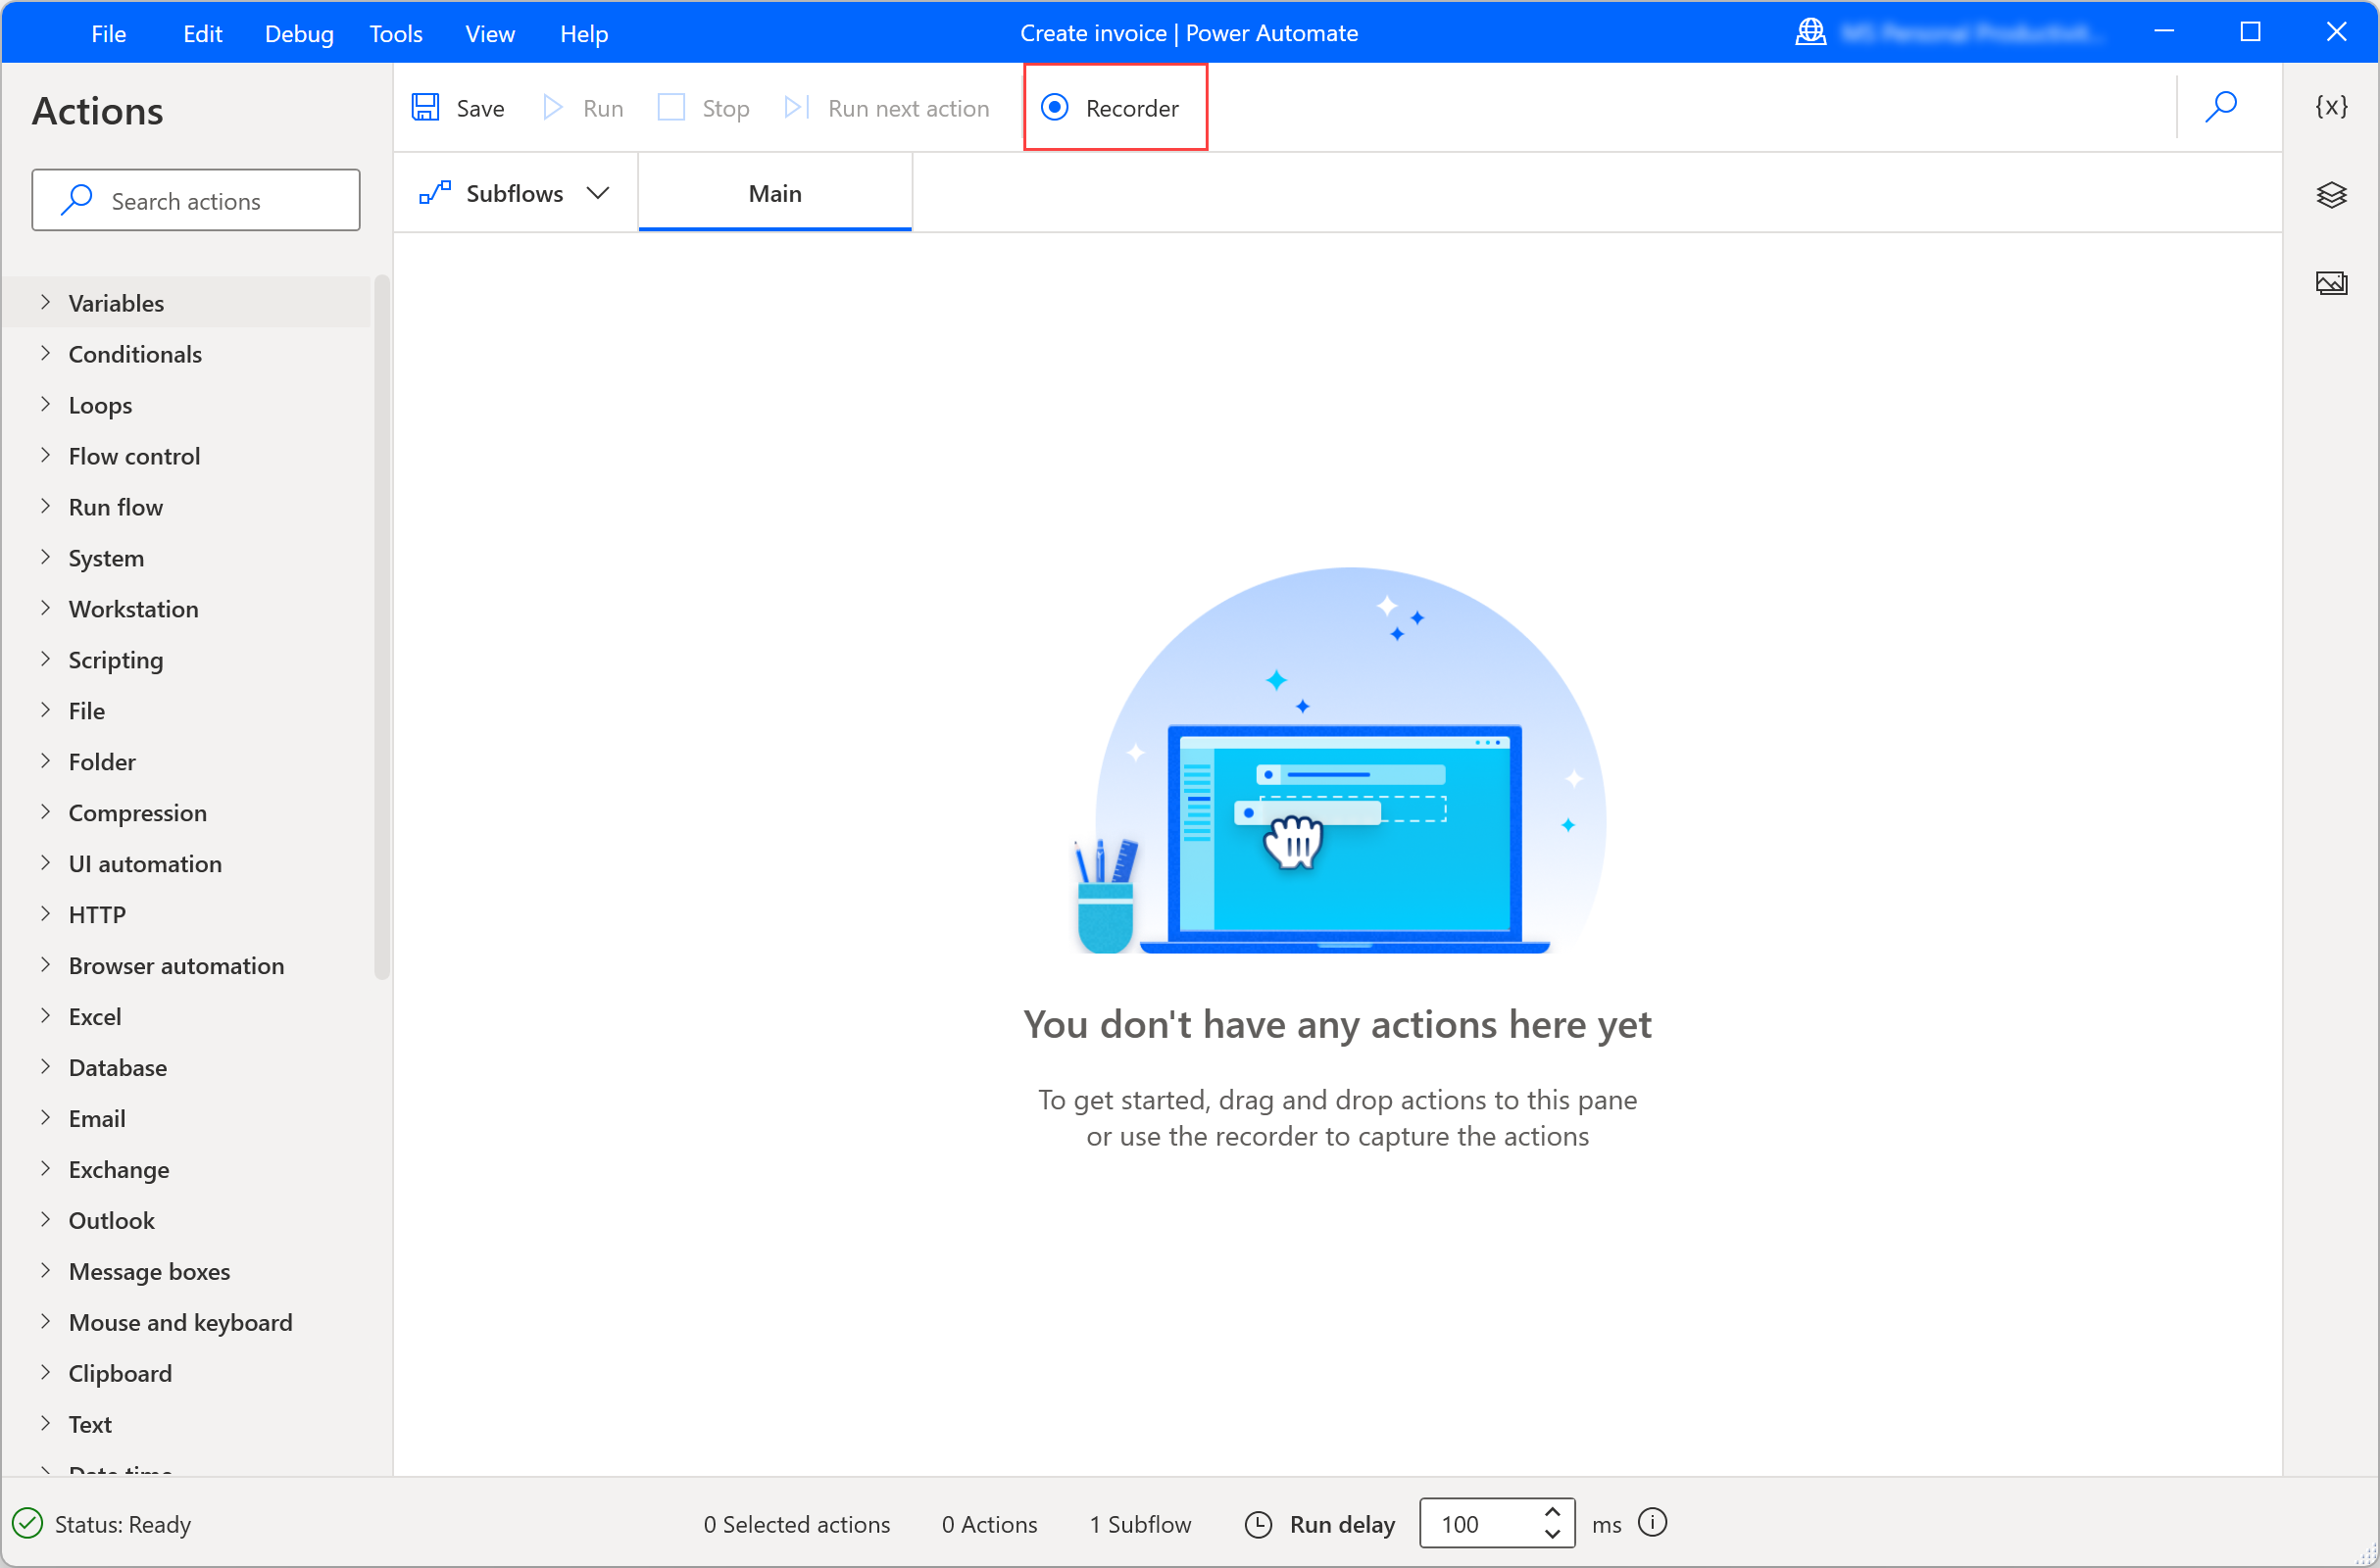
- Find the “Start” or “Format” button within the software.
- Click on the button to initiate the formatting process.
-
Wait for the Formatting to Complete:
- Allow the software to format the new hard drive.
- Do not interrupt the process or disconnect the hard drive.
- Observe the progress indicator to track the formatting process.
-
Verify the Formatting:
- Once the formatting process is complete, check if any errors are reported.
- Ensure that the new hard drive is now formatted as intended.
F.A.Q.
Why can’t i format my new SSD?
You may be unable to format your new SSD due to several reasons. These include the SSD being write-protected, a corrupted hard drive, or potential malware attacks on the SSD.
How do I initialize and format a new hard drive?
To initialize and format a new hard drive, you can follow these steps: In Disk Management, choose the desired disk and right-click on it. Then, select Initialize Disk. If the disk is shown as Offline, make sure to select it and choose Online before initializing.
How do I force a hard drive to format?
To force a hard drive to format, you can right click on the drive, select Format, enter a name for the drive, choose the format type, and click OK. This process will delete all files and change the disk format.
Why can’t I format my new hard drive?
You may not be able to format your new hard drive due to various reasons such as a virus infection, outdated hardware driver, or missing/damaged system files.

