Having trouble getting your Dell computer to start? Let’s dive into some troubleshooting steps to help you get it up and running again.
Identifying Symptoms and Causes
If your Dell computer is not starting up, it can be frustrating and disruptive to your work or personal tasks. However, by identifying the symptoms and causes of the issue, you can troubleshoot and resolve the problem efficiently.
One common symptom is a blank screen or lack of response when you press the power button. In this case, the first step is to check the power source. Ensure that the AC adapter is properly connected and the power strip or outlet is functioning. If the power source is not the issue, it could be a problem with the power supply within the computer.
Another symptom to look out for is the computer turning on but not booting into the operating system. This could indicate a problem with the hard disk drive or the operating system itself. To troubleshoot this, try booting into safe mode by pressing the F8 key during startup. If you can access safe mode, it may indicate a software-related issue.
If you are experiencing a blue screen of death, it is likely a hardware or driver problem. Start by checking the graphics card and ensuring it is properly connected. You can also try reseating the RAM (random-access memory) modules. If the issue persists, it may be necessary to update or reinstall drivers.
In some cases, a computer not starting up can be caused by a malware or virus infection. It is recommended to run a thorough scan using antivirus software to detect and remove any malicious programs.
If your Dell computer is a laptop, it is worth checking if the battery is functioning properly. Try removing the battery and using only the AC adapter to see if the issue resolves. If the computer starts up without the battery, it may be necessary to replace it.
If you have tried the above troubleshooting steps and are still unable to start your Dell computer, it may be necessary to contact technical support for further assistance. They can provide specialized guidance and potentially arrange repairs if needed.
Perform a Hard Reset
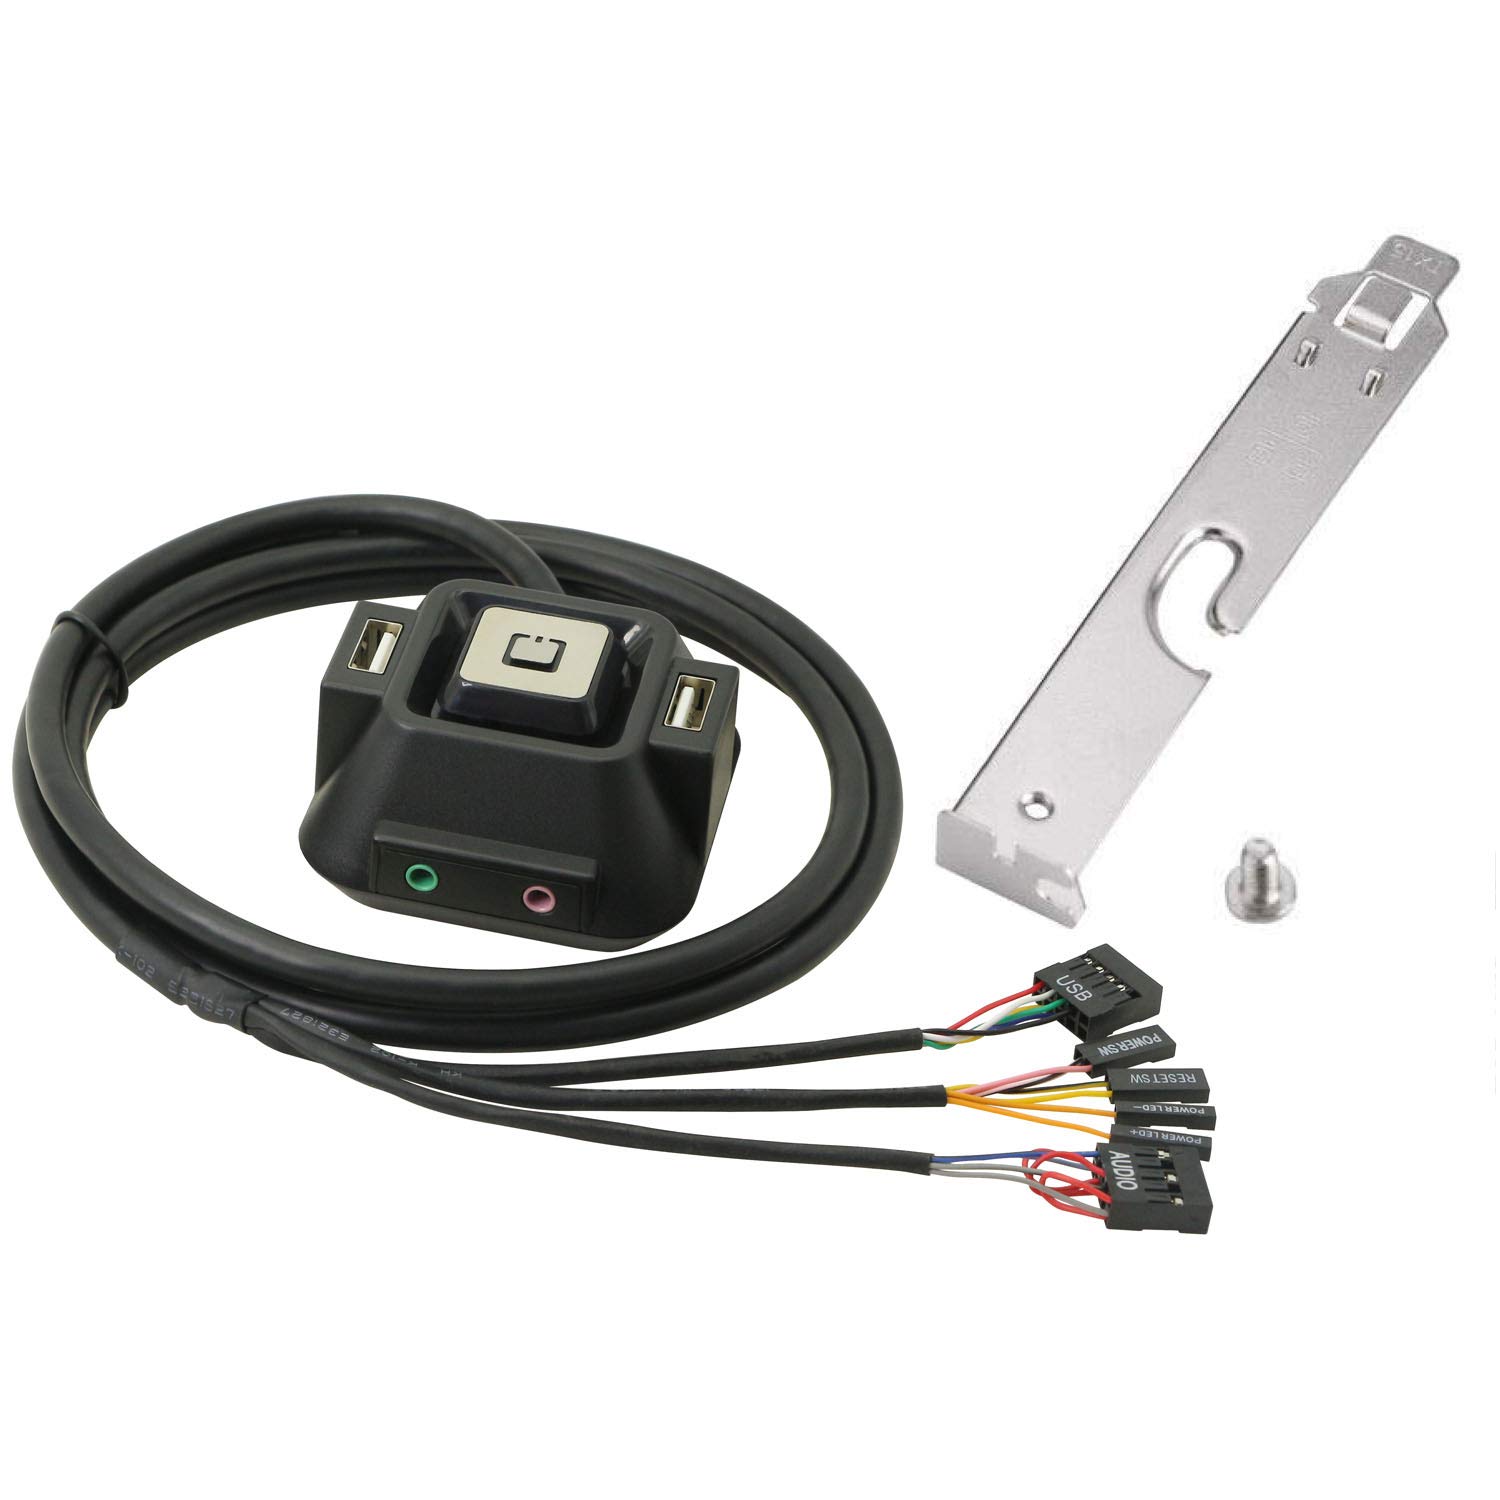
Performing a Hard Reset
If your Dell computer is not starting up properly, performing a hard reset may help resolve the issue. A hard reset can help reset the hardware and software settings on your computer, allowing it to boot up correctly.
To perform a hard reset on your Dell computer, follow these steps:
1. Disconnect all external devices such as USB drives, SD cards, portable media players, and USB flash drives.
2. Disconnect the power cable from your computer and remove the battery if you have a laptop.
3. Press and hold the power button on your computer for about 15-20 seconds. This will discharge any residual power and reset the hardware settings.
4. After releasing the power button, reconnect the power cable (and battery, if applicable) and press the power button to turn on your computer.
5. If your computer starts up properly, you can reconnect the external devices one by one to determine if any of them were causing the issue.
Performing a hard reset can help resolve various startup issues, including those related to the BIOS, computer hardware, viruses, and malware. It is a simple troubleshooting step that can be performed before seeking technical support.
Note: The steps mentioned above are general instructions for performing a hard reset on a Dell computer. The specific steps may vary depending on the model and operating system. Refer to your Dell computer’s documentation or contact Dell support for more detailed instructions.
Run Hardware and Computer Diagnostics
- Access the built-in diagnostics utility by restarting the Dell computer.
- Press the F12 key repeatedly while the Dell logo is displayed on the screen.
- Select Diagnostics from the boot menu using the arrow keys.
- Perform a comprehensive hardware scan to identify any potential issues.
- Wait for the diagnostics utility to load and select Test System.
- Choose the Full System Scan option to thoroughly examine all hardware components.
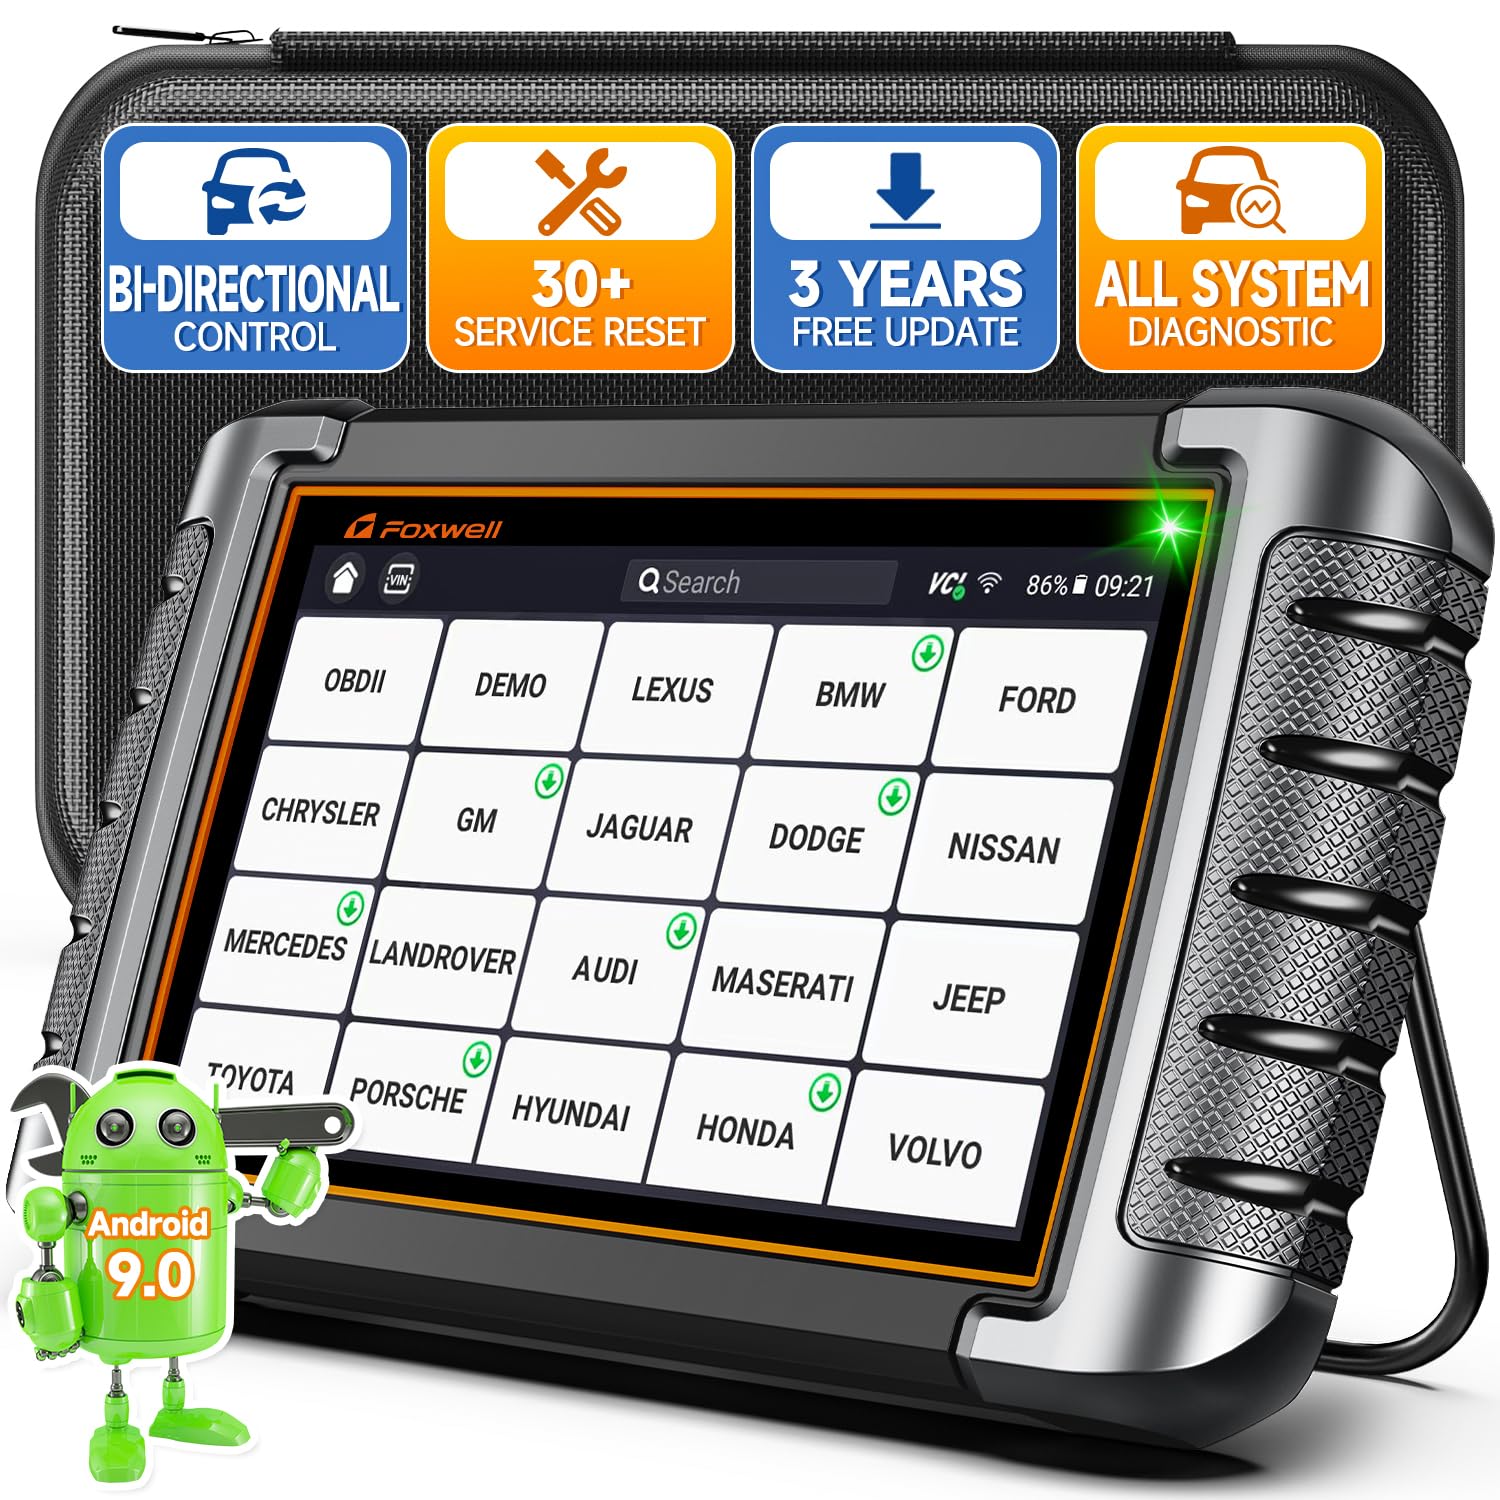
- Review the diagnostic results to determine if any errors or failures are detected.
- Inspect the summary screen after the scan completes.
- Look for any Error or Fail status associated with specific hardware components.
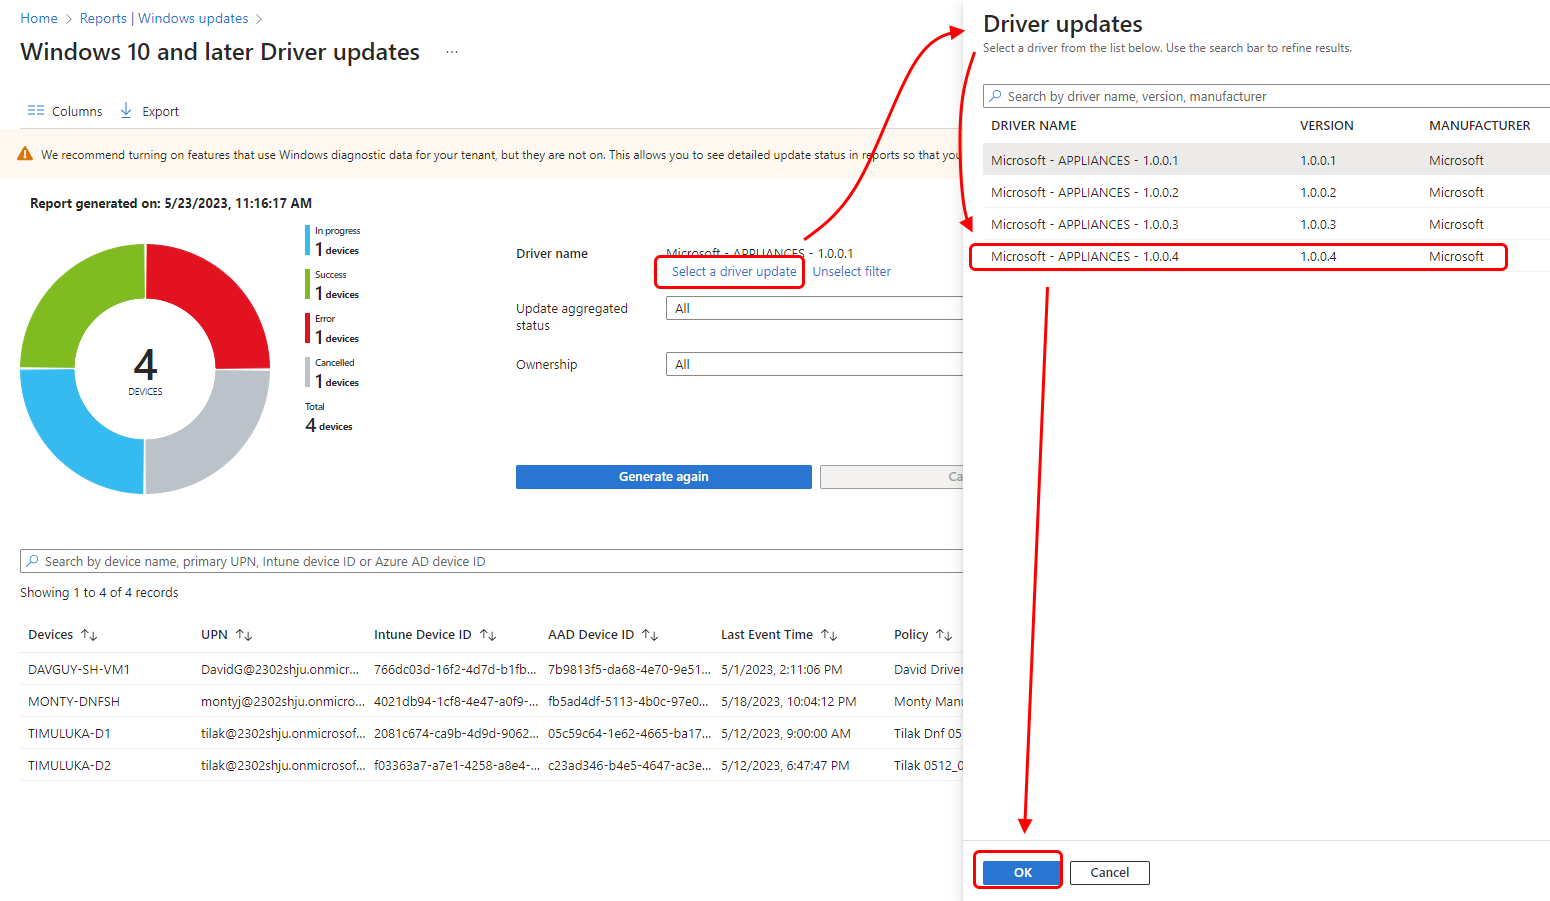
- Resolve identified hardware issues accordingly.
- If errors are found, consult the Dell support website or contact Dell technical support for further guidance.
- Consider replacing or repairing faulty hardware components as recommended.

- Run additional software diagnostics to check for software-related problems.
- Select the Custom Test option from the diagnostics utility.
- Choose the software tests that are relevant to the issue you are experiencing, such as Memory or Hard Drive tests.
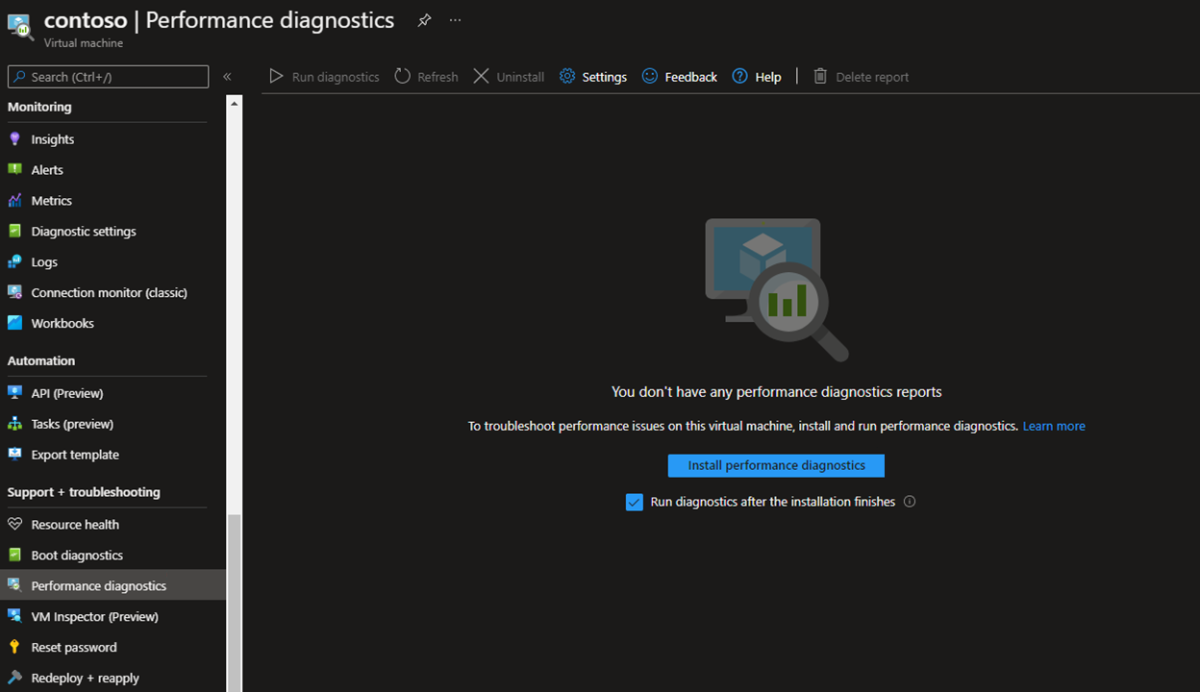
- Follow any recommended troubleshooting steps provided by the software diagnostics.
- If errors or failures are detected, the diagnostics utility may provide instructions on how to fix the problem.
- Take the necessary actions suggested, such as reinstalling software or updating drivers.
Troubleshooting POST and Power Issues
If your Dell computer is not starting, it could be due to POST and power issues. Here are some troubleshooting steps to help you resolve this problem:
1. Check the power supply: Make sure your computer is properly connected to a working power outlet. If you’re using a power strip, try plugging the computer directly into the wall outlet to eliminate any potential issues with the power strip.
2. Perform a power cycle: Turn off the computer and unplug the power cable. Then, press and hold the power button for about 15 seconds to discharge any residual power. Plug the power cable back in and try turning on the computer.
3. Check for physical damage: Inspect the power cord and other connections for any signs of damage. If you find any, replace the damaged components.
4. Reset the BIOS/UEFI settings: Restart the computer and repeatedly press the F2 or Del key (depending on your computer model) to access the BIOS/UEFI settings. Look for an option to reset the settings to their default values and confirm the changes. This can help resolve any configuration issues that may be preventing the computer from starting.
5. Verify hardware connections: Open the computer case (if applicable) and check that all cables, cards, and memory modules are securely connected. Reseat any loose components to ensure proper connections.
6. Remove external devices: Disconnect all external devices, such as USB flash drives, SD cards, printers, webcams, etc. Sometimes, a faulty or incompatible device can cause startup issues.
7. Check for software issues: If you recently installed any new software or made changes to the operating system, try booting into safe mode. Restart the computer and repeatedly press the F8 key (or Shift+F8 for Windows 8 and 10) to access the advanced boot options. From there, select safe mode and see if the computer starts successfully.
8. Test the power button: If the power button is unresponsive, try using a different keyboard or mouse to turn on the computer. This can help determine if the issue lies with the power button itself.
9. Consult Dell support resources: If none of the above steps resolve the issue, it may be helpful to consult Dell’s support website or contact their customer support for further assistance. They may provide specific troubleshooting steps or recommend professional repair services if needed.
Reset BIOS and Operating System
Resetting the BIOS and operating system can often resolve issues when a Dell computer is not starting. Here are the steps to follow:
1. Power off the computer completely and disconnect any external devices such as USB flash drives or printers.
2. To reset the BIOS, locate the CMOS battery on the motherboard. It is a small, round battery usually placed near the center of the motherboard. Carefully remove the battery and wait for about 5 minutes before reinserting it. This will reset the BIOS settings to their default values.
3. Connect the power cable and turn on the computer. Press the Esc key or the key indicated on the screen during the power-on self-test to access the BIOS menu.
4. In the BIOS menu, navigate to the “Reset BIOS” or “Restore Defaults” option. Select it and confirm the reset. Save the changes and exit the BIOS.
5. Next, we will reset the operating system. If you are using Windows 10 or Windows 11, go to the Start menu and click on the “Settings” icon. Then, select “Update & Security” and click on “Recovery” in the left sidebar. Under the “Advanced startup” section, click on “Restart now.”
6. The computer will restart and boot into the Windows Recovery Environment. Select “Troubleshoot” and then “Reset this PC.” Follow the on-screen instructions to reset the operating system. Note that this will remove all your personal files, so make sure to back up any important data beforehand.
7. If you are using an older version of Windows like Windows 8.1 or Windows 8, you can access the recovery options by pressing the F8 key repeatedly during startup. From there, follow the prompts to reset the operating system.
8. After the operating system reset is complete, the computer should start up normally. If the issue persists, it may indicate a hardware problem, and it is recommended to contact Dell support for further assistance.
Safe and Clean Boot Methods
If your Dell computer is not starting up properly, there are safe and clean boot methods that can help troubleshoot and resolve the issue. These methods allow you to start your computer with minimal processes and drivers, which can help identify and eliminate any software conflicts or errors.
Safe Mode: One of the most common boot methods for troubleshooting is Safe Mode. This mode starts Windows with only the essential drivers and services, allowing you to access your computer and diagnose any issues. To enter Safe Mode on a Dell computer, follow these steps:
1. Start or restart your computer.
2. As the computer starts, repeatedly press the F8 key until the Advanced Boot Options menu appears.
3. Use the arrow keys to select “Safe Mode” and press Enter.
4. Once in Safe Mode, you can perform various troubleshooting tasks, such as uninstalling recently installed software or running a virus scan.
Clean Boot: Another effective method is the Clean Boot. This allows you to start your computer with a minimal set of startup programs and services, which can help identify if a third-party software or driver is causing the issue. To perform a Clean Boot on a Dell computer, follow these steps:
1. Press the Windows key + R to open the Run dialog box.
2. Type “msconfig” and press Enter to open the System Configuration window.
3. In the General tab, select “Selective startup” and uncheck “Load startup items.”
4. Go to the Services tab, check “Hide all Microsoft services,” and click “Disable all.”
5. Go to the Startup tab and click “Open Task Manager.”
6. In the Task Manager, disable any startup programs by right-clicking on them and selecting “Disable.”
7. Close the Task Manager and click “OK” in the System Configuration window.
8. Restart your computer and see if the issue persists.
By using these safe and clean boot methods, you can troubleshoot and resolve startup issues on your Dell computer.
Virus and Malware Checks
- Run a full system scan using an antivirus software
- Perform a malware scan using an anti-malware program
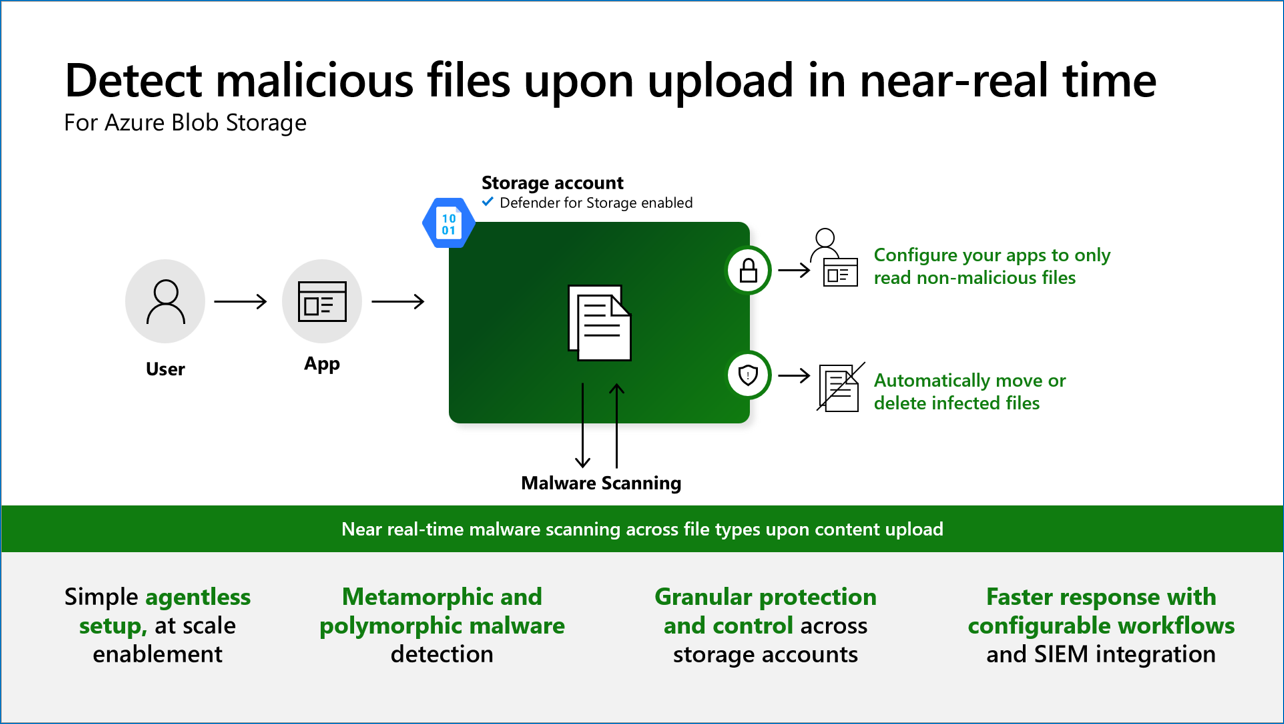
- Remove any detected viruses or malware
Restore Operating System to Factory Settings
If your Dell computer is not starting properly, restoring the operating system to factory settings can often resolve the issue. Follow these steps to restore your Dell computer:
1. Backup your important files: Before restoring the operating system, it’s crucial to back up any important files or data that you don’t want to lose. Use an external storage device such as a USB flash drive or an external hard disk drive to save your files.
2. Access the recovery options: Restart your Dell computer and press the appropriate key (usually F8 or F12) to access the recovery options. Look for the option that allows you to restore the operating system to factory settings.
3. Choose the factory reset option: Once you’ve accessed the recovery options, select the option to restore the operating system to its original factory settings. This will erase all the data on your computer and reinstall the operating system.
4. Follow the on-screen instructions: The restoration process will guide you through a series of on-screen instructions. Make sure to read and follow them carefully. You may be asked to confirm your decision, select a language, or agree to the terms and conditions.
5. Wait for the process to complete: The restoration process may take some time to complete. Be patient and avoid interrupting the process. Your Dell computer will restart several times during the restoration.
6. Set up your computer: Once the restoration process is complete, you’ll need to set up your Dell computer again. Follow the on-screen instructions to configure your preferences, create user accounts, and connect to the internet.
By restoring your Dell computer to factory settings, you can troubleshoot startup issues and bring your computer back to its original state.
FAQ
How do I reset my Dell to startup?
To reset your Dell to startup, you can click on the “Power” button on the login screen. Then, hold the “Shift” key and click on the “Restart” button. This will restart your laptop and boot it into WinRE mode. From there, you can select “Remove Everything” and choose “Remove My Files” to remove your data and reinstall Windows.
Why is my Dell computer screen black and wont turn on?
Your Dell computer screen is black and won’t turn on possibly due to issues with the power source, display cable, or video input mode. If there is a message displayed on the monitor, the problem may lie with the computer. Additionally, ensure that the power cable is properly connected by checking if the power LED is off and trying to unplug and replug it.
How do you force a Dell computer to turn on?
To force a Dell computer to turn on, you can press and hold the power button for 15 to 20 seconds to drain residual power. Make sure to connect the AC adapter or power cable and the battery (for Dell laptops). If the computer can turn on but cannot boot into Windows, identify the symptoms and follow the relevant troubleshooting guide.

