Facing the “Could Not Create the Java Virtual Machine Error” can be frustrating, but fear not, as I have discovered a fix for this issue.
Ensuring Proper Java Installation and Setup

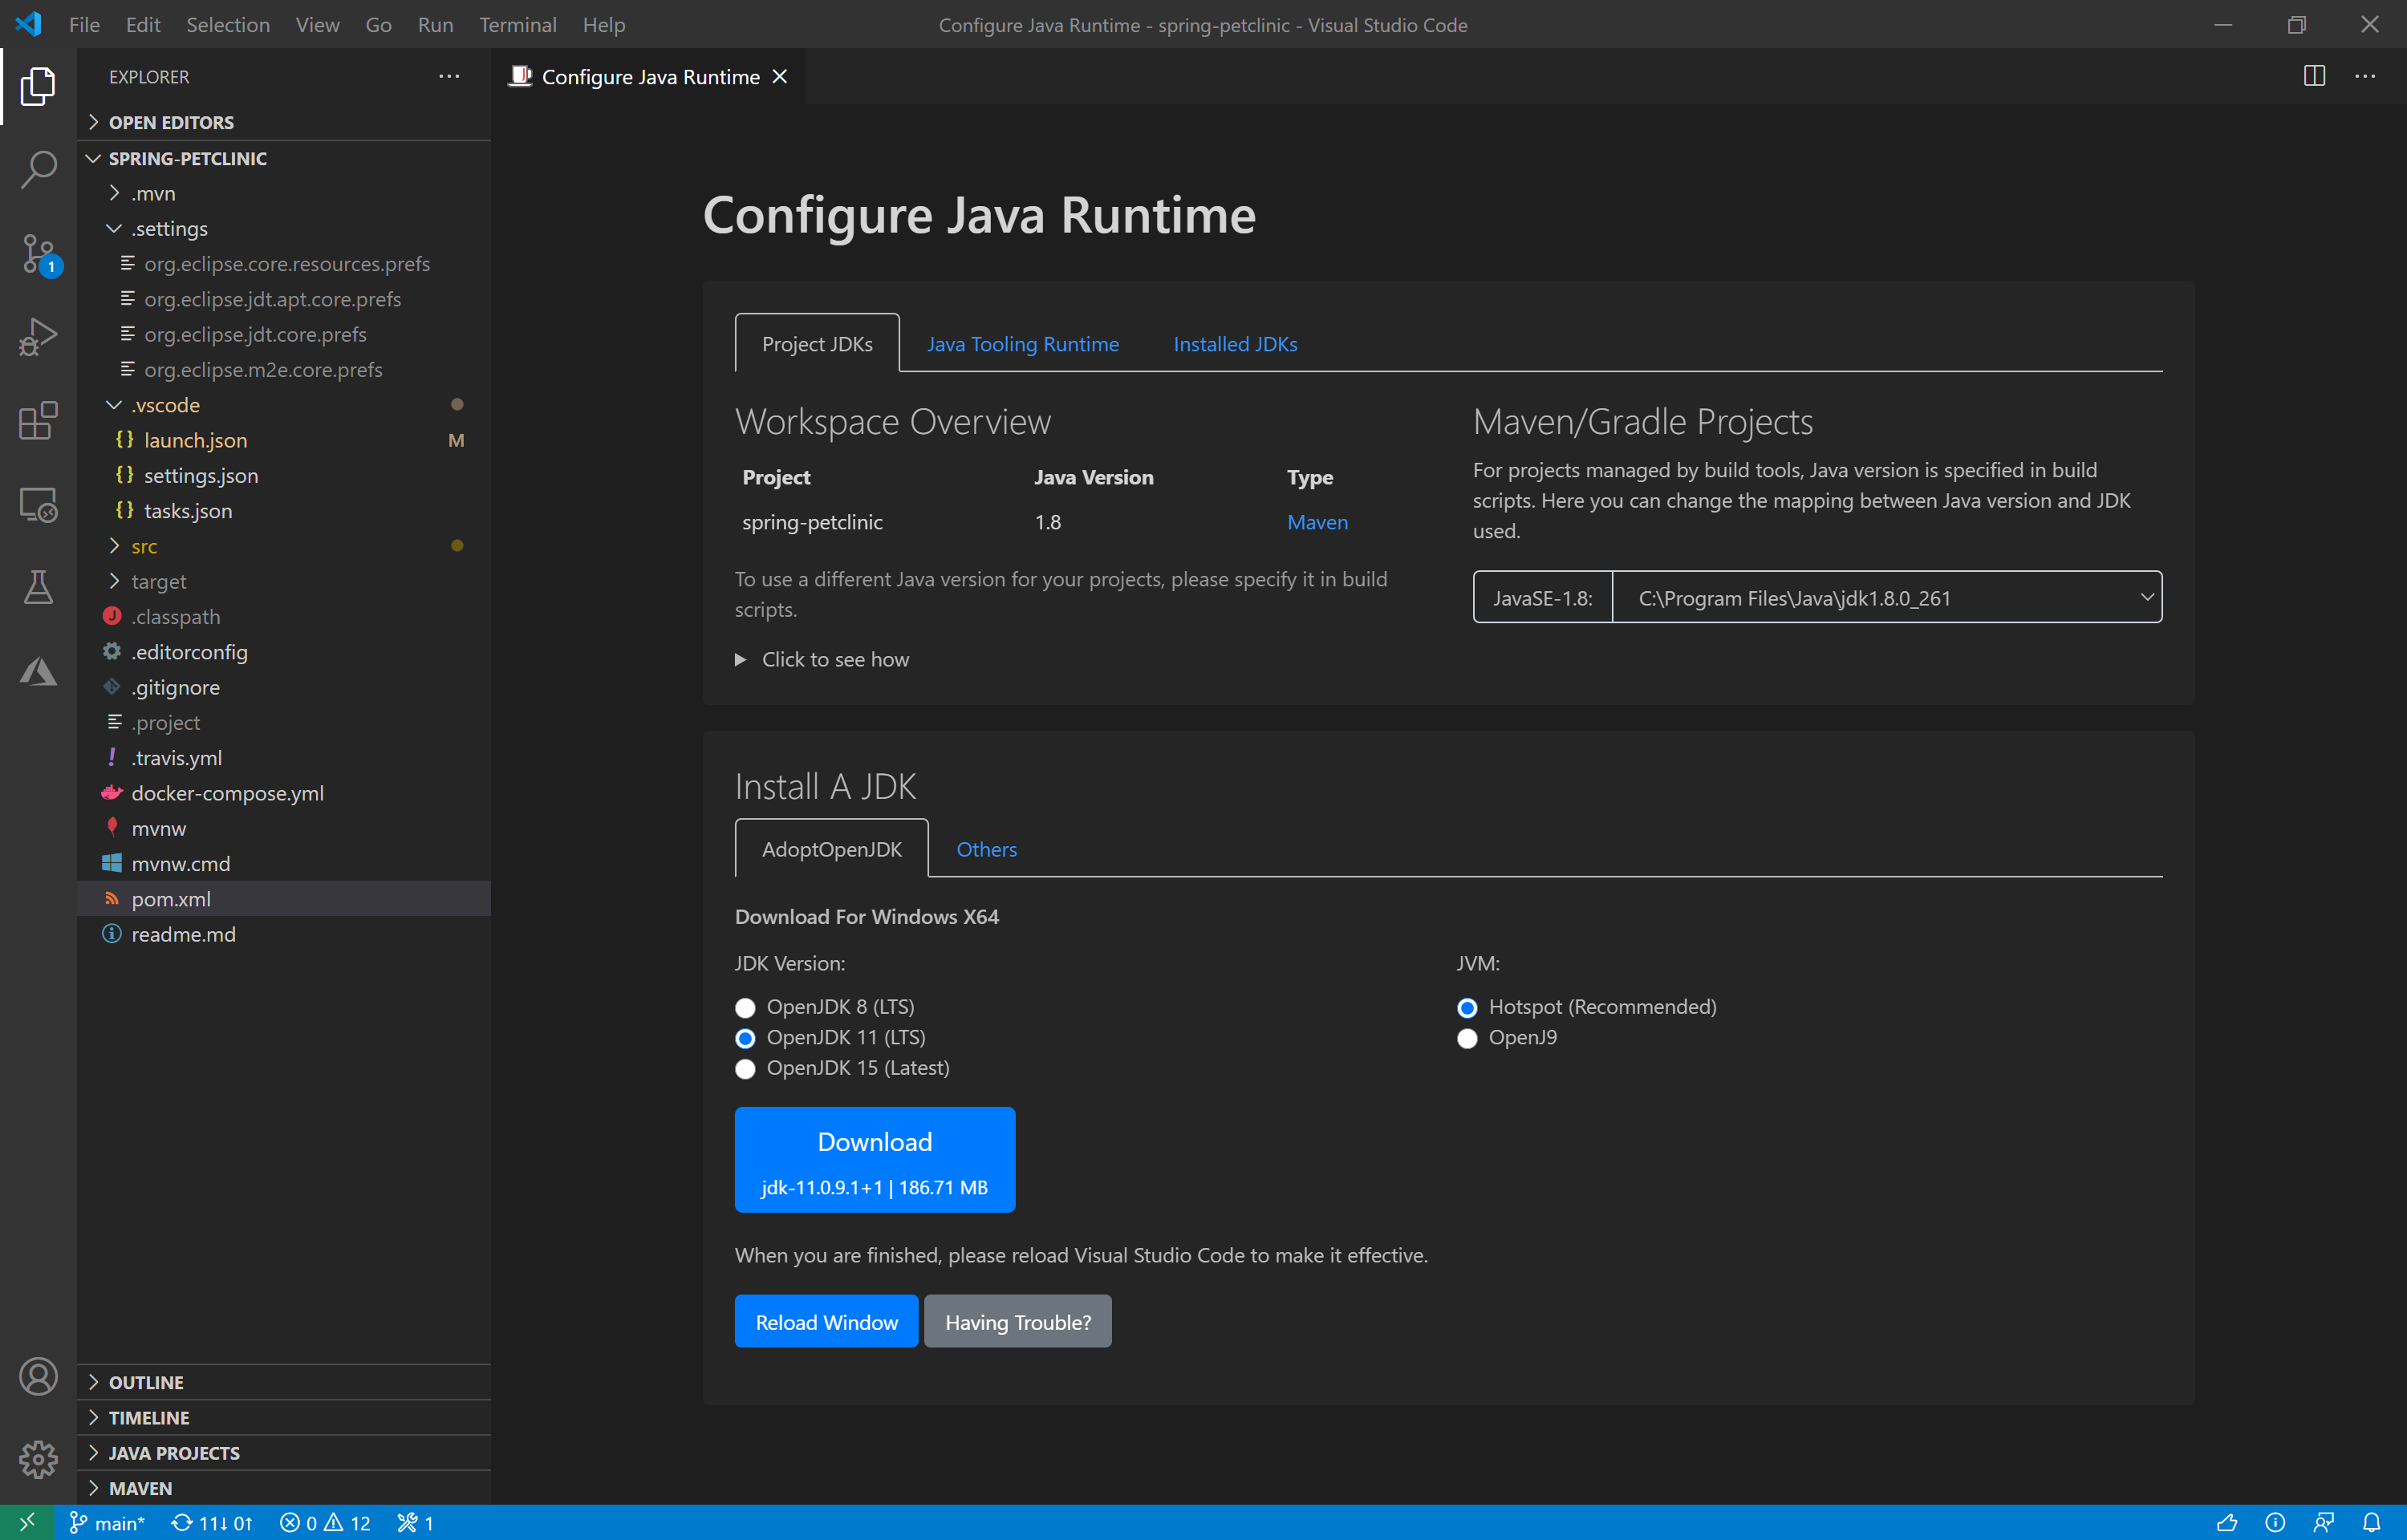
To ensure proper Java installation and setup, follow these steps:
1. Check if Java is already installed on your computer. Open the Command Prompt or Terminal and type “java -version“. If you see the Java version displayed, it means Java is already installed.
2. If Java is not installed, download the latest version of Java from the official website. Make sure to choose the appropriate version for your operating system (e.g., Windows, Mac, Linux) and whether it is 32-bit or 64-bit.
3. Once the download is complete, locate the downloaded file and double-click on it to start the installation process.
4. Follow the on-screen instructions to complete the installation. Make sure to read each step carefully and select the appropriate options. By default, Java will be installed in the Program Files or Program Files (x86) folder on Windows.
5. After the installation is finished, you may need to set up the JAVA_HOME environment variable. This variable tells your computer where Java is installed. To set it up, follow these steps:
– Right-click on the Computer or My Computer icon on your desktop or in the Start menu.
– Select Properties or System in the context menu.
– In the System Properties window, click on the Advanced tab.
– Click on the Environment Variables button.
– In the Environment Variables window, under the System Variables section, click New.
– Enter JAVA_HOME as the variable name and the path to your Java installation folder as the variable value (e.g., C:\Program Files\Java\jdk1.8.0_211).
– Click OK to save the changes.
6. Finally, restart your computer to apply the changes.
Adjusting System Memory and Variables for Java
To adjust system memory and variables for Java and fix the “Could Not Create the Java Virtual Machine” error, follow these steps:
1. Open the Start menu and search for “Environment Variables” to access the system’s environment variables settings.
2. In the Environment Variables window, click on the “New” button under the “System variables” section.
3. Enter “JAVA_OPTS” as the Variable name and add the desired memory allocation options as the Variable value. For example, to allocate 1GB of memory, use “-Xmx1024m”.
4. Click “OK” to save the changes and close the Environment Variables window.
5. If you are using a 64-bit operating system, make sure you have the 64-bit version of Java installed. You can check this by opening the Control Panel, selecting “Programs,” and then “Programs and Features.” Look for “Java” in the list and check if it says “64-bit” next to it.
6. If you have both 32-bit and 64-bit Java versions installed, ensure that the 64-bit version is set as the default. To do this, go to the Control Panel, select “Java,” and go to the “Java” tab. Click on the “View” button and make sure the 64-bit version is selected. If not, select it and click “OK” to save the changes.
7. If you are running a Java application from the command-line interface or with a batch file, you can adjust the memory allocation by adding the following command before the Java command: -Xmx1024m (replace “1024m” with the desired memory size).
8. If you are using Apache Tomcat, you can adjust the memory allocation by modifying the “catalina.bat” file. Open the file with a text editor, search for the line that starts with “set JAVA_OPTS“, and add the desired memory allocation options there.
9. After making any changes to the memory allocation, restart your computer to apply the changes.
10. If the issue persists, try uninstalling and reinstalling Java. Go to the Control Panel, select “Programs,” and then “Programs and Features.” Look for Java in the list, right-click on it, and select “Uninstall.” Then, download the latest version of Java from the official Java website and install it.
Running Java with Administrator Privileges
To fix the “Could Not Create the Java Virtual Machine” error, you may need to run Java with administrator privileges. This can be done by following these steps:
1. Open the Command Prompt: Press the Windows key + R, type “cmd” in the Run dialog, and press Enter.
2. Navigate to the Java installation directory: Type “cd C:\Program Files\Java\jre1.x.x_x\bin” in the Command Prompt and press Enter. Replace “jre1.x.x_x” with the version of Java installed on your system.
3. Run the Java application with administrator privileges: Type “java -jar application.jar” in the Command Prompt and press Enter. Replace “application.jar” with the name of the JAR file you want to run.
4. If you encounter any issues related to memory management, you can allocate more memory to the Java Virtual Machine. To do this, add the “-Xmx512m” flag to the command. This will allocate 512 megabytes of memory. You can adjust the value based on your system’s capabilities.
5. If you’re using a 64-bit version of Windows, make sure you’re running the 64-bit version of Java. To check this, open the Control Panel, go to “Programs” or “Programs and Features,” and look for the Java Development Kit (JDK) or Java Runtime Environment (JRE) entries. They should have a suffix indicating the architecture (e.g., “x64” for 64-bit).
By running Java with administrator privileges, you are granting it the necessary permissions to access system resources and resolve any errors related to the Java Virtual Machine. Remember to close any other Java applications before running the command.
If you continue to experience the error, you may need to troubleshoot further or seek assistance from a system administrator or technical support.
Reinstallation Steps for Java

- Uninstall the current version of Java
- Download the latest version of Java
- Install the downloaded Java version
- Update Java environment variables
- Restart the computer
Uninstall the current version of Java:
- Open the Control Panel
- Click on “Uninstall a program”
- Locate and select the current version of Java
- Click on “Uninstall”
- Follow the on-screen prompts to complete the uninstallation process
Download the latest version of Java:
- Go to the official Java website
- Click on the “Download” button
- Select the appropriate version of Java for your operating system
- Choose the installation package based on your system architecture (32-bit or 64-bit)

- Click on the “Download” button
Install the downloaded Java version:
- Locate the downloaded Java installation file
- Double-click on the file to start the installation process
- Follow the on-screen prompts to complete the installation
- Ensure that the “Install Java” box is checked during the installation
- Wait for the installation to finish
Update Java environment variables:
- Open the Control Panel
- Click on “System and Security”
- Click on “System”
- Click on “Advanced system settings”
- Click on the “Environment Variables” button
- Under the “System variables” section, select the “Path” variable
- Click on “Edit”
- Add the path to the Java installation directory (e.g., “C:\Program Files\Java\jdk1.8.0_281\bin”)
- Click on “OK” to save the changes
Restart the computer:
- Click on the “Start” button
- Click on the power icon
- Select “Restart”
- Wait for the computer to restart
Frequently Asked Questions
How do I fix JVM problems?
To fix JVM problems, you can take the following steps:
– Update your JVM to the latest version.
– Adjust the heap size.
– Increase the maximum virtual memory of your system.
– Identify and resolve memory leaks in your code.
– Increase the stack size.
– Optimize your code for better performance.
Why can’t i create a Java Virtual Machine in Minecraft?
You cannot create a Java Virtual Machine in Minecraft because there are various reasons behind the “Minecraft could not create the Java Virtual Machine” error, including insufficient permissions, corrupt or missing Java components, and incompatibility issues.
Why can’t Java create a virtual machine?
Java cannot create a virtual machine because it may not have enough available memory on the system to launch the VM client. The amount of system memory Java can use can be increased in the System Variables.
How do I fix a failed to create Java Virtual Machine?
To fix a “failed to create Java Virtual Machine” error, you can try the following steps:
– Verify that Java is properly installed on your system.
– End the Java process in the Task Manager and try running it again.
– Run Java as an administrator.
– Increase the system memory allocated for Java.
– If the issue persists, uninstall and reinstall Java.
– Install Java in a Windows clean boot state.

