Change the Storage Controller Type
1. Start by booting your computer from the Windows installation media.
2. When prompted to select the installation language and other preferences, press Shift + F10 to open a Command Prompt window.
3. In the Command Prompt window, type diskpart and press Enter to launch the Disk Partitioning tool.
4. Type list disk and press Enter to view a list of available disks on your computer.
5. Identify the disk you want to install Windows on, and then type select disk [disk number] (replace [disk number] with the actual disk number) and press Enter.
6. Type clean and press Enter to remove all existing partitions on the selected disk. Warning: This will delete all data on the disk, so make sure you have a backup if needed.
7. Once the disk is clean, type convert gpt and press Enter to convert the disk to the GPT (GUID Partition Table) format.
8. Exit the Disk Partitioning tool by typing exit and pressing Enter.
9. Close the Command Prompt window and continue with the Windows installation process. You should now be able to see the drives during installation.
Note: This method works for both SATA and Parallel ATA drives, and can be used on various computer brands including Lenovo ThinkPad T series laptops. Additionally, if you are using virtualization software like VirtualBox or VMware, make sure to configure the virtual machine’s storage controller settings accordingly.
Fix the Error in Virtual Environments
If you’re encountering the error “We Couldn’t Find Any Drives” during the Windows installation on a virtual environment, here’s how you can fix it:
1. Start by ensuring that the virtual machine is properly configured and the necessary virtualization software, such as VirtualBox or VMware, is installed and up to date.
2. Open the virtual machine settings and navigate to the storage section. Check if the virtual hard disk (VHD) file is properly attached to the virtual machine. If not, attach it using the “Add” or “Browse” option.
3. Verify that the virtual machine is set to boot from the correct storage device. In the virtual machine settings, go to the “System” section and ensure that the correct hard disk is selected as the primary boot device.
4. If you’re using a SATA interface for the virtual hard disk, make sure that the virtual machine is configured to use the SATA controller. Similarly, if you’re using a Parallel ATA interface, ensure that the virtual machine is set to use the IDE controller.
5. Check the device drivers within the virtual machine. Open the Device Manager and look for any devices with a yellow exclamation mark. Right-click on them and select “Update driver” to automatically search for and install the necessary drivers.
6. Restart the virtual machine and attempt the Windows installation again. If you’re still encountering the error, try recreating the virtual machine from scratch or using a different virtualization software.
Remember to save any important data before making changes to the virtual machine settings or recreating it.
Hopefully, these steps will help you fix the “We Couldn’t Find Any Drives” error during Windows installation in a virtual environment.
Use a Bootable USB Drive
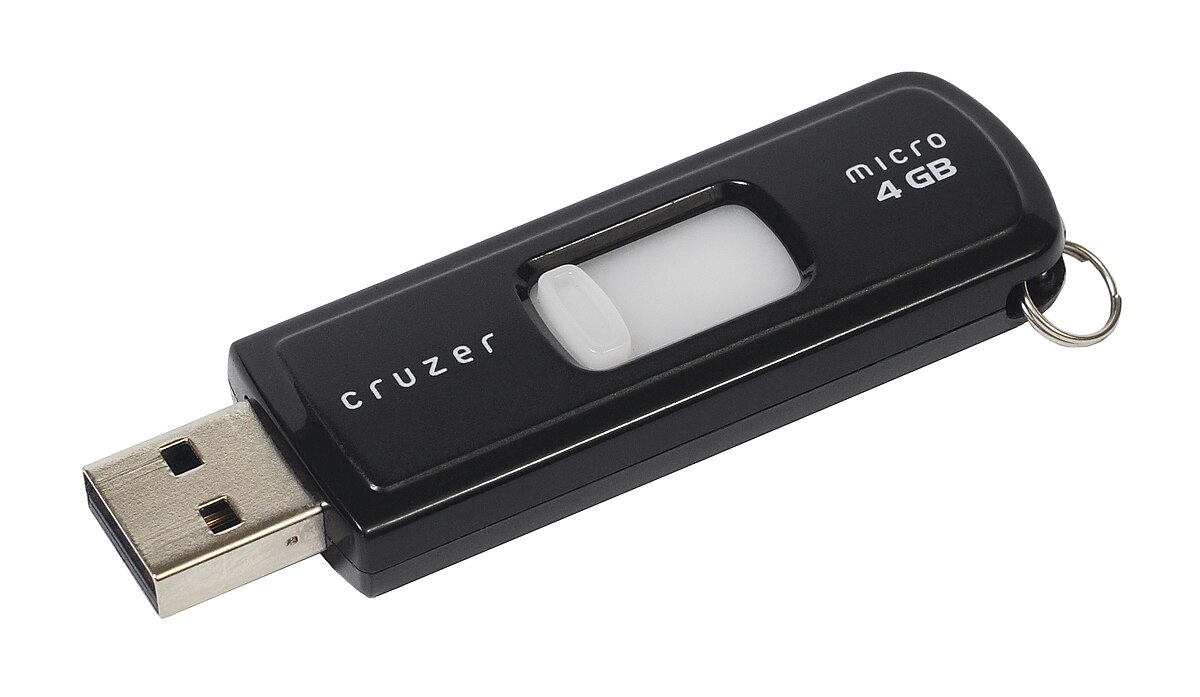
1. Start by creating a bootable USB drive. Insert a blank USB drive into your computer and use a tool like Rufus or Windows USB/DVD Download Tool to create a bootable USB drive from a Windows ISO file.
2. Once the bootable USB drive is ready, restart your computer and enter the boot menu. This is usually done by pressing a specific key (such as Esc, F12, or Del) during the startup process. Refer to your computer’s manual or manufacturer’s website for the specific key.
3. In the boot menu, select the USB drive as the primary boot device and press Enter. This will boot your computer from the USB drive.
4. When the Windows installation screen appears, click “Install Now” and follow the on-screen instructions until you reach the “Where do you want to install Windows?” screen.
5. If you still can’t find any drives, click on “Load Driver” to manually install the necessary device drivers for your storage devices. Insert the driver disk that came with your computer or download the drivers from the manufacturer’s website and browse to the location where the drivers are saved.
6. Once the drivers are installed, you should see your drives listed. Select the drive where you want to install Windows and click “Next” to continue with the installation.
7. Follow the remaining prompts to complete the Windows installation process.
By using a bootable USB drive, you can overcome the issue of not finding any drives during Windows installation. This method allows you to manually install the necessary device drivers for your storage devices, ensuring that you can proceed with the installation without any errors.
Select the Correct ISO File
- Download the correct ISO file for Windows installation from a trusted source.
- Step 1: Open your web browser and go to a reputable website that provides Windows ISO files, such as the official Microsoft website.
- Step 2: Look for the section that allows you to download the ISO file for your specific version of Windows (e.g., Windows 10, Windows 8.1).
- Step 3: Click on the download link for the ISO file and wait for the file to finish downloading.
F.A.Qs
How to fix the problem that cannot find drives when installing Windows 10?
To fix the problem of not finding drives when installing Windows 10, try these steps:
– Check hardware connections.
– Update hard drive drivers.
– Adjust BIOS/UEFI settings.
– Fix disk format or partition issues.
– Check the status of your hard drive.
– Boot from Windows 10 install media.
– Consider replacing a faulty hard drive.
Why we couldn t find any drives?
We couldn’t find any drives because the operating system has not detected any hard drive. To proceed with the installation, a driver needs to be loaded.
How do I fix Windows 10 no drivers found?
To fix Windows 10 no drivers found, you can try the following steps:
– Check and switch the USB ports.
– Test the USB drive on another system.
– Disable CSM and Secure Boot.
– Download and install the missing drivers.
– Consider installing the 32-bit version of Windows 10.
– Recreate the USB installation media.
– Convert the disk to GPT.
How do I fix no drives detected?
To fix no drives detected, try the following steps:
– Test a different USB port on the computer.
– Connect the drive to another computer.
– Replace the cable if it is damaged.
– Attempt a different power outlet for desktop drives.
– Check if the drive’s light is on.
