Is your Windows Start Menu frozen and refusing to close? Discover effective solutions to resolve this frustrating issue.
Check for Windows Updates
![]()
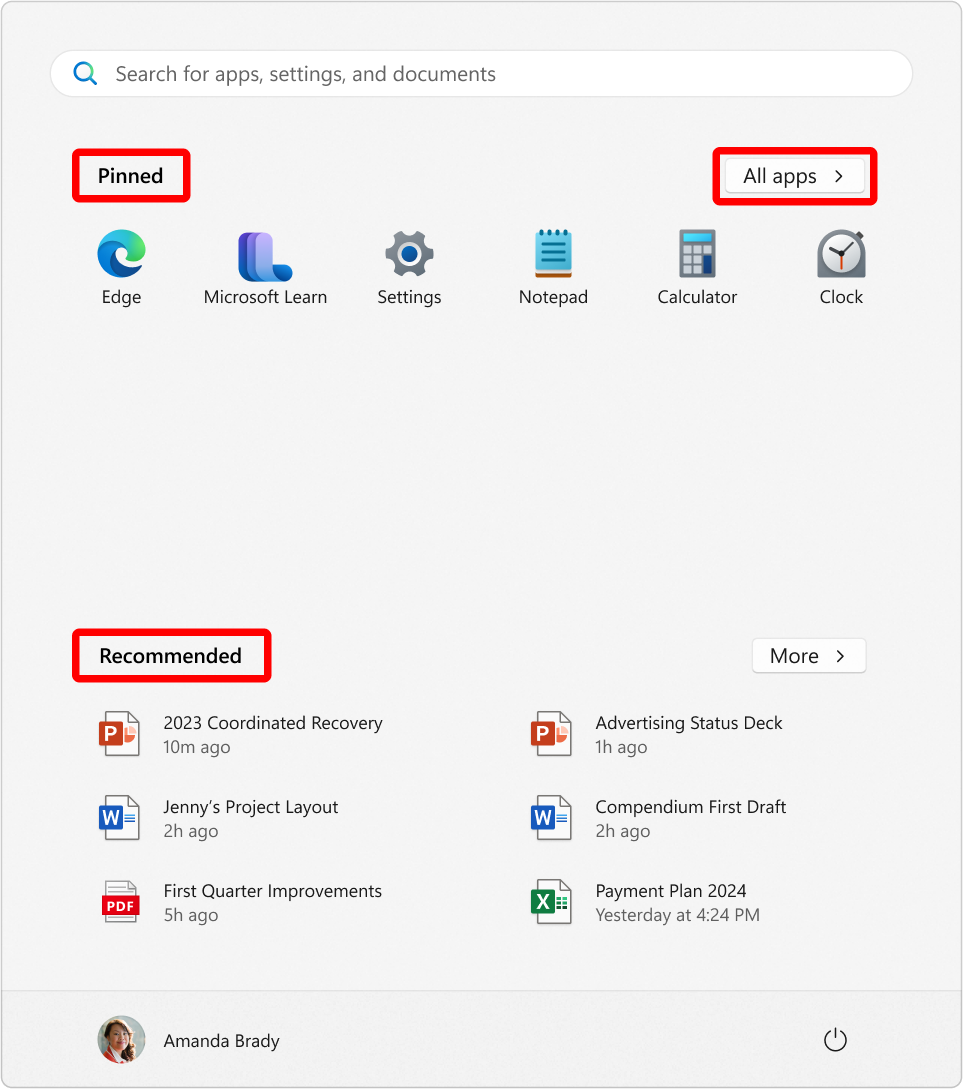
1. Open the Windows Start Menu by clicking on the Windows icon in the bottom left corner of your screen.
2. In the Start Menu, click on the “Settings” icon. It looks like a gear.
3. In the Settings window, click on “Update & Security”.
4. Click on “Windows Update” in the left sidebar.
5. Click on the “Check for updates” button to search for any available updates for your Windows operating system.
6. If updates are found, click on the “Download” button to start downloading and installing them.
7. Once the updates are installed, you may be prompted to restart your computer. If so, save any important work and click on the “Restart” button.
8. After your computer restarts, check if the Windows Start Menu is now closing properly and no longer frozen.
If the issue persists, you can try other troubleshooting steps such as running the System File Checker tool or rebooting your computer.
Restart Windows Explorer Process
If you’re experiencing issues with your Windows Start Menu not closing or being frozen, one potential solution is to restart the Windows Explorer process. Restarting this process can help resolve any glitches or bugs that may be causing the problem.
To restart the Windows Explorer process, follow these steps:
1. Press the Ctrl, Shift, and Esc keys simultaneously on your computer keyboard to open the Task Manager.
2. In the Task Manager, navigate to the “Processes” tab.
3. Look for the “Windows Explorer” process in the list of processes. Right-click on it and select “Restart” from the context menu.
4. This will restart the Windows Explorer process, which should resolve any issues with your Start Menu not closing or being frozen.
If restarting the Windows Explorer process doesn’t resolve the issue, you can also try other troubleshooting steps such as running the System File Checker tool, rebooting your computer, or checking for any Windows updates that may be available.
Remember to save any unsaved work before restarting the Windows Explorer process, as it may close any open File Explorer windows or other applications associated with it.
Run System File Checker Scan

To run a System File Checker scan on Windows when your Start Menu is not closing and frozen, follow these steps:
1. Press the Windows key on your keyboard to open the Start Menu. If it’s frozen, use the Ctrl + Shift + Esc key combination to open the Task Manager.
2. In the Task Manager, click on the File menu and select Run new task.
3. Type “cmd” in the Create new task window and check the box that says “Create this task with administrative privileges“. Then, click OK.
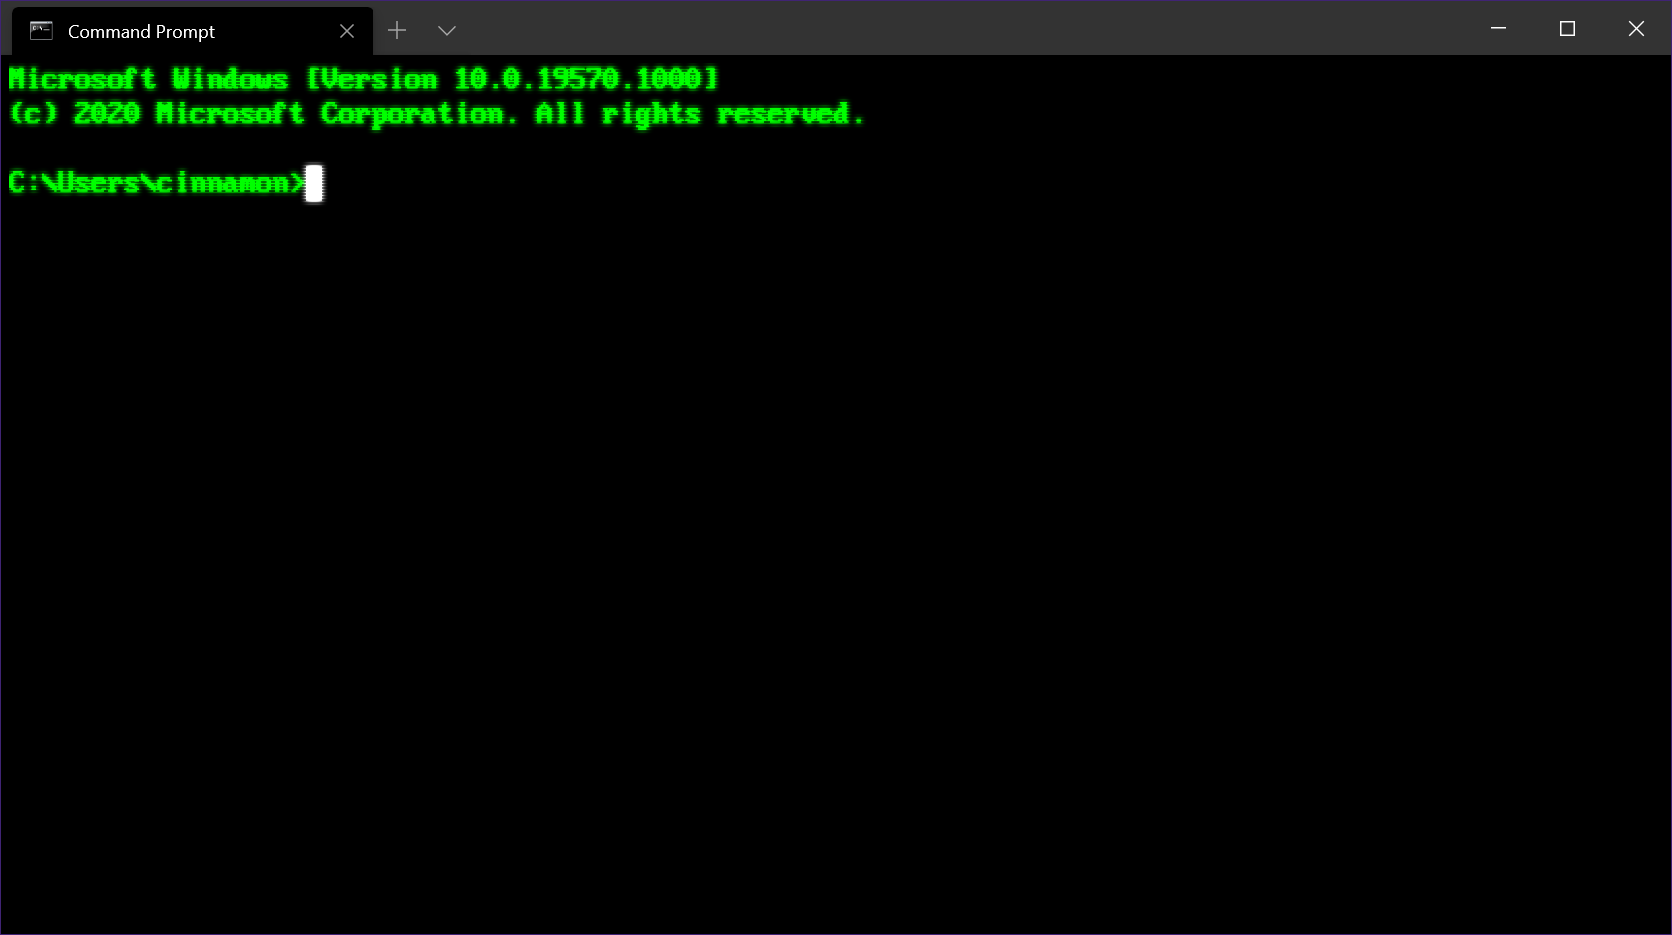
4. This will open the Command Prompt with administrative privileges. In the Command Prompt window, type “sfc /scannow” and press Enter. The System File Checker scan will begin.
5. The scan may take some time to complete. It will check for any corrupted system files and attempt to repair them automatically. You may see a progress bar indicating the scan’s progress.
6. Once the scan is complete, you will see a message indicating whether any corrupted files were found and repaired. If no issues were found, you can close the Command Prompt window.
7. If the scan found and repaired any corrupted files, you may be prompted to restart your computer to apply the changes. Press the Windows key and select Power, then choose Restart to reboot your computer.
By running a System File Checker scan, you can fix any corrupted system files that may be causing issues with your Start Menu not closing and being frozen. This can help restore normal functionality to your Windows operating system.
Note: If you’re using Windows 11, the steps to open the Command Prompt may be slightly different. You can search for “Command Prompt” in the Start Menu or use the Windows key + X shortcut to open the Power User Menu, then select Command Prompt (Admin).
Remember to always keep your Windows operating system up-to-date by regularly installing Windows Updates. These updates often include bug fixes and improvements that can help resolve various issues with your computer’s software and performance.
If you continue to experience issues with your Start Menu not closing and being frozen after running the System File Checker scan, you may need to consider other troubleshooting steps or seek further assistance from Microsoft or a professional technician.
Disable Tablet Mode and Full-Screen Start

1. Press the Windows key + I on your computer keyboard to open the Settings app.
2. In the Settings app, click on “System” to access system-related options.
3. In the left sidebar, click on “Tablet” to view tablet-specific settings.
4. Under the “When I sign in” section, toggle off the “Make Windows more touch-friendly” option. This will disable Tablet Mode.
5. Scroll down to the “Tablet mode” section and toggle off the “Make everything on your screen bigger” option. This will prevent Full-Screen Start from activating.
6. Close the Settings app.
By following these steps, you have successfully disabled Tablet Mode and Full-Screen Start on your Windows Start Menu. This should help resolve any issues you were experiencing with the menu not closing or freezing.
If you’re still encountering issues, try rebooting your computer. Sometimes a simple restart can fix software-related problems.
It’s worth noting that these steps are applicable for Windows 10 and may vary slightly for Windows 11. If you’re using a different version of Windows, consult the appropriate documentation for specific instructions.
If you need further assistance or would like to provide feedback, Microsoft offers various support channels, including their official website and community forums. Additionally, you can take a screenshot of the issue you’re facing and provide it as reference when seeking help.
Remember to always keep your Windows operating system up to date by regularly checking for Windows Updates. These updates often include bug fixes and improvements that can help resolve software-related issues.
If you’re comfortable using the command-line interface, you can also use PowerShell to disable Tablet Mode and Full-Screen Start. However, this method is more advanced and requires familiarity with PowerShell commands. Consult Microsoft’s official documentation or seek assistance from experienced users or professionals if you choose to go this route.
Frequently Asked Questions
How do I fix a frozen Start menu in Windows 10?
To fix a frozen Start menu in Windows 10, you can try running a system file check. Open PowerShell as an administrator by searching for it in the Cortana/Search bar, right-clicking on it, and selecting “Run as Administrator.” Then, type “sfc /scannow” (without quotes) and press Enter.
How do I fix unresponsive Start menu?
To fix an unresponsive Start menu, you can try the following steps:
1. Restart your computer.
2. Update Windows to ensure you have the latest software patches.
3. Sign out of your user account and sign back in.
4. Restart Windows Explorer using the Task Manager.
5. Run a System File Checker scan to check for and repair any corrupted system files.
6. Re-register the built-in Windows apps using PowerShell.
7. Disable temporary Cortana files using the Command Prompt.
8. If the issue persists, try booting into Safe Mode to troubleshoot further.
Why is Start menu always open Windows 10?
The Start menu is always open in Windows 10 because if the computer was put to sleep or restarted using the Power Options in the Start Menu, the Start Menu remains open when the computer is resumed or restarted. Additionally, any open applications, such as Notepad, will also remain open upon resuming.
Why is my computer not fully shutting down?
Your computer may not be fully shutting down due to the Hybrid Shutdown feature (Fast Startup) in Windows 8 and later, which is enabled by default on most laptops and some desktops. Additionally, faulty CMOS and BIOS settings can also cause startup and shutdown issues.

