Having a WiFi connection but no internet access can be frustrating. In this article, I will guide you through troubleshooting steps to resolve this issue.
Understanding the “Connected but No Internet” Message

The “Connected but No Internet” message can be frustrating, but there are a few things you can try to troubleshoot the issue. First, make sure your device is connected to the correct wireless network. If it is, try restarting your router and modem by unplugging them, waiting for a few seconds, and then plugging them back in.
If that doesn’t work, check if other devices on the same network are experiencing the same issue. If they are, there may be a problem with your internet service provider. Contact them for assistance.
If only your device is affected, try forgetting the network on your device and reconnecting to it. This can help refresh the connection.
You can also try clearing the cache and cookies on your web browser, as these can sometimes cause connectivity issues.
If none of these solutions work, consider checking for any updates for your device’s software or drivers.
Common Causes of Internet Connectivity Issues

- Power off the router and modem by unplugging them from the power source.
- Wait for about 30 seconds.
- Plug in the modem first and wait for all the lights to stabilize.
- Then, plug in the router and wait for it to fully power on.

Check the Physical Connections
- Ensure that all cables connecting the router and modem are securely plugged in.
- If using a wired connection, check that the Ethernet cable is properly connected to both the router and the device.
- If using a wireless connection, verify that the Wi-Fi antennas on the router are properly positioned.
Reset Network Settings
- Open the Start menu and navigate to Settings.
- Select Network & Internet and then Network reset.
- Click on Reset now and confirm the action if prompted.
- Restart your device once the network reset is complete.
Disable/Enable Network Adapter
- Press Win+X to open the Power User menu and select Device Manager.
- Expand the category for Network adapters.
- Right-click on your network adapter and choose Disable device.
- Wait for a few seconds and right-click on the adapter again, then select Enable device.

Flush DNS and Renew IP Address
- Open the Command Prompt by pressing Win+R and typing cmd.
- In the Command Prompt, type ipconfig /flushdns and press Enter.
- Next, type ipconfig /release and press Enter.
- Finally, type ipconfig /renew and press Enter.
Temporarily Disable Firewall and Antivirus
- Open the security software on your computer.
- Locate the options to disable the firewall and antivirus temporarily.
- Disable both the firewall and antivirus and save the changes.
- Attempt to connect to the internet again and check if the issue is resolved.
- Remember to re-enable the firewall and antivirus after troubleshooting.
Update Router Firmware
- Access the router’s admin panel by typing its IP address into a web browser.
- Log in with the required credentials (usually found on the router).
- Look for a section related to firmware or software updates.
- Follow the instructions provided to download and install the latest firmware.
- Allow the router to restart and establish a connection again.
Quick Fixes for Internet Access Problems

If you are experiencing internet connectivity issues despite being connected to WiFi, there are a few quick fixes you can try:
1. Restart your router and modem: Unplug the power cables from both devices, wait for 30 seconds, and then plug them back in. This can help resolve any temporary issues with your network equipment.
2. Check your device’s connectivity: Ensure that your device is connected to the correct WiFi network and that the signal strength is strong. You can also try connecting to a different network to see if the issue persists.
3. Reset network settings: On your device, navigate to the network settings and select the option to reset network settings. This will clear any saved WiFi networks and reconnect to them as if it were the first time.
4. Disable and re-enable WiFi: Turn off the WiFi on your device, wait a few seconds, and then turn it back on. This can help refresh the connection and establish a new connection to the network.
5. Forget and reconnect to the WiFi network: In your device’s WiFi settings, select the network you are having trouble with and choose the option to forget the network. Then, reconnect to the network by entering the password again.
6. Check for firmware updates: Access your router’s settings page through a web browser and check for any available firmware updates. Updating the firmware can often fix bugs and improve performance.
7. Disable firewall or antivirus software: Temporarily disable any firewall or antivirus software on your device and check if the internet connection is restored. If it is, adjust the settings of the software to allow internet access.
Restart Your PC and Router
Restarting your PC and router can often resolve WiFi connectivity issues when your device is connected to the network but has no internet access.
To restart your PC, simply click on the “Start” button, select “Restart” from the options, and wait for your computer to reboot. This can help refresh the network settings and clear any temporary glitches that may be causing the problem.
To restart your router, follow these steps:
1. Locate the power cable connected to your router. It is usually a thick cable plugged into an electrical outlet.
2. Unplug the power cable from the router and wait for about 10-20 seconds.
3. While the router is unplugged, you can also unplug any other cables connected to it, such as the Ethernet cable or DSL cable.
4. After the waiting period, plug the power cable back into the router, making sure it is securely connected.
5. Wait for the router to fully boot up and establish a connection with your internet service provider. This can take a few minutes.
6. Once the router is up and running, reconnect any other cables that you had unplugged earlier.
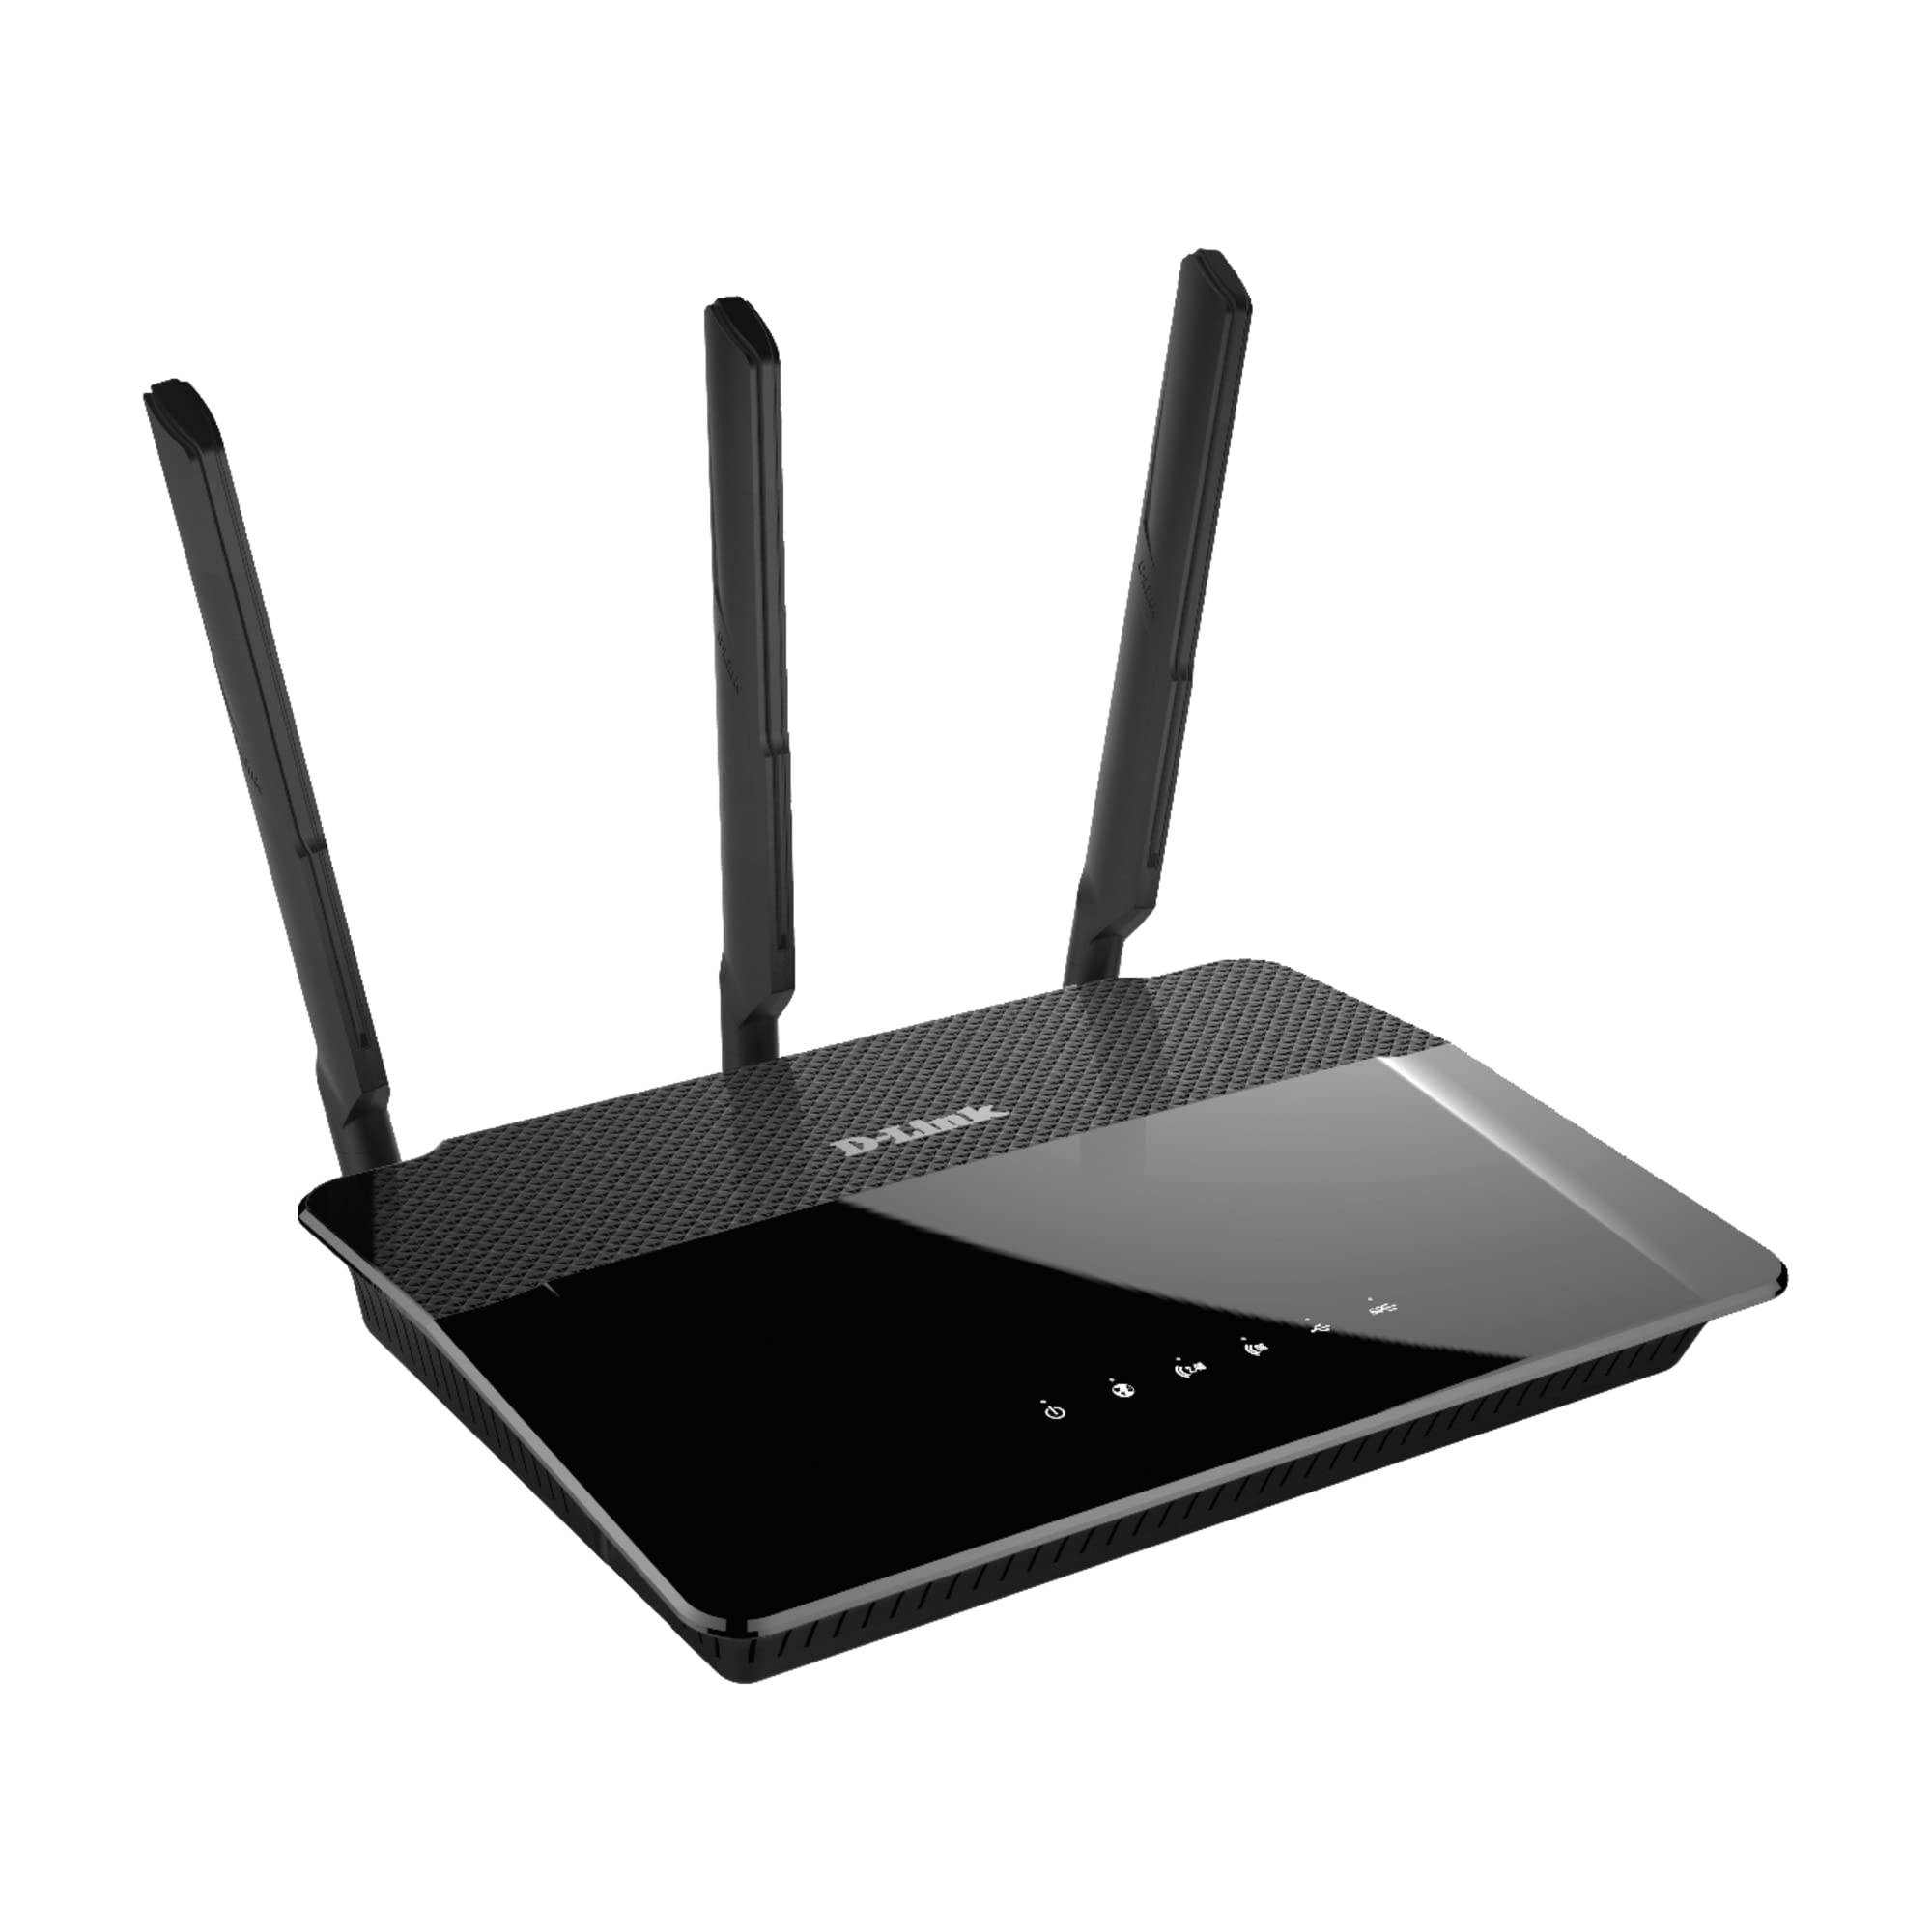
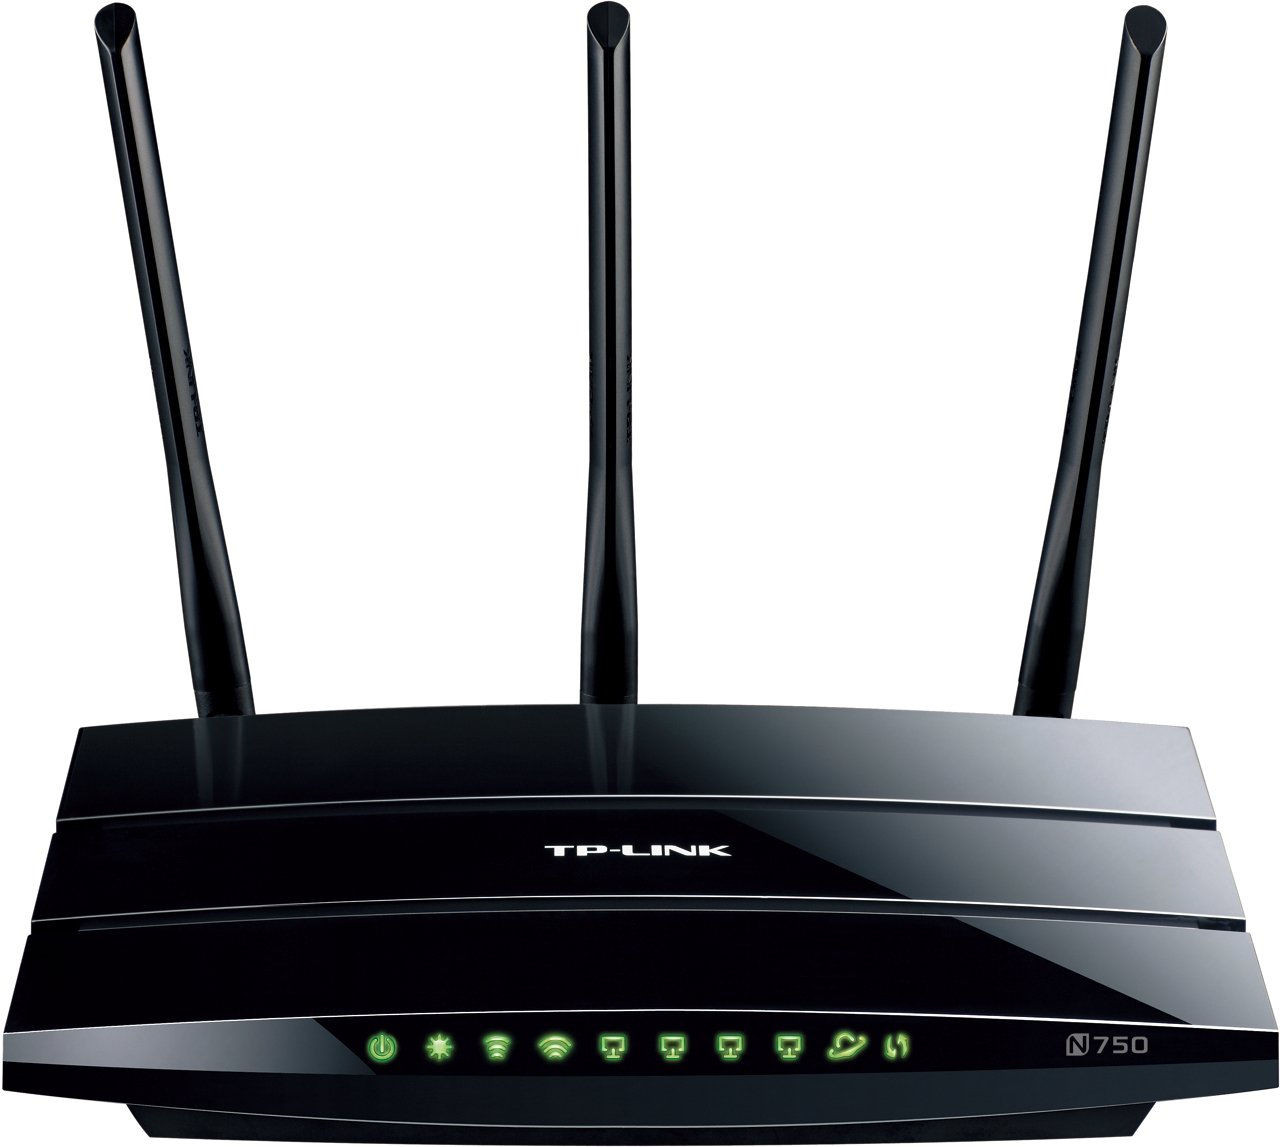
Check Your Modem and Router Lights
1. Start by checking the lights on your modem and router. These lights indicate the status of your internet connection and can help identify any issues.
2. Look for specific lights on your modem and router that indicate a successful connection. These may include power, internet, and Wi-Fi lights.
3. If any of these lights are off or blinking, it could indicate a problem with your modem or router.
4. To troubleshoot, first try resetting your modem and router. Unplug them from the power source, wait for 30 seconds, and then plug them back in.
5. After resetting, wait for the lights to stabilize. This may take a few minutes.
6. If the lights still do not indicate a successful connection, try power cycling your modem and router. This involves turning them off, unplugging them, waiting for a minute, and then plugging them back in and turning them back on.
7. If the lights are still not functioning properly, consult your modem and router’s user manual or contact your internet service provider for further assistance.
By checking your modem and router lights, you can quickly identify any issues and take the necessary steps to restore your internet connection.
Resolving IP Address Conflicts
To resolve IP address conflicts when troubleshooting a WiFi connection with no internet access, follow these steps:
1. Open the Command Prompt on your computer by pressing the Windows key + R, typing “cmd,” and pressing Enter.
2. In the Command Prompt, type “ipconfig” and press Enter to view your current IP address.
3. Look for the “IPv4 Address” line and note the IP address listed.
4. Next, type “ipconfig /release” and press Enter to release your current IP address.
5. After releasing the IP address, type “ipconfig /renew” and press Enter to obtain a new IP address.
6. If the issue persists, try resetting your router. Locate the reset button on the back of your router and press and hold it for about 10 seconds until the lights on the router blink.
7. Wait for your router to restart and then reconnect to the WiFi network.
8. If you still cannot access the internet, try resetting your network settings. Go to the Control Panel, select “Network and Internet,” and then click on “Network and Sharing Center.”
9. From the left-hand menu, click on “Change adapter settings.”
10. Right-click on your WiFi adapter and select “Disable.” Wait a few seconds, then right-click again and select “Enable.”
11. Test your internet connection to see if the issue is resolved.
Updating Network Adapter Drivers
To update your network adapter drivers, follow these steps:
1. Open the Device Manager on your computer. You can do this by pressing the Windows key + X and selecting “Device Manager” from the menu.
2. In the Device Manager window, expand the “Network adapters” category. This will show you a list of all the network adapters installed on your computer.
3. Right-click on the network adapter that you want to update and select “Update driver” from the context menu.
4. In the update driver window, select “Search automatically for updated driver software.” This will allow Windows to search for the latest driver for your network adapter online and install it.
5. If Windows is unable to find the updated driver automatically, you can also visit the manufacturer’s website and download the latest driver manually. Make sure to download the driver that is compatible with your operating system.
6. Once you have downloaded the driver, double-click on the downloaded file and follow the on-screen instructions to install it.
7. After the installation is complete, restart your computer to apply the changes.
Updating your network adapter drivers can help resolve issues with WiFi connectivity and ensure that you have the latest features and improvements.
Running Built-in Network Troubleshooters
To run the troubleshooters, follow these steps:
1. Open the network settings on your device. This can usually be done by clicking on the network icon in the taskbar or by going to the settings menu.
2. Look for an option that says “Troubleshoot” or “Network Troubleshooter.” Click on it to start the troubleshooter.
3. The troubleshooter will begin scanning your network and identifying any issues. It may take a few moments to complete.
4. Once the scan is finished, the troubleshooter will display any problems it found and provide suggestions for fixing them. Follow the on-screen instructions to resolve the issues.
5. After completing the suggested fixes, check if you now have internet access.
If the troubleshooters were not able to resolve the issue, you may need to try other troubleshooting steps or seek further assistance.
Switching Wi-Fi Bands (2.4 GHz & 5 GHz)

If you are experiencing Wi-Fi connectivity but no internet access, you may need to switch between the 2.4 GHz and 5 GHz Wi-Fi bands on your router. Switching between these bands can help resolve issues related to network congestion or signal interference. To do this:
1. Access your router’s settings by typing its IP address into your web browser.
2. Look for the wireless settings section or a similar option in the router’s interface.
3. Locate the option to switch between the 2.4 GHz and 5 GHz bands. It may be labeled as “Wireless Mode” or “Frequency Band.”
4. Select the desired band for your network, either 2.4 GHz or 5 GHz.
5. Save the changes and wait for the router to apply the new settings.
6. Reconnect your device to the Wi-Fi network using the new band.
Remember that the 2.4 GHz band offers better range but slower speeds, while the 5 GHz band provides faster speeds but shorter range. Experiment with both bands to find the best balance for your needs.
Please note that the steps may vary depending on your router model. Consult your router’s manual or manufacturer’s website for specific instructions.
Switching Wi-Fi bands can help resolve connectivity issues by avoiding network congestion or interference.
Changing Your DNS Server Address
To troubleshoot WiFi connected but no internet access, one possible solution is to change your DNS server address. This can help resolve issues with accessing websites or online services. Here’s how to do it:
1. Open your network settings on your device.
2. Locate the DNS settings.
3. Change the DNS server address to a different one. You can use public DNS servers like Google DNS (8.8.8.8 and 8.8.4.4) or Cloudflare DNS (1.1.1.1 and 1.0.0.1).
4. Save the changes and restart your device.
Changing the DNS server address can help bypass any potential issues with your ISP’s DNS servers. It can also improve your internet speed and security. If you’re still experiencing internet connectivity issues, you may need to troubleshoot other aspects of your network or contact your ISP for further assistance.
Disabling Proxy and Fast Startup Features
If you are experiencing WiFi connectivity but no internet access, there are a few troubleshooting steps you can take to address the issue. Two potential causes of this problem can be the proxy settings and fast startup feature on your device.
To disable the proxy settings, follow these steps:
1. Open the Control Panel on your device.
2. Go to the “Internet Options” or “Network and Internet” section.
3. Click on the “Connections” tab.
4. Select “LAN settings.”
5. Uncheck the box that says “Use a proxy server for your LAN.”
6. Click “OK” to save the changes.
Disabling the fast startup feature can also help resolve the issue. Here’s how:
1. Press the Windows key + X on your keyboard and select “Power Options.”
2. Click on “Choose what the power buttons do” on the left side of the window.
3. Click on “Change settings that are currently unavailable.”
4. Scroll down and uncheck the box next to “Turn on fast startup.”
5. Click “Save changes” to apply the settings.
Resetting Network to Factory Settings
If you are experiencing issues with your WiFi connection where it shows as connected but there is no internet access, resetting your network to factory settings can often resolve the problem. This can be done by following these steps:
1. Locate the reset button on your wireless router. It is usually a small, recessed button that may require a pin or paperclip to press.
2. Press and hold the reset button for about 10 seconds, or until the lights on the router start flashing.
3. Once the router has been reset, you will need to reconnect your devices to the network. This can be done by selecting the network name (SSID) from the available networks list on your device, and entering the network password if prompted.
4. After reconnecting, check if you now have internet access. If not, you may need to contact your internet service provider for further assistance.
By resetting your network to factory settings, you are essentially clearing any previous configurations and starting fresh. This can often resolve connectivity issues and restore your internet access.
Turning Off Antivirus Software Temporarily
If you’re experiencing WiFi connectivity but no internet access, one potential solution is temporarily turning off your antivirus software. This can sometimes interfere with your network connection and prevent you from accessing the internet. To do this, follow these steps:
1. Locate your antivirus software icon in the system tray or taskbar.
2. Right-click on the icon to open the antivirus software’s menu.
3. Look for an option like “Disable,” “Turn off,” or “Pause protection.”
4. Click on the option and follow any prompts or confirmation messages that appear.
5. Once the antivirus software is disabled, check if you now have internet access.
6. If you do, the issue was likely caused by the antivirus software.
7. Remember to re-enable your antivirus software after troubleshooting your internet connection.
Please note that turning off your antivirus software temporarily leaves your computer more vulnerable to malware and viruses. Make sure to only disable it for troubleshooting purposes and re-enable it as soon as you’re done.
If turning off the antivirus software doesn’t resolve the issue, there may be other factors causing the problem. Consider checking other troubleshooting steps or seeking further assistance.
Checking Time Synchronization and Signal Levels

To troubleshoot WiFi connectivity issues when connected but without internet access, it is important to check the time synchronization and signal levels.
Checking Time Synchronization: Ensure that the time on your device is synchronized correctly. Incorrect time settings may cause authentication issues, leading to no internet access.
Checking Signal Levels: Check the signal strength of your WiFi connection. Weak signal levels can result in poor internet connectivity. Move closer to the router or consider using a WiFi extender to improve signal strength.
If these steps do not resolve the issue, further troubleshooting may be required.
Testing Internet on Multiple Devices
| Device | Connection Status | Internet Access |
|---|---|---|
| Desktop Computer | Connected | No |
| Laptop | Connected | No |
| Smartphone | Connected | No |
| Tablet | Connected | No |
F.A.Q.
How do I fix no internet connection?
To fix no internet connection, first open the Settings app on your device. Then, navigate to Network & internet or Connections. Next, try turning off Wi-Fi and turning on mobile data to see if that resolves the issue. If not, try turning off mobile data and turning on Wi-Fi instead.
Why won’t my computer connect to the internet?
My computer may not connect to the internet due to physical connectivity issues, such as a loose or unplugged network cable, modem, or router. Additionally, if I am on a wireless network, my computer’s wireless network interface card might be turned off.
Why is my computer connecting to Wi-Fi but saying no internet?
Your computer may be connecting to Wi-Fi but saying no internet due to various reasons. The most common cause is a problem with your router or modem, such as a loose cable or technical issues.

