In this article, I will discuss the issue of the missing change password option in Windows 10/11.
Adding or Removing the Option via CTRL+ALT+DEL

If you are experiencing the issue of the “Change Password” option missing in Windows 10/11, you may be able to resolve it by adding or removing the option via the CTRL+ALT+DEL screen. Here’s how you can do it:
1. Press the CTRL+ALT+DEL keys on your keyboard simultaneously. This will bring up the security options screen.
2. On the security options screen, click on the “Task Manager” option. This will open the Task Manager window.
3. In the Task Manager window, click on the “File” menu at the top left corner, and then select “Run new task” from the drop-down menu.
4. In the “Create new task” window, type regedit and click on the “OK” button. This will open the Registry Editor.
5. In the Registry Editor, navigate to the following path: HKEY_LOCAL_MACHINE\SOFTWARE\Microsoft\Windows NT\CurrentVersion\Image File Execution Options
6. Right-click on the “Image File Execution Options” folder, and then select “New” and “Key” from the context menu. Name the new key as utilman.exe.
7. Click on the newly created “utilman.exe” key, and then right-click on the right side of the window. Select “New” and “String Value” from the context menu. Name the new string value as Debugger.
8. Double-click on the “Debugger” string value and set its value data as cmd.exe.
9. Close the Registry Editor and restart your computer.
10. After the restart, press the CTRL+ALT+DEL keys again to bring up the security options screen. This time, click on the “Ease of Access” button at the bottom right corner.
11. The Command Prompt window will open. Type net user YOUR_USERNAME NEW_PASSWORD and press Enter. Replace “YOUR_USERNAME” with your actual username and “NEW_PASSWORD” with the password you want to set.
12. Close the Command Prompt window and log in to your Windows account using the new password.
Modifying Settings Through Registry or Group Policy
If you are experiencing the issue of the “Change Password” option missing in Windows 10/11, you can modify the settings through the Registry or Group Policy. Here’s how to do it:
1. Modifying Settings Through Registry:
a. Press the Windows key + R to open the Run dialog box.
b. Type “regedit” and press Enter to open the Registry Editor.
c. Navigate to the following path: HKEY_LOCAL_MACHINE\SOFTWARE\Microsoft\Windows\CurrentVersion\Policies\System
d. Look for a DWORD value named “DisableChangePassword” in the right pane.
e. If the value doesn’t exist, right-click on an empty space in the right pane, select New, and choose DWORD (32-bit) Value. Name it “DisableChangePassword”.
f. Double-click on the “DisableChangePassword” value and change its value data to 0 to enable the “Change Password” option.
g. Click OK and close the Registry Editor.
h. Restart your computer for the changes to take effect.
2. Modifying Settings Through Group Policy:
a. Press the Windows key + R to open the Run dialog box.
b. Type “gpedit.msc” and press Enter to open the Group Policy Editor.
c. Navigate to the following path: Computer Configuration\Windows Settings\Security Settings\Local Policies\Security Options
d. In the right pane, locate the policy named “Interactive logon: Change password policy”.
e. Double-click on the policy and select the desired password change options.
f. Click OK to save the changes.
g. Close the Group Policy Editor.
By modifying the settings through the Registry or Group Policy, you should be able to restore the “Change Password” option in Windows 10/11. Remember to follow the instructions carefully and make sure to back up your Registry before making any changes.
If you are still unable to see the “Change Password” option after following these steps, it is recommended to reach out to Microsoft support for further assistance.
Resetting Local or Microsoft Account Passwords

- Restart your computer.
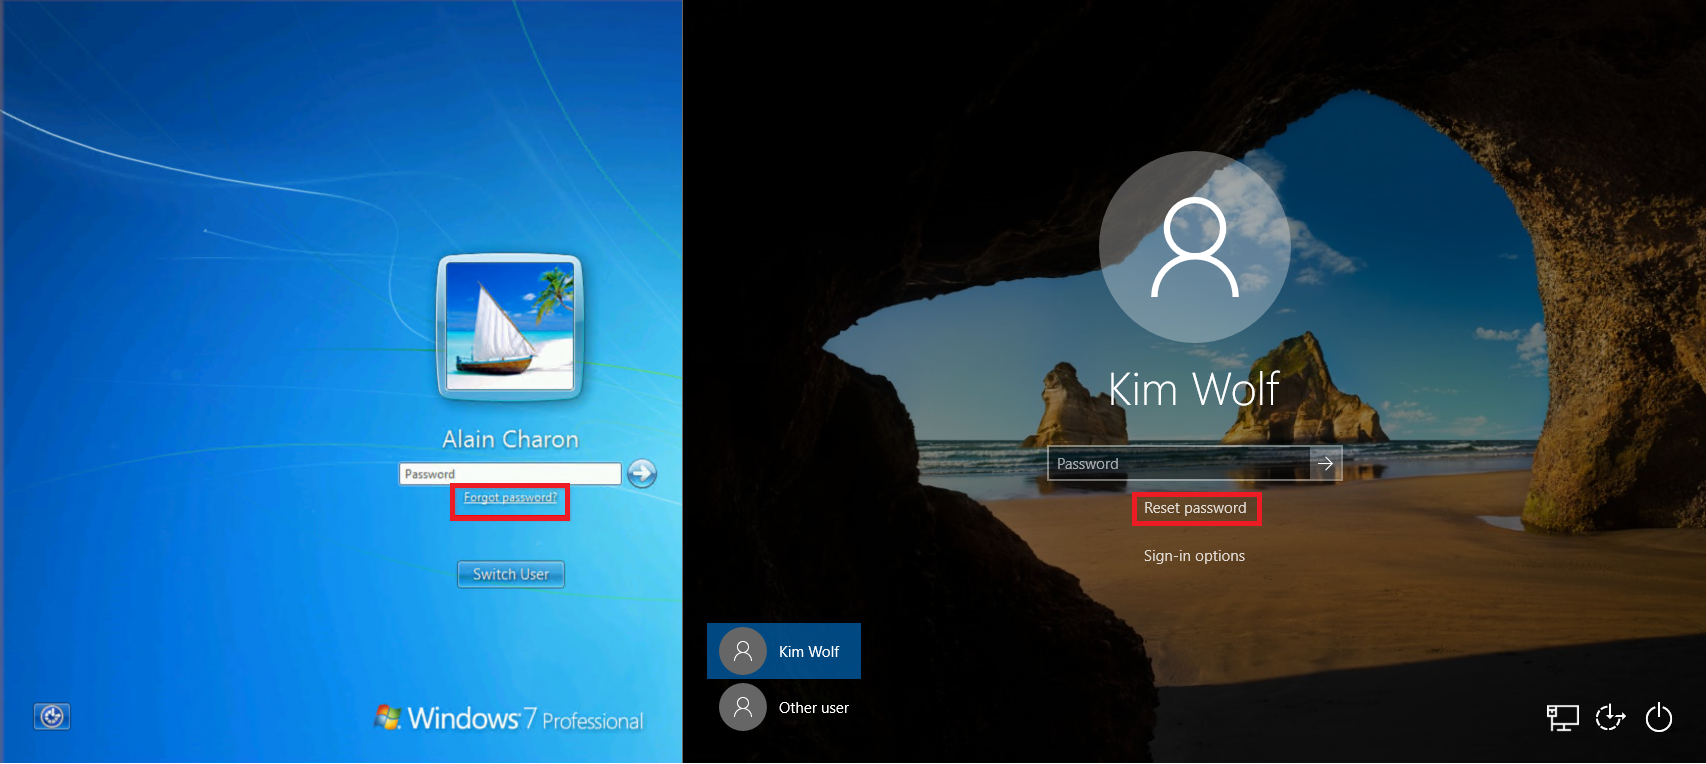
- On the login screen, click on the “Reset password” option.
- Follow the instructions provided to reset your password.
Resetting Microsoft Account Password:
- Open your web browser and go to the Microsoft account password reset page.
- Enter your Microsoft account email address or phone number.
- Click on the “Next” button.

- Choose the method to receive the security code (email, phone, or authenticator app).
- Click on the “Get code” or “Send code” option.
- Check your email or phone for the security code.
- Enter the security code in the provided field.
- Click on the “Next” button.

- Enter a new password and confirm it.
- Click on the “Next” button.

- Sign in to your Microsoft account with the new password.
Troubleshooting Sign-in Issues

| Issue | Description | Possible Solutions |
|---|---|---|
| Change Password Option Missing | The option to change password is not visible in the Windows 10/11 sign-in settings. |
|
Frequently Asked Questions
What is the shortcut for Change password in Windows 10?
The shortcut for changing the password in Windows 10 is to press CTRL-ALT-DELETE, which opens the Windows Security dialog. From there, click on “Change Password” to access the Change Password dialog box.
Why can’t I reset my Windows 10 password?
You can’t reset your Windows 10 password because for versions earlier than 1803, there are no security questions for local accounts. You can choose to reset your device, but this will result in permanent deletion of your data, programs, and settings.
Where do I change my password on Windows 10?
To change your password on Windows 10, navigate to Start > Settings > Accounts > Sign-in options. From there, select Password and click on Change.
Why I Cannot change my Windows password?
I cannot change my Windows password because the “User cannot change password” option is checked in the user account properties. To resolve this, I need to right-click on the user account, select Properties, and uncheck the “User cannot change password” box. Finally, I should click Apply and OK.


