I couldn’t believe it when my computer failed to recognize my Kindle Fire.
Verify the USB Cable’s Functionality
1. Connect the USB cable to your computer and the Kindle Fire.
2. Check if the Kindle Fire is recognized by the computer. If not, proceed to the next steps.
3. Disconnect the USB cable from both the computer and the Kindle Fire.
4. Inspect the USB cable for any physical damage, such as frayed wires or bent connectors. If there is any damage, replace the cable with a new one.
5. Connect the USB cable to a different USB port on your computer and the Kindle Fire.
6. Check if the Kindle Fire is now recognized by the computer. If not, proceed to the next steps.
7. Try using a different USB cable to connect the Kindle Fire to your computer.
8. Check if the Kindle Fire is recognized with the new USB cable. If it is, the original USB cable may be faulty and should be replaced.
9. If none of the above steps work, try connecting the Kindle Fire to a different computer to determine if the issue is with your computer’s USB ports.
10. If the Kindle Fire is recognized on another computer, the issue may be with your computer’s USB ports or drivers. Consider updating the drivers or seeking further assistance.
Install or Update the MTP USB Device Driver
1. Connect your Kindle Fire to your computer using a USB cable.
2. On your computer, press the Windows key on your keyboard and type “Device Manager”. Click on the Device Manager option in the search results.
3. In the Device Manager window, locate the “Portable Devices” category and expand it by clicking on the arrow next to it.
4. Right-click on your Kindle Fire device and select “Update driver” from the context menu.
5. In the Update Driver Software window, select “Browse my computer for driver software”.
6. Click on “Let me pick from a list of device drivers on my computer”.
7. Select “MTP USB Device” from the list and click on “Next”.
8. Follow the on-screen instructions to complete the driver installation or update. If prompted, restart your computer.
9. After the installation or update is complete, disconnect your Kindle Fire and reconnect it to your computer.
Your computer should now recognize your Kindle Fire as a USB device. If you’re still experiencing issues, you may need to perform a factory reset on your Kindle Fire or contact Amazon support for further assistance.
Charge Your Device Adequately
1. Use a reliable USB cable: Make sure you’re using a high-quality USB cable to connect your Kindle Fire to your computer. This will ensure a stable connection.
2. Plug into a power source: Connect your Kindle Fire directly to a power source using the provided charger. Avoid charging it through USB ports on your computer, as these may not provide enough power.
3. Charge for a sufficient amount of time: Allow your Kindle Fire to charge for at least 4 hours. This will ensure that the battery is adequately charged.
4. Restart your computer: If your computer still doesn’t recognize your Kindle Fire after charging, try restarting your computer. This can help refresh the USB hardware and resolve any temporary issues.
5. Update device drivers: Ensure that your computer has the latest device drivers installed. You can usually download these from the manufacturer’s website.
Execute a Hard Reset
If your computer is not recognizing your Kindle Fire, you may need to perform a hard reset. Here’s how to do it:
1. Disconnect your Kindle Fire from the computer and turn it off.
2. Press and hold the power button for 20 seconds, then release it.
3. Press and hold the volume down button, then press and hold the power button at the same time. Keep holding both buttons for 45 seconds.
4. Release both buttons and wait for your Kindle Fire to restart.
5. Once it has restarted, reconnect it to your computer using a USB cable.
6. Your computer should now recognize your Kindle Fire as a USB mass storage device.
If your computer still doesn’t recognize your Kindle Fire after the hard reset, try using a different USB cable or port. You can also try restarting your computer.
Disable USB Selective Suspend
1. Press the Windows key on your keyboard to open the Start menu.
2. Type “Control Panel” and select it from the search results.
3. In the Control Panel window, click on “Hardware and Sound.”
4. Under the “Power Options” section, click on “Change power-saving settings.”
5. In the next window, click on “Change plan settings” next to the power plan you are currently using.
6. Click on “Change advanced power settings.”
7. In the Power Options dialog box, expand the “USB settings” category.
8. Expand the “USB selective suspend setting” option.
9. Set both the “On battery” and “Plugged in” options to “Disabled.”
10. Click “Apply” and then “OK” to save the changes.
Note: To prevent any disruptions, it’s recommended to plug in your laptop or connect it to a power source while making these changes.
Once USB Selective Suspend is disabled, your computer should recognize your Kindle Fire without any issues.
Enable ADB on Kindle Fire
To enable ADB (Android Debug Bridge) on your Kindle Fire when your computer is not recognizing it, follow these steps:
1. Connect your Kindle Fire to your computer using a USB cable.
2. On your computer, go to the Start menu and search for “Device Manager.”
3. Open Device Manager and expand the “Portable Devices” or “Other Devices” section.
4. Right-click on your Kindle Fire and select “Update Driver Software.”
5. Choose the option to browse your computer for driver software.
6. Select “Let me pick from a list of device drivers on my computer.”
7. Choose “Show All Devices” and click “Next.”
8. Click on “Have Disk” and browse to the location where you have the Kindle Fire driver file saved.
9. Select the driver file and click “Open,” then click “OK.”
10. Once the driver is installed, open a command prompt on your computer.
11. Type “adb devices” and press Enter.
12. You should see your Kindle Fire listed as a connected device.
Connect as a Camera or MTP Device
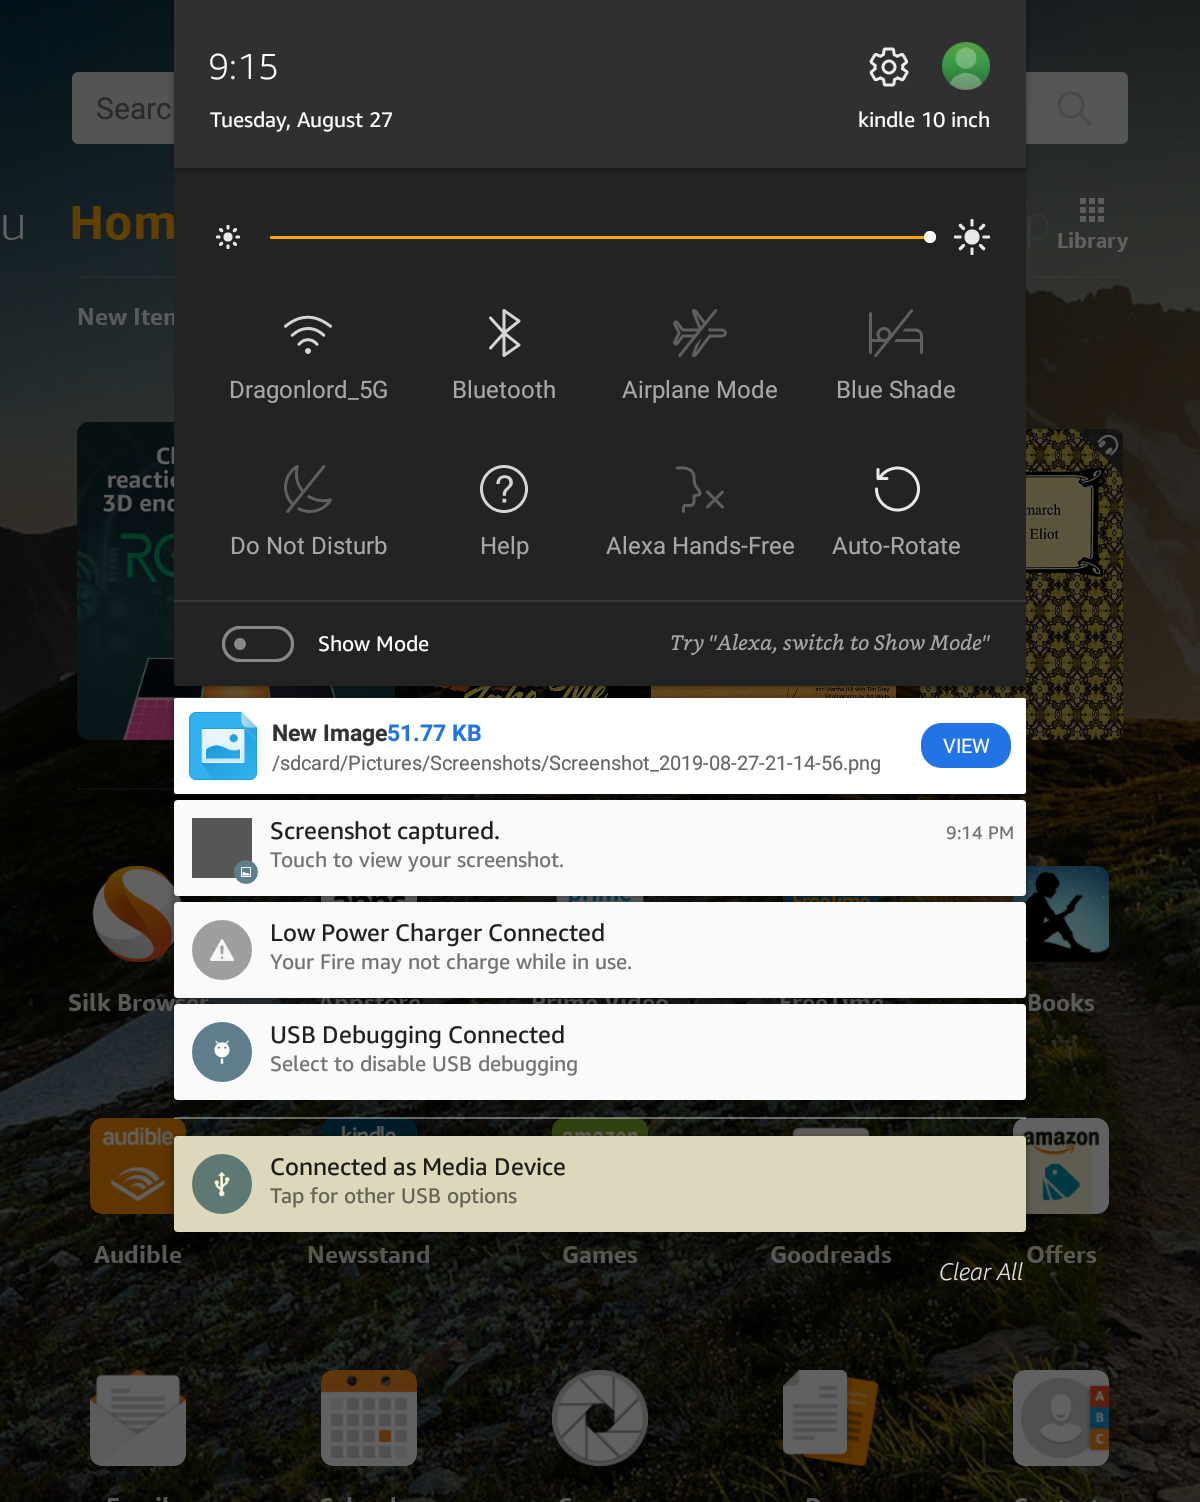
To connect your Kindle Fire as a camera or MTP device on your computer, follow these steps:
1. Start by ensuring that your Kindle Fire is unlocked and awake.
2. Connect your Kindle Fire to your computer using a USB cable. Make sure the cable is securely plugged into both the Kindle Fire and your computer.
3. On your computer, navigate to the Control Panel. You can do this by clicking on the Start menu and typing “Control Panel” in the search bar. Hit Enter to open it.
4. In the Control Panel, locate and click on “Device Manager.”
5. In the Device Manager window, look for “Portable Devices” or “Other devices.” Expand this category by clicking on the arrow next to it.
6. Look for your Kindle Fire device in the list. It may be listed as “Amazon Kindle” or something similar.
7. Right-click on your Kindle Fire device and select “Update Driver Software” from the context menu that appears.
8. Choose the option to “Search automatically for updated driver software.” Your computer will search for and install the necessary drivers for your Kindle Fire.
9. Once the drivers are installed, your Kindle Fire should be recognized as a camera or MTP device on your computer.
Try Connecting to a Different Computer
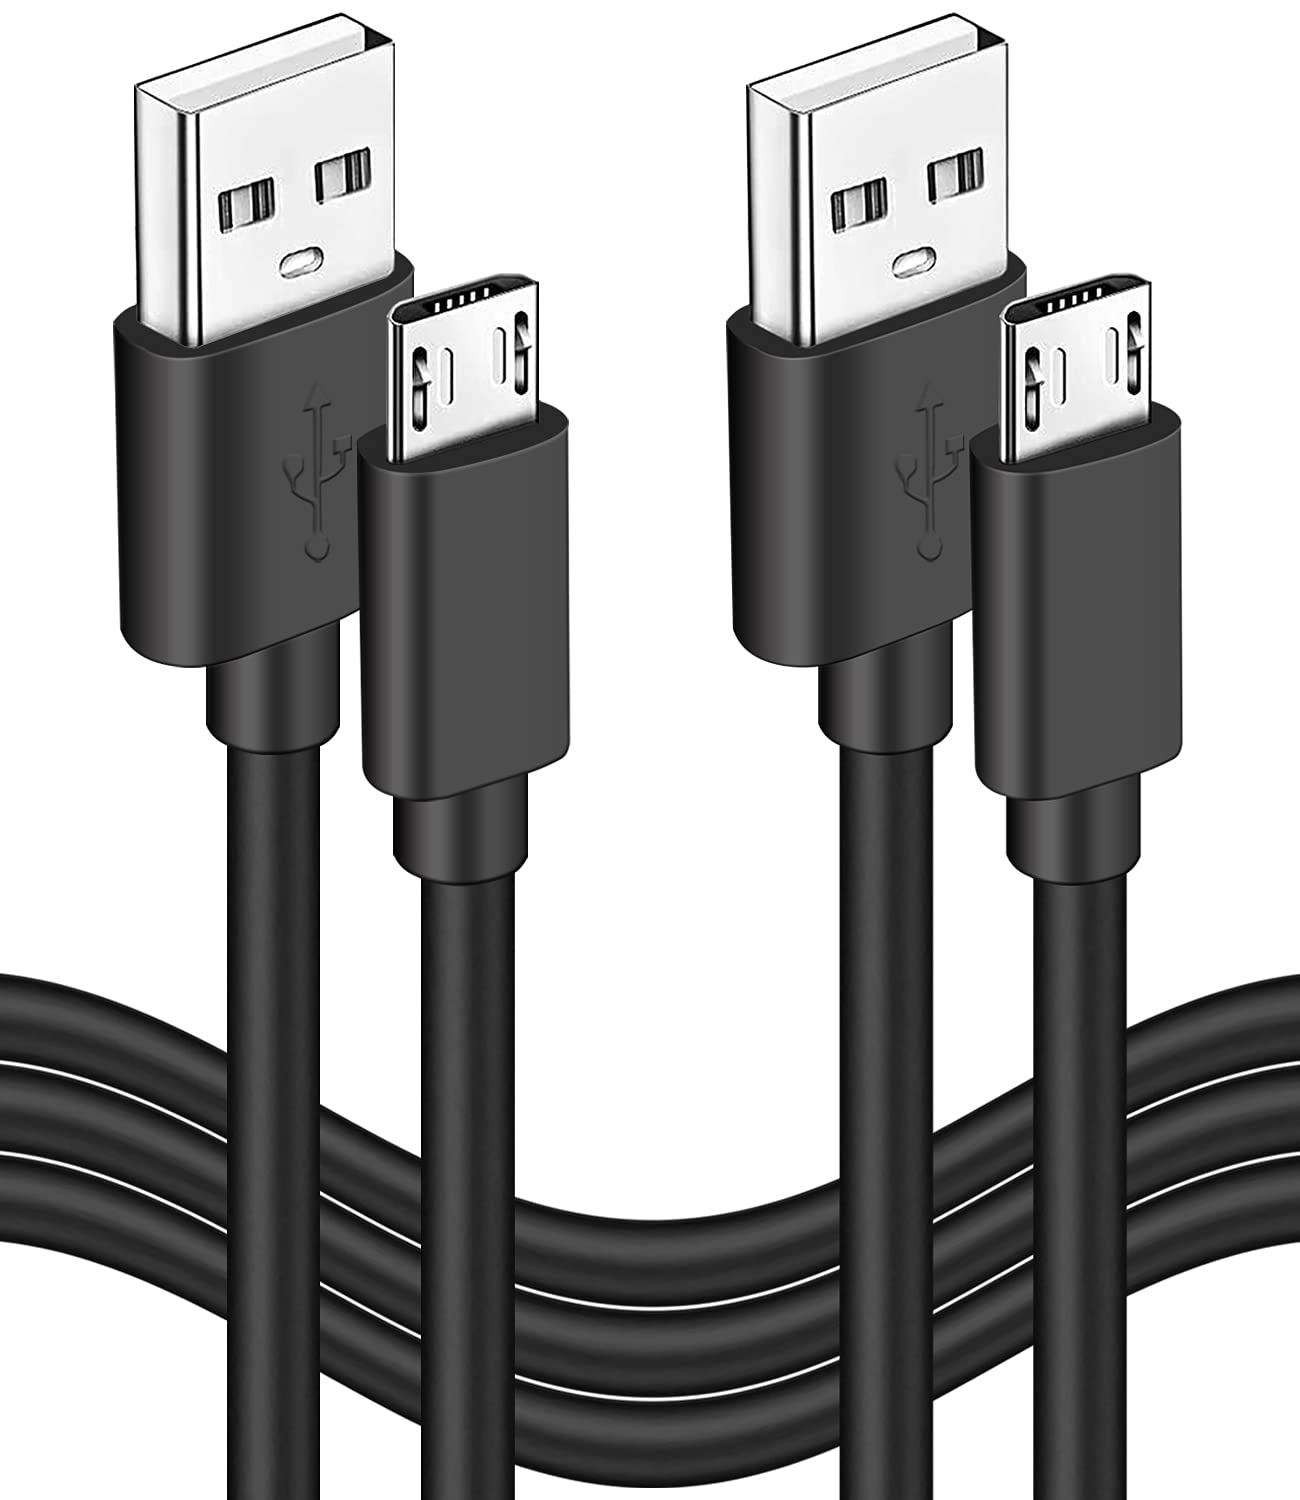
If your computer is not recognizing your Kindle Fire, try connecting it to a different computer. This will help determine if the issue is with your computer or the Kindle Fire itself.
To do this, follow these steps:
1. Find another computer that meets the system requirements for connecting to a Kindle Fire. This can be a Windows 10 PC or a Mac.
2. Connect your Kindle Fire to the second computer using a USB cable. Make sure the cable is securely plugged into both the Kindle Fire and the computer.
3. Once connected, wait for the computer to recognize the Kindle Fire. If it does, you will see a notification or a pop-up window on the computer.
4. If the second computer recognizes the Kindle Fire, then the issue is likely with your original computer. You may need to update your device drivers or check for any software conflicts.
5. If the second computer also does not recognize the Kindle Fire, there may be an issue with the Kindle Fire itself. You can try a factory reset or contact Amazon support for further assistance.
Use an Alternative USB Cable or Port
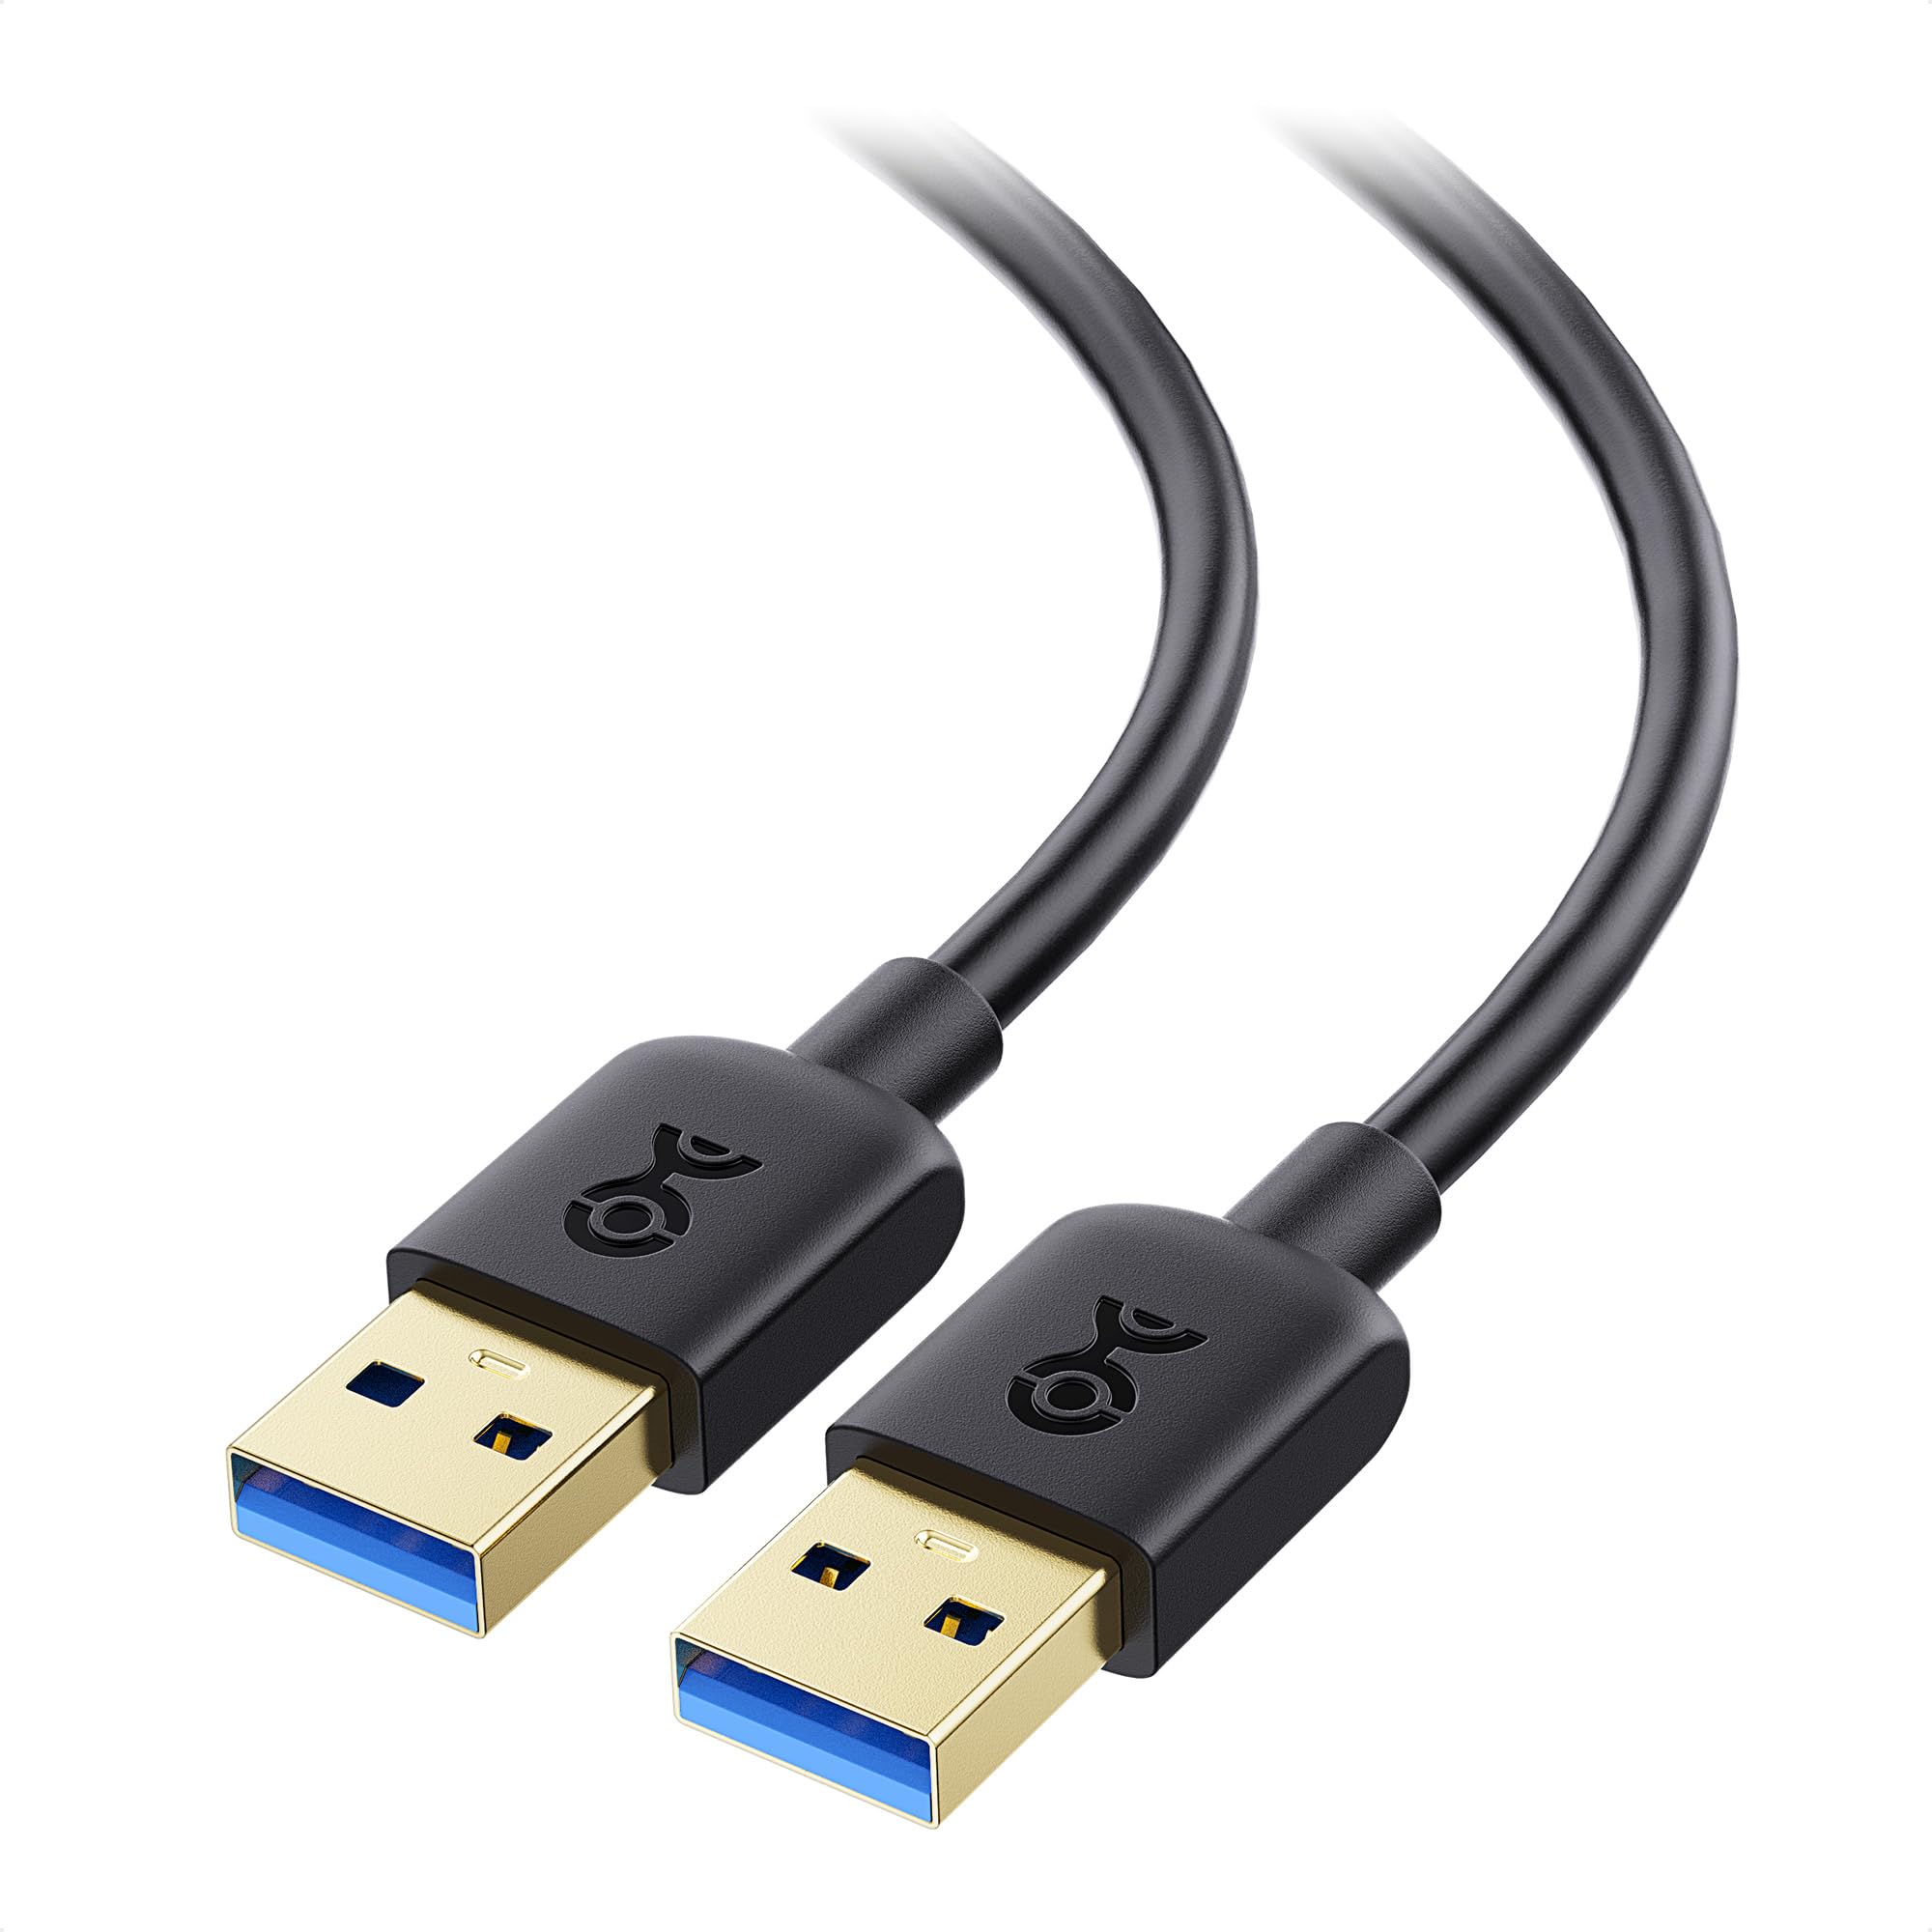
To do this, follow these steps:
1. Disconnect your Kindle Fire from the current USB cable or port.
2. Find a different USB cable or port that you can use.
3. Connect your Kindle Fire to the alternative USB cable or port.
4. Wait for your computer to recognize the device. If it does not, proceed to the next troubleshooting step.
By using an alternative USB cable or port, you can rule out any issues with the original ones. This can help determine if the problem lies with the cable or port itself or if there is another underlying issue causing the computer not to recognize your Kindle Fire.
Reinstall or Update Kindle Driver
To reinstall or update the Kindle driver on your computer, follow these steps:
1. Connect your Kindle Fire to your computer using a USB cable.
2. Make sure your computer is running Windows 10 and recognizes the Kindle Fire as a USB mass storage device.
3. If the computer does not recognize the device, try a different USB port or cable.
4. Open the Control Panel on your computer and navigate to “Device Manager.”
5. Look for the Kindle device under the “Portable Devices” or “Other Devices” section.
6. Right-click on the Kindle device and select “Update driver” from the drop-down menu.
7. Choose “Search automatically for updated driver software” and let Windows search for the latest driver.
8. If Windows does not find a driver, visit the Amazon Kindle website to download and install the latest driver manually.
9. Once the driver is installed or updated, disconnect and reconnect your Kindle Fire to your computer.
10. Your computer should now recognize the Kindle Fire as a connected device.
These steps should help resolve any issues with your computer not recognizing your Kindle Fire.
Utilize a USB Hub or Different USB Port
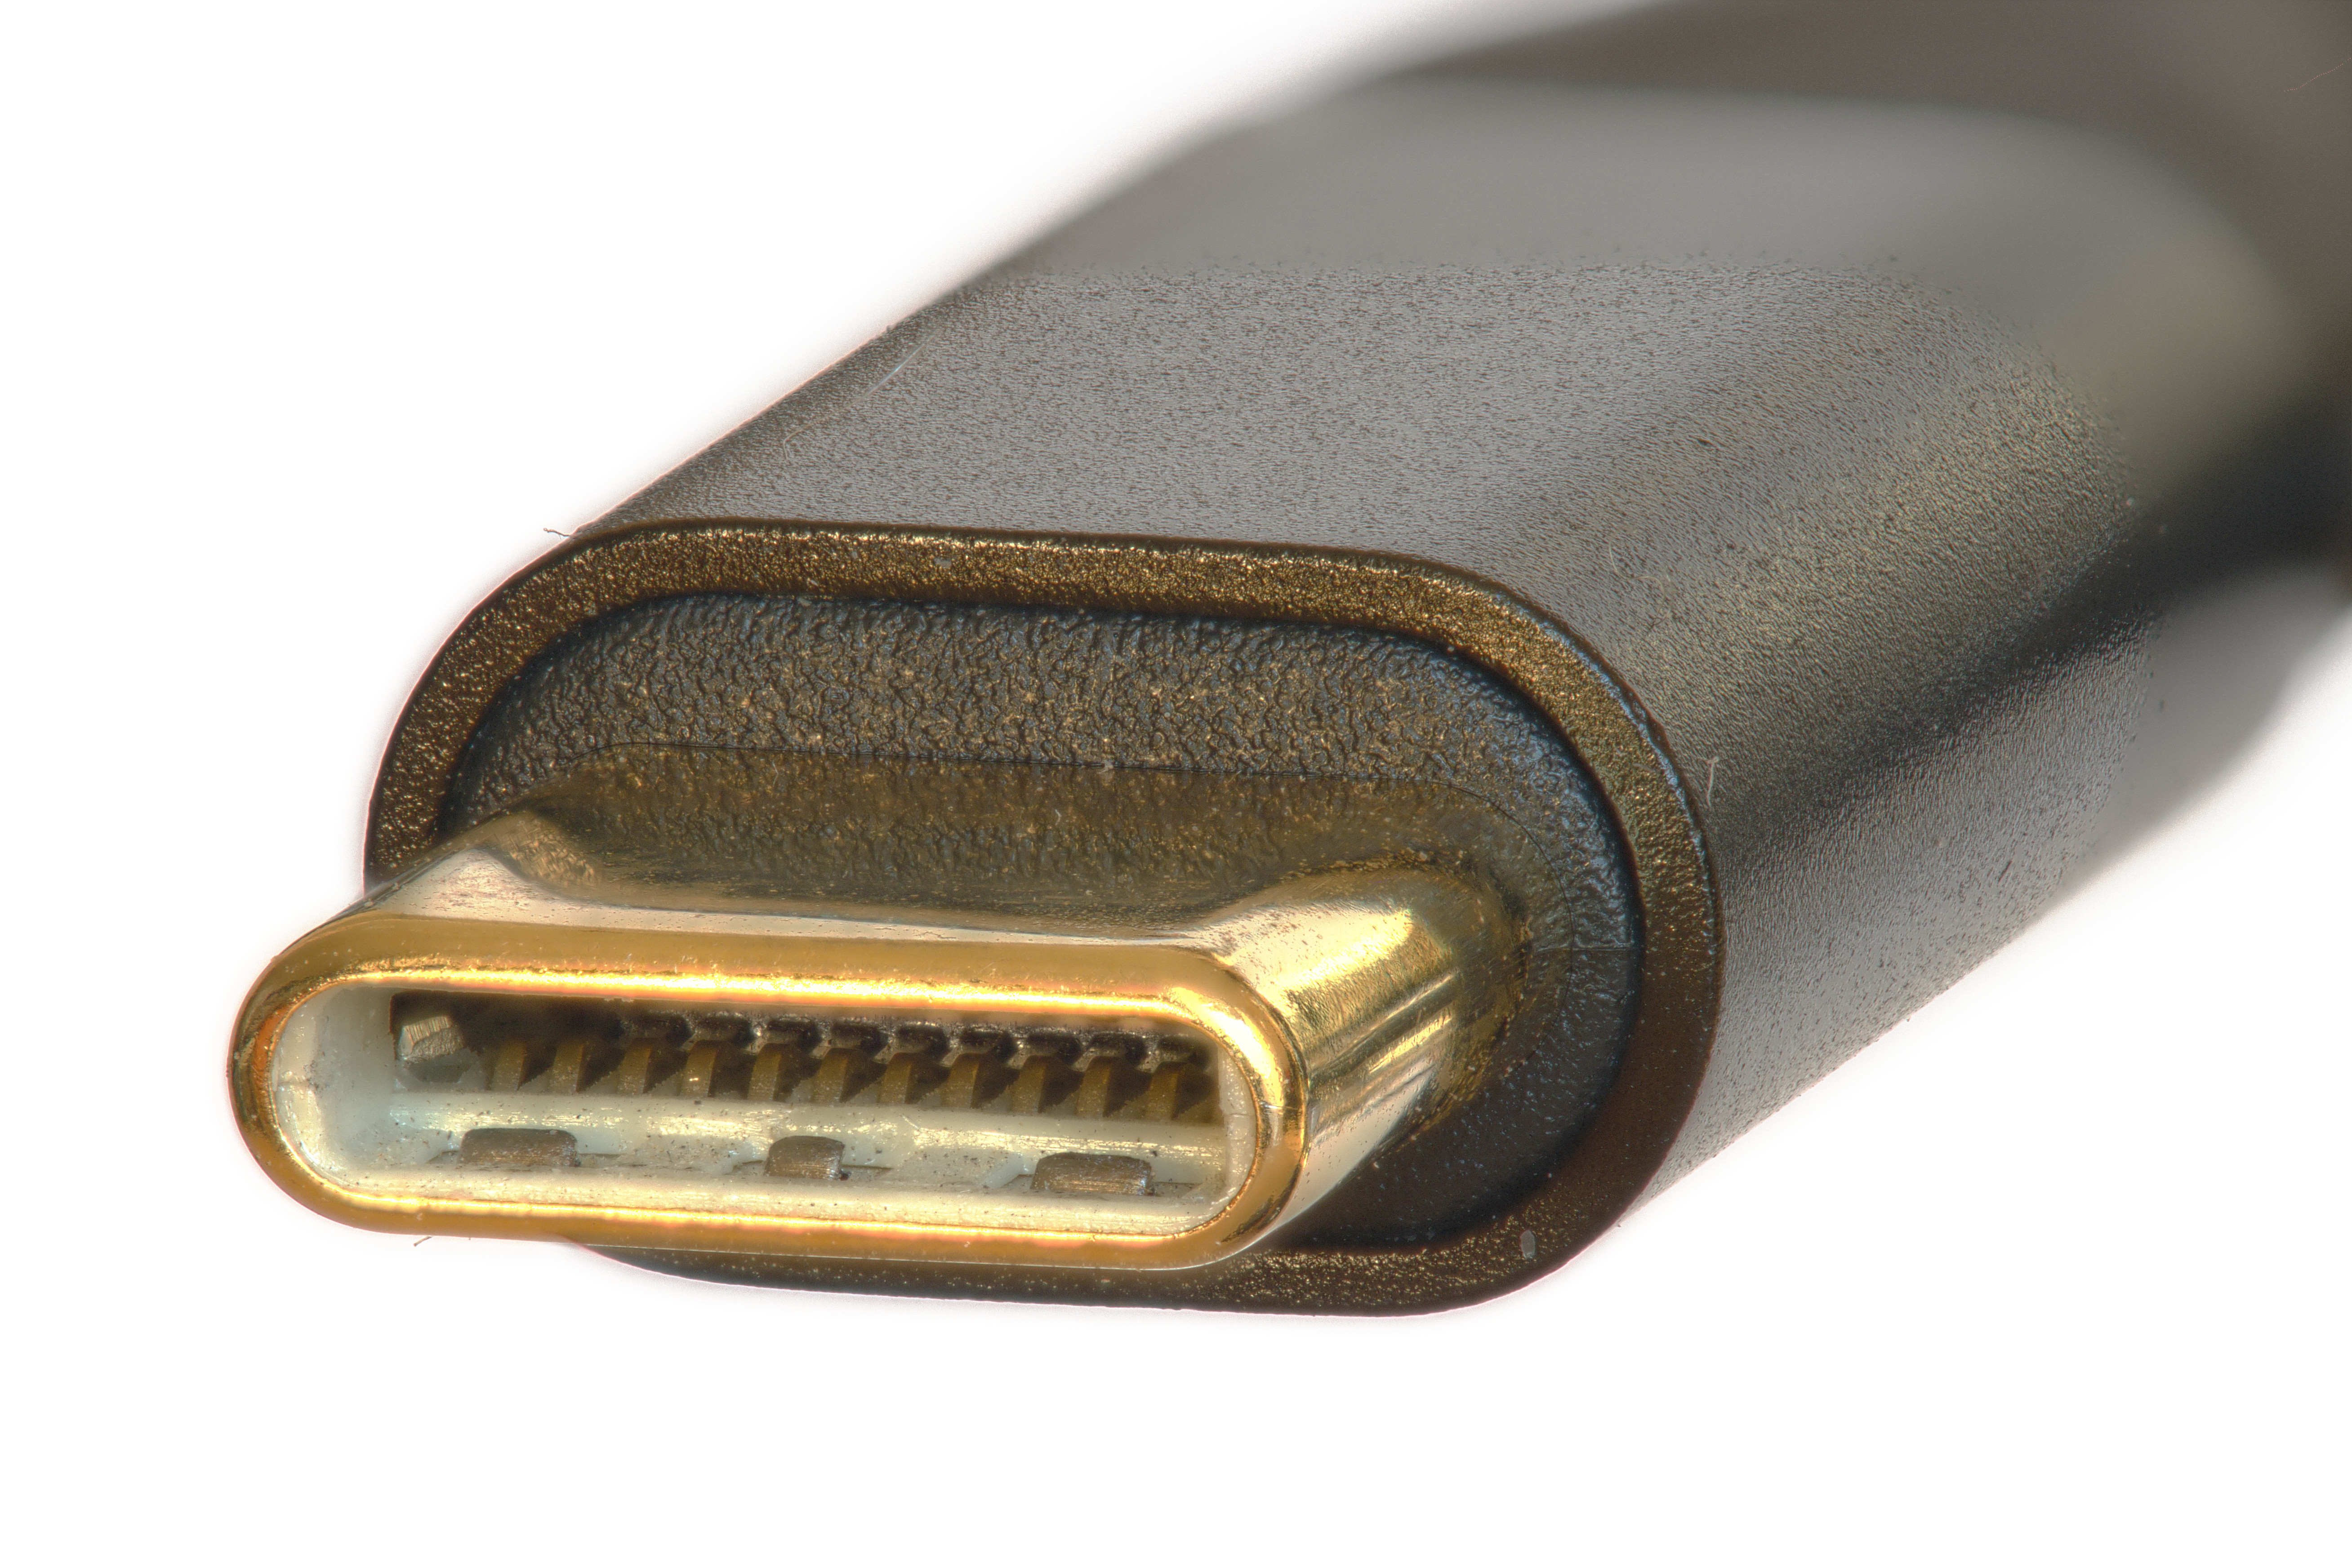
If your computer is not recognizing your Kindle Fire, one possible solution is to utilize a USB hub or a different USB port. This can help resolve any connectivity issues between your device and your computer.
To do this, follow these steps:
1. Disconnect your Kindle Fire from your computer.
2. If you have a USB hub, connect it to your computer’s USB port.
3. Connect your Kindle Fire to the USB hub using a USB cable.
4. If you don’t have a USB hub, try connecting your Kindle Fire to a different USB port on your computer.
5. Wait for your computer to recognize the Kindle Fire. This may take a few moments.
6. If your computer still does not recognize the Kindle Fire, try restarting your computer.
7. If the issue persists, consider updating the device driver for your Kindle Fire. You can usually find the latest driver on the manufacturer’s website.
8. If all else fails, try connecting your Kindle Fire to a different computer. This can help determine if the issue is with your device or your computer.
By utilizing a USB hub or a different USB port, you can troubleshoot and potentially resolve the issue of your computer not recognizing your Kindle Fire.
FAQ
Why is my Kindle not showing up in Device Manager?
Your Kindle may not be showing up in Device Manager because you need to install or update the Kindle Driver. The Kindle Driver is necessary for your computer’s operating system to recognize and connect with your Kindle device. Without the Kindle Driver, your Kindle will not be detected and its driver will not appear in Device Manager.
How do I connect my Kindle Fire to my computer?
To connect your Kindle Fire to your computer, use the USB cable provided. On a Windows computer, your Kindle Fire will show up in the Computer or My Computer folder. On a Mac, it will appear on the desktop.
Why is my Kindle not being detected on my computer?
Why is my computer not detecting my Fire tablet?
Your computer may not be detecting your Fire tablet due to a faulty micro-USB cable, incorrect USB connection type, disabled USB debugging, or simply by not restarting both your computer and the tablet.

