Having a missing Win32 file on your Windows XP system can lead to various issues and errors. In this article, we will explore effective methods to fix this problem and restore the functionality of your operating system.
Understanding the Error and Its Symptoms
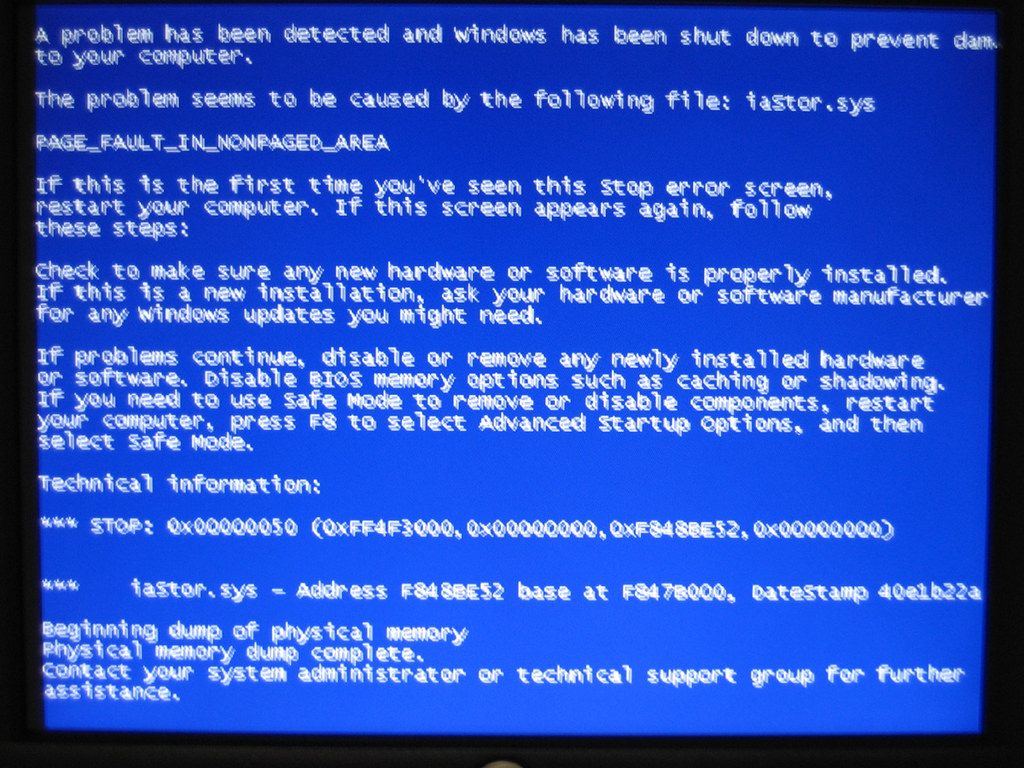
When encountering the “Missing Win32 File” error on Windows XP, it is crucial to understand its symptoms to effectively fix the issue. Common symptoms include error messages, system crashes, and programs failing to open or run properly.
To resolve this error, there are several steps you can take:
1. First, try restarting your computer. Sometimes, a simple reboot can fix the issue.
2. If the error persists, check your Windows XP installation disc or USB flash drive. Make sure it is not damaged and can be read by your computer.
3. Consider using the Windows XP Recovery Console, accessible through the installation disc or USB flash drive. This tool can help repair missing or corrupted system files.
4. Another option is to use EasyBCD, a software tool that can fix boot-related issues in Windows XP. It allows you to modify the boot menu and repair startup problems.
5. If all else fails, you may need to reinstall Windows XP. Ensure you have a valid product key and backup your important files before proceeding.
Common Causes of Registry Corruption
![]()
- Perform a System Restore:
- Click on the Start button and go to All Programs.
- Click on Accessories and then System Tools.
- Choose System Restore and follow the on-screen instructions to restore your system to a previous state when the registry was not corrupted.
- Run a Registry Cleaner:
- Download and install a reliable registry cleaner program.
- Open the registry cleaner and click on the Scan button to scan your registry for errors and corruption.
- Once the scan is complete, click on the Fix or Repair button to repair the corrupted registry entries.
- Restart your computer to apply the changes.
- Use the Windows XP Recovery Console:
- Insert your Windows XP installation CD and restart your computer.
- Press any key when prompted to boot from the CD.
- Press R to enter the Windows Recovery Console.
- Select the appropriate Windows XP installation from the list.
- Enter the administrator password if prompted.
- Once in the Recovery Console, type chkdsk /r and press Enter to scan and repair any errors on your hard drive.
- After the scan is complete, type exit and press Enter to restart your computer.
- Reinstall Windows XP:
- Backup all your important files and data to an external storage device.
- Insert your Windows XP installation CD and restart your computer.
- Press any key when prompted to boot from the CD.
- Follow the on-screen instructions to reinstall Windows XP.
- Once the installation is complete, reinstall all your programs and restore your files from the backup.
Initial Repair Strategies
When dealing with a missing Win32 file on Windows XP, there are a few initial repair strategies you can try before resorting to more drastic measures.
First, restart your computer and see if the issue resolves itself. If not, try running a virus scan to check for any malware that may be affecting the file.
If the problem persists, you can try repairing your Windows XP installation using the Windows Setup disc or an optical disc image. Follow the on-screen instructions to complete the repair process.
Another option is to use the Windows Recovery Console, which allows you to manually replace the missing file from a backup or installation source.
Advanced Recovery Techniques
If you’ve encountered the dreaded error message about a missing Win32 file in Windows XP, don’t panic. There are advanced recovery techniques you can try to resolve this issue.
First, you can attempt a system restore using the Windows XP installation disc. Boot your computer from the disc, choose the “Repair” option, and select the system restore point before the error occurred.
If that doesn’t work, you can use the Windows Recovery Console. Boot from the installation disc, choose the “Repair” option, and open the Recovery Console. From there, you can use various commands to fix the missing Win32 file.
You can also try using the Windows XP installation disc to replace the missing Win32 file manually. Boot from the disc, choose the “Repair” option, and open the Command Prompt. Use the appropriate commands to copy the file from the disc to the correct location on your computer.
If all else fails, you may need to perform a clean installation of Windows XP. Boot from the installation disc, choose the “Install Windows” option, and follow the prompts to reinstall the operating system.
Performing System and File Checks
| Step | Description |
|---|---|
| Step 1 | Open the Command Prompt by clicking on Start and selecting Run. Type “cmd” and hit Enter. |
| Step 2 | In the Command Prompt, type “sfc /scannow” and press Enter. This will initiate the System File Checker (SFC) tool to scan and repair any corrupted system files. |
| Step 3 | Wait for the scanning process to complete. It may take some time to scan all system files. |
| Step 4 | If the SFC tool finds any corrupted files, it will attempt to repair them automatically. You may be prompted to insert the Windows XP installation disc if any files need to be replaced. |
| Step 5 | Once the repair process is finished, restart your computer and check if the missing Win32 file issue is resolved. |
Reinstallation as a Last Resort
Reinstalling Windows XP should be considered as a last resort when all other options have been exhausted. Before proceeding, make sure to back up all important files and data. Insert the Windows XP installation CD or create a bootable USB drive to begin the reinstallation process. Follow the on-screen instructions provided by the Windows Setup to complete the installation. Note that reinstalling Windows XP will erase all data on the computer, so it is crucial to have a backup.
After the installation is complete, remember to reinstall all necessary software and drivers. If you encounter any issues during the reinstallation process, consult Microsoft’s Knowledge Base or seek assistance from a system administrator.
Additional Resources and Support Links
- Open Command Prompt by clicking on the Start button and selecting Run. Type cmd and press Enter.
- In the Command Prompt window, type sfc /scannow and press Enter. This will initiate the System File Checker tool.
- Wait for the scanning process to complete. The tool will automatically replace any missing or corrupted Win32 files it finds during the scan.
- Once the scan is finished, restart your computer and check if the missing Win32 file issue is resolved.
Repair Method 2: Windows XP Repair Installation
- Insert your Windows XP installation CD into the CD/DVD drive of your computer.
- Restart your computer and boot from the Windows XP installation CD.
- Press any key when prompted to start the installation process.
- Follow the on-screen instructions to reach the Repair option.
- Select the Windows installation you want to repair and press R to start the repair process.
- Wait for the repair process to complete. This will replace any missing or corrupted system files, including the Win32 files.
- Once the repair process finishes, remove the installation CD and restart your computer.
Repair Method 3: Download the Missing Win32 File
- Open a web browser and go to a trusted website that offers Win32 files for download.
- Search for the specific Win32 file that is missing from your system.
- Download the Win32 file and save it to a location on your computer.
- Locate the downloaded Win32 file and copy it.
- Navigate to the directory where the missing Win32 file should be located (usually the System32 folder).
- Paste the copied Win32 file into the appropriate directory.
- Restart your computer and check if the missing Win32 file issue is resolved.
