Having trouble with your Nexus 7? Don’t worry, I’ve got you covered. In this article, I’ll walk you through some troubleshooting steps and provide solutions to revive your seemingly dead device.
Troubleshooting Power and Charging Issues

If your Nexus 7 is completely dead and not responding, there are a few troubleshooting steps you can try to revive it.
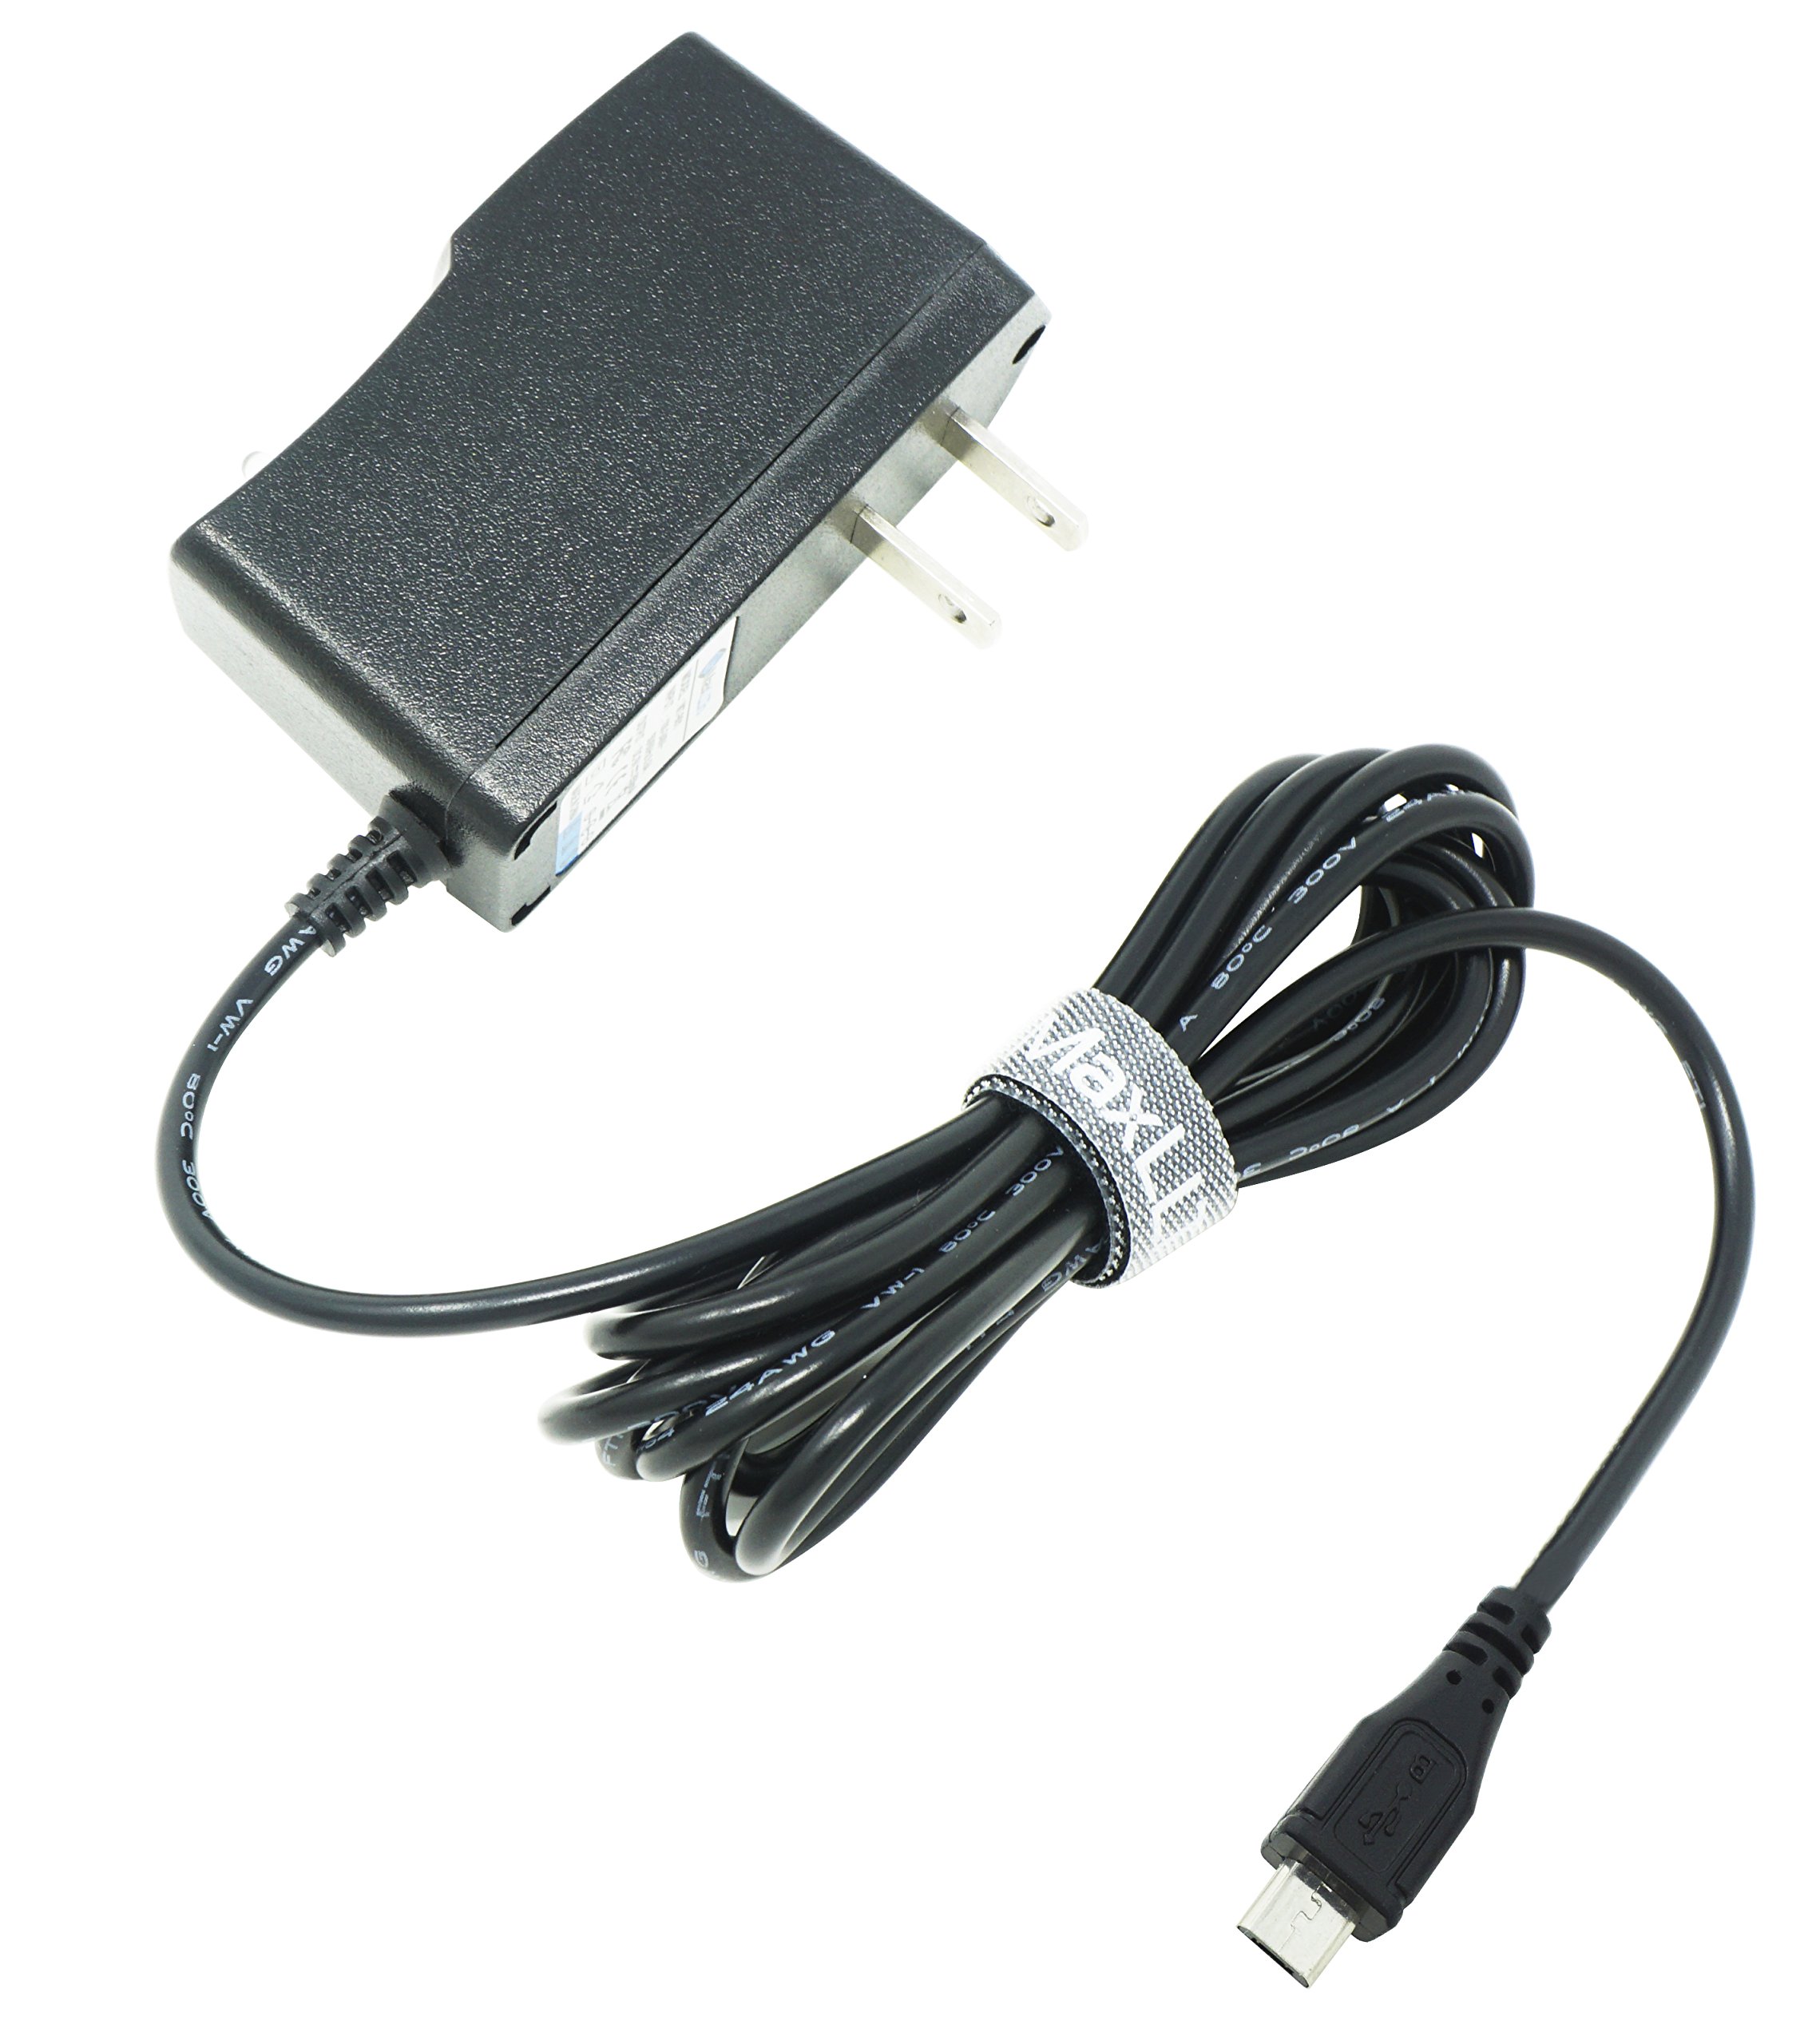
1. Check the charger and cable: Ensure that the battery charger and cable you are using are in good working condition. Try using a different charger and cable to see if that resolves the issue.
2. Perform a hard reset: Press and hold the Power button and Volume Down button simultaneously for about 10-15 seconds until the tablet vibrates and the Google logo appears. This will force a reboot and may fix any software issues causing the device to be unresponsive.
3. Connect to a computer: If your Nexus 7 still doesn’t respond, try connecting it to a computer using a USB cable. If the tablet is recognized by the computer, it indicates that the charging port is working. Leave it connected for a few minutes and then try turning it on again.
4. Check for physical damage: Inspect the charging port and cable for any signs of physical damage. If you notice any bent pins or frayed wires, it may be necessary to replace the charging port or cable.
5. Try a different power source: Plug your Nexus 7 into a different power source, such as a different outlet or a computer’s USB port. Sometimes, the issue may be with the power source rather than the tablet itself.
6. Boot into safe mode: If your Nexus 7 is still not responding, try booting it into safe mode. To do this, press and hold the Power button until the Power off option appears. Tap and hold the Power off option until the Reboot to safe mode prompt appears. Tap OK to boot into safe mode. If your tablet works fine in safe mode, it means that a third-party app may be causing the issue.
7. Perform a factory reset: If all else fails, you can try performing a factory reset. However, please note that this will erase all data on your Nexus 7, so make sure you have a backup. To perform a factory reset, go to Settings > Backup & reset > Factory data reset. Follow the on-screen instructions to complete the process.
Resolving Screen and Display Glitches

Screen and display glitches on the Nexus 7 (2012) can be frustrating, but there are a few troubleshooting steps you can take to resolve them. Here are some solutions to common screen and display issues:
1. Restart the tablet: Sometimes, a simple restart can fix minor glitches. Press and hold the power button until the tablet turns off, then turn it back on again.
2. Clear cache partition: If restarting doesn’t work, try clearing the cache partition. To do this, turn off the tablet and then press and hold the volume down and power buttons simultaneously until the boot menu appears. Use the volume buttons to navigate to “Recovery mode” and press the power button to select it. When you see an Android with a red exclamation mark, press and hold the power button and tap the volume up button. Use the volume buttons to navigate to “Wipe cache partition” and press the power button to select it. Once the process is complete, select “Reboot system now.”
3. Check for software updates: Make sure your Nexus 7 is running the latest software version. Go to Settings > About tablet > System updates and check for any available updates. If there are updates, download and install them.
4. Disable screen overlay: Some apps may have screen overlay permissions that can interfere with the display. To disable screen overlay, go to Settings > Apps > [App name] > Permissions, and disable any overlay permissions.
5. Perform a factory reset: If all else fails, you can try performing a factory reset. This will erase all data on your Nexus 7, so make sure to back up important files before proceeding. To factory reset, go to Settings > Backup & reset > Factory data reset. Follow the on-screen instructions to complete the process.
Fixing Connectivity and Audio Problems

If you are experiencing connectivity or audio problems with your Nexus 7, there are a few troubleshooting steps you can take to fix the issue. Follow these solutions to get your device back up and running:
1. Restart your Nexus 7: Sometimes, a simple reboot can solve connectivity and audio issues. Press and hold the power button until the power menu appears, then select “Restart” to reboot your device. This can often resolve minor software glitches that may be causing the problem.
2. Check your Wi-Fi connection: If you are having trouble connecting to Wi-Fi, make sure your Nexus 7 is within range of a stable Wi-Fi network and that the network has an active internet connection. Also, verify that you have entered the correct Wi-Fi password. You can also try restarting your router to refresh the connection.
3. Clear the cache: Clearing the cache can help resolve various software-related issues. To do this, go to “Settings” > “Storage” > “Cached data” and tap on “Clear cached data.” This will remove temporary files that may be causing connectivity or audio problems.
4. Update your Nexus 7 software: Keeping your device up to date is essential for optimal performance. Go to “Settings” > “System” > “System update” and check for any available updates. If there are updates, download and install them to ensure you have the latest software version.
5. Reset network settings: If you are still experiencing connectivity issues, you can try resetting your network settings. Go to “Settings” > “System” > “Reset options” > “Reset Wi-Fi, mobile & Bluetooth.” This will reset all network-related settings on your Nexus 7, so you will need to reconnect to Wi-Fi networks and re-pair Bluetooth devices.
6. Check your audio settings: If you are having audio problems, ensure that the volume is turned up and not muted. You can adjust the volume by using the physical buttons on the side of the Nexus 7 or by going to “Settings” > “Sound” > “Volume.” Also, make sure that any headphones or external speakers are properly connected to your device.
7. Test with different audio sources: If the audio problem persists, try playing audio from different sources, such as videos or music apps, to determine if the issue is specific to a particular app or file. If the problem only occurs with certain files or apps, try reinstalling or updating them.
8. Perform a factory reset: If all else fails, you can try performing a factory reset to restore your Nexus 7 to its original settings. Before doing this, make sure to back up any important data as the process will erase all data on your device. To perform a factory reset, go to “Settings” > “System” > “Reset options” > “Erase all data (factory reset)” and follow the on-screen instructions.
Overcoming Software and Performance Setbacks
If you are experiencing software and performance setbacks on your Nexus 7 (2012) tablet, there are troubleshooting steps you can take to overcome these issues. Here are some solutions to common problems:
1. Device not booting: If your Nexus 7 is not turning on or stuck on the boot screen, try performing a hard reset. Press and hold the power button for about 15-20 seconds until the device restarts. If this doesn’t work, try charging the tablet using a different charger or USB port.
2. Slow performance: If your Nexus 7 is running slow or lagging, there are a few things you can do. First, check for any software updates and install them if available. Clearing the cache can also help improve performance. Go to Settings > Storage > Cached data, and tap on “Clear cached data.” Additionally, uninstalling unnecessary apps and disabling any unused features can free up system resources.
3. Wi-Fi connection issues: If you are having trouble connecting to Wi-Fi or experiencing frequent disconnections, try the following steps. Restart your router and modem, as well as your Nexus 7. Make sure your device is within range of the Wi-Fi network and that the correct password is entered. You can also try forgetting the network and reconnecting to it.
4. Battery not charging: If your Nexus 7 is not charging properly or the battery drains quickly, there are a few things you can try. First, ensure you are using the original charger and cable. Clean the charging port on your device using a soft brush or compressed air to remove any dust or debris. If the issue persists, try charging the tablet using a different charger or USB port.
5. App crashes: If you are experiencing frequent app crashes on your Nexus 7, try clearing the app cache and data. Go to Settings > Apps, select the problematic app, and tap on “Clear cache” and “Clear data.” If the issue continues, uninstall and reinstall the app.
6. Factory reset: If none of the above solutions work, you may need to perform a factory reset. Keep in mind that this will erase all data on your Nexus 7, so make sure to back up any important files beforehand. To perform a factory reset, go to Settings > System > Reset options > Erase all data (factory reset).
Remember to check for any terms of service or warranty information before attempting any troubleshooting steps. If you are unsure or need further assistance, it’s always a good idea to seek help from a professional or consult Nexus 7 user forums like Reddit for additional guidance.
F.A.Q.
How do I restore my Nexus 7?
To restore your Nexus 7, go to Settings, Backup, Reset. Then, touch Factory data reset and Reset tablet. If your tablet is password protected, you’ll need to enter your pattern, PIN, or password. Finally, touch erase everything to confirm.
How old is a Nexus 7 tablet?
The Nexus 7 tablet is approximately 8 years old.
Is Nexus 7 no longer supported?
The Nexus 7 (2013) is no longer supported by official Android updates, with Android 6.0.1 Marshmallow being the last supported version. However, LineageOS has released official builds of LineageOS 17.1 (based on Android 10 “Q”) for the Nexus 7 in December 2020.
Why won t my Google Nexus 7 turn on?
My Google Nexus 7 won’t turn on because I might not be using the designated power adapter and USB cable that came with it. I should also check if they are working properly by trying them on other compatible devices. Additionally, I need to clear the power port from any dust or lint and ensure that the power cord is properly connected to the device and power adapter.

