Having trouble with disabled Skype video calls? Here’s how to troubleshoot the issue.
Verify Webcam Compatibility
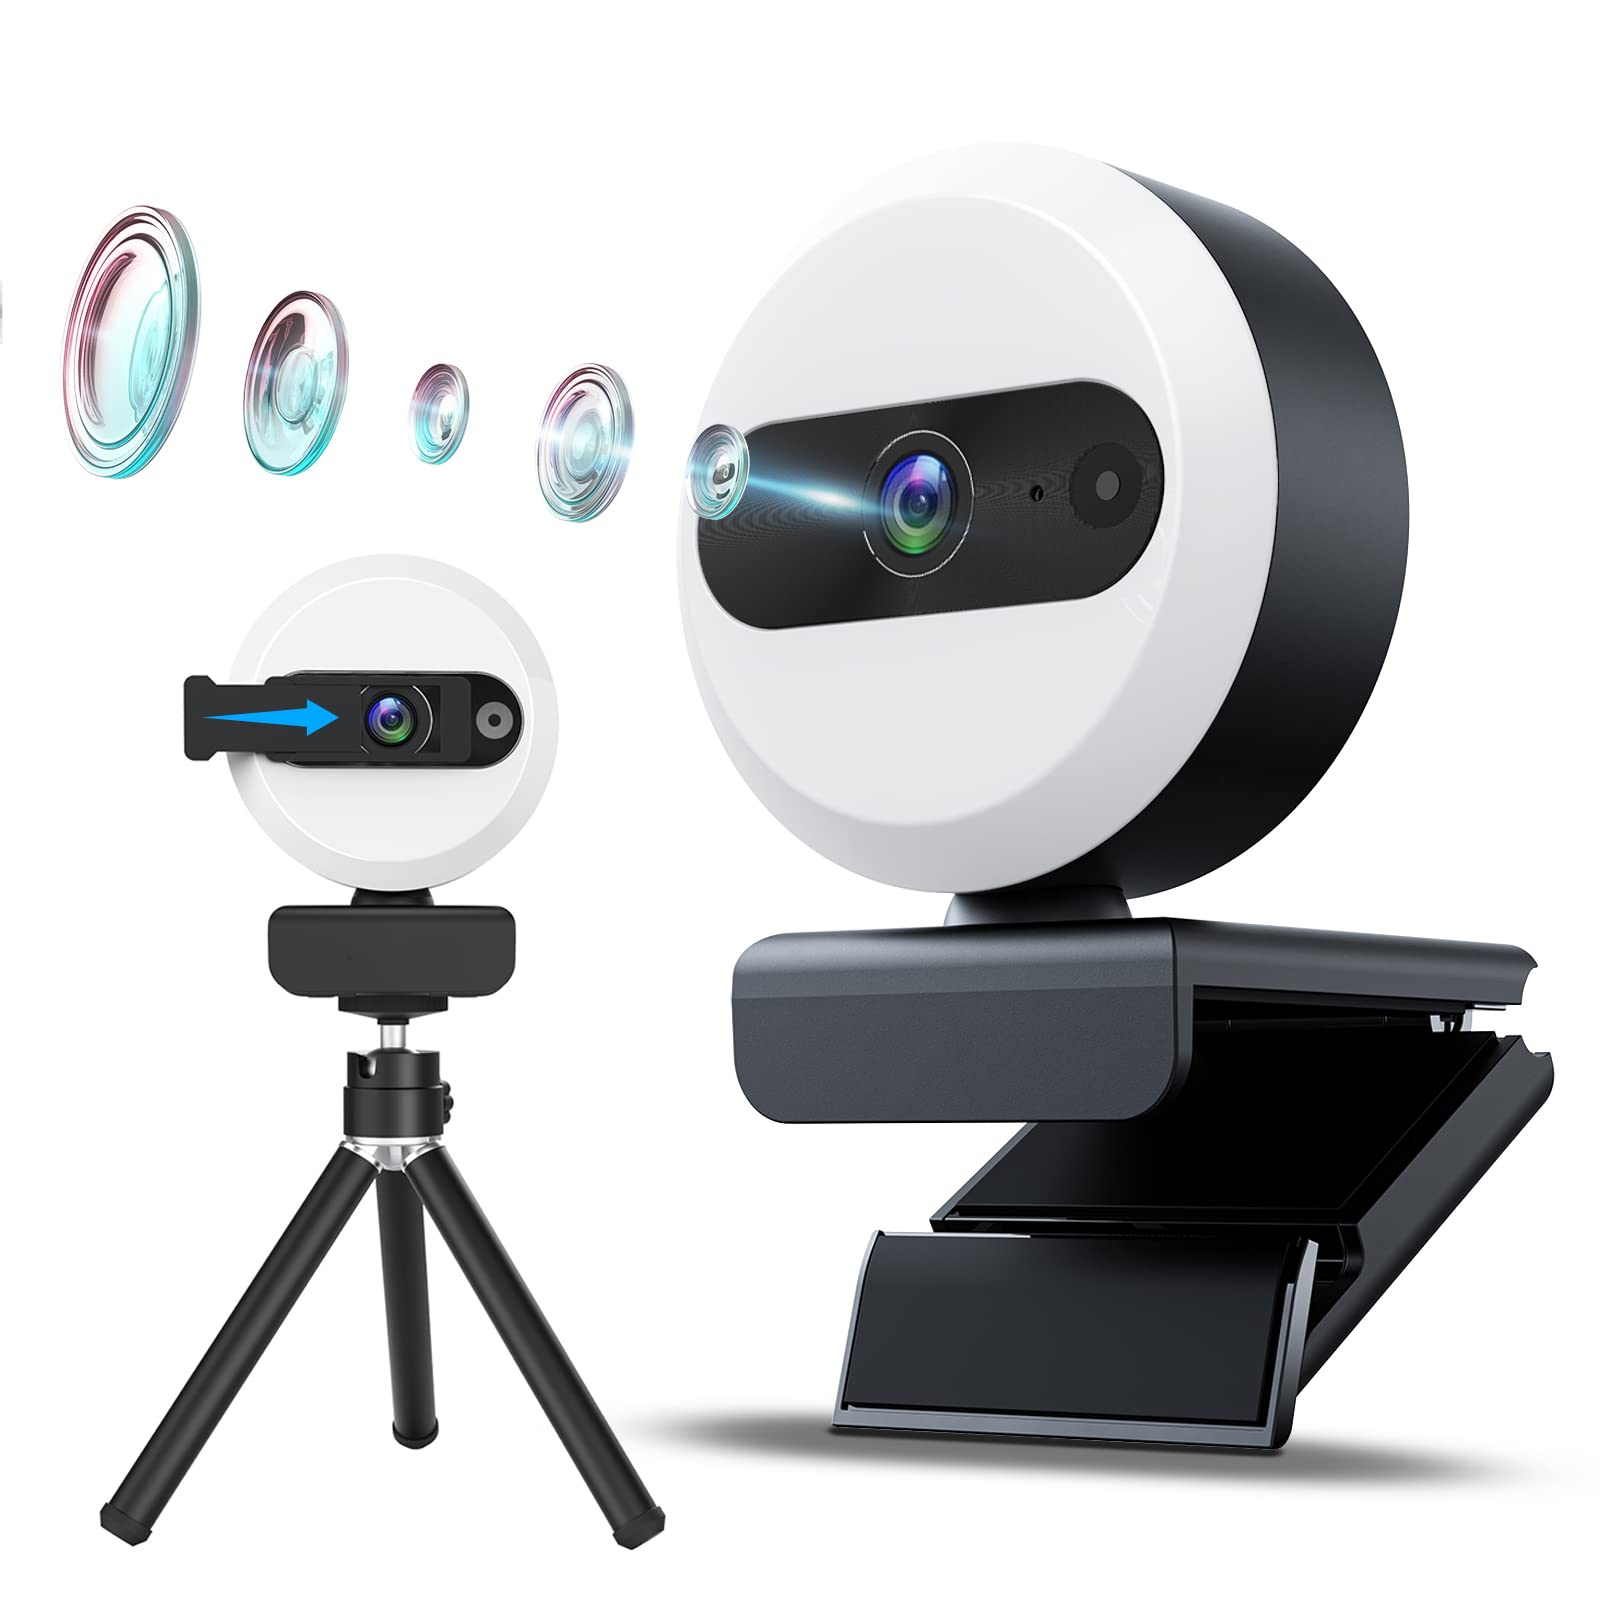
1. Check your webcam’s compatibility: Ensure that your webcam is compatible with the operating system you are using (e.g., Windows 10, Windows 11, MacOS, Android, iOS). Refer to the manufacturer’s website or user manual for compatibility information.
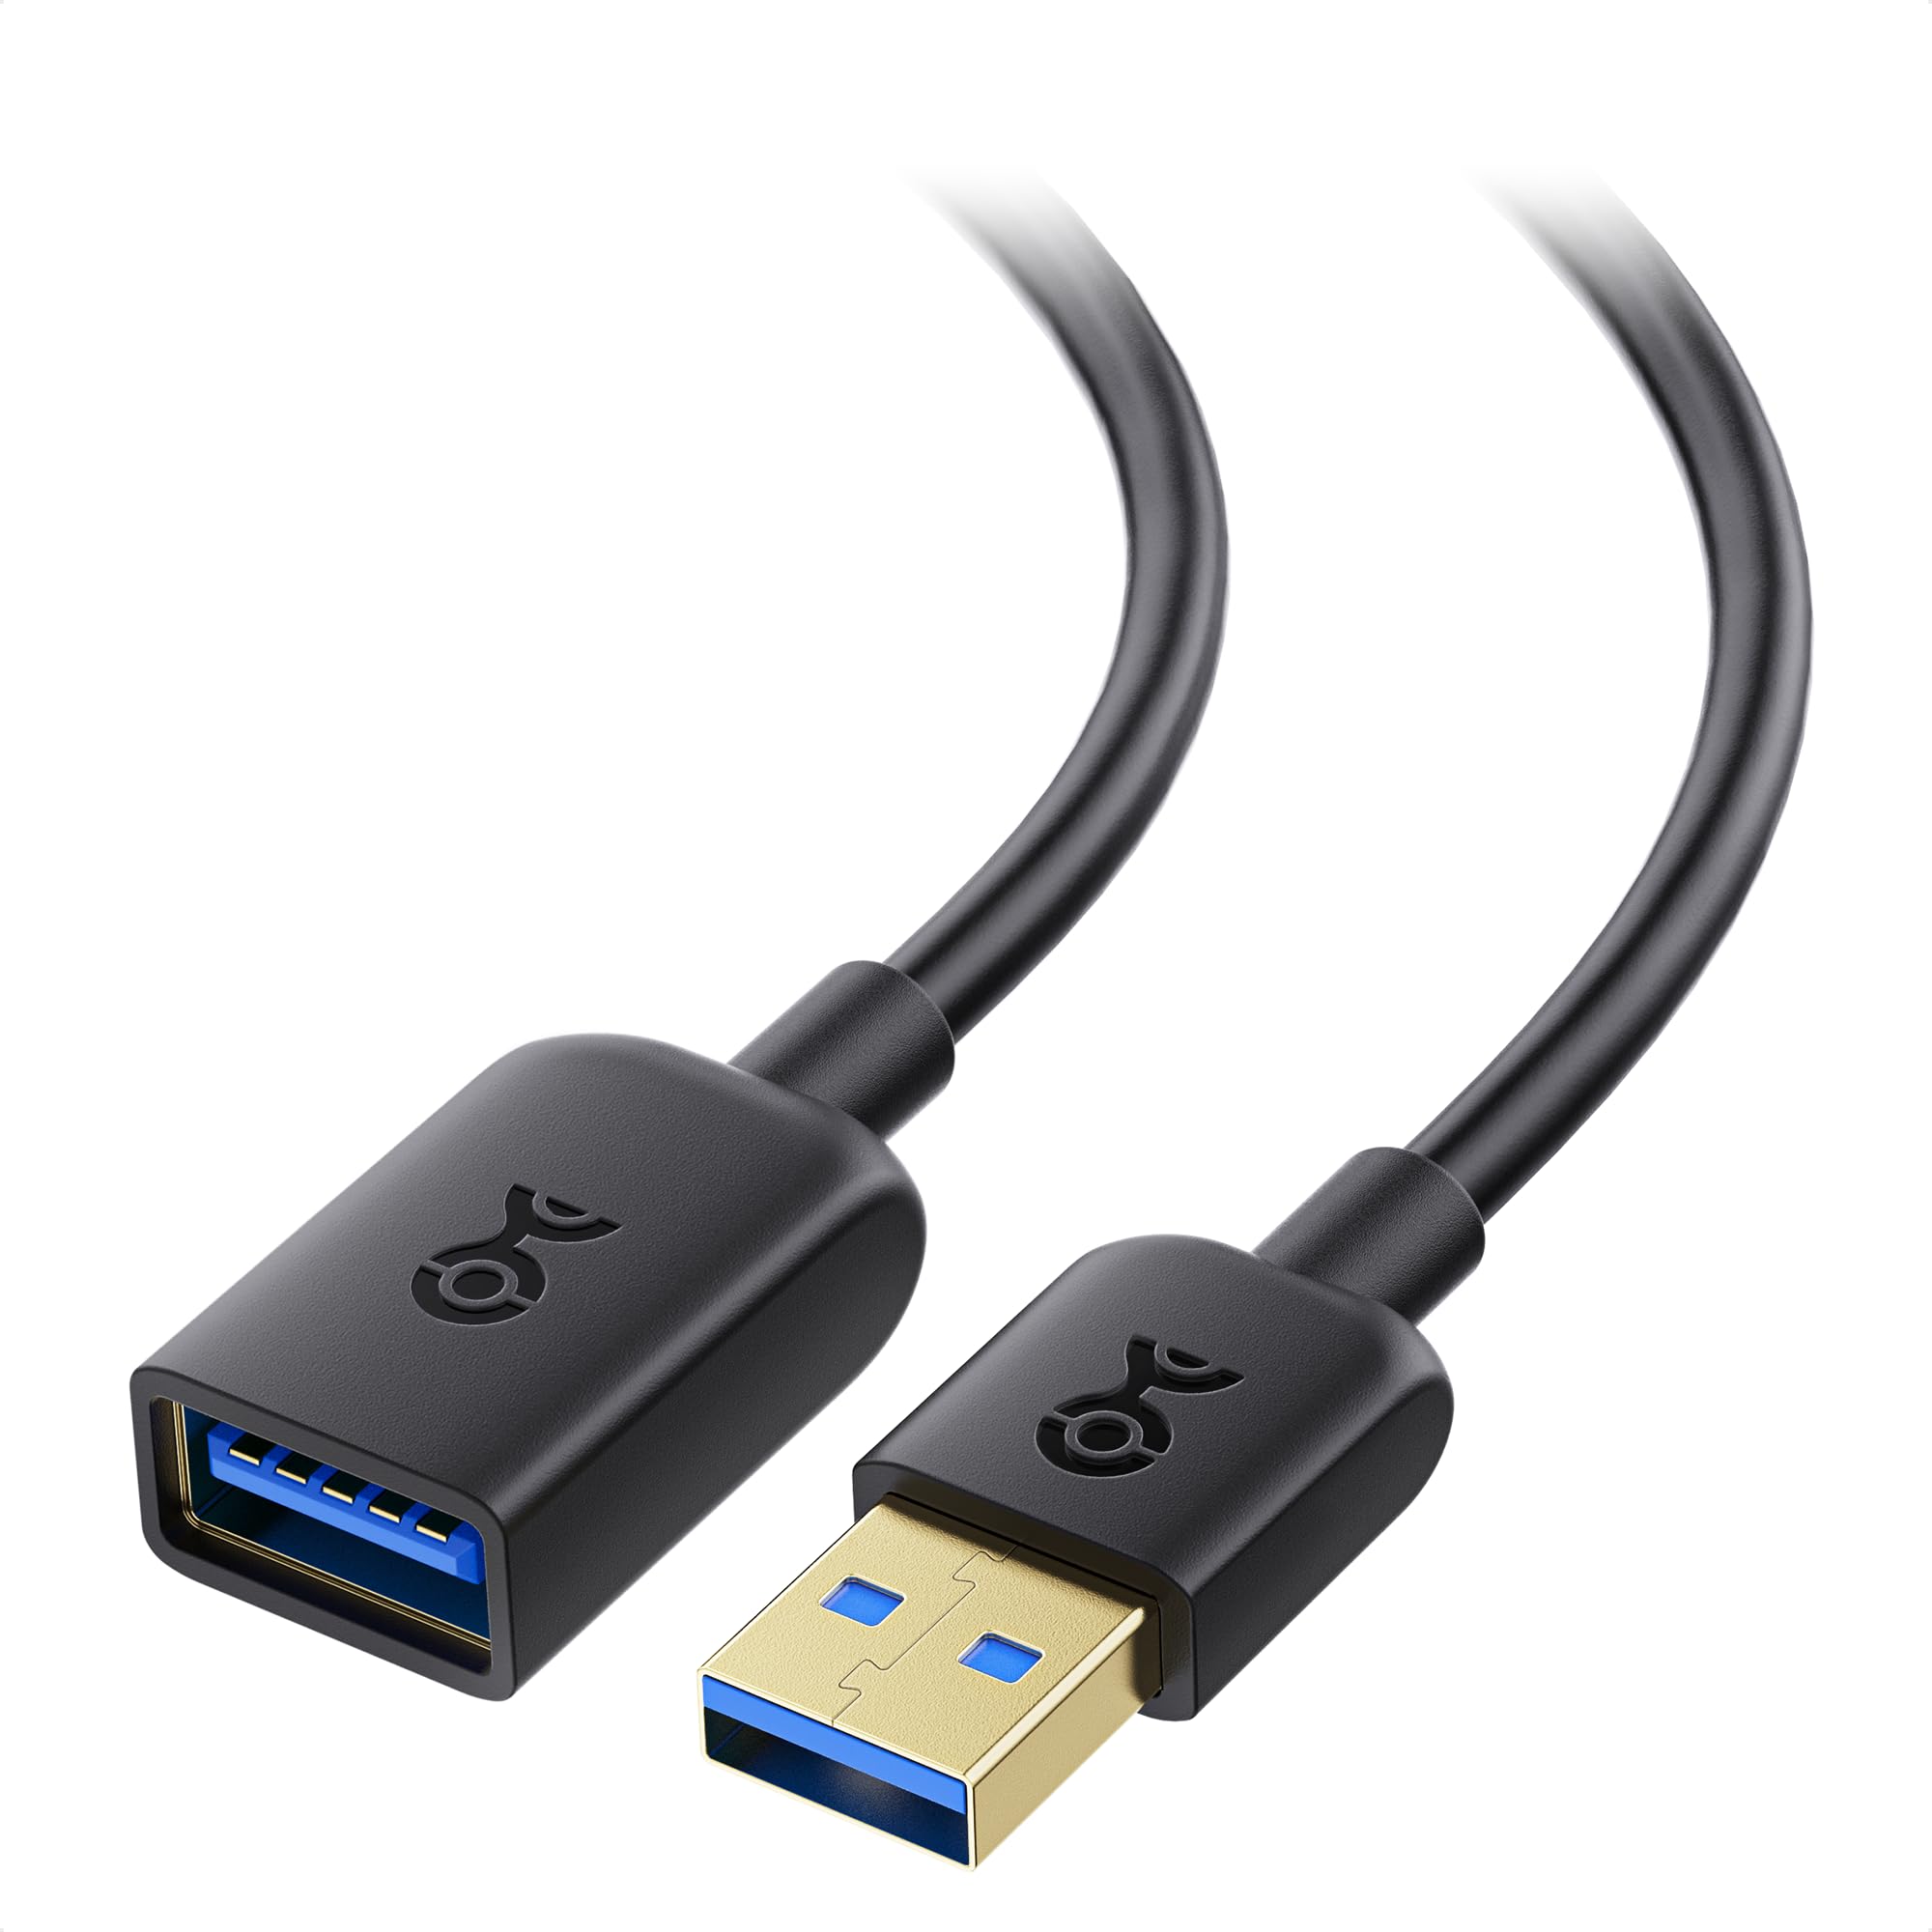
2. Connect the webcam properly: Plug your webcam into a USB port on your computer or laptop. If you are using a USB hub, make sure it is connected correctly and powered on.
3. Install the necessary drivers: Some webcams require specific drivers to function properly. Visit the manufacturer’s website to download and install the latest drivers for your webcam.
4. Adjust privacy settings: In your operating system’s settings, make sure the privacy settings allow access to your webcam for Skype. Check both the operating system’s settings and Skype’s settings to ensure that the webcam is enabled.
5. Test the webcam in Skype: Open Skype and go to the settings menu. Look for the “Audio & Video” section and select your webcam from the drop-down list. Use the “Test Webcam” feature to ensure that your webcam is working correctly.
Select Correct Camera in Settings
To select the correct camera in Skype settings, follow these steps:
1. Open Skype on your device.
2. Navigate to the settings menu. On Windows, click on your profile picture in the top left corner and select “Settings.” On Mac, go to “Skype” in the menu bar and choose “Preferences.”
3. Look for the “Audio & Video” or “Camera” section in the settings menu.
4. In this section, you should see a drop-down list of available cameras.
5. If your desired camera is not selected, click on the drop-down list and choose the correct camera from the options.
6. Once you have selected the correct camera, close the settings menu.
7. Test your video call by making a call to a contact or using the Skype test call service.
Test Your Webcam Functionality
- Ensure that your webcam is properly connected to your computer.
- Check if the webcam’s USB cable is securely plugged into the USB port of your computer.

- If using an external webcam, verify that it is properly connected to your computer via any necessary cables or adapters.
- Check if your webcam drivers are up to date.
- Open Device Manager by pressing Windows Key + X and selecting Device Manager.
- Expand the Imaging Devices or Cameras category.
- Right-click on your webcam and select Update driver.
- Choose the option to automatically search for updated driver software.
- If any updates are found, follow the on-screen instructions to install them.
- Check if your webcam is enabled in Skype settings.
- Launch Skype and sign in to your account.
- Click on Tools in the menu bar and select Options.
- In the options window, click on Video settings in the left sidebar.
- Make sure the correct webcam is selected from the drop-down menu under Camera.
- Ensure that the checkbox next to Enable Skype Video is checked.
- Adjust your webcam settings in Skype.
- In the Video settings window, click on Webcam settings.
- Adjust the settings for brightness, contrast, and other webcam parameters as desired.
- Click Apply or OK to save the changes.
- Test your webcam in Skype.
- Click on Tools in the menu bar and select Options.
- In the options window, click on Video settings in the left sidebar.
- Click on the Test video button to start a test call.
- Follow the on-screen instructions to check if your webcam is functioning properly.
- If the video is working, you can close the test call window.
Check and Adjust Camera Permissions
1. On Windows 10 or Windows 11:
– Open the Start menu and search for “Camera privacy settings”.
– Click on “Camera privacy settings” in the search results.
– Ensure that the toggle switch under “Allow apps to access your camera” is turned on.
– Scroll down to the “Choose which Microsoft Store apps can access your camera” section.
– Enable the toggle switch next to Skype to grant it camera access.
2. On Android or iOS devices:
– Go to your device’s Settings menu.
– Look for “Apps” or “Applications” and tap on it.
– Locate and tap on Skype in the list of installed apps.
– Tap on “Permissions” or “App permissions”.
– Find and enable the camera permission for Skype.
3. On macOS:
– Open the System Preferences menu.
– Click on “Security & Privacy”.
– Go to the “Privacy” tab.
– Select “Camera” from the left sidebar.
– Enable the checkbox next to Skype to allow it access to the camera.
Ensure Skype and OS Compatibility

1. Check Skype version: Ensure you have the latest version of Skype installed on your device. Open Skype and go to the “Help” menu, then select “Check for Updates” to update to the latest version.
2. Verify OS compatibility: Make sure your operating system (OS) is compatible with Skype. Visit the Skype website or Microsoft Store to check the system requirements for your OS.
3. Update device drivers: Outdated device drivers can cause compatibility issues. Update your computer’s hardware drivers, especially those related to video and audio, by visiting the manufacturer’s website or using a driver update tool.
4. Check internet connection: A stable internet connection is crucial for video calls. Ensure you have a reliable Wi-Fi or wired connection and check for any network issues. Restart your modem or router if needed.
5. Disable conflicting applications: Some applications or plugins may interfere with Skype’s video calling feature. Close any unnecessary applications running in the background and disable any plugins that may conflict with Skype.
Following these steps should help ensure Skype and OS compatibility and resolve any issues with disabled video calls.
Close Other Webcam-Using Programs
To troubleshoot disabled Skype video calls, it is important to close any other webcam-using programs that may be running in the background. These programs can interfere with Skype’s access to your camera and result in disabled video calls.
To close other webcam-using programs, follow these steps:
1. On your Windows computer, navigate to the taskbar or the Start menu.
2. Right-click on the taskbar or the Start menu icon and select “Task Manager.”
3. In the Task Manager window, click on the “Processes” or “Details” tab, depending on your Windows version.
4. Look for any processes or applications that may be using your webcam. These could include video conferencing apps, online chat platforms, or even browser tabs with camera access.
5. Right-click on the webcam-using process or application and select “End Task” or “End Process Tree.”
6. Repeat this step for any other webcam-using processes or applications that you find.
7. Once you have closed all the webcam-using programs, reopen Skype and check if the video calls are now enabled.
By closing other webcam-using programs, you allow Skype to have exclusive access to your camera, preventing any conflicts and enabling smooth video calls.
Disable, Then Enable Webcam
To troubleshoot disabled video calls on Skype, you can try disabling and then enabling your webcam. Here’s how to do it:
1. On your computer, open Skype and sign in to your account.
2. Go to the “Settings” menu, which can be accessed by clicking on your profile picture or the three-dot menu icon.
3. In the settings menu, select “Audio & Video” from the left-hand side panel.
4. Under the “Video” section, you’ll see your webcam listed. It may be disabled or not detected.
5. To disable the webcam, click on the drop-down menu next to it and select “None” or a similar option.
6. Wait for a few seconds, then reselect your webcam from the drop-down menu to enable it again.
7. Test your video by making a call or using the “Test video” option in the settings.
If your webcam is still not working, make sure it is properly connected to your device and that the necessary drivers are installed. You can also try restarting your computer or updating Skype to the latest version.
Update Webcam and Skype

| Step | Description |
|---|---|
| 1 | Open your web browser and go to the manufacturer’s website for your webcam. |
| 2 | Search for the latest drivers for your webcam model. |
| 3 | Download and install the updated drivers according to the provided instructions. |
| 4 | Restart your computer to apply the changes. |
Check Internet Connection Stability

To check the stability of your internet connection for Skype video calls, follow these steps:
1. Ensure that you are connected to a stable Wi-Fi or wired internet connection. Check your Wi-Fi signal strength and proximity to the router if using Wi-Fi.
2. If you are using a mobile device, make sure you have a strong cellular network signal. Consider switching to Wi-Fi if available.
3. Restart your router and modem to refresh the internet connection.
4. Close any other applications or devices that may be using a significant amount of bandwidth, as this can affect your video call quality.
5. Update your Skype application to the latest version. Check for updates in your app store or on the Skype website.
6. If using a computer, ensure that your device drivers and operating system are up to date.
7. If you are using a USB hub or docking station, try connecting your device directly to your computer or laptop.
8. Consider temporarily disabling any firewalls or antivirus software that may be blocking Skype traffic.
Adjust Camera Access in Privacy Settings
To adjust camera access in Skype’s privacy settings, follow these steps:
1. Open Skype on your device. This can be a computer, tablet, or smartphone running on Android or Microsoft Windows.
2. Go to the settings menu. Look for the gear icon, usually located in the top-right corner of the screen.
3. In the settings menu, find the “Privacy” section. This is where you can control the access to your camera.
4. Click on “Privacy” and scroll down to locate the “Camera” option. Click on it to access the camera settings.
5. By default, Skype should have access to your camera. However, if it’s disabled or restricted, you can toggle the switch to enable it (turn on).
6. If you have multiple cameras connected to your device, you can choose the specific camera you want to use for Skype video calls from the drop-down menu.
7. Once you’ve made the necessary adjustments, close the settings menu and try making a video call on Skype again.
Reinstall or Update Webcam Drivers
Reinstalling or updating webcam drivers can often resolve issues with disabled Skype video calls. Here are some steps to guide you through the process:
1. First, identify the type of operating system you are using, whether it’s Android, Microsoft Windows, or another platform.
2. If you’re using a tablet computer or smartphone, ensure that it is connected to a docking station or charger to prevent any power-related issues during the driver update.
3. Check if you have a stable internet connection through your Internet Service Provider or cellular network. A reliable connection is crucial for downloading and installing drivers.
4. Locate the device driver for your webcam. This can usually be found on the manufacturer’s website or in the device manager of your computer.
5. Uninstall the existing webcam driver by right-clicking on the device in the device manager and selecting “Uninstall.”
6. Download the latest driver from the manufacturer’s website or use a reputable driver update tool.
7. Install the new driver by following the on-screen instructions.
8. Once the installation is complete, restart your computer to ensure the changes take effect.
Troubleshoot with Windows Store Apps Tool

The Windows Store Apps Tool can be a useful resource for troubleshooting disabled Skype video calls. Here’s how to use it:
1. Open the Windows Store Apps Tool by pressing the Windows key + R to open the Run dialog box, then type “WSReset.exe” and press Enter. This will reset the Windows Store cache.
2. If resetting the cache doesn’t resolve the issue, try reinstalling the Skype app. To do this, press the Windows key + I to open the Settings app, then go to Apps > Apps & features. Find Skype in the list, click on it, and select “Uninstall.” Once it’s uninstalled, go to the Microsoft Store and reinstall Skype.
3. If reinstalling the app doesn’t work, try updating your graphics drivers. Press the Windows key + X and select “Device Manager.” Expand the “Display adapters” category, right-click on your graphics card, and select “Update driver.” Follow the on-screen instructions to complete the update.
4. If you’re using an external camera, make sure it’s properly connected to your computer. Try unplugging and reconnecting the USB cable or using a different USB port. If you’re using a wireless camera, ensure that it’s paired correctly with your device.
FAQs
Why is Skype not showing the other person video?
Skype may not be showing the other person’s video because their webcam could be of poor quality or incompatible with their computer. Another possibility is that their webcam may be disconnected. Additionally, if either of you doesn’t meet the minimum hardware requirements for Skype, it could affect the video.
Why is my Skype camera locked?
Your Skype camera may be locked because there is a conflict with other programs using it. To resolve this, close all other programs that might be accessing your webcam.
How do I enable video on Skype?
To enable video on Skype, follow these steps:
1. Select your profile picture.
2. Go to Settings.
3. Choose Audio & Video.
4. Customize your audio and video settings, such as selecting a different camera if available and previewing your camera.
Why is my video camera not working on Skype?
Your video camera may not be working on Skype because you need to close and reopen the application to initialize the camera. If you are using an external camera and can’t see the live view, try unplugging and plugging it back in or using a different USB port. Remember to close Skype before doing this and only open it after the camera is plugged back in.

