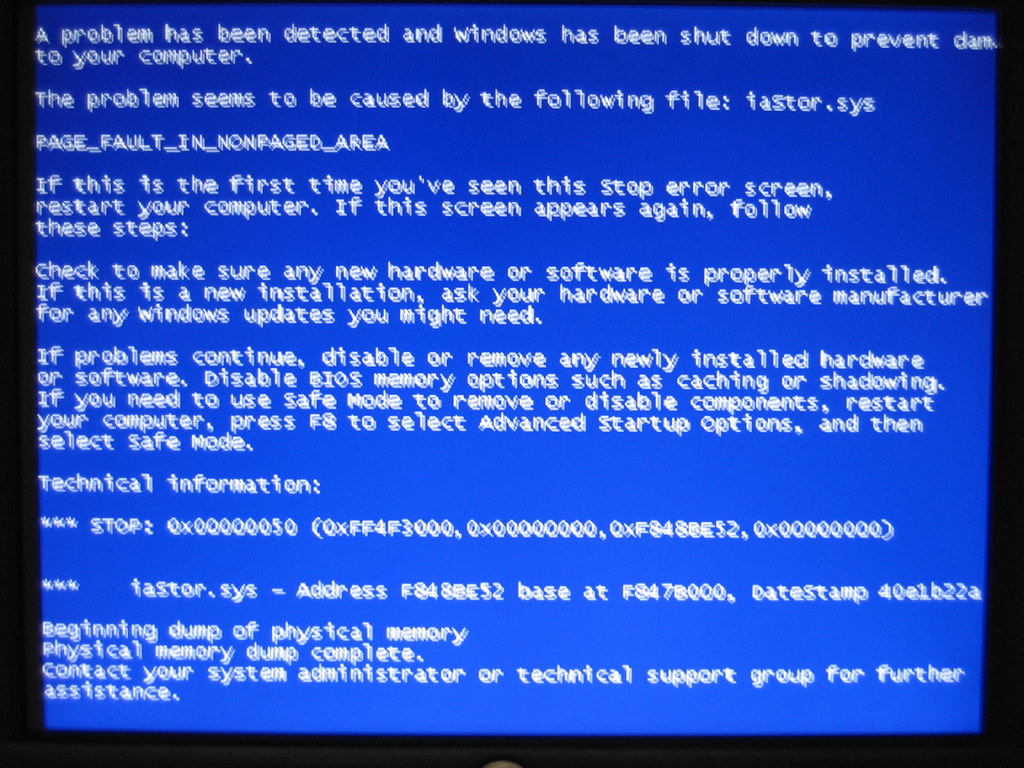
I recently encountered the frustrating Windows 7 boot error 0xc000000e.
Understanding the Error Code
1. Boot into Windows Preinstallation Environment (Windows PE) by inserting your Windows installation DVD or USB and restarting your computer. Make sure your computer is set to boot from the DVD or USB.
2. Once you’re in Windows PE, open the command prompt by pressing the Shift + F10 keys simultaneously.
3. Use the diskpart command to check the disk partitioning. Make sure the partition where Windows is installed is set as active.
4. Run the command bootrec /fixmbr to fix the Master Boot Record (MBR).
5. Next, run the command bootrec /fixboot to fix the boot sector.
6. If the issue persists, run the command bootrec /rebuildbcd to rebuild the Boot Configuration Data (BCD).
7. After completing these steps, restart your computer and check if the error has been resolved.
Common Symptoms and Indications
- Check for Loose Connections:
- Turn off the computer and unplug all external devices.
- Open the computer case and ensure that all cables and connections are securely plugged in.
- Close the computer case and plug in the power cable.
- Run Startup Repair:
- Insert the Windows installation disc or USB drive.
- Restart the computer and boot from the installation media.
- Select your language preferences and click “Next”.
- Click on “Repair your computer” at the bottom left corner.
- Choose the operating system you want to repair and click “Next”.
- Select “Startup Repair” from the list of recovery tools.
- Follow the on-screen instructions to complete the repair process.
- Rebuild BCD (Boot Configuration Data):
- Insert the Windows installation disc or USB drive.
- Restart the computer and boot from the installation media.
- Select your language preferences and click “Next”.
- Click on “Repair your computer” at the bottom left corner.
- Choose the operating system you want to repair and click “Next”.
- Select “Command Prompt” from the list of recovery tools.
- Type bootrec /rebuildbcd and press Enter.
- Follow the on-screen instructions and select the Windows installation.
- Restart the computer after the process is complete.
- Check Hard Drive for Errors:
- Insert the Windows installation disc or USB drive.
- Restart the computer and boot from the installation media.
- Select your language preferences and click “Next”.
- Click on “Repair your computer” at the bottom left corner.
- Choose the operating system you want to repair and click “Next”.
- Select “Command Prompt” from the list of recovery tools.
- Type chkdsk C: /f and press Enter (replace “C” with the appropriate drive letter).
- Wait for the disk checking process to complete.
- Restart the computer after the process is complete.
- Perform System Restore:
- Insert the Windows installation disc or USB drive.
- Restart the computer and boot from the installation media.
- Select your language preferences and click “Next”.
- Click on “Repair your computer” at the bottom left corner.
- Choose the operating system you want to repair and click “Next”.
- Select “System Restore” from the list of recovery tools.
- Choose a restore point before the boot error occurred and click “Next”.
- Follow the on-screen instructions to complete the system restore process.
- Restart the computer after the process is complete.
Primary Causes Behind the Error
| Cause | Description | Possible Fix |
|---|---|---|
| Corrupted Boot Configuration Data (BCD) | The BCD stores important boot configuration settings. If it gets corrupted, the system may fail to boot. | Use the Windows Recovery Environment to rebuild the BCD using the Bootrec.exe tool. |
| Missing or damaged system files | If critical system files required for booting are missing or damaged, it can lead to boot errors. | Use the System File Checker (SFC) tool to scan and repair missing or corrupted system files. |
| Incorrect boot device order | If the computer is trying to boot from an incorrect device or drive, it can result in the error. | Check the BIOS/UEFI settings and ensure the correct boot device is selected. |
| Malware or virus infection | Infections can cause damage to boot files or modify the boot process, leading to boot errors. | Scan the system using reliable antivirus software to remove any malware or viruses. |
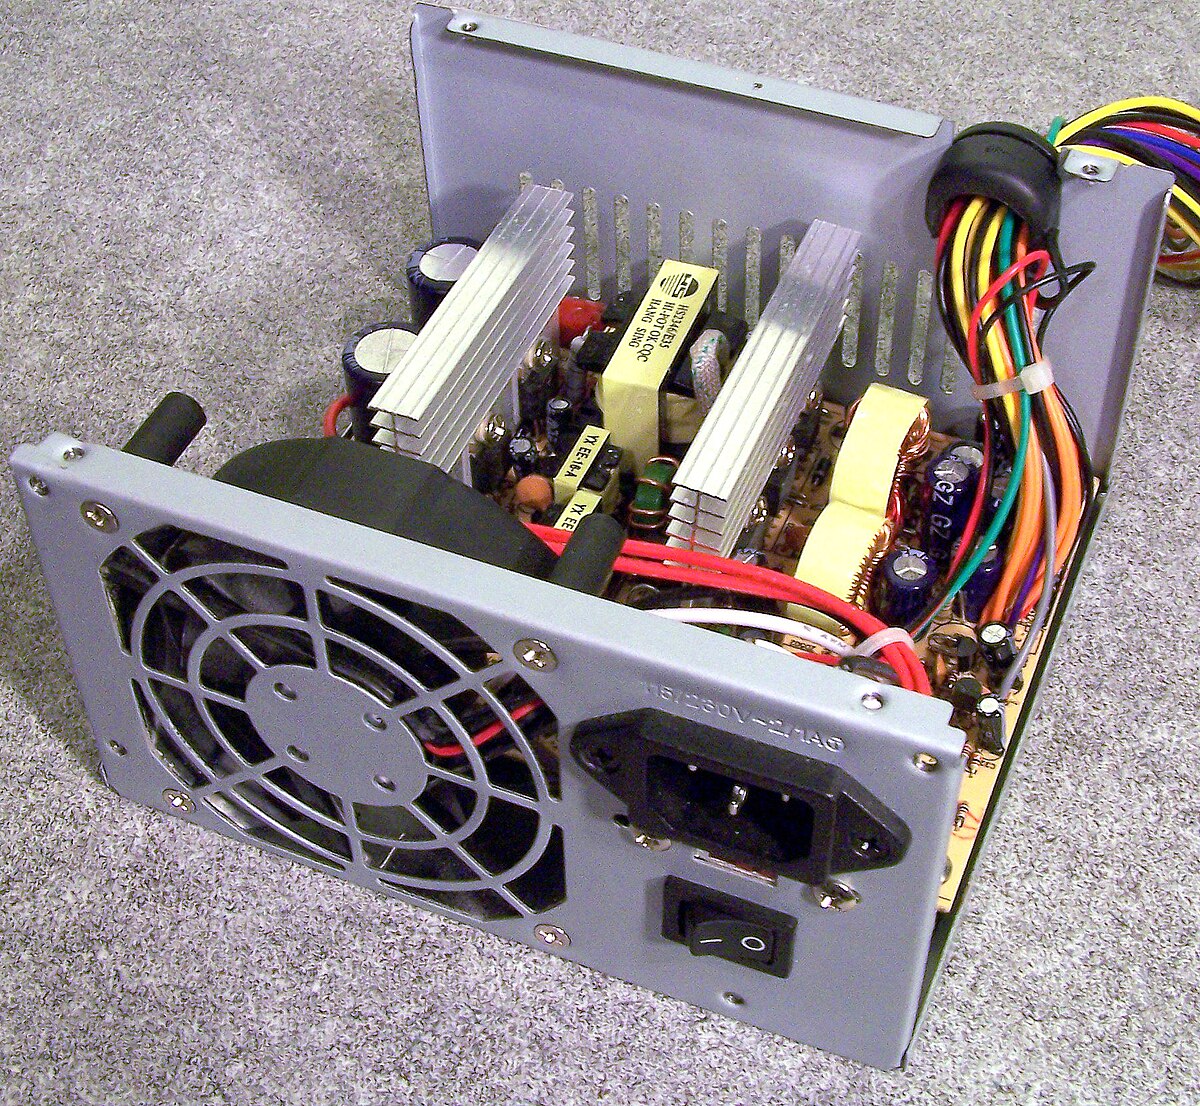
| Hardware issues | Faulty hardware components such as hard drives, RAM, or cables can prevent the system from booting. | Check hardware connections, run diagnostics, and replace any faulty components. |
Disconnect External Hardware
To fix Windows 7 Boot Error 0xc000000e, it is important to disconnect any external hardware connected to your computer. This includes devices such as printers, scanners, external hard drives, and USB devices.
By disconnecting these external hardware, you can eliminate any potential conflicts or issues that may be causing the boot error.
To disconnect external hardware, follow these steps:
1. Shut down your computer completely.
2. Unplug any cables or cords connecting the external hardware to your computer.
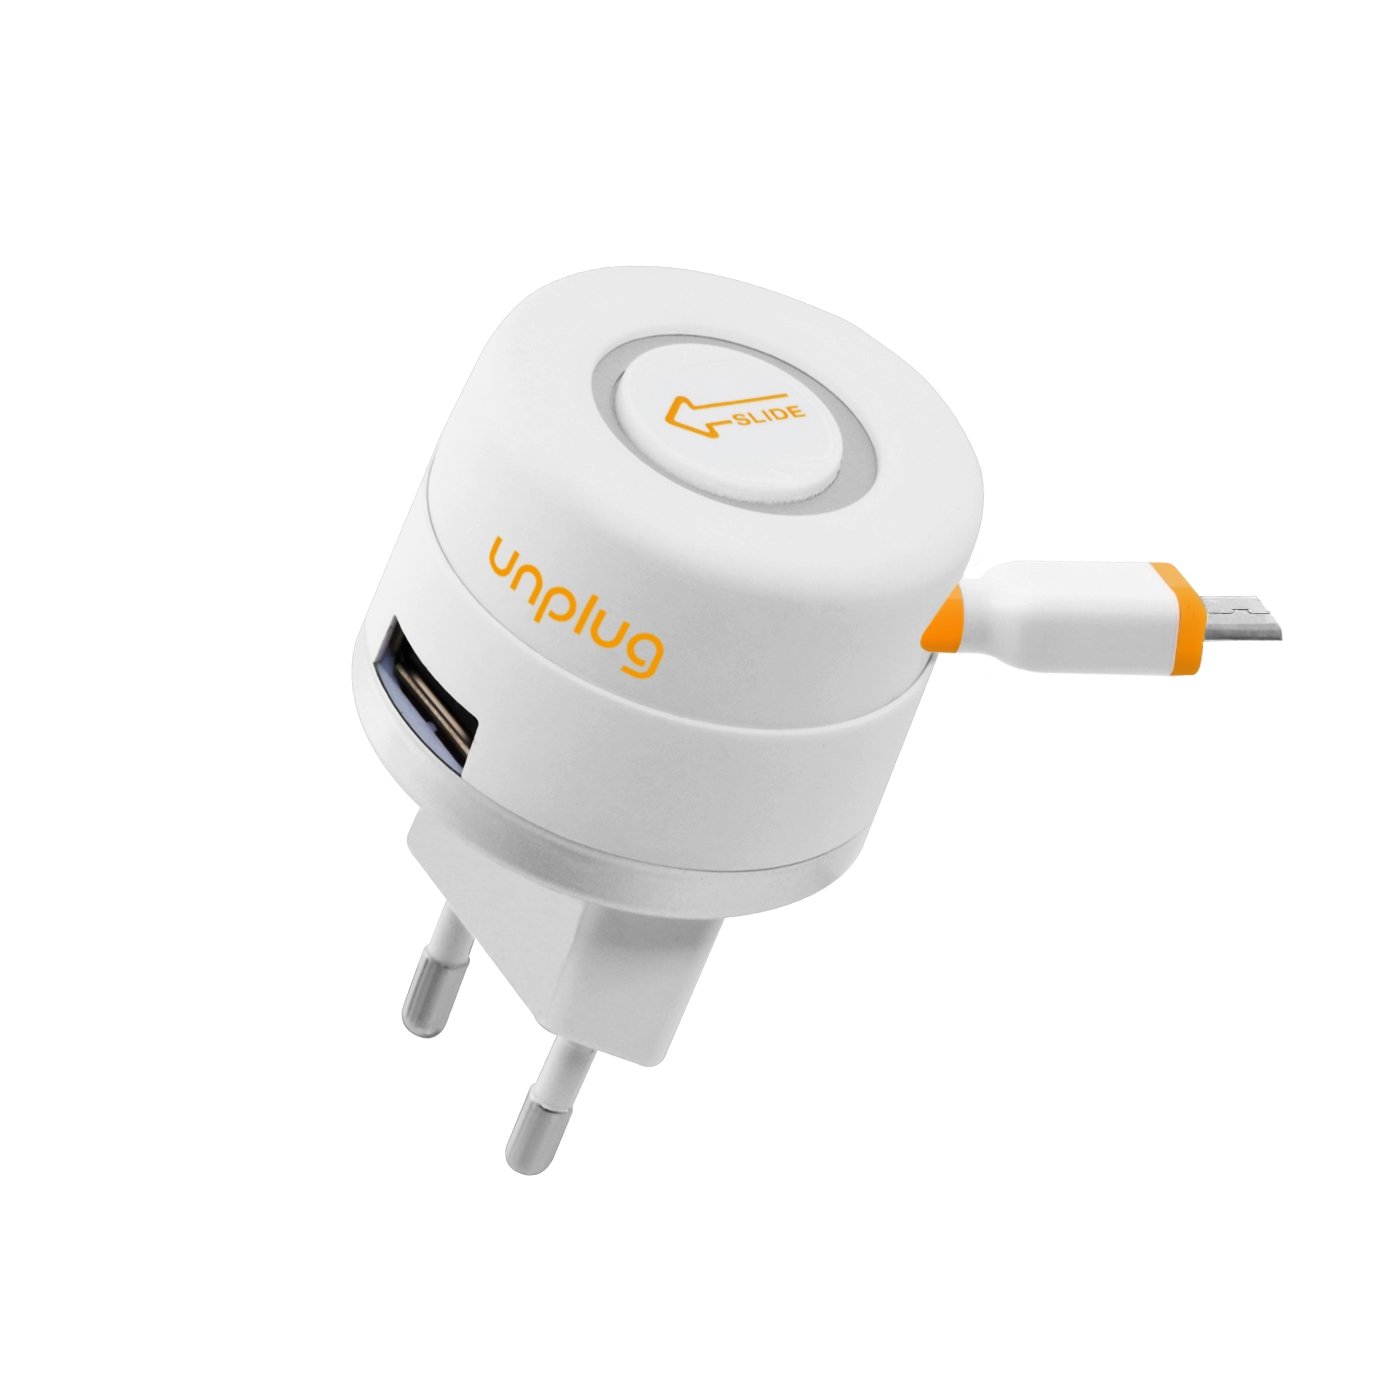
3. Remove any USB devices from the USB ports.
4. Once all external hardware is disconnected, power on your computer and see if the boot error persists.
If the boot error is resolved after disconnecting external hardware, you can gradually reconnect each device one by one to determine which one was causing the issue.
Utilize Startup Repair Options
If you encounter a Windows 7 boot error 0xc000000e, you can utilize the startup repair options to fix the issue. Here are the steps to follow:
1. Insert your Windows installation disc or a system repair disc into your computer’s optical drive.
2. Restart your computer and boot from the disc.
3. Select your language preferences and click “Next.”
4. Click on “Repair your computer” at the bottom left corner of the screen.
5. Choose the operating system you want to repair (in this case, Windows 7) and click “Next.”
6. Click on “Startup Repair” and let the process run.
7. If the startup repair is successful, your computer will automatically restart.
8. If the startup repair doesn’t fix the issue, repeat steps 1-4 and select “Command Prompt” this time.
9. In the command prompt, type “bootrec /fixmbr” and press Enter.
10. Then, type “bootrec /fixboot” and press Enter.
11. Finally, type “bootrec /rebuildbcd” and press Enter.
12. Restart your computer and check if the boot error is resolved.
Manual and Automatic BCD Reconstruction
Manual BCD Reconstruction: To manually reconstruct the BCD, you will need to use the Windows Preinstallation Environment (Windows PE) or a Windows installation disc. Boot your computer using either of these options and follow these steps:
1. Access the Command Prompt by pressing the Shift + F10 keys simultaneously.
2. Use the diskpart command to select the appropriate disk and partition where Windows is installed.
3. Use the bootrec /rebuildbcd command to rebuild the BCD. This command will scan for Windows installations and prompt you to add them to the BCD.
Automatic BCD Reconstruction: If the manual method seems complicated, you can use a tool like EasyBCD to automatically rebuild the BCD. EasyBCD is a software application that simplifies the process and allows you to manage the Windows Boot Manager easily.
1. Download and install EasyBCD from the official website.
2. Launch EasyBCD and navigate to the “BCD Deployment” section.
3. Click on the “Recreate/repair boot files” button to automatically rebuild the BCD.
Adjust BIOS and SATA Settings
| Step | Description |
|---|---|
| Step 1 | Restart your computer and press the key required to enter the BIOS setup (usually Del, F2, or F10). |
| Step 2 | Navigate to the “Boot” or “Boot Options” tab in the BIOS setup. |
| Step 3 | Change the boot order to prioritize the hard drive where Windows 7 is installed. Move it to the top of the boot order list. |
| Step 4 | Save the changes and exit the BIOS setup. |
| Step 5 | If the boot error persists, return to the BIOS setup and navigate to the “Advanced” or “Advanced Settings” tab. |
| Step 6 | Find the “SATA Configuration” or “SATA Settings” option. |
| Step 7 | Change the SATA mode from “IDE” or “Compatibility” to “AHCI” or “RAID” (if available). |
| Step 8 | Save the changes and exit the BIOS setup. |
| Step 9 | Restart your computer and check if the boot error is resolved. |
Check and Repair Disk Errors
1. Start your computer and press the F8 key repeatedly until you see the Advanced Boot Options menu.
2. Use the arrow keys to highlight “Repair Your Computer” and press Enter .
3. Select your language preferences and click “Next”.
4. Enter your administrator password, if prompted, and click “OK”.
5. In the System Recovery Options menu, select “Command Prompt”.
6. In the command prompt window, type chkdsk /r and press Enter .
7. Wait for the disk check to complete. This process may take some time.
8. Once the disk check is finished, restart your computer.
This should help fix any disk errors causing the Windows 7 Boot Error 0xc000000e. If the issue persists, you may need to seek assistance from a technician or refer to the user guide for further troubleshooting steps.
Update or Reset Device Drivers
1. Start your computer and press the [Menu key] or [Option key] to enter the boot menu.
2. Use the arrow keys to navigate to the “Windows Boot Manager” option and press [Enter].
3. Select your operating system (e.g., Windows 7) and press [Enter].
4. When the error message appears, press [Enter] to continue.
5. Once you reach the login screen, press [Ctrl] + [Alt] + [Delete] together to open the Task Manager.
6. In the Task Manager, click on the “File” menu and select “Run new task”.
7. Type “devmgmt.msc” in the “Open” field and click “OK” to open the Device Manager.
8. In the Device Manager, expand the categories to locate the problematic device drivers (they will be marked with a yellow exclamation mark).
9. Right-click on the problematic driver and select “Update driver” or “Uninstall device” to reset it.
10. If you choose to update the driver, select the option to search automatically for updated driver software. If you choose to uninstall the driver, restart your computer and Windows will automatically reinstall the driver.
11. Repeat steps 9 and 10 for any other problematic drivers.
12. Once all drivers have been updated or reset, restart your computer normally.
By updating or resetting the device drivers, you can resolve the Windows 7 boot error 0xc000000e and get your computer up and running again.
Additional Repair Methods Without CD
If you’re experiencing the Windows 7 Boot Error 0xc000000e and don’t have a CD, there are additional repair methods you can try.
1. Use the Windows Recovery Environment: Boot your computer and press the F8 key repeatedly until the Advanced Boot Options menu appears. Select “Repair Your Computer” and follow the on-screen instructions to access the Windows Recovery Environment. From there, you can try various repair options such as Startup Repair or System Restore.
2. Rebuild the BCD: If the Boot Configuration Data (BCD) is corrupted, you can rebuild it using the Command Prompt in the Windows Recovery Environment. Enter the following commands one by one:
– bootrec /fixmbr
– bootrec /fixboot
– bootrec /rebuildbcd
3. Use Easy Recovery Essentials: If the above methods don’t work, you can use a third-party tool like Easy Recovery Essentials to automatically repair your Windows 7 boot error. This tool can be downloaded from the official website and used to create a bootable USB or CD.
Comprehensive Solutions with Installation CD
To fix the Windows 7 Boot Error 0xc000000e, you can use a comprehensive solution that includes an installation CD. Here’s how:
1. Insert the Windows installation CD into your computer’s CD/DVD drive.
2. Restart your computer and boot from the installation CD. To do this, you may need to change the boot order in your computer’s BIOS settings. Consult your computer’s user guide for instructions on accessing the BIOS and changing the boot order.
3. Once the computer boots from the installation CD, you’ll see a menu. Select the “Repair your computer” option.
4. In the next screen, choose the operating system you want to repair (in this case, Windows 7) and click “Next.”
5. On the next screen, select “Command Prompt” to open a command-line interface.
6. In the command prompt, type the following command and press Enter: bootrec /fixmbr
7. Wait for the command to complete. It will fix the Master Boot Record (MBR) of your hard disk drive.
8. Next, type the following command and press Enter: bootrec /fixboot
9. This command will fix the boot sector of your hard disk drive.
10. Finally, type the following command and press Enter: bootrec /rebuildbcd
11. This command will rebuild the Boot Configuration Data (BCD) file.
12. After the command completes, restart your computer and remove the installation CD.
13. Your computer should now boot up without the 0xc000000e error.
FAQ
How do I fix error 0xc00000e on Windows 8?
To fix error 0xc00000e on Windows 8, you can try the following steps:
1. Use a Windows Repair Utility to fix the error.
2. Enable the Windows 8.1/10 WHQL Support Setting in your computer’s BIOS.
3. Re-create the Boot Configuration Data (BCD) file.
4. Check the physical connections of your devices.
5. Make sure the boot disk is online.
6. Reset the BIOS/UEFI configuration to resolve the error code.
What causes error code 0xc00000e?
The error code 0xc00000e is typically caused by hardware issues such as a malfunctioning SSD or HDD, or by corrupted system files or misconfigured Boot Configuration Data (BCD).
How do I fix Windows boot Manager error 0xc000000e?
To fix Windows boot Manager error 0xc000000e, you can try these methods:
1. Check physical device connections.
2. Rebuild the BCD file.
3. Rebuild the BCR registry hive.
4. Use the automatic repair utility.
5. Reset the BIOS/UEFI configuration.
6. Mark the boot disk as online.
How do I fix error code 0xc000000e in Windows 7?
To fix error code 0xc000000e in Windows 7, you can run the CHKDSK utility. This program scans the entire hard drive and automatically fixes any errors it finds.
