Encountering the Windows 10 Error 0xc000021a can be frustrating, but fear not, as I will guide you through the steps to fix it.
Understanding BSOD Error
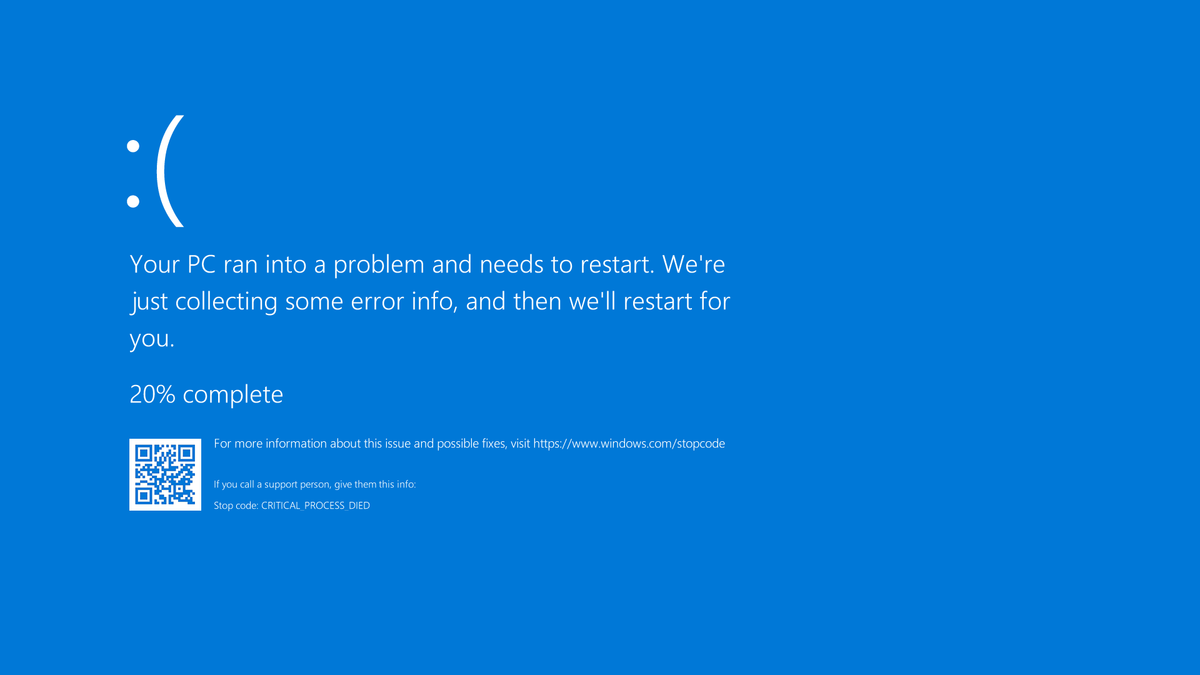
The BSOD (Blue Screen of Death) error with the code 0xc000021a is a common problem faced by Windows 10 users. This error usually occurs due to issues with the Client/Server Runtime Subsystem (CSRSS) process, which is responsible for managing the user space and kernel space in the operating system.
To fix this error, follow these steps:
1. Boot your computer into Safe Mode by restarting your PC and pressing the F8 key repeatedly until you see the Advanced Boot Options menu. From there, select Safe Mode and press Enter.
2. Once in Safe Mode, open the Start menu and type “cmd” to open the Command Prompt.
3. In the Command Prompt, type “sfc /scannow” and press Enter. This will run a system file check to repair any corrupted files that may be causing the error.
4. After the system file check is complete, type “chkdsk C: /f” and press Enter. This command will check and repair any errors in your hard disk drive.
5. If the error persists, try performing a System Restore. Open the Start menu, type “System Restore,” and select the corresponding option. Follow the on-screen instructions to restore your system to a previous working state.
6. If none of the above steps work, you can try updating your device drivers. Open the Start menu, type “Device Manager,” and select the corresponding option. In Device Manager, expand the categories and right-click on each device to update its driver.
7. It is also recommended to run a full scan with an antivirus software, such as Microsoft Defender Antivirus, to check for any malware or viruses that may be causing the error.
8. If all else fails, you may need to perform a clean installation of Windows 10. Make sure to back up your important files before proceeding with the installation.
Initial Steps to Recover Data
- 1. Perform a System Restore: Use the System Restore feature to revert your computer back to a previous working state.
- 2. Boot into Safe Mode: Start your computer in Safe Mode to troubleshoot and fix the error.
- 3. Run Automatic Repair: Utilize the Automatic Repair feature to scan and repair any issues with your Windows 10 installation.
- 4. Disable Driver Signature Enforcement: Temporarily disable the driver signature enforcement to allow installation of unsigned drivers.
- 5. Check for Windows Updates: Ensure that your Windows 10 operating system is up to date by checking for and installing the latest updates.
- 6. Scan for Malware: Run a comprehensive malware scan using a trusted antivirus program to eliminate any potential malware causing the error.
- 7. Check Hardware Connections: Ensure all hardware components are properly connected and functioning correctly.
- 8. Use System File Checker (SFC) and DISM: Run the System File Checker (SFC) tool and Deployment Image Servicing and Management (DISM) tool to repair corrupted system files.
- 9. Perform a Clean Boot: Disable all non-essential startup programs and services to troubleshoot software conflicts.
- 10. Reinstall Windows 10: If all else fails, consider reinstalling Windows 10 to resolve the error.
Troubleshooting with External Devices
First, ensure that all external devices, such as printers, scanners, or external hard drives, are disconnected from your computer.
Next, restart your computer and see if the error persists. If it does, try booting into Safe Mode to isolate any software conflicts.
Once in Safe Mode, you can run a CHKDSK scan to check for any errors on your hard drive. Open a Command Prompt window as an administrator and type “CHKDSK /f” to initiate the scan.
If the error is still present, you may need to update or reinstall any device drivers associated with the external devices. You can do this by going to the Device Manager, right-clicking on the device, and selecting “Update driver” or “Uninstall device” followed by a restart to reinstall the driver.
In some cases, the error may be caused by a virus or malware. Run a full system scan with your antivirus software, such as Microsoft Defender Antivirus, to ensure your computer is clean.
If the issue persists, you can try running a System File Checker (SFC) scan to repair any corrupted system files. Open a Command Prompt window as an administrator and type “sfc /scannow” to initiate the scan.
If all else fails, you may need to restore your computer to a previous restore point or perform a fresh Windows installation. Make sure to back up your important files before proceeding with these steps.
Essential Repair Tools and Commands

| Tool/Command | Description |
|---|---|
| Windows 10 Installation Media | A USB or DVD containing the Windows 10 installation files. |
| Command Prompt | A command-line interpreter for executing repair commands. |
| Startup Repair | A Windows tool that automatically fixes common startup issues. |
| SFC (System File Checker) | A command that scans and repairs corrupted system files. |
| DISM (Deployment Image Servicing and Management) | A command that repairs the Windows image and component store. |
| CHKDSK (Check Disk) | A command that scans and repairs file system errors. |
| BCDEDIT | A command that manages the Windows boot configuration data. |
| System Restore | A Windows feature that restores the system to a previous working state. |
| Safe Mode | A diagnostic mode that starts Windows with minimal drivers and services. |
Addressing System File and Boot Issues
If you’re encountering the Windows 10 error 0xc000021a, which often leads to a blue screen of death, it’s likely due to system file and boot issues. Here’s how you can fix this error and get your computer running smoothly again:
1. Reboot your computer: Sometimes a simple restart can resolve the issue. Make sure to fully shut down your computer and then turn it back on.
2. Use a system restore point: If the error occurred recently, you can try restoring your computer to a previous state when it was working fine. Use the Windows System Restore feature to do this.
3. Run Windows Update: Updating your Windows operating system can fix any bugs or issues that may be causing the error. Go to Settings > Update & Security > Windows Update and click on “Check for updates.”
4. Check for malware: Run a full scan with your antivirus software to ensure that your computer is not infected with any viruses or malware. If any threats are detected, remove them immediately.
5. Update device drivers: Outdated or incompatible device drivers can cause system file and boot issues. Update your drivers by going to Device Manager, right-clicking on the device, and selecting “Update driver.”
6. Repair corrupted system files: Use the System File Checker tool to scan and repair any corrupted system files. Open Command Prompt as an administrator and type “sfc /scannow” to start the scan.
7. Check your hard drive and SSD: Use the CHKDSK command to check for any errors on your hard drive or SSD. Open Command Prompt as an administrator and type “chkdsk C: /f /r” (replace C with the appropriate drive letter) to start the scan.
8. Perform a clean boot: By starting your computer with only essential services and startup programs, you can identify if any third-party software is causing the error. Follow the instructions provided by Microsoft to perform a clean boot.
Managing Device Drivers and Software
1. Update Device Drivers: Begin by updating all device drivers on your computer. Outdated or incompatible drivers can cause the error. To do this, follow these steps:
– Press the Windows key + X and select “Device Manager” from the context menu.
– Expand the categories and right-click on each device driver.
– Select “Update driver” and choose the option to search automatically for updated driver software.
2. Uninstall Problematic Software: Certain software applications can conflict with Windows and trigger the error. To uninstall such software:
– Press the Windows key + X and select “Apps and Features” from the context menu.
– Locate the problematic software and click on it.
– Select “Uninstall” and follow the on-screen prompts to remove it completely.
3. Scan for Malware: Run a thorough scan for viruses and malware using a reliable antivirus program. Viruses can corrupt system files and cause error 0xc000021a. Make sure your antivirus software is up to date and perform a full system scan.
4. Use System Restore: If the error occurred after installing a new program or driver, you can use the System Restore feature to revert your computer to a previous point in time when it was working fine. To do this:
– Press the Windows key + X and select “System” from the context menu.
– Click on “System Protection” and then select “System Restore.”
– Follow the on-screen instructions to choose a restore point and restore your system.
5. Check Disk and System Files: Run the built-in Windows utilities to check for errors in your hard disk and system files. To do this:
– Open a command prompt with administrative privileges by pressing the Windows key + X and selecting “Command Prompt (Admin)” from the context menu.
– Type “sfc /scannow” and press Enter. This will scan and repair any corrupted system files.
– Then, type “chkdsk /f /r” and press Enter to schedule a disk check. Restart your computer for the disk check to run during boot.
6. Perform a Clean Boot: To identify if any third-party software is causing the error, perform a clean boot. This will start Windows with only essential services and drivers. To do this:
– Press the Windows key + R to open the Run dialog box.
– Type “msconfig” and press Enter.
– In the System Configuration window, go to the “Services” tab and check the box that says “Hide all Microsoft services.”
– Click on “Disable all” and go to the “Startup” tab.
– Click on “Open Task Manager” and disable all startup items.
– Restart your computer and see if the error persists.
Adjusting BIOS and System Configurations
To adjust BIOS and system configurations to fix Windows 10 Error 0xc000021a, follow these steps:
1. Reboot your computer and continuously press the specified key (usually F2 or Del) to enter the BIOS setup.
2. Once in the BIOS, navigate to the “Boot” or “Boot Options” section.
3. Locate the “Boot Mode” or “UEFI Boot” setting and ensure it is set to the appropriate option (e.g., “Legacy” or “UEFI”).
4. Save the changes and exit the BIOS. Your computer will reboot.
5. If the error persists, repeat steps 1 and 2 to enter the BIOS setup again.
6. Look for the “Secure Boot” option and disable it.
7. Save the changes and exit the BIOS. Reboot your computer.
8. If the error still persists, try adjusting other BIOS settings such as “Fast Boot” or “Boot Priority” to prioritize the correct boot device.
9. If adjusting BIOS settings doesn’t resolve the issue, try accessing the Advanced Boot Options menu by pressing the F8 key during startup.
10. From the menu, select “Disable automatic restart on system failure” to prevent your computer from restarting when the error occurs.
11. Restart your computer and wait for the error message to appear.
12. Once the error message is displayed, press the **Shift** key and click on the “Restart” option.
13. In the subsequent menu, select “Troubleshoot” and then “Advanced options.”
14. From the advanced options, choose “Command Prompt.”
15. In the command prompt, type the following command and press Enter: **sfc /scannow**
16. Wait for the system file checker to scan and repair any corrupted files.
17. Once the scan is complete, restart your computer and check if the error is resolved.
Comprehensive System Recovery Options
1. Boot into Safe Mode: Restart your computer and press the F8 key repeatedly until the Advanced Boot Options menu appears. Select “Safe Mode” from the list and press Enter. This will start your computer with a minimal set of drivers and services, allowing you to troubleshoot the error.
2. Use System Restore: If you have previously created a restore point, you can use it to revert your system back to a working state. In Safe Mode, go to the Start menu and search for “System Restore.” Open the System Restore utility and follow the on-screen instructions to select a restore point and restore your system.
3. Perform a Startup Repair: If your system fails to boot properly, you can use the Startup Repair tool to fix any issues. Insert your Windows installation media (DVD or USB) and restart your computer. Press any key to boot from the media, and then select your language preferences. Click on “Repair your computer” and select “Startup Repair” from the options.
4. Use the DISM tool: DISM (Deployment Image Servicing and Management) is a command-line utility that can repair corrupted system files. Open the Command Prompt as an administrator and type the following command: dism /online /cleanup-image /restorehealth. Press Enter and wait for the process to complete. This will scan your system for issues and attempt to fix them.
5. Perform a System File Check: The System File Check (SFC) tool scans your system for corrupt or missing system files and repairs them. Open the Command Prompt as an administrator and type the following command: sfc /scannow. Press Enter and wait for the scan to complete. If any issues are found, the tool will attempt to fix them automatically.
F.A.Qs
How do I fix Windows 10 stop code error?
To fix a Windows 10 stop code error, you should review the stop error code in the event logs and install the latest Windows updates, including cumulative and rollup updates. Additionally, ensure your BIOS and firmware are up-to-date and run hardware and memory tests if necessary.
What is the stop code c0000021a?
The stop code c0000021a is a fatal system error that occurs when the Windows NT kernel detects a failure in either the Winlogon.exe or Csrss.exe processes, resulting in the system being stopped and a stop error message being generated.
What is 0xc000021a error loop?
The 0xc000021a error loop is a recurring error that represents the WINLOGON_FATAL_ERROR. This error occurs when a user-mode subsystem, such as WinLogon or CSRSS, is compromised. It indicates that your system’s security cannot be guaranteed due to this error.
How do I fix error 0xc000021a on Windows 10?
To fix error 0xc000021a on Windows 10, you can try the following steps:
1. Unplug all external devices and restart your device.
2. Repair corrupted system files by selecting the language preference.
3. Update device drivers.
4. Boot in Safe Mode in Windows 10.
5. Rebuild BCD.
