Have you ever experienced the frustration of laptop keyboard keys not working? Here’s a guide to help you fix this issue quickly and efficiently.
Restart or Power Reset Your Laptop

Restarting or power resetting your laptop can often resolve issues with non-working keyboard keys. To do this, follow these steps:
1. Save any open files and close all programs.
2. Click on the Start menu in the bottom left corner of your screen.
3. Select the Power option.
4. Choose Restart or Shut down from the menu.
5. If you choose Restart, wait for your laptop to turn off and then turn back on automatically.
6. If you choose Shut down, wait for your laptop to completely power off, then press the power button to turn it back on.
Restarting or power resetting your laptop can help restore any software glitches or conflicts that may be causing the keyboard keys to not work properly.
If restarting your laptop didn’t fix the issue, you can try a power reset. Here’s how:
1. Turn off your laptop by pressing and holding the power button for about 10 seconds.
2. Disconnect the power adapter from your laptop and remove the battery, if possible.
3. Press and hold the power button for another 10 seconds to discharge any residual power.
4. Reinsert the battery and reconnect the power adapter.
5. Press the power button to turn on your laptop.
A power reset can help clear any temporary settings or hardware issues that might be affecting your keyboard.
If the keyboard keys still don’t work after restarting or power resetting your laptop, there may be a hardware problem. In this case, it’s recommended to contact a professional technician or the manufacturer for further assistance.
Clean the Keyboard and Check for Hidden Dirt
Start by turning off your laptop and disconnecting it from any power source. Use a can of compressed air to blow away any loose debris between the keys. Pay attention to the areas around the keys and the spaces in between.
Next, take a clean cloth or cotton swab and dampen it slightly with isopropyl alcohol or a mild cleaning solution. Gently wipe the surface of each key, removing any grime or dirt. Be careful not to use too much liquid, as it can damage the keyboard.
Make sure to clean both the tops and sides of the keys.
After cleaning, let the keyboard dry completely before turning your laptop back on. This will help prevent any moisture from causing further issues.
If cleaning the keyboard doesn’t resolve the problem, you may need to check for hidden dirt that could be causing the keys to malfunction. Carefully remove the keys one by one using a keycap puller or a small, flat tool like a screwdriver. Look for any dirt or debris underneath the keys and clean them thoroughly.
Remember to be gentle when removing the keys to avoid damaging them or the keyboard.
Once you’ve finished cleaning, reassemble the keys by pressing them firmly back into place. Make sure they are aligned correctly and secure.
If the issue persists and your laptop keyboard keys are still not working, there may be a deeper underlying problem. It could be related to the keyboard’s hardware, software, or even the device drivers. In such cases, it’s recommended to seek professional assistance or contact the manufacturer for further troubleshooting steps.
Update or Change Keyboard Drivers and Settings

1. Open the Start menu and search for “Device Manager.”
2. Click on the Device Manager app to open it.
3. Expand the “Keyboards” category to see the list of keyboards connected to your computer.
4. Right-click on the keyboard that is not working properly and select “Update driver.”
5. Choose the option to automatically search for updated driver software.
6. If an update is found, follow the on-screen instructions to install it.
7. If no update is found, right-click on the keyboard again and select “Uninstall device.”
8. Confirm the uninstallation and restart your computer.
9. After the restart, Windows will automatically reinstall the keyboard drivers.
10. If the issue persists, you can try changing the keyboard settings.
11. Open the Start menu and search for “Keyboard settings.”
12. Click on the “Keyboard settings” app to open it.
13. Adjust the settings according to your preferences, such as the keyboard layout or typing settings.
14. If you are using a Mac computer, the process may differ slightly. Refer to the official Apple support website for specific instructions.
By updating or changing the keyboard drivers and settings, you can often resolve issues with laptop keyboard keys not working.
Check and Reconnect Hardware Components

To fix laptop keyboard keys not working, the first step is to check and reconnect the hardware components. Follow these steps:
1. Turn off your laptop and disconnect the power source.
2. Carefully remove the laptop keyboard by unscrewing any screws or releasing any clips holding it in place. Refer to your laptop’s manual for specific instructions on how to remove the keyboard.
3. Once the keyboard is detached, check the connection between the keyboard and the motherboard. Ensure that the ribbon cable or connector is securely attached. If it appears loose, gently reattach it.
4. While inspecting the hardware components, also check for any visible signs of damage or debris. Dust or dirt particles can cause keys to malfunction. Use compressed air to clean any dust or debris from the keyboard and its surrounding area. Make sure to hold the can of compressed air upright and use short bursts to avoid damaging the hardware.
5. After cleaning, reattach the keyboard to the laptop and secure it back in place. Ensure that all screws are tightened properly.
6. Reconnect the power source and turn on your laptop.
7. Test the keyboard by typing on it. Check if the previously non-working keys are now functioning properly.
If the keyboard keys are still not working, there may be other underlying issues such as software conflicts or driver problems. In such cases, it is recommended to seek further assistance or consider contacting a professional technician for help.
Select the Correct Keyboard Layout
1. Identify the correct keyboard layout: Start by determining the type of keyboard layout your laptop has. This information can usually be found in the laptop’s user manual or by searching online using the laptop’s model number.
2. Access the keyboard settings: On Windows, go to the Control Panel and click on “Keyboard” or “Region and Language” settings. On a Mac, go to “System Preferences” and click on “Keyboard.”
3. Select the correct keyboard layout: In the keyboard settings, locate the option to change the keyboard layout. Choose the layout that matches your laptop’s keyboard.
4. Test the keyboard: After selecting the correct layout, test the keyboard to see if the keys are now working. Open a text editor or word processor and type a few characters to ensure that all keys are functioning properly.
5. Restart the laptop: If the keys are still not working, try restarting the laptop. Sometimes a simple restart can resolve keyboard issues.
Use an External Keyboard as a Temporary Solution

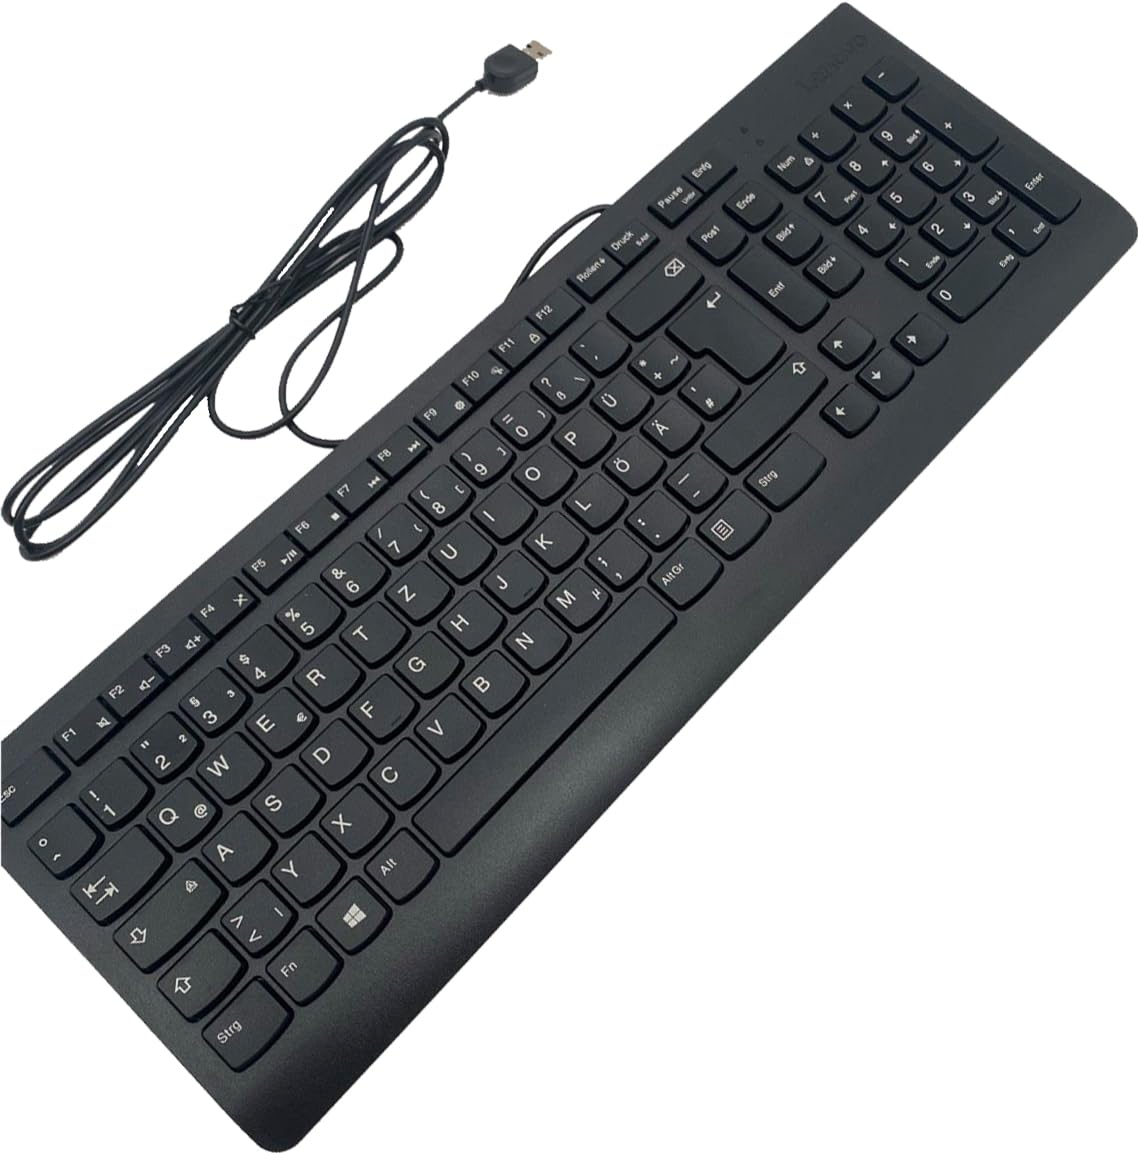
If your laptop keyboard keys are not working, using an external keyboard can be a temporary solution. This allows you to continue using your laptop while you work on fixing the issue.
To use an external keyboard, follow these steps:
1. Connect the external keyboard to your laptop using a USB cable or wireless connection.
2. Make sure the external keyboard is powered on and properly connected.
3. Test the external keyboard to ensure it is functioning correctly.
If the external keyboard is working properly, you can continue using it until you resolve the issue with your laptop keyboard.
Remember to adjust any settings or preferences on your laptop to recognize the external keyboard as the input device. This will ensure that your laptop responds to the external keyboard inputs.
Keep in mind that using an external keyboard is a temporary solution and should not replace fixing the problem with your laptop keyboard. It is important to identify the root cause of the issue and address it accordingly.
If you are unable to fix the problem with your laptop keyboard on your own, you may need to seek professional assistance or contact the manufacturer for further support.
FAQs
Can you fix dead keys on a laptop?
Yes, dead keys on a laptop can often be fixed by removing, cleaning, and restoring them. However, if cleaning doesn’t solve the issue, a full keyboard replacement may be necessary.
What to do if laptop keyboard is typing wrong keys?
If your laptop keyboard is typing wrong keys, you should check your keyboard layout settings. Ensure that your keyboard layout is set to the correct language and region in the system settings or control panel.
How do I fix my keyboard not typing certain letters?
To fix a keyboard not typing certain letters, you can try the following steps:
Restart your computer.
Check the keyboard connection.
Ensure the correct text field is selected.
Disable sticky and filter keys.
Try selecting a different text field.
If using a wireless keyboard, check the wireless connection.
Clean the keyboard.
Update your drivers.
How do I fix some keys on my laptop keyboard not working?
To fix some keys on your laptop keyboard not working, you can try the following solutions:
1. Check the driver: Ensure that your keyboard driver is functioning properly.
2. Examine the motherboard: Sometimes, the issue can be due to a problem with the motherboard.
3. Clean the keyboard: Look for any dirt or spills that may be causing the keys to malfunction and clean them.
4. Adjust sensitivity settings: Check the sensitivity settings on your laptop and make any necessary adjustments.
5. Remove the battery: Try removing the laptop’s battery and then reinserting it after a few minutes.
6. Reconnect the motherboard: If possible, disconnect and reconnect the motherboard to ensure a secure connection.
7. Update drivers or change settings: Consider updating the keyboard drivers or making changes to the settings to resolve the issue.

