Having missing adapters and bindings in Windows 10 can be frustrating. Let’s explore effective ways to fix this issue.
Utilize Built-in Troubleshooting Tools
Windows 10 provides built-in troubleshooting tools that can help fix missing adapters and bindings. These tools are designed to identify and resolve common network connectivity issues. Here’s how you can utilize them:
1. Open the Settings app by pressing the Windows key + I on your keyboard.
2. Click on “Network & Internet” to access the network settings.
3. In the left-hand menu, select “Status” and scroll down to the bottom of the page.
4. Click on the “Network troubleshooter” link to launch the troubleshooting tool.
5. The troubleshooting tool will automatically detect and diagnose any network problems. It will guide you through the process of fixing missing adapters and bindings.
6. If the troubleshooting tool doesn’t resolve the issue, you can try using PowerShell to reset the network settings. Open PowerShell as an administrator by right-clicking on the Start button and selecting “Windows PowerShell (Admin)”.
7. In the PowerShell window, type the following command and press Enter: netsh winsock reset
8. Wait for the command to complete and then restart your computer to apply the changes.
9. After the restart, check if the missing adapters and bindings issue has been resolved.
If you’re still experiencing problems, it may be helpful to check for driver updates for your network interface controller. Visit the manufacturer’s website or use a driver update utility to ensure you have the latest drivers installed.
Update or Reset Network Drivers
1. Press the Windows key + X on your keyboard and select “Device Manager” from the menu.
2. In the Device Manager window, expand the “Network adapters” category.
3. Right-click on the network adapter you want to update or reset and select “Update driver” from the context menu.
4. Choose the option to automatically search for updated driver software. Windows will then search for the latest driver and install it if available.
5. If updating the driver doesn’t fix the issue, you can try resetting the network adapter. Right-click on the network adapter again and this time select “Uninstall device.” Confirm the action when prompted.
6. After uninstalling the device, click on the “Action” menu at the top of the Device Manager window and select “Scan for hardware changes.” Windows will then detect the network adapter and reinstall the driver.
7. If the issue still persists, you can try installing the driver manually. Go to the manufacturer’s website and download the latest driver for your network adapter. Then, right-click on the network adapter in Device Manager and select “Update driver” again. This time, choose the option to “Browse my computer for drivers” and navigate to the location where you saved the downloaded driver files.
8. Follow the on-screen instructions to complete the driver installation.
Explore Device Manager Options

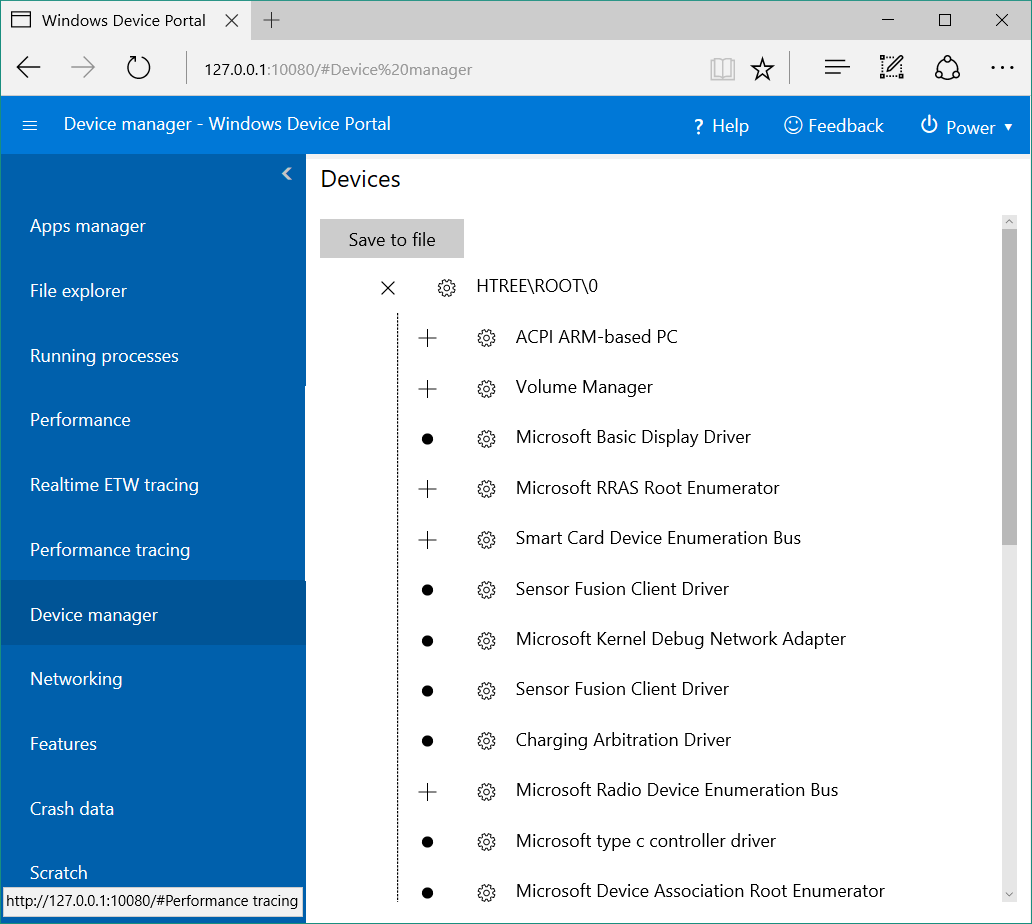
Device Manager in Windows 10 provides various options to fix missing adapters and bindings. Here are some useful options:
1. Check for hardware changes: If an adapter or binding is missing, start by checking for hardware changes in Device Manager. Right-click on the computer name at the top of the list and select “Scan for hardware changes”. This will trigger a search for any new or missing devices.
2. Update drivers: Outdated or incompatible drivers can cause missing adapters and bindings. Right-click on the adapter or binding that is missing and select “Update driver”. Choose to search automatically for updated driver software, and Windows will download and install any available updates.
3. Enable hidden devices: Sometimes, devices may be hidden in Device Manager. To display hidden devices, click on the “View” menu and select “Show hidden devices”. This will reveal any hidden adapters or bindings that may be causing the issue.
4. Uninstall and reinstall devices: If updating the drivers doesn’t resolve the issue, try uninstalling and reinstalling the devices. Right-click on the device, select “Uninstall device”, and then restart your computer. Windows will automatically reinstall the device upon restart.
5. Check network settings: Ensure that the network settings are correctly configured. Open the Network and Sharing Center from the Control Panel and click on “Change adapter settings”. Check that the correct adapters and bindings are enabled and properly configured.
Remember to restart your computer after making any changes to allow them to take effect.
By using these options in Device Manager, you can effectively fix missing adapters and bindings in Windows 10.
Adjust Power Management Settings
1. Click on the Start button and select Settings.
2. In the Settings window, click on System.
3. From the left-hand menu, select Power & Sleep.
4. Under the Power & Sleep section, you can adjust the settings for when your device should turn off the display and go to sleep. Use the drop-down menus to set the desired time intervals.
5. To further customize power settings, click on Additional power settings on the right-hand side.
6. In the Power Options window, you can choose a power plan that suits your needs or create a custom plan. To create a custom plan, click on Create a power plan from the left-hand menu.
7. Follow the on-screen instructions to set the desired power settings for your custom plan.
8. To adjust advanced power settings, click on Change plan settings next to the power plan you are currently using.
9. In the Edit Plan Settings window, click on Change advanced power settings.
10. In the Power Options dialog box, you can customize various power settings such as processor power management, display, and sleep settings. Expand the categories and make the desired adjustments.
11. Click Apply and then OK to save the changes.
By adjusting power management settings, you can optimize your device’s energy usage and potentially extend its battery life. Remember to save your changes and regularly review and adjust your power settings as needed.
If you encounter any issues or have further questions, consider seeking assistance from online communities like Superuser or referring to Microsoft’s official support resources.

