Have you ever experienced the frustration of your Android albums disappearing without any warning or explanation? Find out the solution to this common issue in this article.
Check Trash or Recycle Bin
If you’re experiencing the problem of your Android albums disappearing, one possible solution is to check the trash or recycle bin on your device. This can help recover any accidentally deleted albums and restore them to your library.
To check the trash or recycle bin on your Android device, follow these steps:
1. Open your file manager app. This app may be pre-installed on your device, or you can download one from the Google Play Store.
2. Navigate to the “Trash” or “Recycle Bin” folder. This folder is where deleted files are temporarily stored before they are permanently deleted.
3. Look for your missing albums in the trash or recycle bin folder. If you find them, select the albums and tap on the “Restore” or “Undelete” option to move them back to their original location.
4. If you don’t see the missing albums in the trash or recycle bin folder, they may have been permanently deleted. In this case, you can try other methods such as checking for backups on Google Photos, Google Drive, or any other backup services you may have used.
Remember to regularly back up your Android albums and important files to prevent data loss in the future. Additionally, it’s a good practice to keep your device protected from malware and regularly update your operating system and apps to avoid any software bugs or vulnerabilities.
Explore Cloud Backup Options
If you’ve experienced the frustrating issue of Android albums disappearing, don’t worry – there are solutions available. One option to consider is using a cloud backup service to protect your precious photos and videos.
1. Google Photos: This popular app is a great choice for Android users. It automatically backs up your media to your Google Account, so you can access them from any device. To enable automatic backup, open the Google Photos app, go to Settings, select Backup & sync, and toggle the switch to turn it on.
2. Third-Party Backup Apps: There are several third-party apps available that offer cloud backup services for Android. Some popular options include Dropbox, Microsoft OneDrive, and Amazon Drive. Install the app of your choice, sign in to your account, and follow the instructions to back up your albums.
3. Manual Backup: If you prefer more control over your backups, you can manually transfer your albums to your computer or an external hard drive. Connect your Android device to your computer using a USB cable, open the device’s storage, locate your albums, and copy them to your desired location.
Remember to regularly check your backup settings to ensure everything is being backed up correctly. By utilizing cloud backup options, you can safeguard your albums from data loss caused by device failure, malware, or accidental deletion.
Conclusion: Cloud backup options provide a convenient and reliable way to protect your Android albums. Whether you choose Google Photos, a third-party app, or manual backup, taking proactive steps to secure your media is essential. Don’t leave your memories vulnerable to loss – explore cloud backup options today.
Recover Photos without Backups
If you’ve lost your photos on your Android device and don’t have any backups, there are still some steps you can take to try and recover them.
First, check your Trash folder on your device. Sometimes, when photos are deleted, they are moved to the Trash folder instead of being permanently deleted. If you find your photos there, simply select them and restore them to your albums.
If your photos are not in the Trash folder, you can try using a data recovery app. These apps are designed to scan your device’s storage for deleted files and recover them. Download a reputable data recovery app from the Google Play Store and follow the instructions to scan your device. Once the scan is complete, you should be able to see a list of recoverable files, including your photos. Select the photos you want to recover and choose a location to save them to.
Another option is to check if your photos are backed up to your Google Account or Google Drive. Open the Google Photos app on your device and sign in with your Google Account. If your photos are backed up, you should be able to see them in the app. If not, check your Google Drive account to see if you have any folders or files containing your photos.
If none of these options work, you can try connecting your device to a computer and using a file recovery software. Connect your device to the computer using a USB cable and open a file recovery software program. Follow the instructions to scan your device’s storage and recover your photos.
Clear Gallery App Cache
To clear the gallery app cache on your Android device, follow these simple steps:
1. Open the Settings app on your Android device.
2. Scroll down and tap on “Apps” or “Application Manager,” depending on your device.
3. Look for the gallery app in the list of installed apps and tap on it.
4. Tap on “Storage” or “Storage & cache” to access the app’s storage settings.
5. Here, you will see the option to clear the cache. Tap on “Clear cache” to remove all temporary files stored by the gallery app.
6. Once the cache is cleared, you can go back to the gallery app and check if your albums have reappeared.
Clearing the gallery app cache can help resolve issues with missing albums or images. It removes any temporary files that may be causing the problem and allows the app to refresh its database.
Note that clearing the cache will not delete any of your photos or albums. It only removes temporary files, so you don’t have to worry about losing any important data.
If clearing the cache doesn’t solve the issue, you can also try clearing the app’s data or reinstalling the app. However, keep in mind that clearing the app’s data will reset any custom settings or preferences you have set within the gallery app.
Delete “.nomedia” File
![]()
To delete the “.nomedia” file on your Android device and restore your disappeared albums, follow these steps:
1. Open a file manager app on your Android device. If you don’t have one, you can download one from the Google Play Store.
2. Navigate to the folder where the “.nomedia” file is located. This file is usually found in the root directory of your internal storage or SD card.
3. Once you’ve located the “.nomedia” file, long-press on it to select it.
4. Look for the delete or trash icon in your file manager app’s menu, and tap on it to delete the file. Confirm the deletion if prompted.
5. After deleting the “.nomedia” file, go back to your device’s gallery app or any other album-viewing app you use. Your previously disappeared albums should now be visible again.
Deleting the “.nomedia” file allows your Android device to recognize and display media files within the associated folder. This file is used to hide media files from certain apps or services, but sometimes it can cause unintended consequences like disappearing albums.
If you can’t find the “.nomedia” file or if deleting it doesn’t solve the problem, there might be other issues causing your albums to disappear. You can try restarting your device, clearing cache and data of your gallery app, or even performing a backup and restore if necessary.
Restart Your Android Phone
Restarting your Android phone can often fix issues where your albums have disappeared. Here’s how to do it:
1. Press and hold the power button on your Android phone until the power menu appears.
2. Tap on the “Restart” or “Reboot” option in the menu.
3. Wait for your phone to turn off and then turn back on again.
Note: If your phone is frozen or unresponsive, you can perform a force restart by holding down the power button and volume down button simultaneously for about 10 seconds until the phone restarts.
After your phone restarts, check if your albums have reappeared. If not, there may be other factors causing the issue, such as a software bug or a problem with your SD card. You can try the following steps to troubleshoot further:
1. Clear the cache of your gallery app. Go to Settings > Apps > [Your Gallery App] > Storage > Clear Cache.
2. Check if your albums are visible when using a different gallery app. Install a third-party gallery app from the Google Play Store and see if your albums show up there.
3. If you have recently made any changes to your phone, such as installing a new app or updating the software, try undoing those changes to see if it resolves the issue.
4. Ensure that your SD card is properly inserted and functioning correctly. Try removing and reinserting the SD card or using a different SD card to see if that helps.
5. Consider performing a backup and restore of your phone to reset it to its factory settings. This can help resolve any software issues that may be causing the problem.
Inspect SD Card for Errors
To inspect an SD card for errors, follow these steps:
1. Insert the SD card into your Android device or connect it to your computer using an SD card reader.
2. Open the file manager or file explorer app on your device or computer.
3. Locate the SD card in the list of available storage options. It may be labeled as “SD card” or with the name of the manufacturer.
4. Tap or click on the SD card to open it.
5. Look for any files or folders that indicate errors or issues. These may include files with strange names or corrupted data.
6. Delete any suspicious files or folders you find. You can do this by selecting them and using the delete option in the menu.
7. Once you have deleted the problematic files, it is also a good idea to clear the cache on your device to remove any temporary files that could be causing issues.
8. To clear the cache on an Android device, go to Settings > Apps or Application Manager, find the app you want to clear the cache for, and tap on it. Then, tap on “Clear Cache” or a similar option.
9. On a computer, you can clear the cache by opening the file explorer and navigating to the temporary files folder. This is usually located at C:\Users\[Your Username]\AppData\Local\Temp. Delete all the files in this folder.
10. After performing these steps, restart your device or computer.
By inspecting your SD card for errors and removing any problematic files, you can help resolve issues with missing or disappeared albums on your Android device.
Move Photos to Computer for Safety
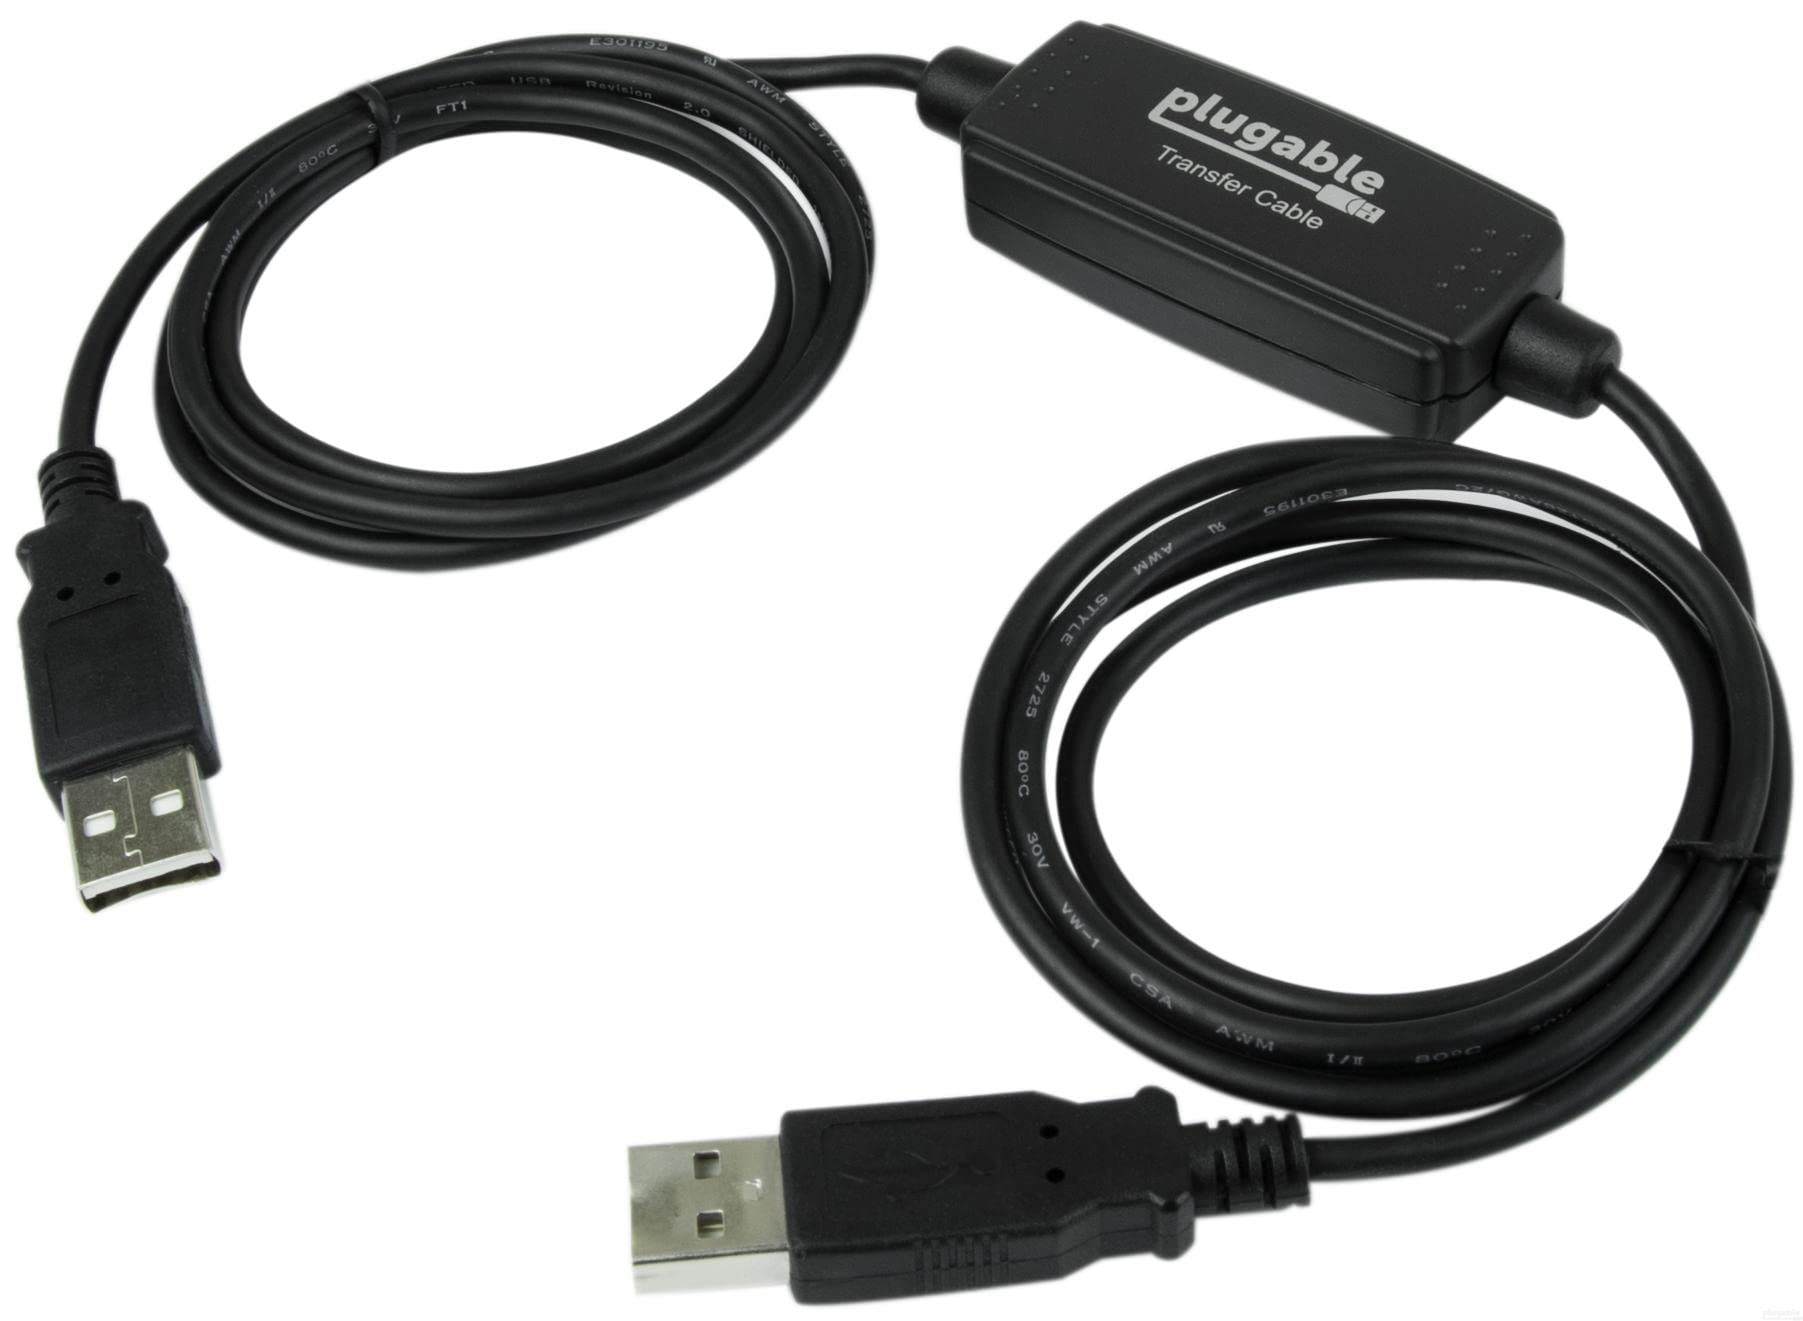
- Connect your Android device to your computer using a USB cable.
- Unlock your Android device if it is locked, and make sure it is in file transfer mode or media device mode.
- Navigate to the DCIM or Pictures folder on your Android device. This is where your photos are usually stored.
- Create a new folder on your computer where you want to transfer the photos to. Name it appropriately for easy identification.
- Open the new folder on your computer.
- Copy and paste the photos from your Android device to the new folder on your computer.
- Wait for the transfer to complete before disconnecting your Android device from the computer.
- Safely eject your Android device from your computer to avoid data corruption.
- Check the transferred photos on your computer to ensure they are safely stored.
F.A.Q.
How do I restore an album on my Samsung gallery?
To restore an album on your Samsung gallery, you can follow these steps:
1. Open the Samsung Gallery app on your phone.
2. Go to the Albums section.
3. Look for the Trash or Deleted Albums option.
4. Long press on the album you want to restore.
5. Tap on the Restore option that appears.
6. The album should now be restored and visible in your Samsung gallery.
How do I get my photo albums back?
To retrieve your photo albums, open the Google Photos app on your Android device. Then, tap on Library Trash located at the bottom. Look for the specific photo albums you want to restore and touch and hold on them. If the albums are not in the trash, they might have been permanently deleted. Finally, tap on Restore at the bottom to bring back your photo albums.
Why are my albums not showing up in my gallery?
Your albums may not be showing up in your gallery because they may be hidden. To make them visible, open the Gallery App on your Android device, tap on the three-dot menu or the More option, then select the Hide or Unhide albums option. Toggle on the Show hidden albums option to display your albums.
Why do albums disappear from gallery?
Albums can disappear from the gallery due to various reasons such as malfunctioning Gallery app, failed updates, phone jailbreak, malware infection, errors in third-party software, or issues with the phone’s software.
