Are you experiencing frequent crashes with Bluestacks on your Windows 10 device? Look no further! I’ve got the ultimate fix guide to help you resolve this frustrating issue.
Adjust Game and App Settings
Adjusting game and app settings can help resolve the issue of Bluestacks crashing on Windows 10. Follow these steps to optimize your settings and prevent crashes:
1. Update Graphics Card Drivers:
– Open the Device Manager by pressing the Windows key + X and selecting “Device Manager.”
– Expand the “Display adapters” category.
– Right-click on your graphics card (e.g., Nvidia GeForce or AMD Radeon) and select “Update driver.”
– Follow the on-screen instructions to update the driver.
2. Adjust Bluestacks Settings:
– Launch Bluestacks.
– Click on the gear icon (settings) located at the top-right corner of the Bluestacks window.
– In the settings menu, go to the “Engine” tab.
– Increase the “CPU cores” and “RAM” allocation if your computer has sufficient resources.
– Enable “Use advanced graphics engine mode” if available.
– Click on “Apply” and then “Restart now.”
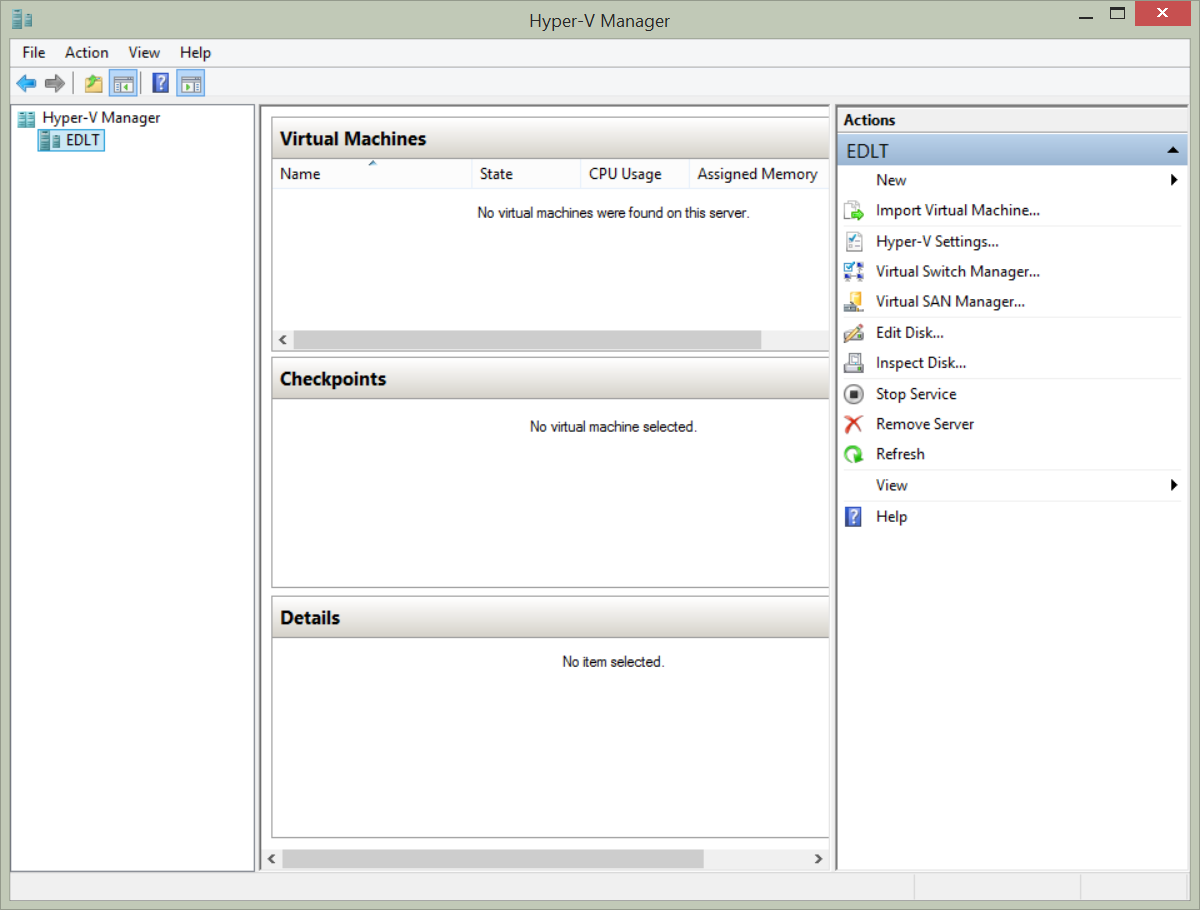
3. Disable Hyper-V:
– Press the Windows key + R to open the Run dialog box.
– Type “appwiz.cpl” and press Enter to open the Programs and Features window.
– Click on “Turn Windows features on or off” on the left sidebar.
– Locate “Hyper-V” in the list and uncheck the box.
– Click on “OK” and restart your computer.
4. Disable Antivirus and Security Software:
– Temporarily disable any antivirus or security software installed on your PC.
– Right-click on the antivirus icon in the system tray and select “Disable” or “Pause protection.”
– Launch Bluestacks and check if the crashing issue persists.
5. Close Unnecessary Programs:
– Open the Task Manager by pressing Ctrl + Shift + Esc.
– Switch to the “Processes” tab.
– Right-click on any unnecessary programs or processes and select “End task” or “End process.”
Update Graphics Drivers
To update your graphics drivers on Windows 10 and fix Bluestacks crashing issues, follow these steps:
1. Identify your graphics processing unit (GPU) manufacturer, such as Nvidia or AMD Radeon.
2. Visit the official website of your GPU manufacturer and navigate to the driver download section.
3. Look for the latest driver that is compatible with your GPU model and Windows 10.
4. Download the driver and save it to a location on your computer.
5. Open the downloaded driver file and follow the on-screen instructions to install the driver.
6. Once the installation is complete, restart your computer to apply the changes.
If the issue persists after updating the graphics drivers, try the following additional steps:
1. Close any running applications, including Bluestacks.
2. Press the “Ctrl” + “Shift” + “Esc” keys together to open the Task Manager.
3. In the Task Manager, go to the “Processes” or “Details” tab and look for any Bluestacks-related processes.
4. Right-click on each Bluestacks process and select “End Task” or “End Process”.
5. Open Bluestacks again and check if the crashing issue is resolved.
If the problem still persists, consider updating other device drivers, running a malware scan with software like Malwarebytes, disabling any antivirus software temporarily, or reaching out to technical support for further assistance.
Close Unnecessary Programs
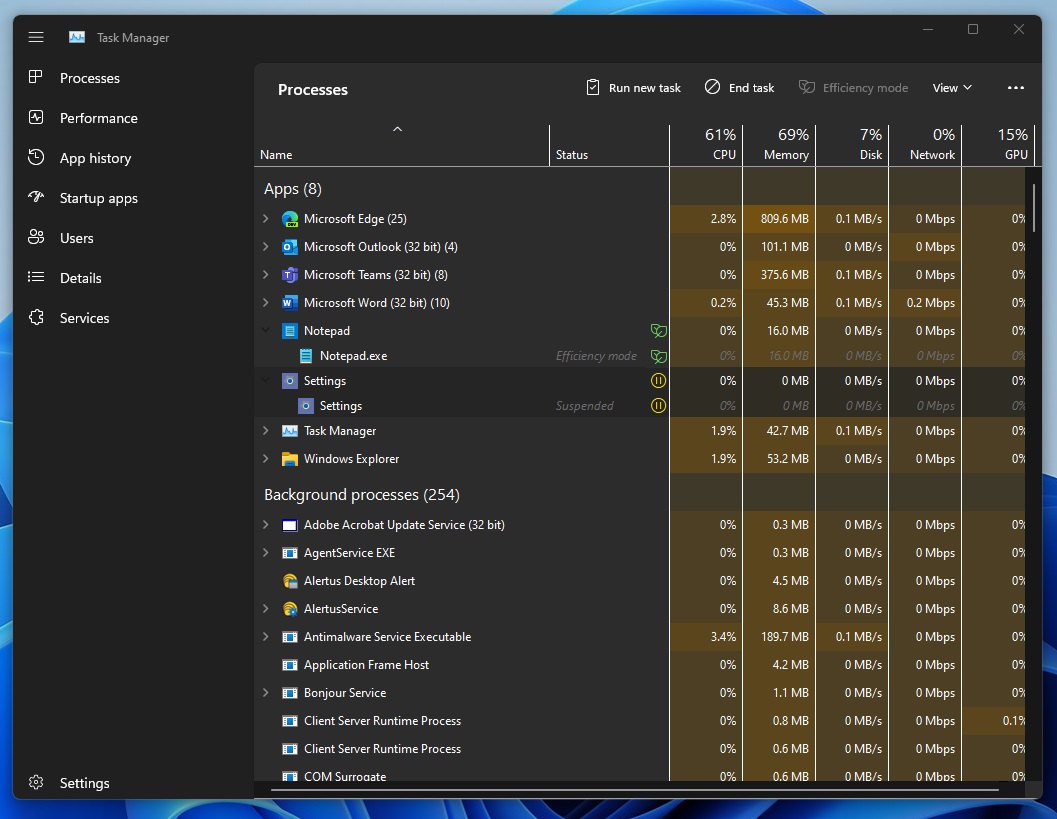
1. Open Task Manager by pressing Ctrl + Shift + Esc on your keyboard.
2. In the Task Manager window, go to the Processes tab.
3. Look for any programs that are consuming a significant amount of CPU or memory.
4. Right-click on the program and select End Task from the context menu.
5. Repeat this process for any other unnecessary programs.
Closing unnecessary programs will free up system resources and give Bluestacks the necessary resources to run smoothly. It is also recommended to close any resource-intensive applications, such as antivirus software or rendering software, as they can interfere with Bluestacks.
Manage Antivirus and Hyper-V Settings
1. Disable antivirus: Some antivirus programs may interfere with Bluestacks, causing it to crash. Temporarily disable your antivirus software and check if the issue persists. If Bluestacks works fine after disabling the antivirus, consider adding Bluestacks as an exception or switching to a different antivirus program.
2. Adjust Hyper-V settings: Hyper-V can conflict with Bluestacks, leading to crashes. To disable Hyper-V, follow these steps:
– Press the Windows key + X and select Apps and Features.
– Click on Programs and Features in the right pane.
– Select Turn Windows features on or off.
– Locate Hyper-V in the list and uncheck the box.
– Click OK and restart your computer.
3. Update graphics drivers: Outdated or incompatible graphics drivers can cause Bluestacks to crash. Visit the manufacturer’s website (e.g., NVIDIA for GeForce or AMD for Radeon) and download the latest drivers for your graphics card.
4. Increase RAM allocation: Bluestacks requires a certain amount of RAM to function properly. To allocate more RAM to Bluestacks, follow these steps:
– Press Ctrl + Shift + Esc to open the Task Manager.
– Go to the Performance tab and click on Memory.
– Locate the Bluestacks process and right-click on it.
– Select Set Priority and choose a higher priority level.
– Close the Task Manager.
5. Reboot and try again: Sometimes, a simple reboot can resolve issues with Bluestacks crashing. Restart your computer and launch Bluestacks again to see if the problem is resolved.
Enable Virtualization and Reinstall
To fix the issue of Bluestacks crashing on Windows 10, you can try enabling virtualization and reinstalling the program. Here’s how to do it:
1. Enable Virtualization:
– Restart your computer and enter the BIOS settings by pressing the appropriate key (usually Del or F2) during startup.
– Look for the Virtualization or VT-x option in the BIOS settings. Enable it if it’s disabled.
– Save the changes and exit the BIOS. Your computer will restart.
2. Reinstall Bluestacks:
– Press the Windows key + R to open the Run dialog box. Type “appwiz.cpl” and press Enter.
– In the Programs and Features window, find Bluestacks and right-click on it. Select Uninstall.
– Follow the on-screen instructions to uninstall Bluestacks completely.
– Visit the official Bluestacks website and download the latest version of the software.
– Run the installer and follow the prompts to reinstall Bluestacks.
By enabling virtualization and reinstalling Bluestacks, you should be able to resolve the crashing issue.
FAQs
Why does my app keep closing as soon as I open it?
Your app may be closing as soon as you open it due to an outdated version, poor network connection, or insufficient storage space on your device.
Why does BlueStacks keep crashing on startup?
BlueStacks may keep crashing on startup due to several reasons. It is important to check if Virtualization is enabled and if the PC meets the minimum system requirements. Additionally, increasing the allocated CPU cores and RAM to BlueStacks can help. It is also necessary to configure the antivirus correctly as it may be causing interference with BlueStacks.
Why is BlueStacks not working in Windows 10?
BlueStacks may not be working in Windows 10 if your GPU drivers are outdated. To fix this, update your GPU drivers, scan and repair any corrupt files, and install the latest Windows updates.
Why does BlueStacks 10 keep crashing?
BlueStacks 10 may keep crashing due to an outdated graphics card driver. To resolve this issue, you should update the driver by following these steps. Before updating, you can check if your driver is already up to date.
