In my experience with Windows 10, I have come across a frustrating issue known as “Bootmgr Missing.”
Restart Your Desktop or Laptop
1. Press and hold the power button on your computer until it shuts down completely.
2. Once the computer is off, press the power button again to turn it back on.
3. As the computer restarts, continuously press the F8 key or the Esc key to access the boot options menu.
4. Use the arrow keys on your keyboard to highlight “Repair your computer” or “Troubleshoot” and press Enter.
5. Select the option that says “Startup Repair” or “Automatic Repair” and wait for the process to finish.
6. If the automatic repair doesn’t fix the issue, go back to the boot options menu and choose “Command Prompt” instead.
7. In the command prompt window, type bootrec /fixboot and press Enter to repair the boot sector.
8. Next, type bootrec /scanos and press Enter to scan for Windows installations.
9. Finally, type bootrec /rebuildbcd and press Enter to rebuild the boot configuration data.
10. Restart your computer and check if the “Bootmgr missing” error has been resolved.
Remove All Removable Media
Having removable media connected to your computer can sometimes interfere with the booting process and cause the “Bootmgr Missing” error to occur. By removing all removable media, you are eliminating any potential conflicts that may be preventing your computer from starting up properly.
To do this, simply disconnect any USB flash drives or external hard drives from your computer. If you have a DVD or CD inserted into your disc drive, eject it.
After removing all removable media, restart your computer and check if the “Bootmgr Missing” error has been resolved. If the issue persists, you can proceed with other troubleshooting steps to fix the error.
Adjust Boot Order in BIOS
To adjust the boot order in BIOS and fix the “Bootmgr Missing” error in Windows 10, follow these steps:
1. Restart your computer and access the BIOS settings by pressing the appropriate key during the startup process. The key may vary depending on your computer’s manufacturer (e.g., F2, Del, Esc).
2. Once in the BIOS settings, navigate to the “Boot” or “Boot Order” section using the arrow keys on your computer keyboard.
3. In the “Boot” or “Boot Order” section, you will see a list of available boot devices. Use the arrow keys to highlight the desired boot device (e.g., hard disk drive, USB flash drive, DVD) and press the corresponding key to move it up or down in the boot order.
4. Ensure that the boot device containing your operating system (e.g., Windows 10) is set as the first boot device in the list. This will ensure that the system looks for the operating system on that device first during startup.
5. Save the changes and exit the BIOS settings. Instructions for saving and exiting may vary, but typically you can press the Esc key or navigate to a specific menu option, such as “Save and Exit” or “Exit and Save Changes.”
6. Your computer will now boot from the selected device, and the “Bootmgr Missing” error should be resolved.
By adjusting the boot order in BIOS, you can prioritize different boot devices and ensure that the correct operating system is loaded during startup. This can be particularly useful if you have multiple operating systems installed on your computer or if you need to boot from a specific device for troubleshooting purposes.
It’s important to note that the steps outlined above may vary slightly depending on your computer’s BIOS version and manufacturer. If you’re unsure about any changes you make in the BIOS settings, consult your computer’s documentation or seek assistance from a knowledgeable professional.
Run Startup Repair from WinRE
To access WinRE, follow these steps:
1. Start your computer and immediately press the **F8** key repeatedly until the Advanced Boot Options menu appears.
2. Select **Repair your computer** using the arrow keys and press **Enter**.
3. Choose the language and currency settings that you prefer, then click **Next**.
4. Enter your user name and password, and click **OK**.
5. In the System Recovery Options window, select **Startup Repair**.
6. Wait for the tool to scan your system for startup problems and attempt to fix them.
If the Startup Repair tool is unable to resolve the issue, you may need to try other troubleshooting steps or seek further assistance.
Remember, it’s important to have a backup of your important files before attempting any repairs. If possible, create a boot disk or use a USB flash drive with a recovery tool to ensure you can access your files in case of any data loss.
By using WinRE and running the Startup Repair tool, you can potentially fix the “Bootmgr Missing” error and get your Windows 10 system up and running again.
Perform System Restore from WinRE
Performing a System Restore from WinRE can help fix the “Bootmgr Missing” error in Windows 10. Here’s how you can do it:
1. Start by accessing the WinRE (Windows Recovery Environment) on your Windows 10 computer. This can be done by restarting your PC and pressing the appropriate key (usually F8 or F12) to enter the boot menu.
2. Once in the boot menu, select the option to boot from your Windows installation media or recovery disk.
3. On the Windows Setup screen, choose your language, currency, and keyboard input method. Then, click “Next.”
4. Click on the “Repair your computer” link at the bottom left corner of the screen.
5. In the next screen, select “Troubleshoot” and then “Advanced options.”
6. From the Advanced options menu, choose “System Restore.”
7. Select your Windows 10 operating system from the list and click “Next.”
8. In the System Restore window, you’ll see a list of available restore points. Choose a restore point that predates the “Bootmgr Missing” error and click “Next.”
9. Confirm your chosen restore point and click “Finish” to start the system restore process.
10. Wait for the system restore to complete. Your computer will restart during this process, so make sure to save any unsaved work.
After the system restore is finished, your computer should boot up without the “Bootmgr Missing” error. If the issue persists, you may need to seek further assistance or consider other troubleshooting options.
Repair Master Boot Record
To repair the Master Boot Record (MBR) and fix the “Bootmgr Missing” error in Windows 10, follow these steps:
1. Boot from a Windows Installation Media: Insert your Windows installation media (such as a USB drive or DVD) into your computer and restart it. Press any key when prompted to boot from the installation media.
2. Choose Language and Keyboard Layout: Select your preferred language and keyboard layout, then click “Next” to continue.
3. Click “Repair your computer”: On the installation screen, click “Repair your computer” in the bottom left corner.
4. Select Troubleshoot: In the next screen, choose “Troubleshoot” from the options.
5. Access Advanced Options: Click on “Advanced options” in the Troubleshoot menu.
6. Choose Command Prompt: Select “Command Prompt” from the Advanced options.
7. Run Command Prompt: In the Command Prompt window, type the following command and press Enter: bootrec /fixmbr
8. Restart your computer: After the command completes, restart your computer and check if the “Bootmgr Missing” error is resolved.
If the issue persists, you can also try running the following commands in Command Prompt:
- bootrec /fixboot: Repairs the boot sector of your Windows installation.
- bootrec /scanos: Scans for Windows installations on your computer.
- bootrec /rebuildbcd: Rebuilds the Boot Configuration Data (BCD) for Windows installations.
These commands can help fix various boot-related issues. Remember to restart your computer after running each command.
Note: The steps mentioned above are for fixing the “Bootmgr Missing” error specifically. If you encounter any other boot-related errors or issues, you may need to try different troubleshooting methods or consult a professional for assistance.
Execute a Clean Windows Installation
1. Start by creating a bootable USB or DVD using the Windows Media Creation Tool or Rufus. This will serve as your installation media.
2. Insert the bootable USB or DVD into your computer and restart it.
3. As the computer boots up, press the necessary key (usually F12 or Del) to enter the boot menu. Select the bootable USB or DVD from the list.
4. Once the Windows setup screen appears, choose your language preferences and click “Next.”
5. Click on “Install now” to begin the installation process.
6. Accept the license terms and click “Next.”
7. On the next screen, select “Custom: Install Windows only (advanced).”
8. You will now see a list of available drives. Select the drive where you want to install Windows and click “Next.” *Remember the drive letter assigned to the Windows installation drive.
9. The installation process will now begin. Your computer may restart several times during this process.
10. After the installation is complete, remove the USB or DVD and restart your computer.
11. During the restart, press the necessary key (usually F12 or Del) to enter the boot menu again. Select the drive where you installed Windows as the boot device.
12. Once your computer boots into Windows, follow the on-screen instructions to set up your preferences and create a user account.
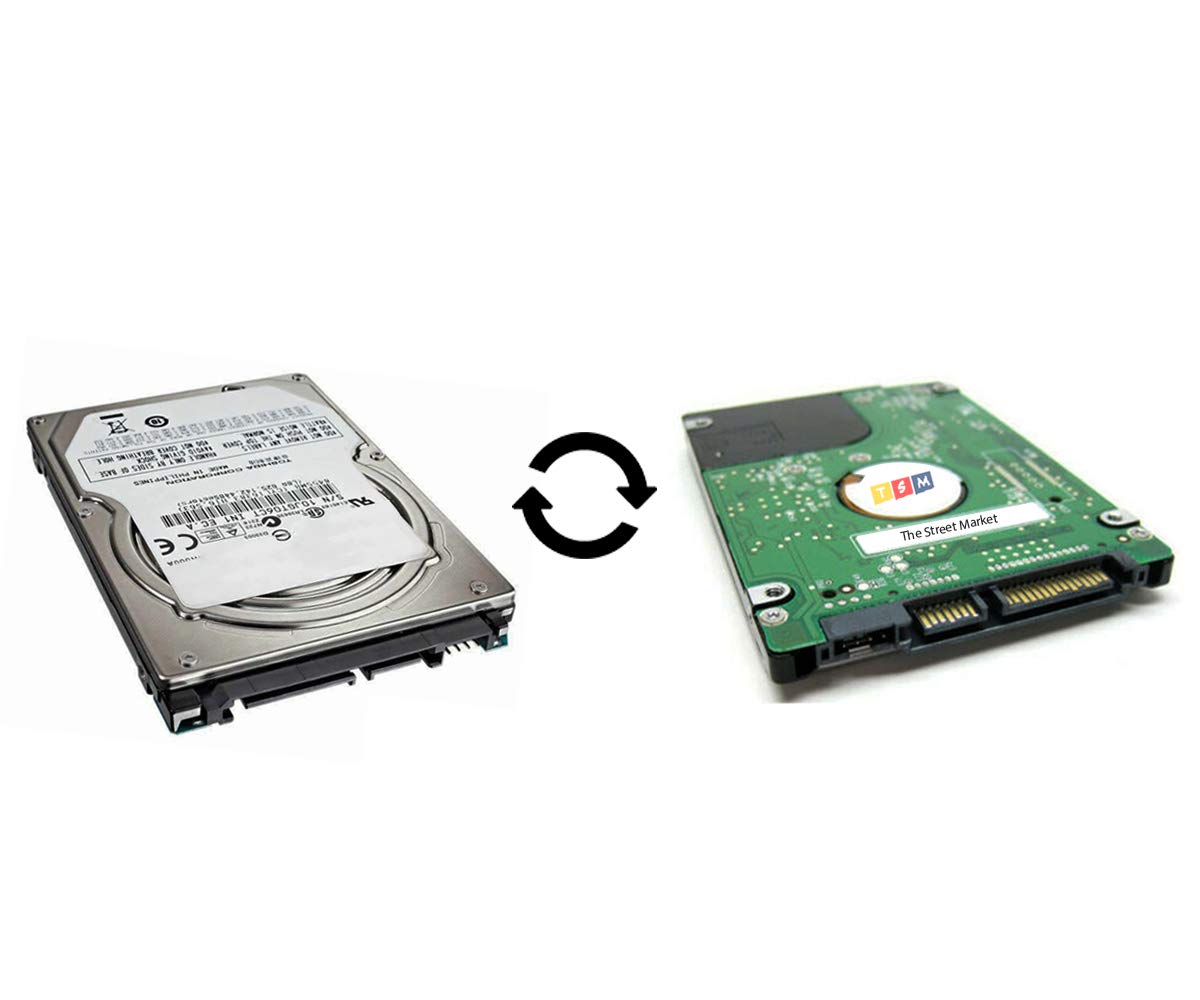
Replace the Hard Drive
1. Shut down your computer and disconnect all peripherals.
2. Open your computer case and locate the old hard drive.
3. Disconnect all cables connected to the hard drive, including data and power cables.
4. Carefully remove the old hard drive from its mounting bracket or slot.
5. Take your new hard drive and connect the necessary cables, ensuring they are securely attached.
6. Place the new hard drive back into the mounting bracket or slot, making sure it is properly aligned.
7. Close the computer case and reconnect all peripherals.
8. Turn on your computer and insert your Windows installation media, such as a bootable USB or DVD.
9. Boot your computer from the installation media by pressing the appropriate key (usually F12 or Del) during startup.
10. Follow the on-screen instructions to install Windows on the new hard drive.
11. Once the installation is complete, remove the installation media and restart your computer.
12. Your computer should now boot from the new hard drive without the “Bootmgr Missing” error.
Note: If you encounter any issues during the installation process, refer to the documentation provided with your computer or consult the manufacturer’s website for further assistance.
FAQs
Why is my boot manager missing?
Your boot manager may be missing due to upgrade issues, corrupt hard drive sectors, or misconfigured files. When the “BOOTMGR is Missing” error occurs, it is displayed during the computer’s booting process. Common solutions to fix this issue include restarting the computer, changing the boot sequence, and other troubleshooting methods.
How do you repair Windows 10 if it does not boot?
To repair Windows 10 if it does not boot, you can start the system using the installation media for your version of Windows. Then, select “Repair your computer” on the Install Windows screen, followed by “Troubleshoot” on the Choose an option screen. Finally, choose “Startup Repair” on the Advanced options screen.
How to restore Windows 10 boot manager?
To restore Windows 10 boot manager, you can follow these steps:
1. Boot up using installation media.
2. Choose your language and formatting preferences.
3. Select “Repair your computer” > “Troubleshoot” > “Advanced options” > “Command prompt”.
4. Type “bootrec.exe /fixboot” and press Enter.
Why did Windows Boot Manager disappeared from BIOS?
The disappearance of Windows Boot Manager from BIOS can be attributed to factors such as outdated BIOS, faulty boot configuration, corrupted boot configuration data, damaged hard drives or sectors, and hardware connection failures.
