Having trouble with your laptop camera? Don’t worry, I’ve got you covered.
Before You Begin
1. Check the physical camera switch or button on your laptop. Some laptops have a physical switch or button that can disable the camera. Make sure it is turned on.
2. Restart your laptop. Sometimes a simple restart can resolve camera issues.
3. Update your operating system. Check for any available updates for your Windows or Mac operating system. Updating your operating system can fix bugs and compatibility issues that may be causing the camera problem.
4. Update your device drivers. Outdated or corrupted device drivers can cause camera malfunctions. Go to the manufacturer’s website or use a driver update software to download and install the latest drivers for your camera.
5. Check your privacy settings. Ensure that your camera is allowed to access the necessary applications and websites. On Windows, go to Settings > Privacy > Camera and make sure the toggle switch is turned on. On Mac, go to System Preferences > Security & Privacy > Privacy > Camera and check if the necessary applications are listed and enabled.
6. Run a malware scan. Malware or viruses can interfere with your camera functionality. Use a reputable antivirus software to scan and remove any potential threats.
7. Try using the camera in a different application. Sometimes, the camera may not work in a specific application but will work in others. Open a different application that uses the camera, such as Skype or Zoom, and see if the camera works there.
8. Reset your camera settings. In some cases, resetting the camera settings to default can help resolve issues. Look for the camera settings in your device’s control panel or settings menu and choose the option to reset or restore the settings.
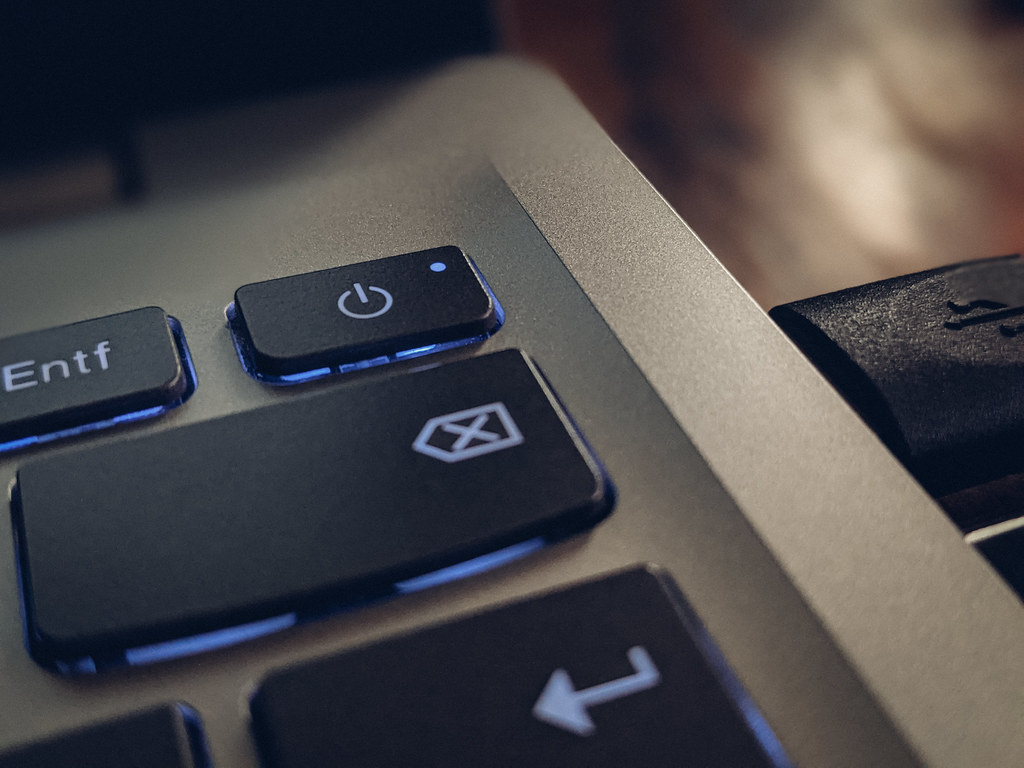
Check for a Camera Switch or Button
If your laptop camera is not working, one of the first things you should check for is a camera switch or button on your device. Some laptops have a physical switch or button that allows you to turn the camera on or off.
To locate this switch or button, check the sides or top of your laptop. It may have a camera icon or a symbol that looks like a camera. Once you find it, make sure it is in the “on” position. If it’s already on, try toggling it off and on again to see if that resolves the issue.
If you can’t find a physical switch or button, you can also try using a keyboard shortcut to enable the camera. Look for a combination of keys on your keyboard that have a camera icon or a symbol that indicates the camera function. Typically, this involves pressing the “Fn” key along with another key. Refer to your laptop’s user manual or do a quick internet search for the specific keyboard shortcut for your device.
Once you have checked and adjusted the camera switch or button, test your camera to see if it’s now working properly. Open a camera application or a video conferencing platform and see if the camera is functioning as expected. If not, you may need to explore other troubleshooting options or seek further assistance.
Remember to also check your privacy settings, as some applications or system updates may have disabled your camera without your knowledge. Make sure your camera is allowed to be accessed by the applications you want to use.
By checking for a camera switch or button and ensuring it is in the correct position, you can quickly determine if that’s the cause of your laptop camera not working.
Adjust Your Settings
![]()
Adjusting your settings can often help fix laptop camera issues. Here are some steps you can take to troubleshoot and resolve the problem:
1. Check your privacy settings: Sometimes, your camera may be disabled or blocked by default privacy settings. Go to the Settings menu and navigate to Privacy or Camera settings. Make sure the camera access is enabled for the applications you want to use it with.
2. Update your drivers: Outdated or incompatible drivers can cause camera problems. Open the Device Manager and expand the Imaging devices category. Right-click on your camera and select “Update driver.” You can choose to update it automatically or manually by downloading the latest driver from the manufacturer’s website.
3. Disable conflicting applications: Certain applications or services may interfere with your camera functionality. To identify any conflicts, open the Task Manager and check for any suspicious processes or applications running in the background. Close or uninstall them if necessary.
4. Reset camera app settings: If the issue persists with a specific camera app, try resetting its settings. Right-click on the app icon in the taskbar or Start menu, then select “App settings” or “Properties.” Look for an option to reset the app or its settings.
5. Scan for malware: Malware can sometimes disable or manipulate your camera. Run a full scan using your antivirus software to detect and remove any potential threats.
Grant App Permissions
1. Open the Settings menu on your laptop. This can usually be done by clicking on the Start menu and selecting “Settings.”
2. In the Settings menu, locate and click on the “Privacy” option. This will open the Privacy settings for your laptop.
3. Within the Privacy settings, find and click on the “Camera” option. This will bring up the camera permissions settings.
4. Under the Camera permissions settings, you will see a list of apps that have requested access to your camera. Locate the app for which you want to grant camera permissions.
5. To grant camera permissions to the app, simply toggle the switch next to the app’s name to the “On” position. This will allow the app to access your laptop’s camera.
6. If the app you want to grant permissions to is not listed, you may need to scroll down and click on the “Change” button under “Choose which apps can access your camera.” From there, you can manually select the desired app and grant it camera permissions.
7. Once you have granted camera permissions to the app, you can close the Settings menu.
Verify Antivirus Software Settings
To verify your antivirus software settings and fix a laptop camera not working issue, follow these steps:
1. Open your antivirus software: Locate the antivirus software icon on your taskbar or desktop and double-click to open it.
2. Access the settings: Look for an option that says “Settings” or “Preferences” within the antivirus software interface and click on it.
3. Navigate to the camera settings: Once you’re in the settings menu, find the section related to camera or webcam settings. This may vary depending on the antivirus software you’re using.
4. Enable camera access: Make sure that the camera access is enabled or allowed within your antivirus software. Look for an option that enables or allows camera access and ensure it is turned on.
5. Save the changes: After making any necessary adjustments to the camera settings, click on the “Save” or “Apply” button to save the changes.
6. Restart your laptop: Sometimes, restarting your laptop can help apply the changes and resolve any camera issues. Close all applications and restart your laptop.
7. Test the camera: Once your laptop has restarted, open an application or website that uses the camera, such as a video chat program or a website that allows you to take photos. Check if the camera is now working properly.
If the issue persists after verifying the antivirus software settings, consider checking for any pending Windows updates or updating your device drivers. You can also try troubleshooting the camera using the built-in troubleshooting tools in Windows.
Update Hardware Drivers
1. Open the Device Manager on your Windows laptop. You can do this by pressing the Windows key + X and selecting Device Manager from the context menu that appears.
2. In the Device Manager window, locate the “Imaging devices” category and expand it. This should reveal your laptop camera.
3. Right-click on your laptop camera and select “Update driver” from the context menu.
4. You will be presented with two options: “Search automatically for updated driver software” and “Browse my computer for driver software.”
5. If you choose the first option, Windows will search for the latest driver software for your camera online and install it automatically.
6. If you choose the second option, you will need to manually download the latest driver software for your camera from the manufacturer’s website and then browse for it on your computer.
7. Once the driver update process is complete, restart your laptop to apply the changes.
It’s worth noting that updating your hardware drivers can sometimes fix issues with your laptop camera not working. However, if the problem persists after updating the drivers, there may be other underlying issues that need to be addressed. In such cases, it’s recommended to seek further assistance from a professional or contact the manufacturer’s support for further troubleshooting.
Remember to regularly check for Windows updates as well, as these updates often include important driver updates and bug fixes for various hardware components.
Address USB Port Issues and Hardware Changes
If you’re experiencing issues with your laptop camera not working, it’s possible that the problem lies with your USB ports or hardware changes. Here are some steps you can take to address these issues:
1. Check USB Port Connections: Ensure that your camera is properly plugged into a functioning USB port. Sometimes, a loose connection can cause the camera to stop working.
2. Test Different USB Ports: If your camera is connected to a USB hub or an external USB port, try connecting it directly to a USB port on your laptop. This will help determine if the issue is with the USB hub or port you were using.
3. Update USB Drivers: Outdated or incompatible USB drivers can cause problems with your camera. To update your USB drivers, follow these steps:
– Press the Windows key + X and select “Device Manager.”
– Expand the “Universal Serial Bus controllers” category.
– Right-click on each USB driver and select “Update driver.”
– Restart your laptop after updating the drivers.
4. Check for Hardware Changes: If you’ve recently made any hardware changes, such as installing a new USB device or adding more RAM, it’s possible that these changes are causing conflicts with your camera. Try removing any recently added hardware and see if the camera starts working.
5. Restart Your Laptop: Sometimes, a simple restart can resolve camera issues caused by software conflicts or temporary glitches.
6. Contact Technical Support: If none of the above steps resolve the issue, it’s recommended to reach out to the manufacturer’s technical support or a professional technician for further assistance.
Manage Camera Driver: Rollback, Uninstall, and Update
To manage the camera driver on your laptop and fix the issue of the camera not working, you can use three methods: rollback, uninstall, and update. Here’s how to do each of them:
1. Rollback the camera driver:
– Press the Windows key + X and select “Device Manager” from the menu.
– In the Device Manager window, locate and expand the “Imaging devices” or “Cameras” category.
– Right-click on your laptop’s camera driver and select “Properties.”
– Go to the “Driver” tab and click on the “Roll Back Driver” button.
– Follow the on-screen instructions to complete the rollback process.
– After the rollback is complete, restart your laptop and check if the camera is working.
2. Uninstall the camera driver:
– Open the Device Manager as mentioned above.
– Find the camera driver under the “Imaging devices” or “Cameras” category.
– Right-click on the camera driver and select “Uninstall device.”
– Confirm the uninstallation by clicking “Uninstall” on the pop-up window.
– Restart your laptop.
– Windows will automatically reinstall the camera driver. Check if the camera is working after the reinstallation.
3. Update the camera driver:
– Open the Device Manager.
– Locate and expand the “Imaging devices” or “Cameras” category.
– Right-click on the camera driver and select “Update driver.”
– Choose the option to search automatically for updated driver software.
– Windows will search for the latest driver and install it if available.
– Restart your laptop and check if the camera is working properly.
Remember to periodically check for Windows updates as they can include driver updates for your camera. Keeping your laptop up to date is essential for optimal performance.
Opt for UVC Drivers if Compatible
If your laptop camera is not working, one possible solution is to opt for UVC drivers if they are compatible with your device. UVC stands for USB Video Class, which is a standard driver that allows video devices to communicate with your computer.
To fix your laptop camera, follow these steps:
1. Open your device manager by pressing the Windows key + X and selecting “Device Manager” from the menu.
2. Look for the “Imaging devices” or “Cameras” category and expand it.
3. Right-click on your laptop’s camera device and select “Update driver.”
4. Choose the option to “Browse my computer for drivers.”
5. Select “Let me pick from a list of available drivers on my computer.”
6. Look for a driver that mentions “UVC” or “USB Video Class” and select it.
7. Click “Next” and follow any additional prompts to install the driver.
8. Once the driver installation is complete, restart your computer.
If the UVC driver is compatible with your laptop’s camera, this should fix the issue and get your camera working again. However, if the problem persists, there may be other underlying issues that require further troubleshooting or professional assistance.
Remember to regularly check for Windows updates as they can also include camera driver updates that may resolve any issues. Keeping your operating system up to date can help ensure the smooth functioning of your laptop’s camera.
If you are still experiencing difficulties with your laptop camera, you may want to consider contacting the manufacturer or seeking technical support for further assistance.
Restart Your Laptop
If your laptop camera is not working, a simple restart can often fix the issue. Sometimes, the camera may just need a reset to get it back up and running.
To restart your laptop, follow these steps:
1. Save any open files and close all programs.
2. Click on the “Start” button in the bottom left corner of your screen.
3. Select the “Power” option from the menu that appears.
4. Click on “Restart” from the dropdown menu. Your laptop will begin the restart process.
After your laptop restarts, check if the camera is now working. If not, there may be other steps you can take to troubleshoot the issue.
Remember to keep your laptop’s operating system updated by installing the latest Windows Updates. These updates often contain bug fixes and improvements that can resolve issues with hardware, including the camera.
Additionally, make sure you have the latest device drivers installed for your camera. Sometimes, outdated drivers can cause compatibility issues and prevent the camera from working properly. You can usually find the latest drivers on the manufacturer’s website or through Windows Update.
If restarting your laptop and updating the software doesn’t fix the camera issue, it may be worth contacting the manufacturer or a professional technician for further assistance. They can help diagnose and resolve any hardware-related problems that may be causing the camera to malfunction.
Address Common Camera Issues: Black Screen, No Audio, Mirror Image, Detection Failure, Glitching
-
Black Screen:
- Check if the camera lens cover is closed and remove it if necessary.
- Ensure that the camera software or application is not being blocked or disabled by antivirus or firewall settings.
- Update the camera drivers by going to the manufacturer’s website and downloading the latest drivers for your specific laptop model.
- Restart your laptop and try using the camera again.
-
No Audio:
- Check if the microphone is muted or the volume is turned down. Adjust the microphone settings accordingly.
- Make sure the correct microphone is selected as the default recording device in the sound settings.
- Ensure that the microphone is not physically blocked or covered by any objects.
- Update the audio drivers by visiting the manufacturer’s website and downloading the latest drivers for your laptop.
-
Mirror Image:
- Open the camera settings or options menu.
- Look for a “Mirror” or “Flip” option and disable it to revert the image back to normal.
- Save the changes and exit the settings menu.
-
Detection Failure:
- Disconnect any external cameras or devices connected to the laptop.
- Open the Device Manager by pressing Windows Key + X and selecting “Device Manager”.
- Expand the “Cameras” or “Imaging devices” category.
- Right-click on the laptop’s integrated camera and select “Uninstall device”.
- Restart your laptop and let it reinstall the camera drivers automatically.
-
Glitching:
- Check if any other applications or programs are using the camera at the same time. Close them to free up resources.
- Make sure your laptop meets the minimum system requirements for the camera software or application.
- Update the camera software or application to the latest version.
- Restart your laptop and try using the camera with a different software or application.
Seek Further Assistance and Feedback Submission
If you have tried all the troubleshooting methods mentioned earlier and your laptop camera still isn’t working, it may be time to seek further assistance.
Before you reach out for help, make sure to gather all the necessary information about your laptop, such as the make and model, operating system, and any error messages you may have encountered. This will help the support team or technician better understand your issue and provide a more accurate solution.
First, check if there are any available updates for your operating system, specifically Windows. Updates often include bug fixes and improvements that can resolve camera-related issues. To check for updates, go to the Start menu, open Settings, and select Update & Security. From there, click on Windows Update and select Check for updates. If there are any available updates, download and install them.
If updating your operating system doesn’t solve the problem, there might be an issue with the camera driver. Try reinstalling the camera driver by following these steps:
1. Press the Windows key + X and select Device Manager.
2. Expand the Imaging devices or Cameras category.
3. Right-click on your laptop’s camera and select Uninstall device.
4. Restart your laptop.
5. Windows will automatically reinstall the camera driver upon restart.
If reinstalling the driver doesn’t work, you can also try reaching out to the laptop manufacturer’s support team or visiting their website for further assistance. They may have specific troubleshooting steps or driver downloads available for your laptop model.
In some cases, hardware issues might be causing the camera problem. If your laptop is still under warranty, consider contacting Asurion or the manufacturer’s support team to inquire about repair or replacement options.
If you have exhausted all these options and still need help, consider submitting a feedback form or reaching out to the laptop manufacturer’s customer support. They may have additional troubleshooting steps or be able to provide further guidance based on your specific situation.
F.A.Q.
Why is my laptop camera black?
Your laptop camera may be black because of a potential issue with the drivers or a conflicting startup program. Try restarting your computer in Safe Mode to determine if the camera works. If it still displays a black screen, consider updating the camera drivers. Additionally, disabling startup programs such as antivirus suites or social tools like Slack or Steam might help resolve the issue.
How do I reset my camera on my laptop?
To reset the camera on your laptop, go to Settings > Apps > Apps & features > Camera. Select the Camera app and click on Advanced options. Finally, click on Reset.
How do I enable my camera on my laptop?
To enable your camera on your laptop, navigate to the Privacy menu in Windows settings. From there, select “Camera” from the list of app permissions. Check the top of the screen to see if camera access is enabled on your device.
Why does my camera not work on my laptop?
Your camera may not be working on your laptop due to missing drivers, antivirus program blocking the camera, privacy settings not allowing camera access for some apps, or issues with the app itself.
