Having sound issues on your laptop can be frustrating, but fortunately, there are several solutions available to help resolve these problems.
Before You Start
1. Update Device Drivers: Ensure that your device drivers are up to date as outdated drivers can cause sound problems. To update your drivers, follow these steps:
a. Open the Control Panel (Windows) by clicking on the Start menu and searching for “Control Panel.”
b. In the Control Panel, click on “Device Manager.”
c. Expand the “Sound, video, and game controllers” category.
d. Right-click on your audio device and select “Update driver.”
2. Check Volume and Taskbar Settings: Make sure that the volume is not muted or set too low. Also, check the sound icon in the taskbar to ensure it is enabled and not disabled.
3. Troubleshoot Sound Problems: Use the troubleshooting tool provided by your operating system to diagnose and fix sound issues. To access the troubleshooting tool in Windows 10, follow these steps:
a. Click on the Start menu and search for “Troubleshoot settings.”
b. Open the Troubleshoot settings and scroll down to find the “Playing Audio” option.
c. Click on “Playing Audio” and select “Run the troubleshooter.”
d. Follow the on-screen instructions to identify and resolve sound problems.
4. Check Output Device and Control Panel Settings: Ensure that the correct output device is selected in your sound settings. To access the sound settings in Windows, follow these steps:
a. Open the Control Panel (Windows) by clicking on the Start menu and searching for “Control Panel.”
b. In the Control Panel, click on “Sound.”
c. Under the “Playback” tab, select the correct output device and click on “Set Default.”
5. Test with Headphones: Connect a pair of headphones to your laptop and check if the sound works through them. If it does, the issue might be with your laptop’s speakers.
Understanding Audio Issues
If you’re experiencing audio issues on your laptop, there are a few solutions you can try to fix the problem.
First, check if your device driver is up to date. Outdated drivers can often cause sound problems. To update your driver, go to the manufacturer’s website and download the latest version for your specific laptop model.
Next, check your operating system settings. On Windows, you can access the Control Panel to adjust your sound settings. Click on the Start icon, search for “Control Panel” using Windows Search, and open it. Look for the “Sound” icon and click on it to access the sound settings. Make sure the volume is turned up and the correct playback device is selected.
If you’re using Windows 10, you can also try using the Troubleshoot option. Right-click on the speaker icon in the taskbar and select “Troubleshoot sound problems.” This will scan your system for any issues and attempt to fix them automatically.
Another thing to check is your hardware. Make sure your speakers or headphones are properly connected to your laptop. If using external speakers, check if they are powered on and the volume is turned up. Additionally, try connecting different headphones or speakers to see if the issue persists.
If none of the above solutions work, you can try reinstalling your audio driver. To do this, go to the Device Manager, locate your audio driver under the “Sound, video, and game controllers” section, right-click on it, and select “Uninstall device.” Once uninstalled, restart your laptop and Windows should automatically reinstall the driver.
If you’re still experiencing sound issues, it may be worth considering a third-party audio software or app. These tools can provide additional settings and features to enhance your audio experience on your laptop.
Adjust Volume Settings
To adjust the volume settings on your laptop, follow the steps below:
1. Locate the speaker icon in the taskbar. It is usually located in the bottom right corner of the screen. If you don’t see it, try scrolling through the taskbar to find it.
2. Right-click on the speaker icon to open the context menu.
3. From the context menu, select “Open Sound settings” or “Playback devices” (depending on your operating system).
4. This will open the Sound settings window. Here, you can adjust the volume by moving the slider up or down. You can also click on the speaker icon to mute the sound.
5. If you want more precise control over the volume, click on “Device properties” or “Advanced sound options” (depending on your operating system). This will allow you to adjust the volume in smaller increments.
6. If you are still experiencing sound issues after adjusting the volume settings, it may be related to the device driver. To fix this, you can update the driver.
7. Open the Control Panel on your Windows laptop. You can do this by typing “Control Panel” in the Windows Search bar and selecting it from the results.
8. In the Control Panel, select “Device Manager” to open the Device Manager window.
9. In the Device Manager, expand the “Sound, video, and game controllers” category to view the audio devices.
10. Right-click on the audio device and select “Update driver” from the context menu.
11. Follow the on-screen instructions to update the driver. If an update is available, Windows will download and install it.
12. Once the driver update is complete, restart your laptop to apply the changes.
Use Headphones for Testing

To troubleshoot sound issues on your laptop, using headphones can be a helpful solution. Here’s how you can do it:
1. Plug in your headphones: Connect your headphones to the appropriate audio jack on your laptop. This is usually located on the side or front of your laptop. Make sure the headphones are securely plugged in.
2. Test the sound: Once the headphones are connected, play some audio or a video to test if the sound issue persists. If you can hear the sound properly through the headphones, it indicates that the issue might be with your laptop’s built-in speakers.
3. Adjust sound settings: Open the Control Panel on your Windows laptop by clicking on the Start menu and searching for “Control Panel.” In the Control Panel, select “Sound” or “Audio Devices.” Here, you can adjust the volume, check if the correct playback device is selected, and troubleshoot any specific sound issues.
4. Update audio drivers: Outdated or incompatible audio drivers can also cause sound problems. To update your audio drivers, go to the manufacturer’s website or use a reliable driver update software to download and install the latest drivers for your laptop’s sound card.
5. Restart your laptop: Sometimes, a simple restart can resolve sound issues. After making any necessary adjustments or updates, restart your laptop and check if the sound problem is resolved.
Remember, using headphones for testing can help determine if the issue is with your laptop’s built-in speakers or with the audio settings. If the sound works fine with headphones but not without them, you may need to get your laptop’s speakers repaired or replaced.
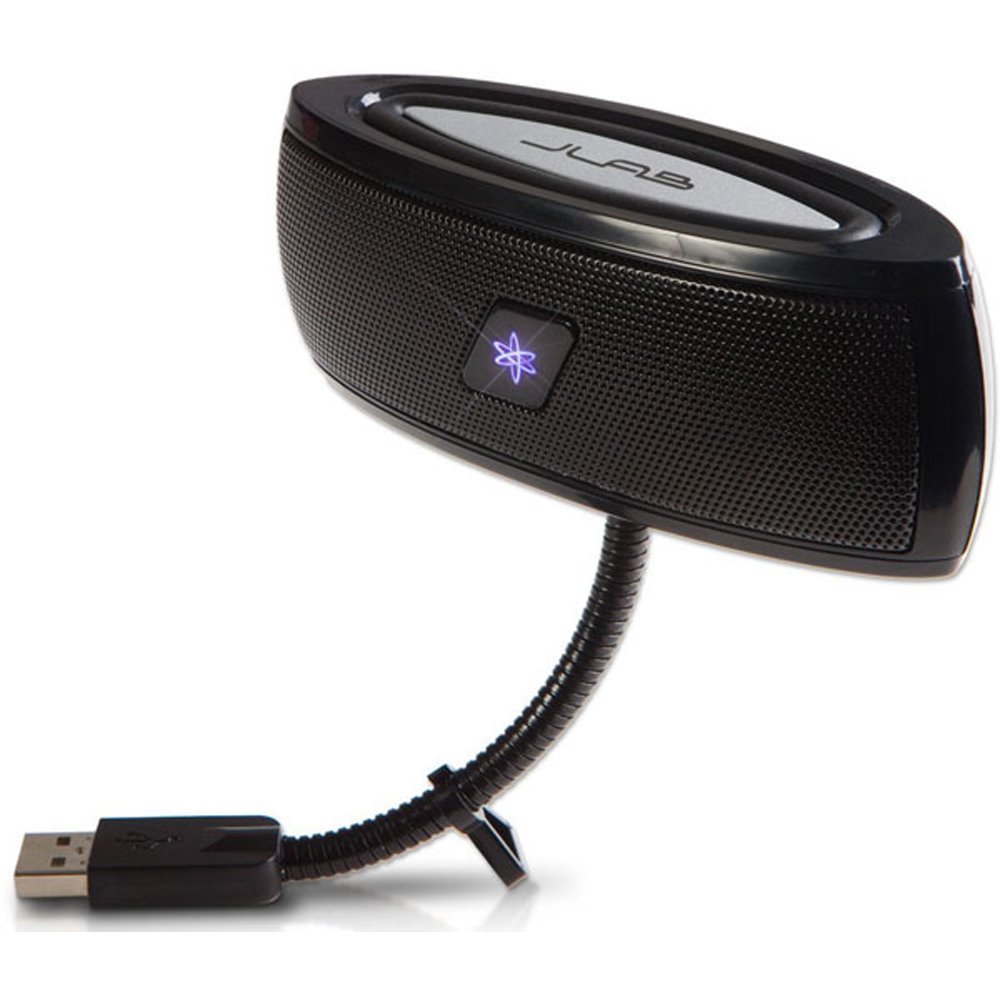
Selecting the Correct Audio Device
- Check compatibility: Ensure that the audio device you choose is compatible with your laptop’s operating system and hardware.
- Consider portability: If you frequently travel or use your laptop on the go, opt for a lightweight and compact audio device.
- Audio quality: Look for an audio device that offers high-quality sound and clear audio output.
- Connectivity options: Choose an audio device that provides the appropriate connectivity options for your laptop, such as USB, Bluetooth, or audio jack.
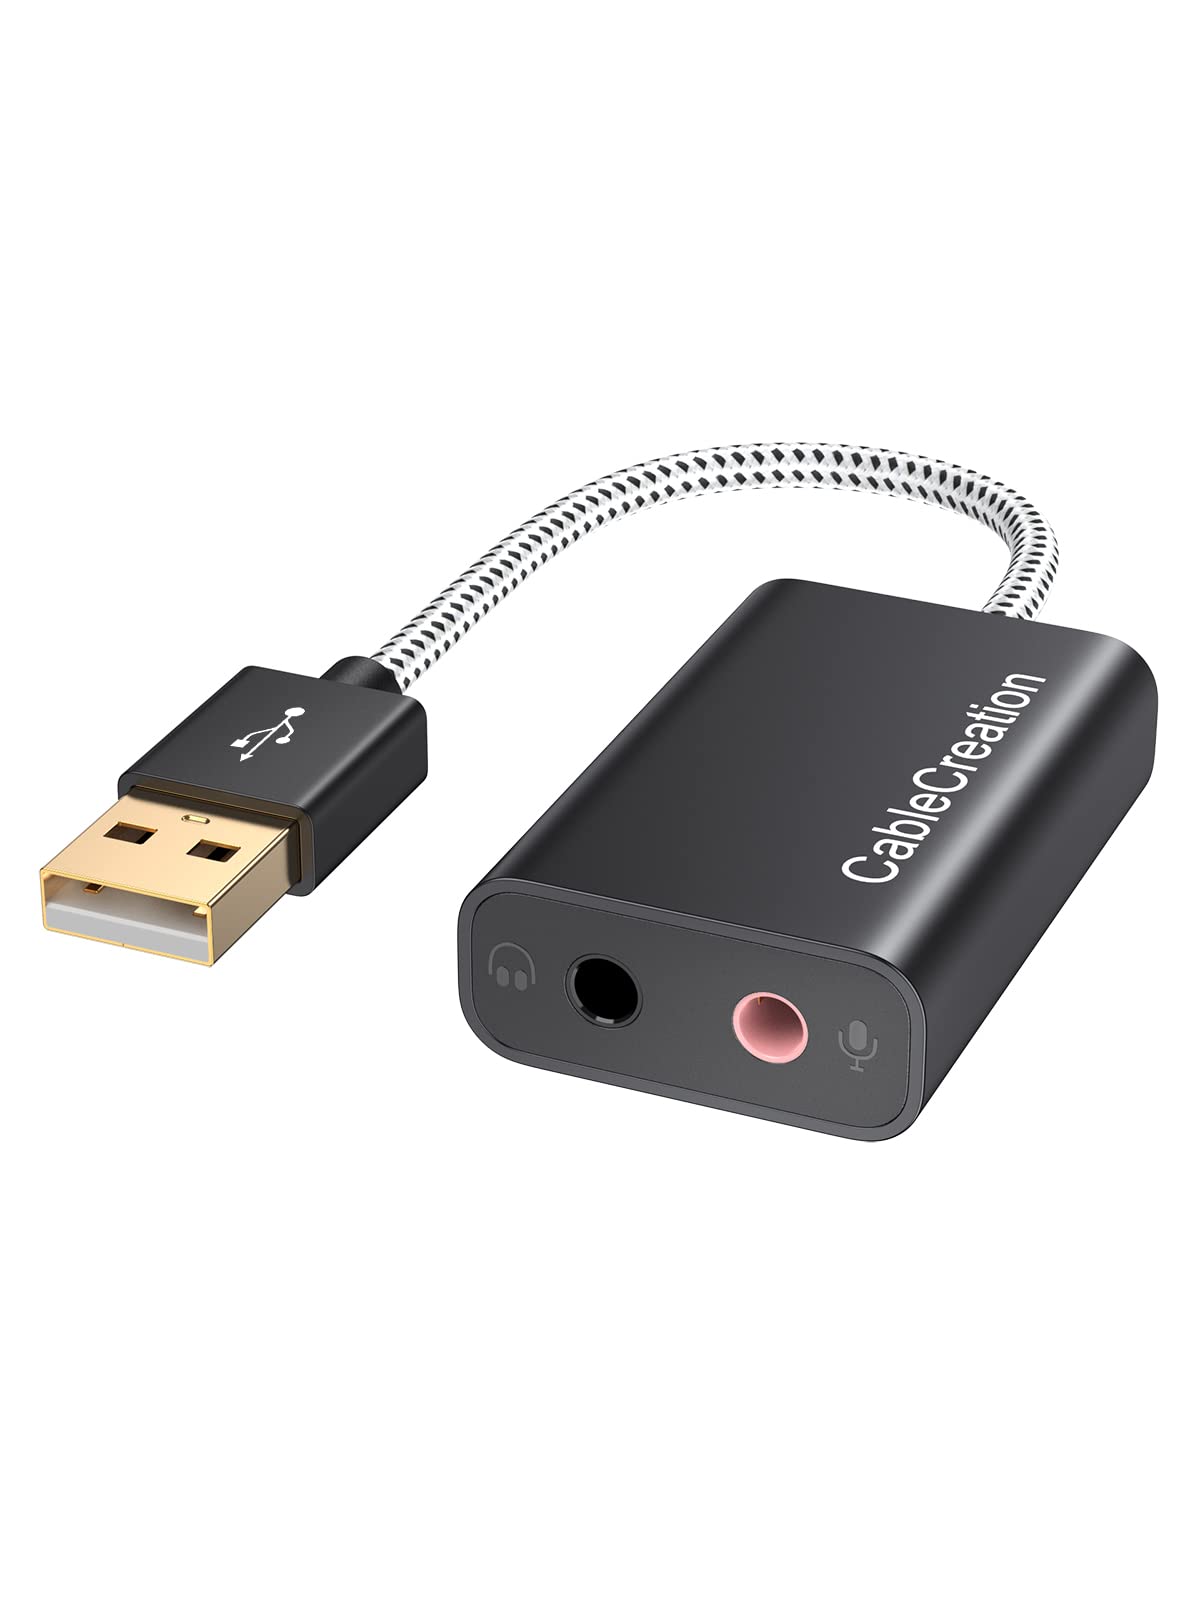
- Usage requirements: Determine the purpose for which you primarily need the audio device, such as gaming, watching movies, or professional audio editing.
- Consider budget: Set a budget and look for audio devices that meet your requirements within that price range.
- User reviews: Check online reviews and ratings to gain insights into the reliability and performance of the audio device.
- Compatibility with other devices: If you want to use the audio device with other devices, ensure it is compatible with them as well.
- Warranty and customer support: Look for audio devices that come with a warranty and reliable customer support for troubleshooting or assistance.
Updating Audio Drivers
To update audio drivers on your laptop, follow these steps:
1. Open the Control Panel on your Windows laptop.
2. Look for the “Device Manager” option and click on it.
3. In the Device Manager window, locate the “Sound, video, and game controllers” category and expand it.
4. Right-click on your audio device (it could be listed as “Realtek High Definition Audio” or something similar) and select “Update driver.”
5. Choose the option to search automatically for updated driver software.
6. Windows will then search for the latest drivers for your audio device and install them if available.
7. After the installation is complete, restart your laptop to apply the changes.
8. Once your laptop has restarted, check if the sound issues have been resolved.
If updating the audio drivers did not fix the sound issues on your laptop, you may need to consider other troubleshooting steps or seek further assistance.
Running the Audio Troubleshooter
1. Open the Control Panel on your Windows laptop. You can do this by clicking the Start button, typing “Control Panel,” and selecting it from the search results.
2. In the Control Panel, search for “Troubleshoot” in the search bar located in the top right corner.
3. Click on the “Troubleshoot” option that appears in the search results.
4. In the Troubleshoot window, scroll down and locate the “Playing Audio” option. Click on it to expand the troubleshooting options.
5. Click on the “Run the troubleshooter” button next to the “Playing Audio” option.
6. The troubleshooter will now scan your laptop for any audio issues. It may take a few minutes to complete the scan.
7. Once the scan is finished, the troubleshooter will display a list of problems it has detected. Follow the on-screen instructions to resolve the issues.
8. If the troubleshooter was able to fix the problem, you can try playing audio on your laptop to check if the sound is working properly.
9. If the troubleshooter couldn’t fix the problem or didn’t find any issues, you may need to try other solutions or seek further assistance.
Running the Audio Troubleshooter is a quick and easy way to diagnose and fix sound problems on your laptop. Give it a try if you’re experiencing any audio issues, and hopefully, it will get your sound working again.
Remember to save any unsaved work and close any open applications before running the troubleshooter.
If you continue to experience sound issues after running the troubleshooter, you may need to consider other factors such as hardware problems, driver updates, or software conflicts.
Disabling Audio Enhancements
If you’re experiencing sound issues on your laptop, one potential solution is to disable audio enhancements. This can help resolve problems such as distorted sound or low volume. Here’s how you can do it:
1. Open the Control Panel on your Windows laptop. You can usually find it by searching for “Control Panel” in the Start menu.
2. Look for the “Sound” or “Audio” option and click on it. This will open the sound settings for your laptop.
3. In the sound settings, you should see a list of playback devices. Find the one that is currently active, usually labeled as your laptop’s speakers or headphones.
4. Right-click on the active playback device and select “Properties” from the context menu. This will open a new window with additional settings for the device.
5. In the device properties window, navigate to the “Enhancements” tab. Here, you will find various audio enhancements that may be enabled.
6. Tick the checkbox that says “Disable all enhancements.” This will disable any audio enhancements that are currently applied to the playback device.
7. Click “Apply” or “OK” to save the changes and close the properties window.
8. Test the sound on your laptop to see if the issue has been resolved. If not, you can try disabling enhancements for other playback devices as well.
Updating the BIOS
To update the BIOS on your laptop, follow these steps:
1. Go to the manufacturer’s website and locate the support or downloads section.
2. Look for the latest BIOS update for your specific laptop model and download it.
3. Once the download is complete, locate the downloaded file and double-click on it to begin the installation.
4. Follow the on-screen instructions to update the BIOS. It may involve restarting your laptop, so make sure to save any important work before proceeding.
5. During the update process, do not turn off your laptop or disconnect the power source, as it can cause damage to the BIOS.
6. After the update is complete, restart your laptop to apply the changes.
Updating the BIOS can help resolve sound issues on your laptop by ensuring that the system is running on the latest firmware version. This can fix compatibility issues and improve overall system performance.
If you encounter any difficulties during the BIOS update process, refer to the manufacturer’s documentation or contact their support for further assistance.
Further Steps for Persistent Issues
- Run the Windows Audio Troubleshooter:
- Press the Windows key and type Troubleshoot.
- Select Troubleshoot settings from the search results.
- Scroll down and click on Additional troubleshooters.
- Under Get up and running, click on Playing Audio.
- Click on Run the troubleshooter and follow the on-screen instructions.
- Update or reinstall audio drivers:
- Press the Windows key and type Device Manager.
- Select Device Manager from the search results.
- Expand the Sound, video, and game controllers category.
- Right-click on your audio device and select Update driver.
- Choose Search automatically for updated driver software.
- If an update is found, follow the prompts to install it.
- If no update is found or the issue persists, right-click on the audio device again and select Uninstall device.
- Restart your laptop and Windows will automatically reinstall the audio driver.
- Disable audio enhancements:
- Right-click on the Volume icon in the taskbar and select Playback devices.
- Double-click on your default playback device.
- Go to the Enhancements tab.
- Check the box that says Disable all enhancements.
- Click Apply and then OK.
- Test the sound to see if the issue is resolved.
- Check audio settings in third-party applications:
- If you are using any third-party applications for sound management, open the respective application.
- Look for any settings related to audio output or sound devices.
- Ensure that the correct output device is selected.
- Adjust any relevant volume or equalizer settings.
- Save the changes and test the sound again.
- Perform a system restore:
- Press the Windows key and type System Restore.
- Click on Create a restore point from the search results.
- In the System Properties window, click on System Restore.
- Click Next and select a restore point before the sound issues started occurring.
- Follow the on-screen instructions to restore your system.
- Note: This will revert your laptop’s settings to a previous state, so make sure to back up any important files.
About the Author
[Author Name] is a tech enthusiast with extensive knowledge and experience in troubleshooting sound issues on laptops. With a background in computer hardware and software, [Author Name] has helped countless individuals solve their audio problems and optimize their laptop’s sound performance.
[Author Name]’s expertise in sound-related topics, including control panel settings, input/output devices, and computer hardware, allows them to provide practical solutions to common sound issues that laptop users encounter. They are well-versed in various operating systems, including Microsoft Windows, and can guide users through the necessary steps to fix sound problems without any unnecessary complications.
With a knack for simplifying complex technical concepts, [Author Name] is able to explain troubleshooting methods and provide step-by-step instructions that are easy to follow. Whether it’s adjusting sound settings, updating drivers, or troubleshooting hardware-related issues, [Author Name] offers practical tips and solutions to help readers restore their laptop’s audio functionality.
If you’re struggling with sound issues on your laptop, [Author Name] is here to provide you with the guidance you need. Their expertise and dedication to helping others make them a reliable source of information for anyone seeking solutions to fix sound issues on their laptops.
FAQ
Why is my sound not working?
Your sound may not be working because the media volume settings on your phone may be turned down or off. To fix this, locate the Settings app and adjust the Media volume slider to increase the volume. The exact steps to access these settings will vary depending on your specific phone model.
How do I get sound back on my computer?
To get sound back on your computer, you can try fixing sound problems by updating your drivers through Avast or other performance software.
How do I reset the sound on my laptop?
To reset the sound on your laptop, navigate to Start and Settings. Then, go to System > Sound > Volume mixer. Finally, select Reset under Reset sound devices and volumes for all apps to the recommended defaults.
Why is my laptop suddenly not making sound?
Your laptop may not be making sound suddenly because the sound settings on your device could be muted or disabled. To check this, select and hold (or right-click) the Speakers icon on the taskbar and open the Volume mixer. If you don’t see the Speakers icon, it may be in the overflow area, so check there by selecting “Show hidden icons.”
