Have you ever encountered mouse and keyboard malfunctions while accessing the BIOS settings? It can be frustrating and hinder your ability to make necessary changes. In this article, we will explore common causes and possible solutions to address this issue effectively.
Assess Computer Age and USB Connections
Assessing Computer Age and USB Connections:
When troubleshooting a mouse and keyboard malfunction in BIOS, it is important to assess the computer age and USB connections. These factors can often be the root cause of the issue. Here are some steps to follow:
1. Check the computer’s age: The age of the computer can play a significant role in determining the cause of the malfunction. Older computers may have outdated firmware or BIOS settings that can interfere with the proper functioning of the mouse and keyboard. If your computer is relatively old, it is worth considering updating the BIOS firmware to the latest version. This can often resolve compatibility issues and improve overall performance.
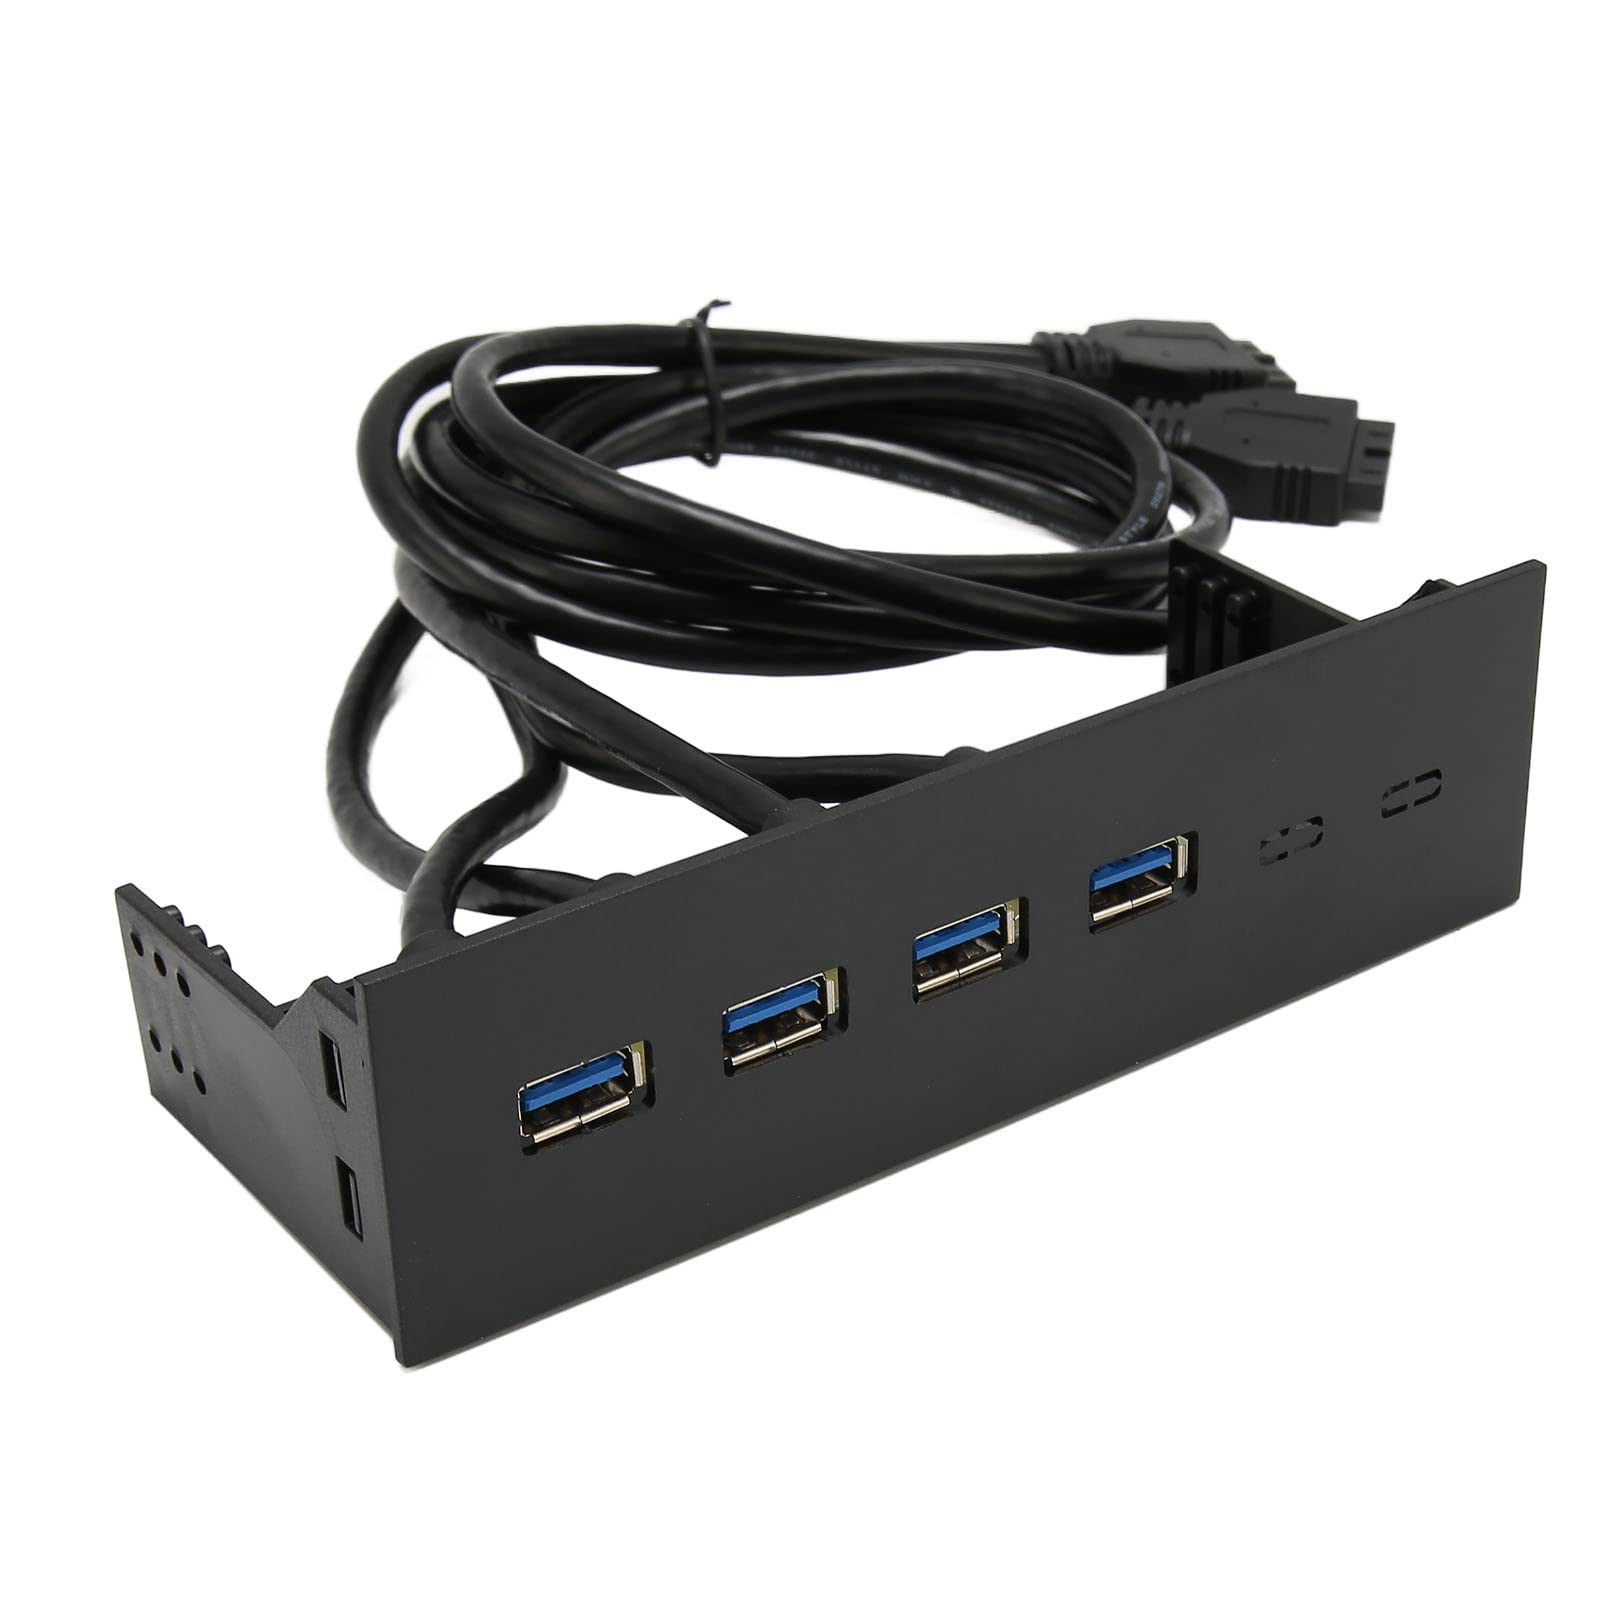
2. Inspect the USB connections: Faulty or loose USB connections can cause the mouse and keyboard to malfunction. Start by checking all the USB ports on your computer to ensure they are properly connected and not damaged. If you notice any bent pins or debris inside the ports, gently clean them using compressed air or a soft brush. Additionally, try plugging the mouse and keyboard into different USB ports to see if the issue persists. Sometimes, certain USB ports may be malfunctioning while others work fine.
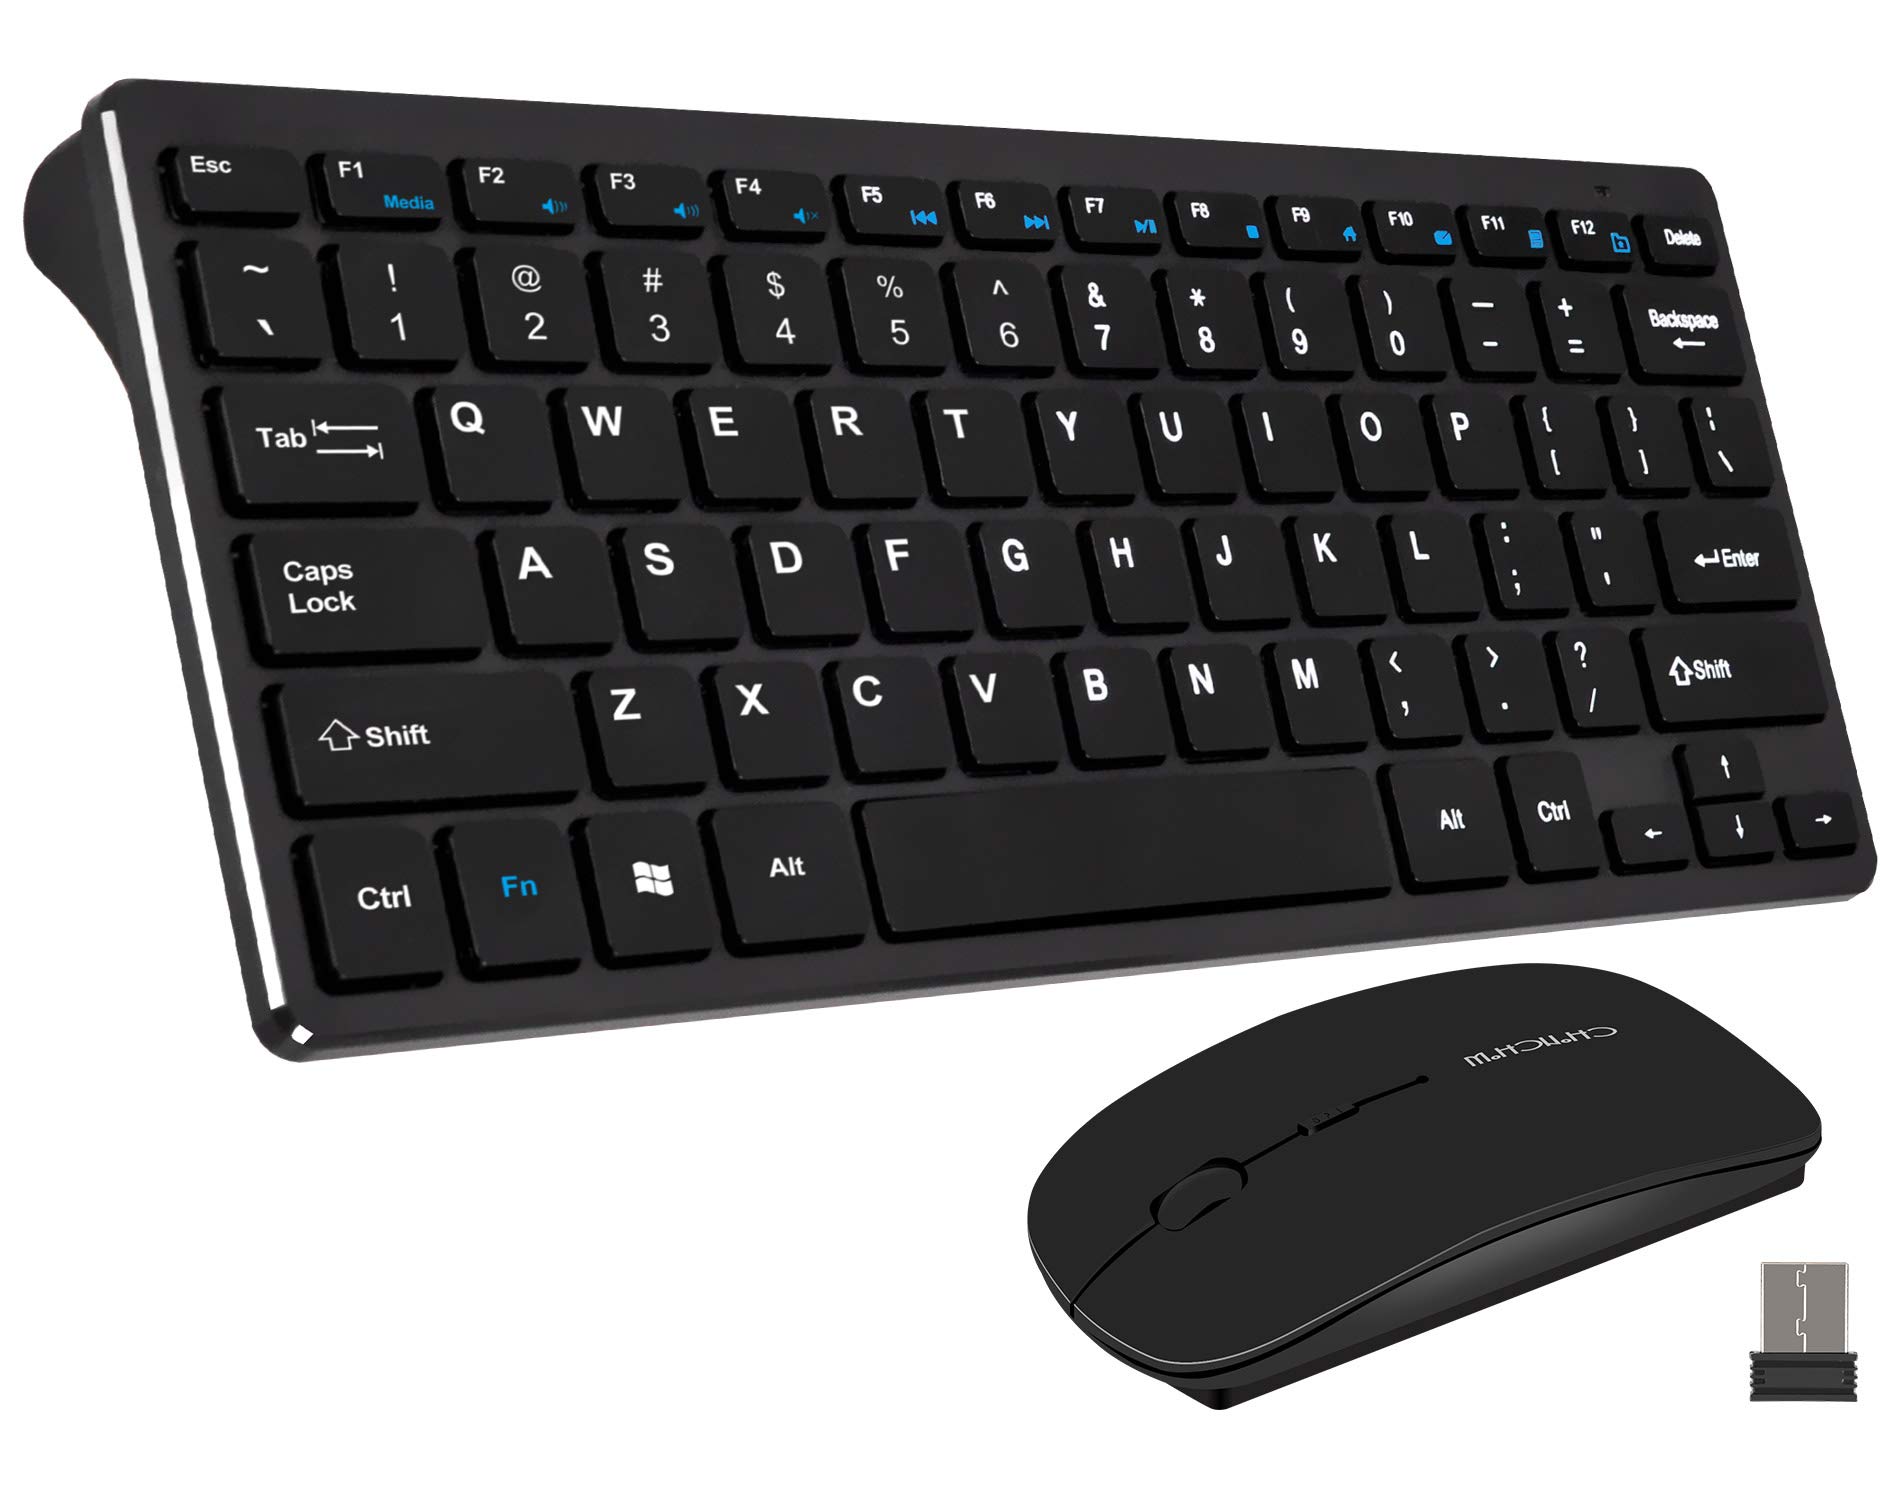
3. Test with different peripherals: To rule out the possibility of a faulty mouse or keyboard, try using different peripherals. Borrow a mouse and keyboard from a friend or colleague and connect them to your computer. If the borrowed peripherals work without any issues, it indicates that the problem lies with your original mouse or keyboard. In such cases, consider replacing the malfunctioning peripheral.
4. Update USB drivers: Outdated or corrupted USB drivers can also cause mouse and keyboard malfunctions. To update the USB drivers, follow these steps:
a. Press the Windows key + X and select “Device Manager” from the menu.
b. Expand the “Universal Serial Bus controllers” category.
c. Right-click on each USB controller and select “Update driver.”
d. Follow the on-screen instructions to complete the driver update process.
e. Restart your computer and check if the mouse and keyboard are functioning properly in BIOS.
5. Check BIOS settings: Sometimes, incorrect BIOS settings can cause mouse and keyboard malfunctions. To access the BIOS settings, restart your computer and press the designated key (often Del, F2, or F10) during the boot process. Once in the BIOS menu, navigate to the “USB Configuration” or “Peripherals” section and ensure that USB support is enabled. Save the changes and exit the BIOS. Restart your computer and check if the mouse and keyboard are now working correctly.
BIOS Updates and Peripheral Drivers
If you are experiencing mouse and keyboard malfunctions in your computer’s BIOS, there are a few steps you can take to troubleshoot and resolve the issue.
First, it’s important to understand that the BIOS (Basic Input/Output System) is a firmware that is stored on a chip on your computer’s motherboard. It is responsible for initializing and testing hardware components during the boot process.
One possible cause of mouse and keyboard malfunctions in the BIOS could be outdated firmware. Updating your BIOS to the latest version can sometimes resolve compatibility issues and improve functionality. To update your BIOS, you will need to visit the manufacturer’s website, such as Asus, and download the latest BIOS update for your specific motherboard model. Follow the manufacturer’s instructions on how to flash the BIOS using their provided software.
In addition to updating your BIOS, it’s also important to ensure that your peripheral drivers are up to date. Peripheral drivers are software programs that allow your operating system to communicate with your mouse and keyboard. Outdated or incompatible drivers can cause malfunctions. To update your peripheral drivers, follow these steps:
1. Press the Win + X keys on your keyboard and select Device Manager from the menu that appears.
2. Expand the category for Keyboards and Mice and other pointing devices.
3. Right-click on your keyboard and mouse devices and select Update driver.
4. Choose the option to search automatically for updated driver software.
5. Windows will search for the latest drivers and install them if available.
If the above steps do not resolve the issue, you can try resetting the BIOS settings to their default values. This can sometimes fix configuration issues that may be causing the malfunctions. To reset the BIOS settings, follow these steps:
1. Restart your computer and enter the BIOS setup by pressing the appropriate key during the boot process (usually the Del or F2 key).
2. Look for an option to reset the BIOS settings to their default values. This option may be located in a menu called “Reset,” “Load Defaults,” or something similar.
3. Select the option to reset the settings and save the changes.
4. Restart your computer and check if the mouse and keyboard malfunctions have been resolved.
If none of the above steps work, it’s possible that there may be a hardware issue with your mouse or keyboard. You can try connecting them to another computer to see if they work properly. If they do, then the issue may be with your computer’s motherboard or other hardware components. In this case, it may be necessary to contact a professional for further assistance.
Enable Legacy Support and Disable Fast Boot
1. Restart your computer and access the BIOS menu. This is typically done by pressing a specific key during the boot process. Common keys include F2, Del, or Esc. Refer to your computer’s documentation if you are unsure of the correct key.
2. Once in the BIOS menu, navigate to the “Advanced” or “Boot” section using the arrow keys on your keyboard. The exact location may vary depending on your computer’s manufacturer and BIOS version.
3. Look for an option related to “Fast Boot” or “Quick Boot” and select it. Use the arrow keys to change the setting to “Disabled”. This will ensure that the system fully initializes all hardware during the boot process.
4. Next, locate the “Legacy Support” or “Legacy USB Support” option. Again, use the arrow keys to change the setting to “Enabled”. This will enable the support for legacy devices such as older keyboards and mice.
5. Save your changes and exit the BIOS menu. Look for an option like “Save and Exit” or “Exit and Save Changes”. Press the appropriate key to save the changes and restart your computer.
6. After the computer restarts, test your mouse and keyboard in the BIOS to see if the malfunctions have been resolved. If they are functioning properly, you can exit the BIOS and proceed to use your computer as usual.
By enabling legacy support and disabling fast boot, you are ensuring that your computer fully recognizes and initializes your mouse and keyboard during the boot process. This can help resolve any malfunctions or compatibility issues that may be occurring.
Troubleshooting with CMOS and Peripheral Settings

| Issue | Possible Cause | Troubleshooting Steps |
|---|---|---|
| Mouse and keyboard not working in BIOS | CMOS settings misconfigured |
|
| Mouse or keyboard not recognized in BIOS | Peripheral device failure or incompatible hardware |
|
| Mouse cursor or keyboard input lag in BIOS | BIOS version outdated or system resources being utilized heavily |
|
Frequently Asked Questions
How do you fix a mouse that won’t move the cursor?
To fix a mouse that won’t move the cursor, you can troubleshoot by charging the mouse, replacing batteries or charger, trying a different USB port, or restarting Bluetooth connection. Additionally, check for driver issues or outdated system software.
Can you navigate BIOS without mouse?
Yes, it is possible to navigate BIOS without a mouse. You can use the left, right, up, and down arrows on your keyboard to move between different setup menus and press
Why is my keyboard or mouse not working in BIOS?
Your keyboard or mouse may not be working in BIOS because the Legacy USB Support option is not enabled. To fix this, restart your computer and enter the BIOS setup by holding a BIOS key during the loading screen. Once in the BIOS setup, navigate to the Advanced tab and enable the Legacy USB Support option.
Why can I not move my mouse in BIOS?
You cannot move your mouse in BIOS because the BIOS is not designed to support input devices other than the keyboard. The device drivers required for mouse functionality are too large to be accommodated in the limited size of the BIOS. Additionally, BIOS does not have a graphical interface like Windows, so there is no interface for the mouse to interact with.
