If you’re encountering a CMOS checksum error and an invalid battery message, this article will guide you through the process of resolving these issues.
Causes Behind CMOS Checksum Errors
CMOS checksum errors can occur due to various reasons. Here are some common causes behind these errors and how you can fix them:
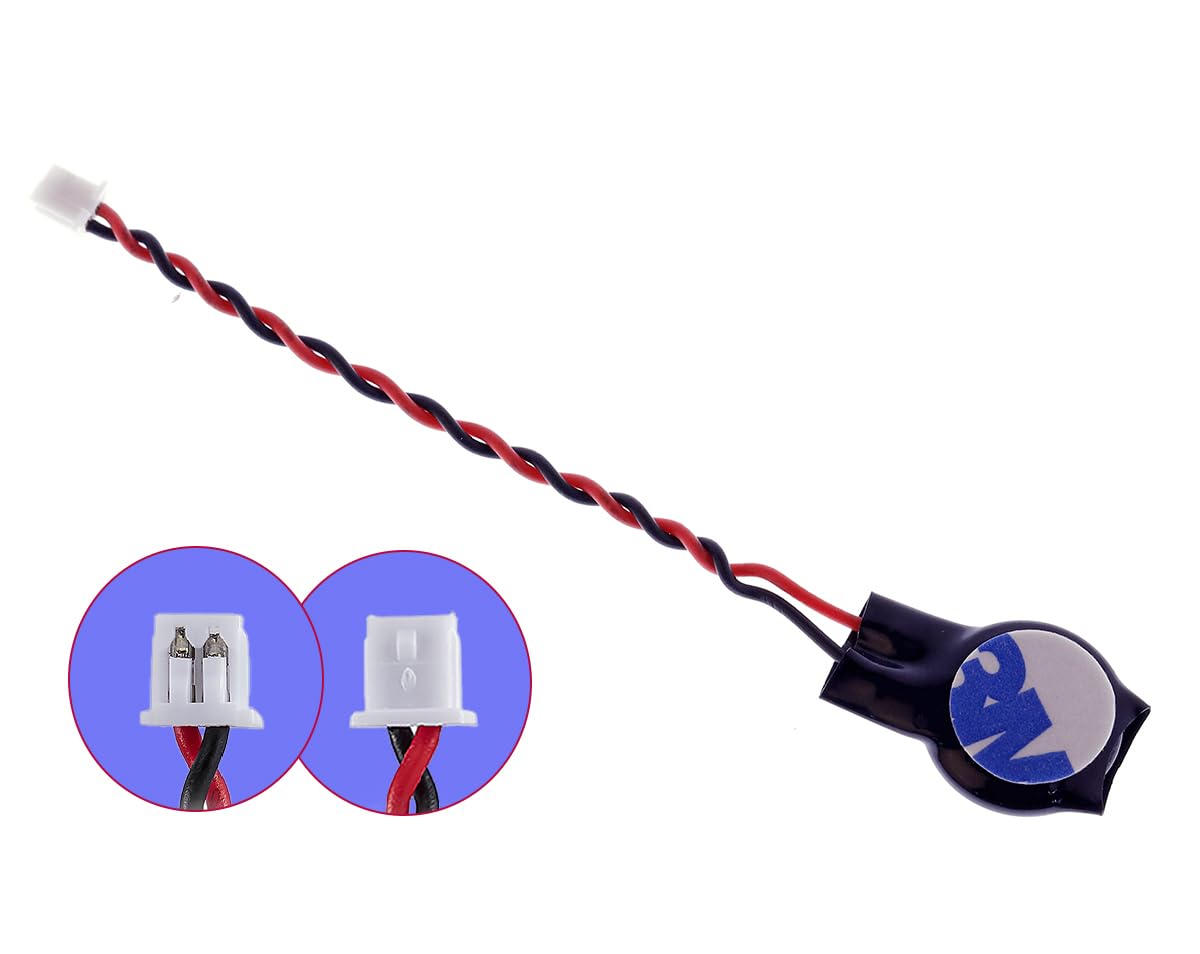
1. Weak or expired CMOS battery: The CMOS battery provides power to the CMOS chip that stores important system information. If the battery is weak or expired, it may fail to retain the data correctly, leading to checksum errors. To fix this issue, replace the CMOS battery with a new one. Locate the CMOS battery on your motherboard, carefully remove it, and replace it with a compatible battery.
2. Incorrect BIOS settings: Sometimes, incorrect BIOS settings can trigger CMOS checksum errors. This can happen if you recently made changes to your BIOS configuration or if the settings were altered unexpectedly. To resolve this, access the BIOS menu by pressing the designated key during boot (usually F2 or Delete). Restore the default BIOS settings by selecting the “Load Optimized Defaults” or similar option.
3. Hardware or connection issues: Faulty hardware components or loose connections can also cause CMOS checksum errors. Check all the connections, especially those related to the CMOS chip and battery, and ensure they are secure. If you recently installed new hardware, such as RAM or a graphics card, try removing it temporarily to see if the error persists.
4. BIOS update or firmware corruption: Updating the BIOS or experiencing firmware corruption during the update process can result in checksum errors. To fix this, you might need to reflash the BIOS. However, this process can be complex and risky, so it is recommended to consult the motherboard manufacturer’s instructions or seek assistance from a professional computer repair technician.
5. Malware or virus infections: In some cases, malware or viruses can interfere with the CMOS data, causing checksum errors. Run a thorough scan using reliable antivirus software to detect and remove any malicious programs from your system.
Steps to Rectify CMOS Checksum Errors
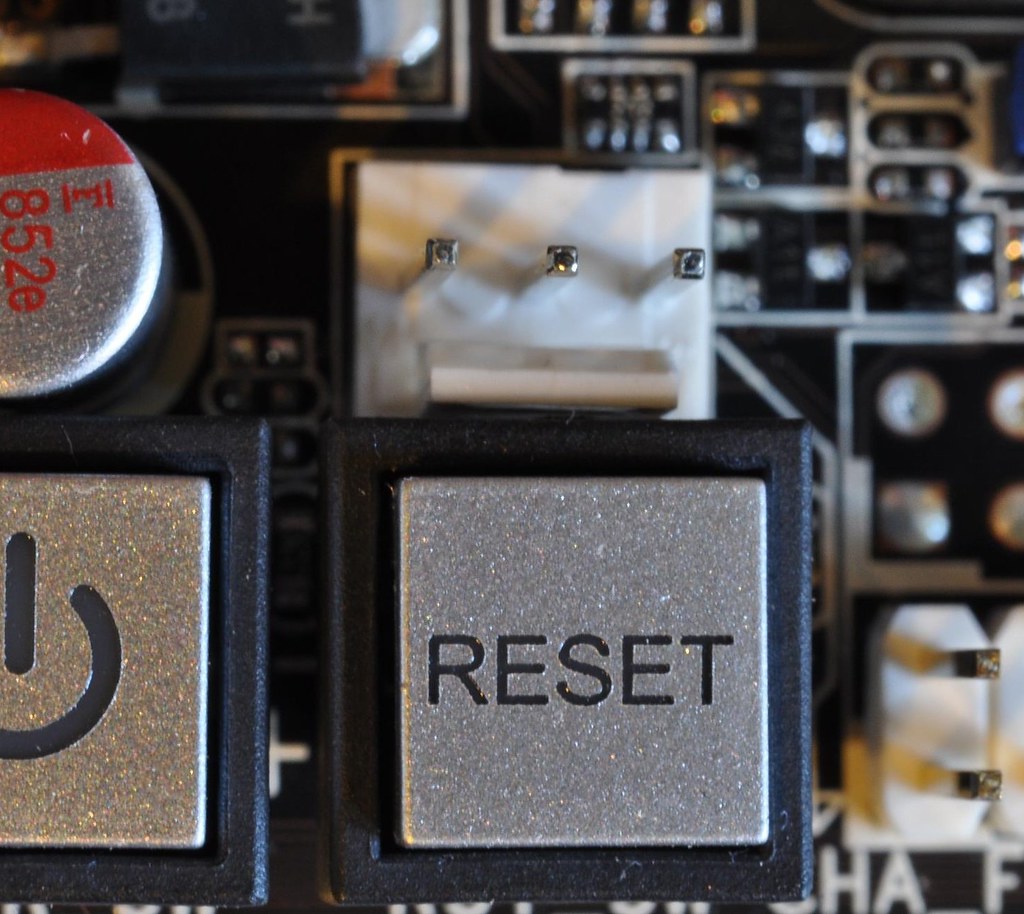
- Reset CMOS
- Replace CMOS Battery
- Update BIOS
Reset CMOS:
- Shut down the computer and unplug the power cord.
- Open the computer case to locate the motherboard.
- Find the CMOS jumper on the motherboard.
- Change the CMOS jumper position from the default setting to the reset position.
- Wait for a few seconds and then put the CMOS jumper back to its original position.
- Close the computer case and plug the power cord back in.
- Start the computer and check if the CMOS checksum error is resolved.
Replace CMOS Battery:
- Shut down the computer and unplug the power cord.
- Open the computer case to locate the CMOS battery.
- Remove the old CMOS battery carefully.
- Insert a new CMOS battery of the same type and ensure it is properly seated.
- Close the computer case and plug the power cord back in.
- Start the computer and check if the CMOS checksum error is resolved.
Update BIOS:
- Visit the manufacturer’s website to download the latest BIOS update for your motherboard model.
- Save the BIOS update file to a USB flash drive.
- Shut down the computer and unplug the power cord.
- Insert the USB flash drive containing the BIOS update file into a USB port.
- Start the computer and enter the BIOS setup by pressing the designated key during startup (usually displayed on the screen).
- Navigate to the BIOS update section and select the option to update the BIOS.
- Select the BIOS update file from the USB flash drive and follow the on-screen instructions to update the BIOS.
- Once the BIOS update is complete, restart the computer and check if the CMOS checksum error is resolved.
Resetting BIOS to Factory Defaults
To reset the BIOS to factory defaults and fix the CMOS checksum error and invalid battery issue, follow these steps:
1. Start by shutting down your computer completely and disconnecting it from any power source.
2. Open up your computer case to access the motherboard. This process may vary depending on whether you have a desktop or a laptop. Refer to your computer’s manual for specific instructions.
3. Locate the CMOS battery on the motherboard. It is a small, round, silver-colored battery that is typically held in place by a clip.
4. Carefully remove the CMOS battery from its socket. Take note of its orientation before removing it, as you will need to place it back in the same way.
5. Leave the CMOS battery out of the socket for about 5 minutes to ensure that all power is drained from the motherboard. This will reset the BIOS settings to their default values.
6. While the battery is out, press and hold the power button on your computer for about 10 seconds. This will discharge any remaining power in the system.
7. After the 5 minutes have passed, reinsert the CMOS battery back into its socket, making sure it is properly aligned.
8. Close the computer case and reconnect the power source.
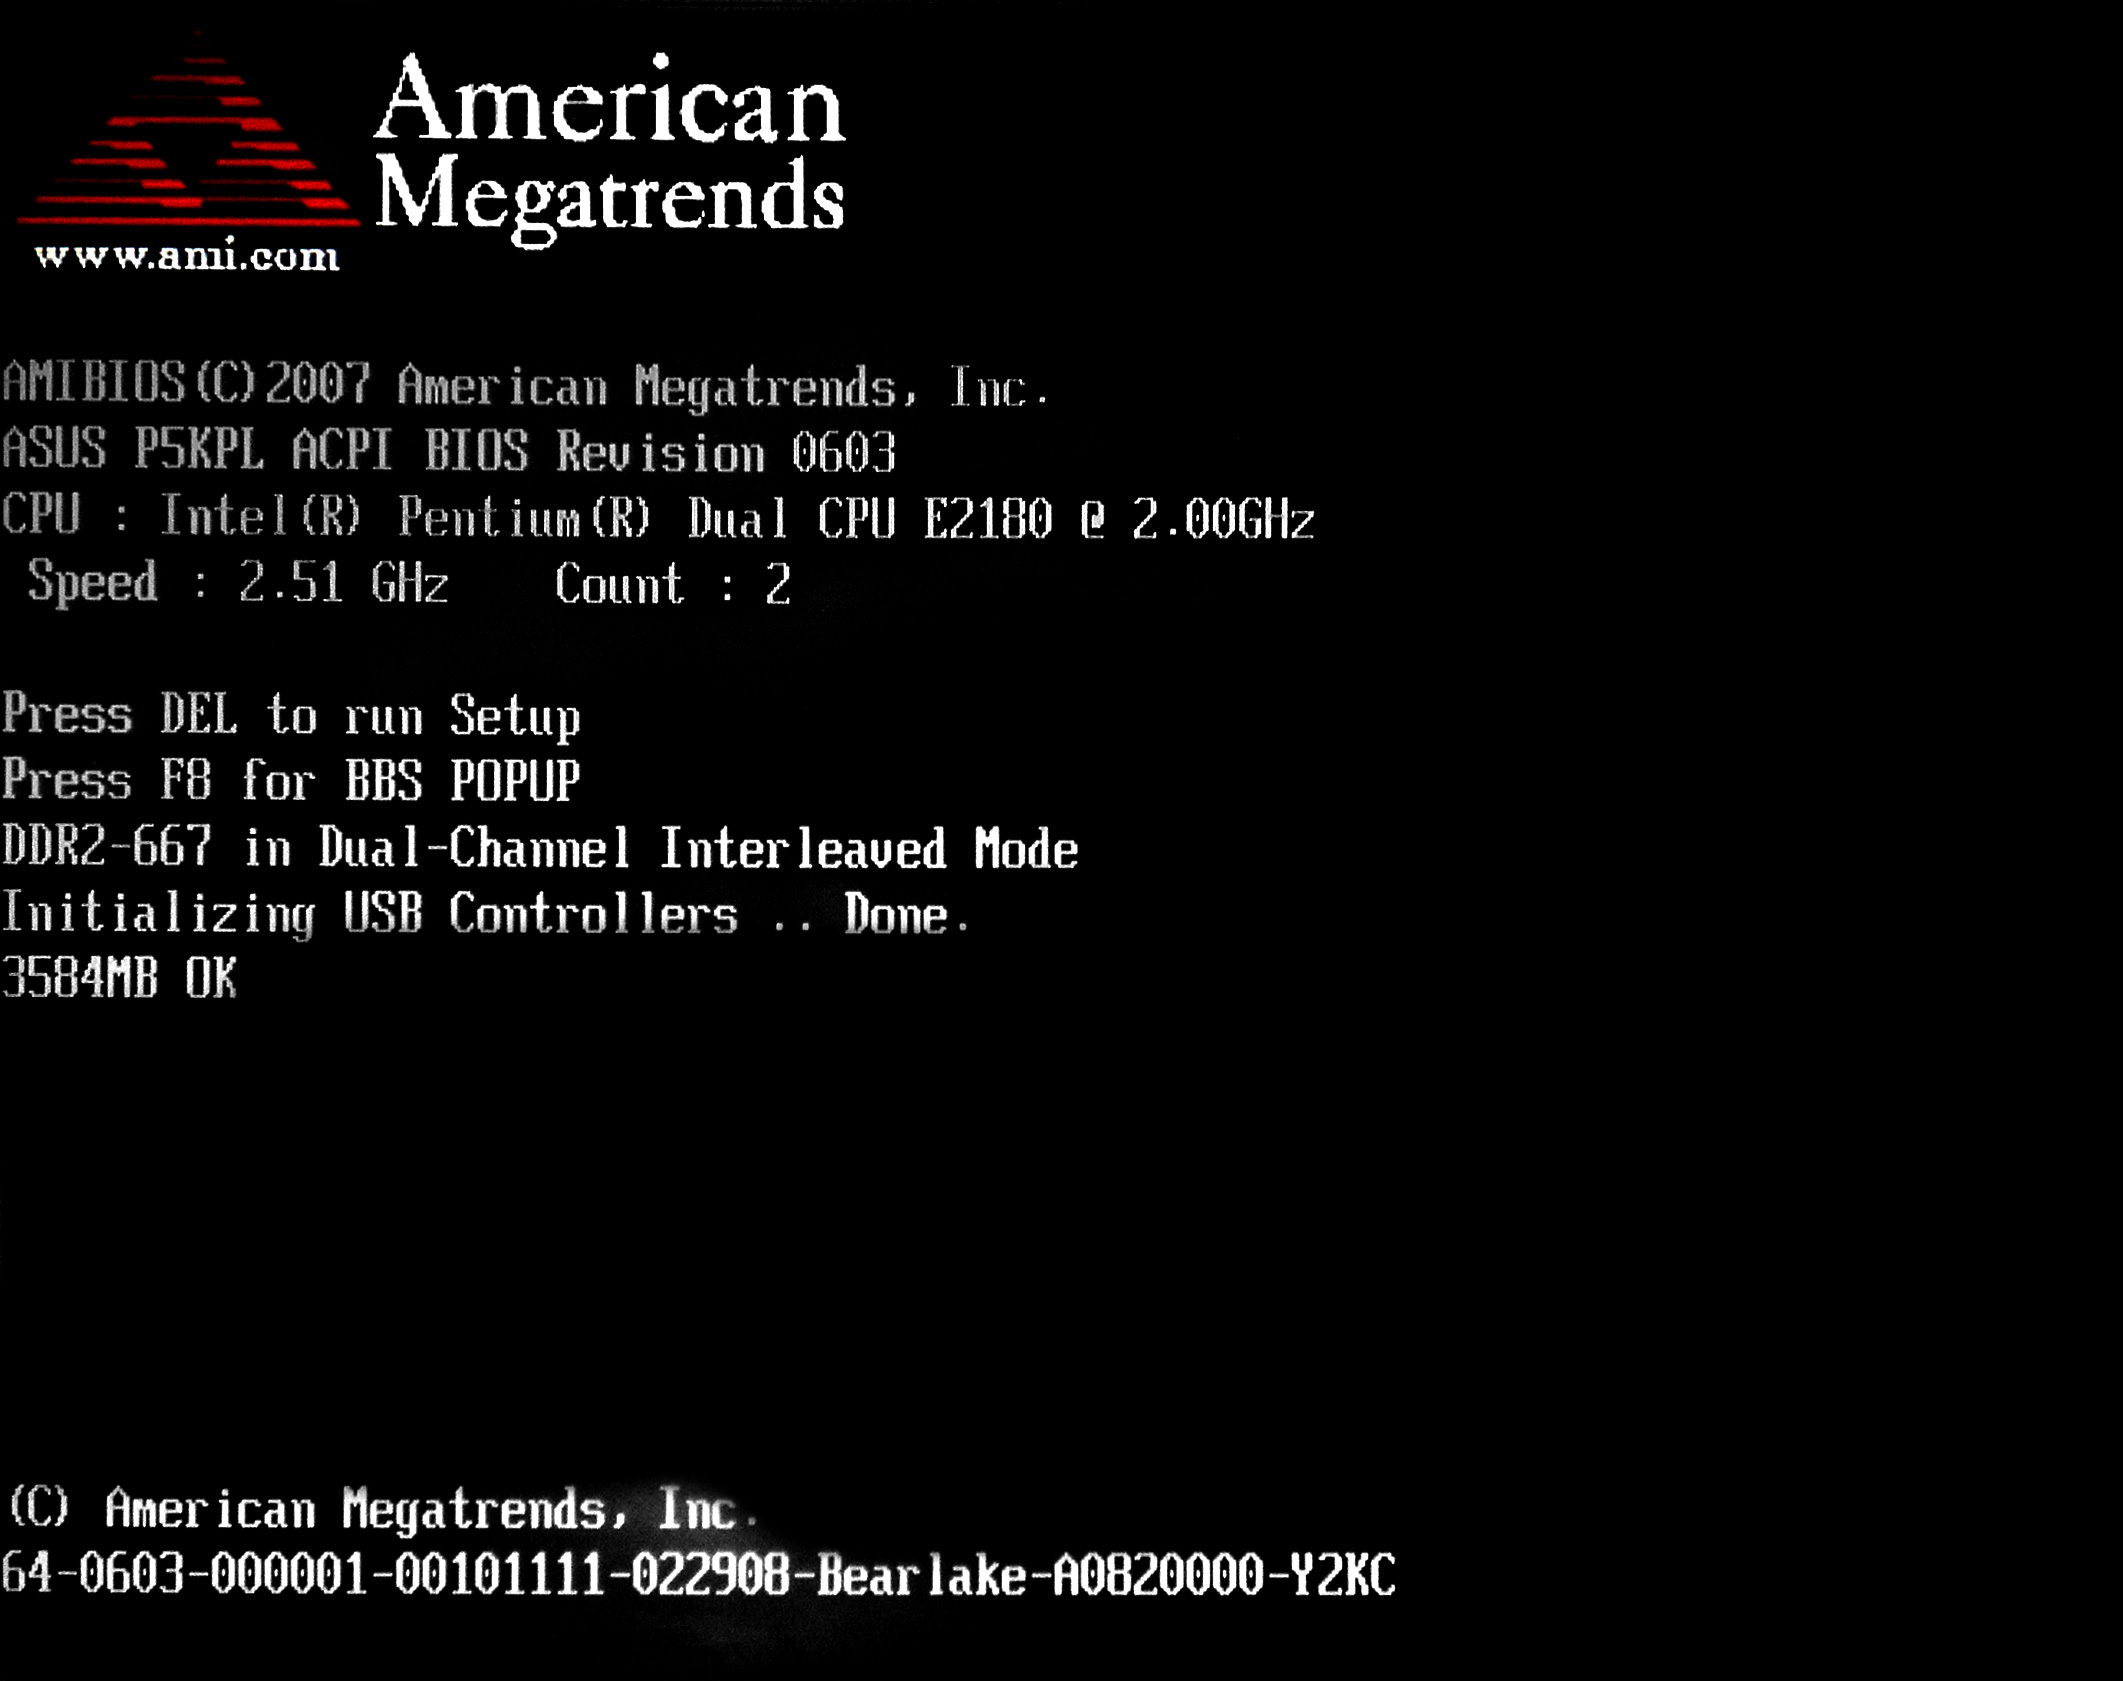
9. Power on your computer and immediately start pressing the appropriate key to enter the BIOS setup. This key is usually displayed on the boot screen and is often F2, F10, or Delete. Refer to your computer’s manual if you are unsure.
10. Once in the BIOS setup, navigate to the “Exit” or “Reset” menu. Look for an option to “Load Setup Defaults” or “Reset to Default Settings.”
11. Select the option to reset the BIOS to its factory defaults. Confirm your selection if prompted.
12. Save and exit the BIOS setup. Your computer will restart and the CMOS checksum error and invalid battery issue should be resolved.
Remember to set any custom BIOS settings, such as boot order or overclocking, back to your preferences after resetting the BIOS.
If the issue persists after resetting the BIOS, it may indicate a hardware problem or a more serious issue with your computer. In such cases, it is recommended to seek the assistance of a professional computer repair technician.
Updating BIOS and Replacing the CMOS Battery
To fix a CMOS checksum error and replace the CMOS battery, follow these steps:
1. Shut down your computer and unplug it from the power source. This ensures your safety and prevents any damage to the hardware.
2. Open your computer case. This typically requires removing screws or sliding panels. Refer to your computer’s manual for specific instructions.
3. Locate the CMOS battery on your motherboard. It is a small, round battery that is usually silver or black in color. It may be secured with a clip or held in place by a small metal bracket.
4. Use a small tool, such as a flathead screwdriver, to gently release the clip or remove the bracket holding the battery in place. Be careful not to damage any other components on the motherboard.
5. Carefully remove the old CMOS battery from its socket. Take note of its orientation, as the new battery must be inserted in the same direction.
6. Insert the new CMOS battery into the socket, making sure it is securely in place. The positive side of the battery should be facing up.
7. Replace the clip or bracket to secure the new battery in place.
8. Close your computer case and plug it back into the power source.
9. Power on your computer and enter the BIOS setup. This is typically done by pressing a specific key, such as F2 or Delete, during the boot process. Refer to your computer’s manual for the correct key.
10. Once in the BIOS setup, navigate to the “Load Default Settings” option. This will reset the BIOS to its default configuration.
11. Save the changes and exit the BIOS setup. Your computer will restart.
12. Check if the CMOS checksum error still persists. If it does, you may need to update your BIOS.
To update the BIOS:
1. Visit the manufacturer’s website and download the latest BIOS update for your specific motherboard model.
2. Save the BIOS update file to a USB flash drive.
3. Restart your computer and enter the BIOS setup again.
4. Navigate to the “Advanced” or “Tools” section and look for the option to update the BIOS.
5. Select the BIOS update file from the USB flash drive and follow the on-screen instructions to complete the update process.
6. After updating the BIOS, save the changes and exit the BIOS setup. Your computer will restart.
Following these steps should help fix the CMOS checksum error and replace the CMOS battery. If you continue to experience issues, it may be necessary to seek further assistance or consult a professional.
FAQ
How do I fix CMOS problems?
To fix CMOS problems, you can resolve it by loading optimized default settings for the BIOS. In the BIOS, press the F3 key to load the optimized default settings and then press the F10 key to save and exit the BIOS. After the next boot up, the CMOS fail error message should no longer appear in the POST screen.
How do I clear CMOS error?
To clear CMOS error, start by turning off all peripheral devices connected to the computer. Then, disconnect the power cord from the AC power source and remove the computer cover. Locate the battery on the board and remove it. Wait for 1-5 minutes before reconnecting the battery. Finally, put the computer cover back on.
How do I fix checksum error?
To fix a checksum error, you can run a CHKDSK scan on your hard drive. This scan will identify and repair any bad sectors or missing files causing the error.
How do I fix CMOS checksum error?
To fix a CMOS checksum error, you can turn off your computer and wait for five seconds. Then turn it back on and, at the first screen, access the BIOS Setup Utility. From there, go to the File tab and select Apply Defaults and Exit.
