Having trouble with compatibility issues in Windows 10? Let’s explore troubleshooting methods to resolve them effectively.
Understanding Compatibility Fixes
In troubleshooting compatibility problems in Windows 10, it is important to understand the concept of compatibility fixes. Compatibility fixes are modifications made to software or applications to make them compatible with a specific operating system, such as Windows 10.
To apply compatibility fixes, follow these steps:
1. Right-click on the application or software that is experiencing compatibility issues and select “Properties.”
2. In the Properties window, navigate to the “Compatibility” tab.
3. Check the box that says “Run this program in compatibility mode for:” and select the operating system that the software was designed for. For example, if the software was designed for Windows 7, select Windows 7 from the drop-down menu.
4. If the software requires additional compatibility settings, click on the “Change settings for all users” button. This will allow you to apply compatibility fixes for all users on the computer.
5. In the “Compatibility for all users” window, you can further customize compatibility settings by checking or unchecking the boxes for options such as “Run this program as an administrator” or “Disable display scaling on high DPI settings.”
6. Once you have selected the appropriate compatibility settings, click “Apply” and then “OK” to save the changes.
By applying compatibility fixes, you can resolve compatibility problems and ensure that your software or applications work seamlessly on Windows 10. It is important to note that not all compatibility issues can be resolved through these fixes, and in some cases, you may need to seek alternative solutions or updated versions of the software.
Using Compatibility Mode for Troubleshooting
If you are experiencing compatibility problems with certain applications or software on your Windows 10 operating system, using Compatibility Mode can help resolve these issues. Compatibility Mode allows you to run programs in a way that emulates an older version of Windows, which can often fix compatibility problems.
To use Compatibility Mode, follow these steps:
1. Right-click on the application or software that is causing compatibility issues and select “Properties” from the drop-down menu.
2. In the Properties window, click on the “Compatibility” tab.
3. Check the box that says “Run this program in compatibility mode for” and select the desired version of Windows from the drop-down menu.
4. If you’re not sure which version of Windows to select, you can try different options until you find one that works.
5. Additionally, you can also check the boxes for other compatibility settings such as “Run this program as an administrator” or “Disable fullscreen optimizations” if necessary.
6. Click “Apply” and then “OK” to save the changes.
By running the problematic software in Compatibility Mode, you are essentially tricking it into thinking it is running on an older version of Windows. This can help resolve compatibility issues related to changes in the operating system or updates.
It’s important to note that Compatibility Mode is not a guaranteed solution for all compatibility problems. Some software may still not work properly even with Compatibility Mode enabled. In such cases, you may need to explore other troubleshooting options or consider contacting the software’s developer for further assistance.
Updating Drivers and Windows
To troubleshoot compatibility problems in Windows 10, it is important to regularly update your drivers and Windows operating system. Outdated drivers can often cause compatibility issues with certain applications or hardware devices, while outdated Windows versions may lack the necessary patches and updates for seamless compatibility.
Updating Drivers: Begin by identifying the specific drivers that need updating. Open the Device Manager by right-clicking on the Start button and selecting “Device Manager” from the menu. Look for any devices with a yellow exclamation mark or question mark, as these indicate outdated or problematic drivers.
To update a driver, right-click on the device and select “Update driver.” You can choose to search automatically for updated driver software, or you can visit the manufacturer’s website to download and install the latest driver manually. Reboot your computer after updating each driver to ensure the changes take effect.
Updating Windows: Keeping your Windows operating system up to date is essential for compatibility and security. To update Windows, go to the Settings app and click on “Update & Security.” From there, click on “Check for updates” to search for the latest updates available for your system.
Once the updates are found, click on “Download” and “Install” to begin the installation process. It is recommended to schedule a convenient time for the updates to install, as they may require a system restart. Be sure to save any open work before proceeding with the installation.
Regularly updating your drivers and Windows can help resolve compatibility problems and ensure optimal performance. By staying up to date with the latest patches and updates, you can enhance your system’s stability and security, as well as enjoy improved compatibility with various applications and hardware devices.
Remember to always create a backup of your important files before making any major changes to your system, such as updating drivers or installing Windows updates. This way, you can easily restore your files in case any issues arise during the update process.
Running Programs as an Administrator
To troubleshoot compatibility problems in Windows 10, you may need to run programs as an administrator. This can help resolve issues related to permissions or compatibility with older software.
To run a program as an administrator, follow these steps:
1. Locate the program’s executable file. This is usually found in the program’s installation directory or on your desktop.
2. Right-click on the executable file and select “Run as administrator” from the context menu. This will launch the program with elevated privileges.
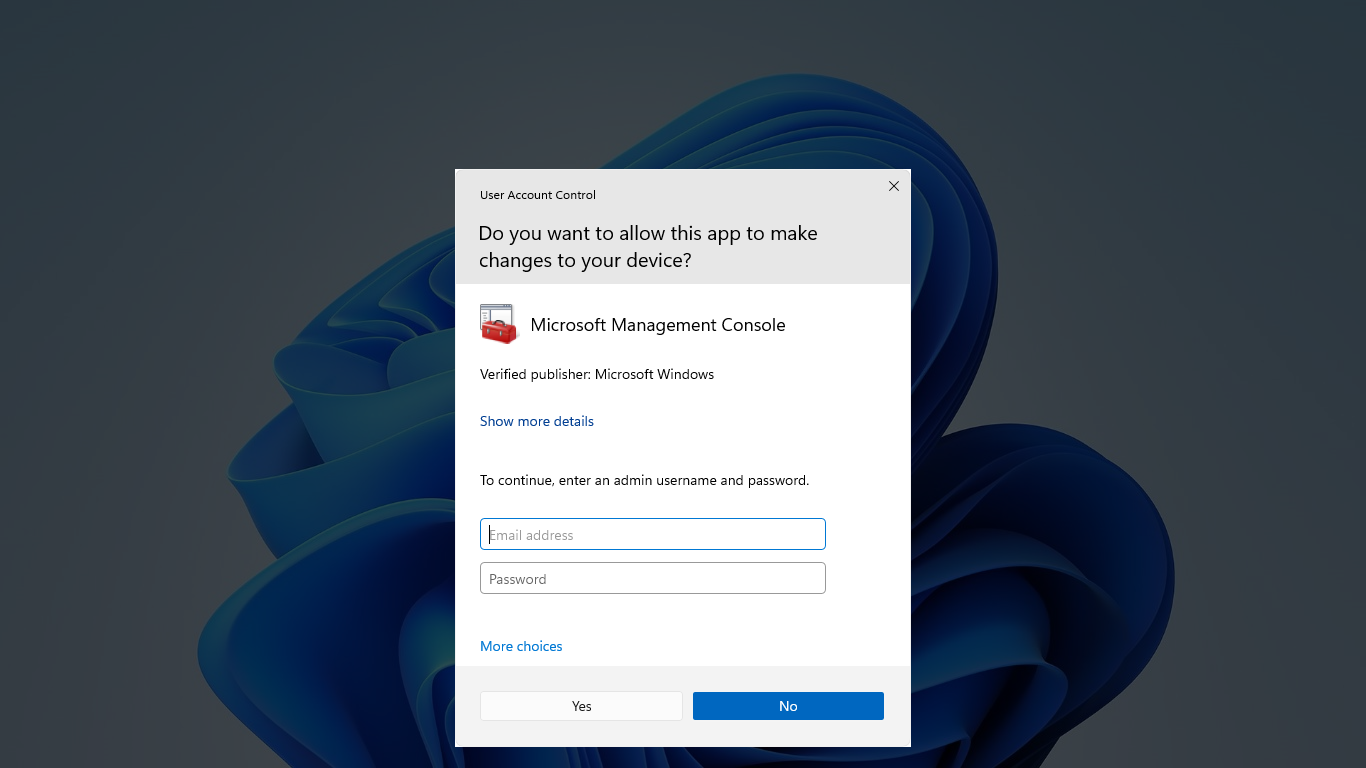
3. If prompted, confirm the action by clicking “Yes” or entering an administrator password.
Running a program as an administrator allows it to access system resources and perform certain actions that require elevated permissions. This can be especially helpful when dealing with older software or programs that require administrative access to function properly.
By running a program as an administrator, you can bypass certain compatibility issues and ensure that the program has the necessary permissions to run correctly. This can help resolve errors or crashes that may occur when running the program under normal user privileges.
It’s important to note that running programs as an administrator should be done with caution. Elevated privileges can potentially expose your system to security risks if used improperly. Always ensure that you trust the program and its source before running it as an administrator.
Installing and Reinstalling Programs
To install or reinstall programs in Windows 10, follow these steps:
1. Click on the Start menu and open the Settings app.
2. Go to the “Apps” section.
3. Scroll down and find the program you want to install or reinstall.
4. Click on the program and select “Uninstall” to remove it completely.
5. Follow the on-screen prompts to complete the uninstallation process.
6. Once the program is uninstalled, you can either download it again from the official website or use the installation media if you have it.
7. If you’re downloading the program, go to the official website and find the download link.
8. Click on the download link and save the installer file to your computer.
9. Locate the installer file and double-click on it to start the installation process.
10. Follow the on-screen prompts to install the program.
11. If you’re using installation media, insert the disc or connect the USB drive to your computer.
12. Open the installation media and locate the installer file.
13. Double-click on the installer file to start the installation process.
14. Follow the on-screen prompts to install the program.
15. Once the installation is complete, you can open the program from the Start menu or desktop shortcut.
Consulting Program Manufacturers and Requirements
When troubleshooting compatibility problems in Windows 10, it can be helpful to consult program manufacturers and requirements. They can provide valuable insights on how to resolve any issues you may be experiencing.
To begin, identify the specific program or software that is causing compatibility problems. Once you have this information, visit the manufacturer’s website or contact their support team directly. Look for any updates, patches, or compatibility fixes that they may have released specifically for Windows 10.
Make sure to download and install any available updates or patches to ensure that the program is compatible with your operating system. In some cases, you may need to uninstall and reinstall the program to resolve compatibility issues.
If the program manufacturer does not have any specific recommendations for Windows 10 compatibility, you can try running the program in compatibility mode. Right-click on the program’s shortcut or executable file, go to Properties, and navigate to the Compatibility tab. From there, you can select an earlier version of Windows (such as Windows 8.1 or Windows 7) to run the program in compatibility mode.
Another important step in troubleshooting compatibility problems is to check for any device driver updates. Outdated or incompatible drivers can cause issues with programs and software. Visit the manufacturer’s website for your specific hardware (such as graphics card, printer, or sound card) and download the latest drivers for Windows 10.
Ensure that all your device drivers are up to date to maximize compatibility and performance.
In addition to consulting program manufacturers and updating device drivers, it is also important to ensure that your Windows 10 operating system is up to date. Microsoft regularly releases updates and patches to address compatibility issues and improve system stability.
Check for Windows updates by going to Settings > Update & Security > Windows Update. Install any available updates and restart your computer if necessary.
If you are still experiencing compatibility issues after consulting program manufacturers, updating device drivers, and installing Windows updates, it may be worth considering other troubleshooting steps. These could include running antivirus software to check for any malware or spyware that may be causing conflicts, disabling any unnecessary firewall or security software, or checking for any file format or API compatibility issues.
Utilizing the Compatibility Troubleshooter
| Step | Description |
|---|---|
| Step 1 | Open the Start menu and click on the “Settings” cog icon. |
| Step 2 | In the Settings window, click on the “Update & Security” option. |
| Step 3 | From the left sidebar, select the “Troubleshoot” tab. |
| Step 4 | Scroll down and click on the “Additional troubleshooters” link. |
| Step 5 | Under the “Get up and running” section, click on the “Compatibility” troubleshooter. |
| Step 6 | Click on the “Run the troubleshooter” button. |
| Step 7 | Follow the on-screen instructions provided by the troubleshooter to diagnose and fix compatibility problems. |
By using the Compatibility Troubleshooter, you can quickly identify and resolve compatibility issues, allowing you to run your desired software or hardware smoothly on Windows 10.
F.A.Q.
How do I fix an incompatible program in Windows 10?
How do you solve compatibility problems?
To solve compatibility problems, you need to identify the problem and its source. This can be done by checking system requirements, analyzing error messages, using the compatibility troubleshooter, or searching for similar cases online.
How do I fix driver compatibility problems?
To fix driver compatibility problems, you can start by identifying the specific problem you are facing. Then, make sure to update your system and drivers to the latest versions available. Running the troubleshooter can also help in resolving compatibility issues. Additionally, you can try using compatibility mode for older drivers. If the problem persists, uninstalling and reinstalling the drivers might solve the issue. If all else fails, it may be necessary to seek professional help.
What tools are available to solve application compatibility problems with Windows 10?
There are two built-in tools in Windows 10 that can assist in resolving application compatibility problems: compatibility mode and troubleshooter.
