Are you stuck in a frustrating boot loop with your Windows 10 computer? Let’s explore effective solutions to resolve this issue.
Identifying Symptoms and Causes
When experiencing a boot loop issue on your Windows 10 computer, it is crucial to identify the symptoms and causes accurately. This will help you troubleshoot and resolve the problem effectively.
Symptoms of a boot loop may include your computer continuously restarting or getting stuck in a reboot cycle. To determine the cause, start by checking if any recent changes or updates have been made to your system. This could include software installations, driver updates, or system configurations.
Another potential cause could be a hardware issue. Check for any loose connections or faulty components, especially if you recently made any hardware changes.
If you are unable to identify the cause through these methods, you can also try booting your computer into Safe Mode. This can help determine if the issue is related to a specific software or driver.
Once you have identified the symptoms and potential causes, you can begin resolving the boot loop. One common workaround is to boot your computer from a Windows 10 installation media. This will allow you to access advanced troubleshooting options and repair your system.
Disabling Automatic Restart Feature
To disable the Automatic Restart feature in Windows 10 and resolve a computer boot loop issue, follow these steps:
1. Start your computer and quickly press the Function key repeatedly until the Advanced Boot Options menu appears.
2. Use the arrow keys to select Safe Mode and press Enter.
3. Once in Safe Mode, press the Windows key + X and choose System from the menu.
4. In the System window, click on Advanced system settings located on the left-hand side.
5. Under the Startup and Recovery section, click on the Settings button.
6. In the Startup and Recovery window, uncheck the box next to Automatically restart under the System failure section.
7. Click OK to save the changes and close all windows.
8. Restart your computer normally to apply the changes.
Resolving Driver and Registry Issues
To resolve driver and registry issues causing a Windows 10 computer boot loop:
1. Start your computer in Safe Mode by pressing the Function (F8) key repeatedly during startup.
2. Once in Safe Mode, open the Device Manager by right-clicking the Start button and selecting it from the menu.
3. Expand the categories in Device Manager and look for any devices marked with a yellow exclamation mark. Right-click on those devices and select Update driver.
4. If updating the drivers doesn’t resolve the issue, try uninstalling the problematic drivers by right-clicking on them and selecting Uninstall.
5. Next, open the Registry Editor by typing “regedit” in the Windows search bar and selecting it from the results.
6. Navigate to the following registry key: HKEY_LOCAL_MACHINE\SOFTWARE\Microsoft\Windows NT\CurrentVersion\ProfileList.
7. Look for any entries ending in “.bak” and delete them. These entries are usually associated with user profiles causing boot loop issues.
8. Restart your computer and check if the boot loop issue is resolved.
If you’re still experiencing problems, it’s advisable to reach out to technical support or consult a knowledge base for further assistance.
Performing Startup and Automatic Repairs

If your Windows 10 computer is stuck in a boot loop, you can try performing startup and automatic repairs to resolve the issue. These steps can help you troubleshoot and fix the problem without the need for technical support.
First, try restarting your computer several times. Sometimes, a simple restart can fix the boot loop issue. If that doesn’t work, you can proceed with the following steps:
1. Boot into Safe Mode: Press the F8 or Shift+F8 key during startup to access the Advanced Boot Options menu. From there, select Safe Mode and press Enter.
2. Perform Startup Repair: Once in Safe Mode, open the Start menu and type “Startup Repair” in the search bar. Click on the “Startup Repair” option and follow the on-screen instructions to let Windows attempt automatic repairs.
3. Run System File Checker (SFC) scan: In the Start menu, search for “Command Prompt” and open it as an administrator. Type “sfc /scannow” and press Enter. This will scan and repair any corrupted system files.
4. Use System Restore: If the above steps don’t work, you can try restoring your computer to a previous working state using System Restore. Open the Start menu, search for “System Restore,” and follow the prompts to restore your system.
By performing these startup and automatic repair procedures, you can potentially resolve the boot loop issue on your Windows 10 computer.
Checking and Repairing File System
If your Windows 10 computer is stuck in a boot loop, one possible cause could be a corruption in the file system. To resolve this issue, you can check and repair the file system using the built-in Windows tools.
To begin, you’ll need to access the Command Prompt by pressing the Win + X keys and selecting “Command Prompt (Admin)” from the menu. Once the Command Prompt window opens, type “chkdsk /f /r” and press Enter. This command will check and repair any errors in the file system.
Next, you may also want to run the System File Checker (SFC) tool. In the Command Prompt window, type “sfc /scannow” and hit Enter. This tool will scan for and repair any corrupted system files.
If the above steps do not resolve the boot loop issue, you can also try using the DISM tool. In the Command Prompt, type “DISM /Online /Cleanup-Image /RestoreHealth” and press Enter. This tool will repair any issues with the Windows image.
After performing these checks and repairs, restart your computer and see if the boot loop issue is resolved. If not, it may be necessary to seek further troubleshooting or consult a knowledgeable professional.
Refreshing or Reinstalling the Operating System
1. Start by backing up any important files or data you have on your computer.
2. To refresh the operating system, go to the Start menu and select “Settings.” Then, click on “Update & Security” and choose “Recovery” from the left-hand menu. Under “Reset this PC,” click on “Get started” and follow the on-screen instructions.
3. If refreshing the operating system doesn’t work, you can reinstall it. To do this, you will need a Windows 10 installation media. Start your computer from the installation media and follow the prompts to reinstall the operating system.
4. Remember to choose the option to keep your files and apps during the reinstallation process, if that’s what you want.
5. After the reinstallation is complete, make sure to install any necessary updates and drivers for your computer.
If you’re unsure about any of the steps, consult your computer’s manufacturer website or support documentation for specific instructions. It’s also a good idea to check online forums or the manufacturer’s knowledge base for any known issues or workarounds related to your specific problem.
Diagnosing Hard Drive and Hardware Problems
-
Check hard drive connections and cables
- Turn off the computer and unplug the power cable.
- Open the computer case and locate the hard drive.
- Check that the cables connecting the hard drive to the motherboard and power supply are securely connected.
- If any cables are loose or disconnected, reattach them firmly.
-
Run hardware diagnostics
- Restart the computer and enter the BIOS or UEFI settings.
- Look for an option to run hardware diagnostics or a built-in diagnostic tool.
- Initiate the diagnostic test and follow the on-screen instructions.
- Take note of any error messages or failure indications provided by the diagnostic tool.

-
Test the hard drive
- Download and install a reliable hard drive testing tool.
- Launch the tool and select the hard drive you want to test.
- Choose a comprehensive test option to thoroughly check the hard drive for errors.
- Allow the test to run and carefully read the test results.
- If any errors are detected, consider replacing the hard drive.
-
Check for overheating issues
- Power off the computer and open the case.
- Inspect the cooling fans and heat sinks for dust or debris build-up.
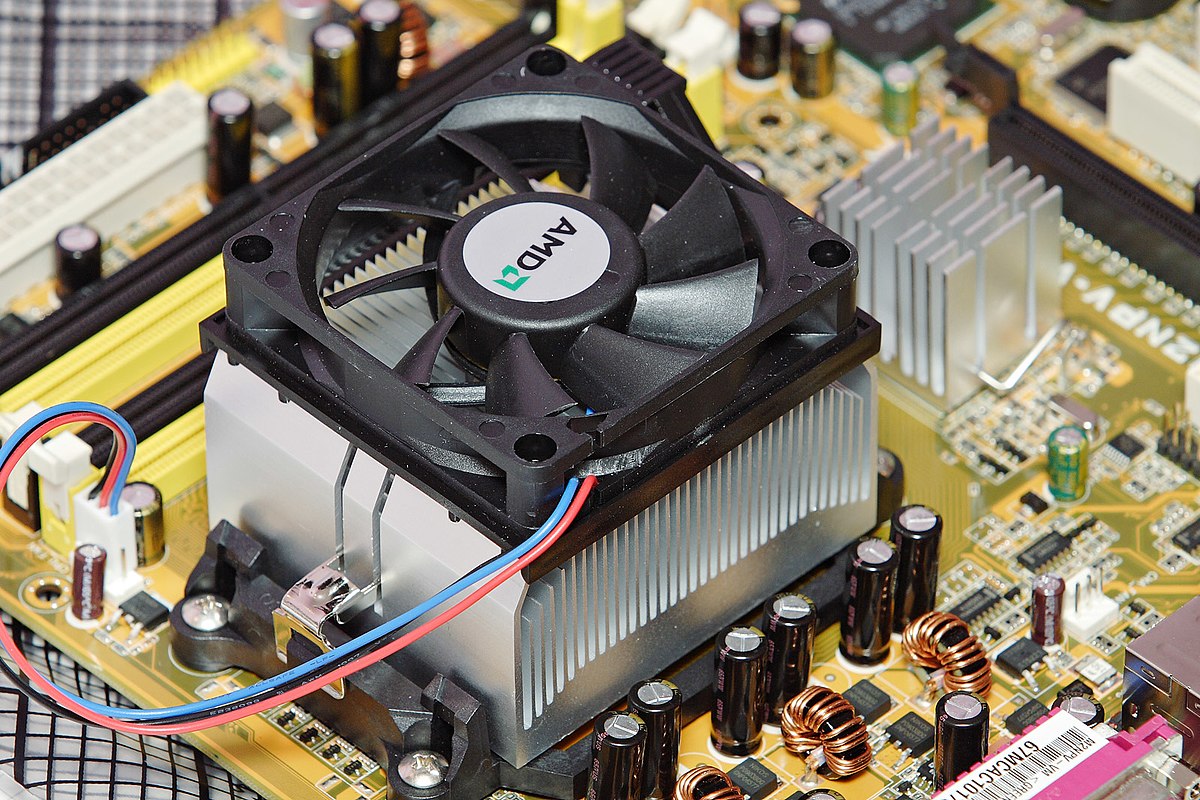
- Carefully clean any accumulated dust using compressed air or a soft brush.
- Ensure that the fans are spinning properly and the heat sinks are making good contact with the components.
- If necessary, consider replacing any faulty fans or heat sinks.
-
Inspect RAM modules
- Power off the computer and unplug the power cable.
- Locate the RAM modules on the motherboard.
- Remove the RAM modules one at a time and reseat them firmly in their slots.
- Ensure that the locking mechanisms on the RAM slots are secure.
- If you have multiple RAM modules, try using them one at a time to identify any faulty modules.
Utilizing Command Prompt for Advanced Repair
To resolve a Windows 10 computer boot loop issue, you can utilize Command Prompt for advanced repair. Here are some steps you can follow:
1. Start by booting your computer using a Windows installation media.
2. Select your language preferences and click “Next.”
3. Click on “Repair your computer” at the bottom left corner of the screen.
4. Choose “Troubleshoot” and then “Advanced options.”
5. From the list, select “Command Prompt.”
Once you have opened Command Prompt, you can try the following commands:
– sfc /scannow: This command scans and repairs system files.
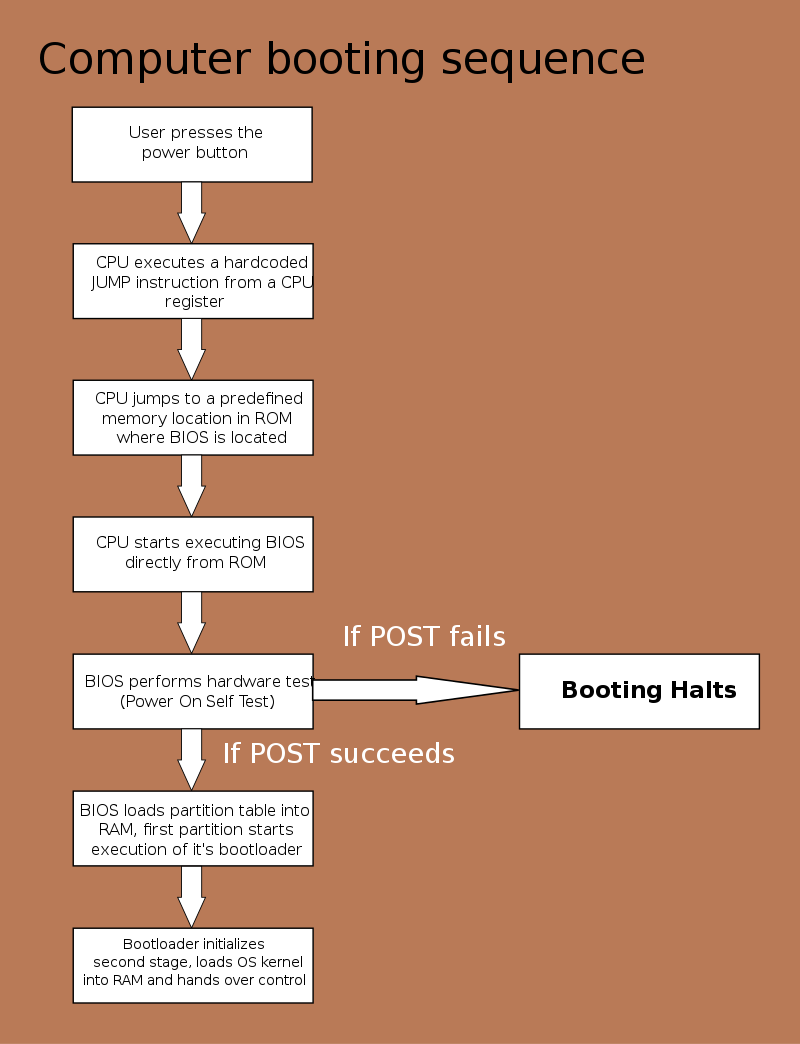
– bootrec /fixboot: Use this command to fix the Master Boot Record (MBR) or Boot Configuration Data (BCD).
– chkdsk /f: This command checks and repairs file system errors on the hard drive.
– dism /online /cleanup-image /restorehealth: This command repairs the Windows image files.
F.A.Qs
Why is my PC in a boot loop?
Your PC may be in a boot loop due to an error introduced after a hardware or software change, which can be resolved by identifying and undoing those changes.
How do you fix a stuck boot loop?
To fix a stuck boot loop, you can start by powering off your device. Then, press and hold a combination of buttons (typically Power + Volume Down) to access the recovery mode. From there, use the volume buttons to navigate and the power button to select “Wipe data/factory reset.” Confirm and proceed with the reset.
How do I get out of boot loop Windows 10?
To get out of a boot loop in Windows 10, you can try holding down the FN key while powering on the system and then start tapping the Windows key. This may help bypass the issue and bring up the login screen.
