When attempting to shut down your computer, are you experiencing frequent restarts instead? Let’s explore the possible causes and solutions for this frustrating issue.
Disable Fast Startup in Power Settings
1. Open the Control Panel by searching for it in the Start menu.
2. In the Control Panel, click on “Power Options” or “Power and Sleep Settings.”
3. In the Power Options or Power and Sleep Settings window, click on “Choose what the power buttons do” or “Choose what the power buttons and lid do.”
4. Click on the link that says “Change settings that are currently unavailable.”
5. Scroll down to the “Shutdown settings” section.
6. Uncheck the box next to “Turn on fast startup (recommended).”
7. Click on “Save changes” or “OK” to apply the new settings.
8. Restart your computer for the changes to take effect.
Disabling Fast Startup can help fix issues where the computer restarts instead of shutting down properly. This feature can sometimes cause conflicts with certain drivers or software, resulting in unexpected restarts.
Note: If you do not see the “Turn on fast startup” option in the Shutdown settings section, it may be because Fast Startup is not enabled on your computer. In that case, you do not need to make any changes.
Update System and BIOS
If you’re experiencing the frustrating issue of your computer restarting instead of properly shutting down, updating your system and BIOS can help resolve the problem. Here’s how you can do it:
1. Update your operating system:
– Open the Start menu and search for “Windows Update.”
– Select “Check for updates” and let Windows search for the latest updates.
– Install any available updates and restart your computer.
2. Update your BIOS:
– Identify your motherboard manufacturer (e.g., Gigabyte) and visit their website.
– Look for the BIOS updates section and find the latest version for your specific motherboard model.
– Download the BIOS update file and follow the manufacturer’s instructions to install it. **Make sure to carefully read and follow the instructions to avoid any potential issues.**
3. Run System File Checker (SFC):
– Open the Command Prompt as an administrator by searching for “cmd.exe” in the Start menu, right-clicking on it, and selecting “Run as administrator.”
– In the Command Prompt window, type “sfc /scannow” and press Enter. This will scan your system files for any errors and attempt to fix them.
4. Check for malware infections:
– Use a reputable antivirus or anti-malware software to scan your computer for any malicious programs.
– If any infections are found, follow the software’s instructions to remove them.
After completing these steps, try shutting down your computer again to see if the issue has been resolved. If the problem persists, you may need to seek further assistance from a computer technician or refer to the manufacturer’s support resources.
Modify Registry and Network Settings
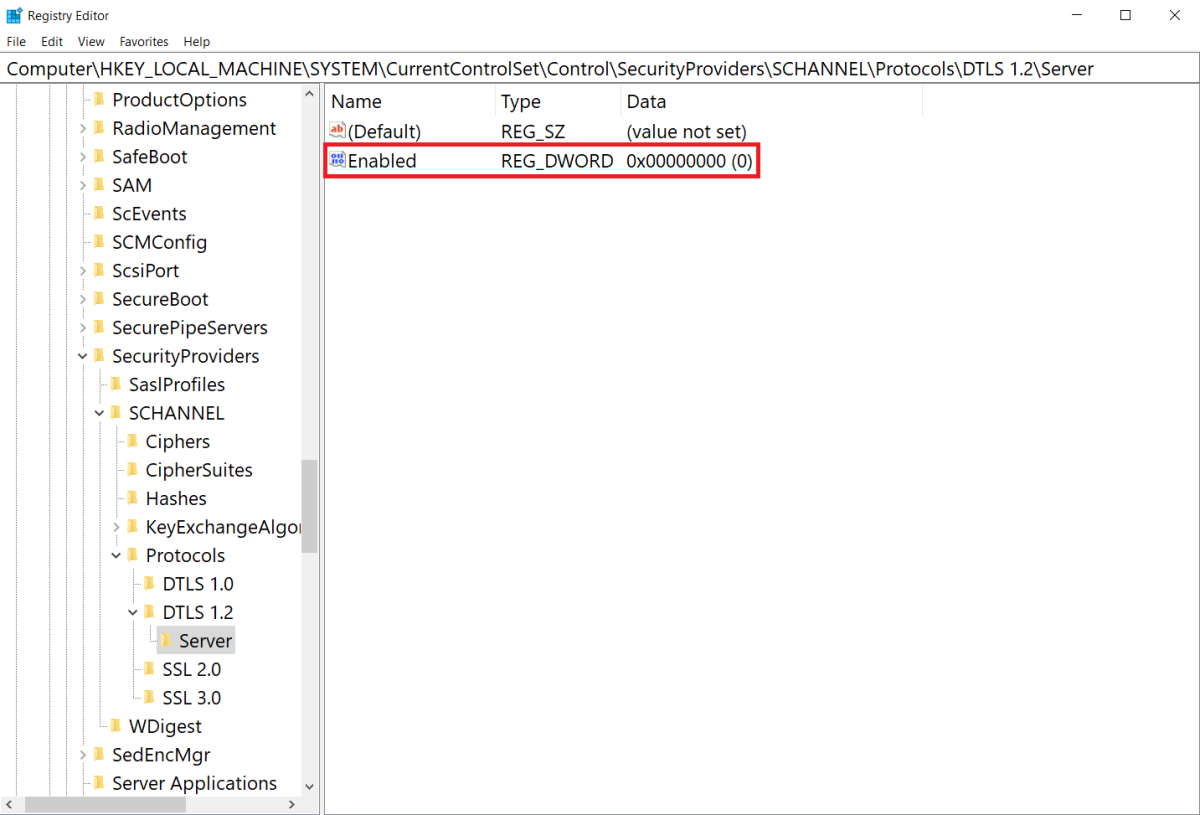
1. Press the Windows key + R to open the Run command dialog box.
2. Type “regedit” and press Enter to open the Windows Registry Editor.
3. Navigate to the following key: HKEY_LOCAL_MACHINE\SOFTWARE\Microsoft\Windows\CurrentVersion\Policies\System
4. Look for a DWORD value called “EnableAutoReboot“. If it exists, double-click on it and change its value to “0“. If it doesn’t exist, right-click on an empty space, select New -> DWORD (32-bit) Value and name it “EnableAutoReboot“. Then, double-click on it and set its value to “0“.
5. Close the Registry Editor.
To modify network settings:
1. Press the Windows key + X and select “Network Connections” from the menu.
2. Right-click on the network interface controller you are using and select “Properties” from the context menu.
3. In the Properties dialog box, scroll down and select “Internet Protocol Version 4 (TCP/IPv4)“, then click on the “Properties” button.
4. In the Internet Protocol Version 4 (TCP/IPv4) Properties dialog box, select the “Use the following IP address” option.
5. Enter a valid IP address, subnet mask, and default gateway for your network. You can obtain these details from your network administrator or internet service provider.
6. Click on “OK” to save the changes.
By modifying the registry and network settings as mentioned above, you can troubleshoot computer restarts instead of shutdown issues.
Run Troubleshooting and Diagnostics
To troubleshoot and diagnose issues with your computer restarting instead of shutting down, you can follow these steps:
1. Open the Run command by pressing Windows key + R on your keyboard.
2. Type “cmd” and press Enter to open the Command Prompt.
3. In the Command Prompt, type “sfc /scannow” and press Enter. This will run the System File Checker to check for any corrupted system files and repair them if necessary.
4. If the issue persists, you can try updating your device drivers. Open the Device Manager by right-clicking on the Start button and selecting “Device Manager” from the context menu.
5. Expand the relevant categories, such as Network Adapters or Graphics Cards, and right-click on each device to select “Update driver”.
6. If updating the drivers doesn’t resolve the issue, you can try performing a clean boot to identify any conflicting programs or services. Press Windows key + R to open the Run command, type “msconfig“, and press Enter.
7. In the System Configuration window, go to the “Services” tab, check the box for “Hide all Microsoft services”, and click “Disable all”. Then, go to the “Startup” tab and click “Open Task Manager”.
8. In the Task Manager, disable all the startup programs by right-clicking on each entry and selecting “Disable”.
9. Close the Task Manager and click “OK” in the System Configuration window. Restart your computer to perform a clean boot.
10. If the computer still restarts instead of shutting down, it could be due to a malware infection. Run a full scan using your antivirus software to detect and remove any malware.
11. Additionally, check for any recently installed programs or updates that might be causing the issue. Open the Control Panel and go to “Programs” or “Programs and Features”. Uninstall any suspicious or unwanted software.
12. Lastly, ensure that your computer is up to date with the latest Windows updates. Open the Settings app, go to “Update & Security”, and click on “Windows Update”. Click “Check for updates” and install any available updates.
13. If the problem persists, you may need to seek further assistance from a professional technician or consult online forums like Reddit or Microsoft Community for specific troubleshooting steps.
Disable Automatic Restart Features
1. Open the Control Panel by clicking on the Start menu, searching for “Control Panel,” and selecting it from the results.
2. In the Control Panel, click on the “System and Security” category.
3. Under the “System” section, click on “System.”
4. On the left-hand side of the System window, click on “Advanced system settings.”
5. In the System Properties window, go to the “Advanced” tab.
6. Under the “Startup and Recovery” section, click on the “Settings” button.
7. In the Startup and Recovery window, uncheck the box next to “Automatically restart” under the “System failure” section.
8. Click “OK” to save the changes and close the windows.
By disabling automatic restart, your computer will no longer restart automatically when an error occurs, giving you the opportunity to troubleshoot and fix the issue before restarting.
Please note that these instructions are specific to Windows operating systems. The steps may vary slightly depending on the version of Windows you are using.
If you still experience frequent restarts after disabling automatic restart, it could be a sign of a deeper issue such as a device driver problem or an infection. In such cases, it is recommended to seek further assistance from a professional or consult relevant online communities like Reddit for additional troubleshooting steps.
It is crucial to regularly update your operating system and software, as updates often include bug fixes that can prevent unexpected restarts. Additionally, running reliable antivirus software and regularly scanning your computer can help identify and remove any infections that may be causing the restarts.
Uninstall Conflicting Software
- Identify and remove any recently installed software that might be causing conflicts.
- Use the Add or Remove Programs feature in the Control Panel to uninstall any unnecessary or unwanted software.
- Check for any conflicting drivers and remove them if necessary.
- Disable any startup programs that might be causing conflicts or interfering with the shutdown process.
- Run a malware scan to check for any malicious programs that could be causing the computer to restart instead of shutting down.
- Update your operating system to the latest version, as outdated software can sometimes lead to issues with shutdown.
- Perform a clean boot to eliminate any potential conflicts caused by third-party software or services.
- Reset the power settings to their default values in case any misconfigurations are causing the issue.
- Consult a professional if the problem persists or if you are unsure about making any changes to your computer’s software.
FAQ
Why does PC restart instead of shutting down?
PC restarts instead of shutting down because of the Fast Startup feature in Windows 10. Disabling this option in Power Options can resolve the issue.
Why does my PC keep restarting when I shut it down?
My PC keeps restarting when I shut it down due to software or driver issues. To fix this, you can go to Control Panel > Power Options > Choose what the power buttons do > Change settings that are currently unavailable and uncheck the box next to Turn on fast startup.
Why does my computer start up again after I shut it down?
Your computer may start up again after being shut down due to certain power settings or a need for a BIOS/UEFI update.
