Having your PC unexpectedly shut down right after startup can be a frustrating experience. In this article, I will guide you through troubleshooting steps to identify and resolve the underlying issues causing this problem. So, let’s get started!
Overheating and Fan Issues
If your PC is experiencing shutdowns on startup, it may be due to overheating or fan issues. These problems can cause the system to shut down as a safety measure to prevent damage. Here are some troubleshooting steps you can take to address these issues:
1. Check the fans: Ensure that all fans, including the CPU and case fans, are functioning properly. Listen for any unusual noises or vibrations that may indicate a faulty fan.
2. Clean the fans and vents: Over time, dust and debris can accumulate on the fans and vents, obstructing airflow and causing overheating. Use compressed air to clean out the fans and vents, removing any buildup.
3. Monitor temperature: Install a temperature monitoring software to keep an eye on your PC’s temperature. If it reaches an unsafe level, it may be an indication of cooling issues.
4. Check the thermal paste: The thermal paste between the CPU and the heatsink helps with heat transfer. If it has dried up or become ineffective, it can lead to overheating. Consider reapplying thermal paste if necessary.
5. Ensure proper ventilation: Make sure your PC is in a well-ventilated area, away from obstructions that could block airflow. Consider using a surge protector to protect your system from power fluctuations.
By addressing overheating and fan issues, you can prevent unexpected shutdowns on startup and maintain the performance and longevity of your PC.
Electrical and Surge Protector Failures
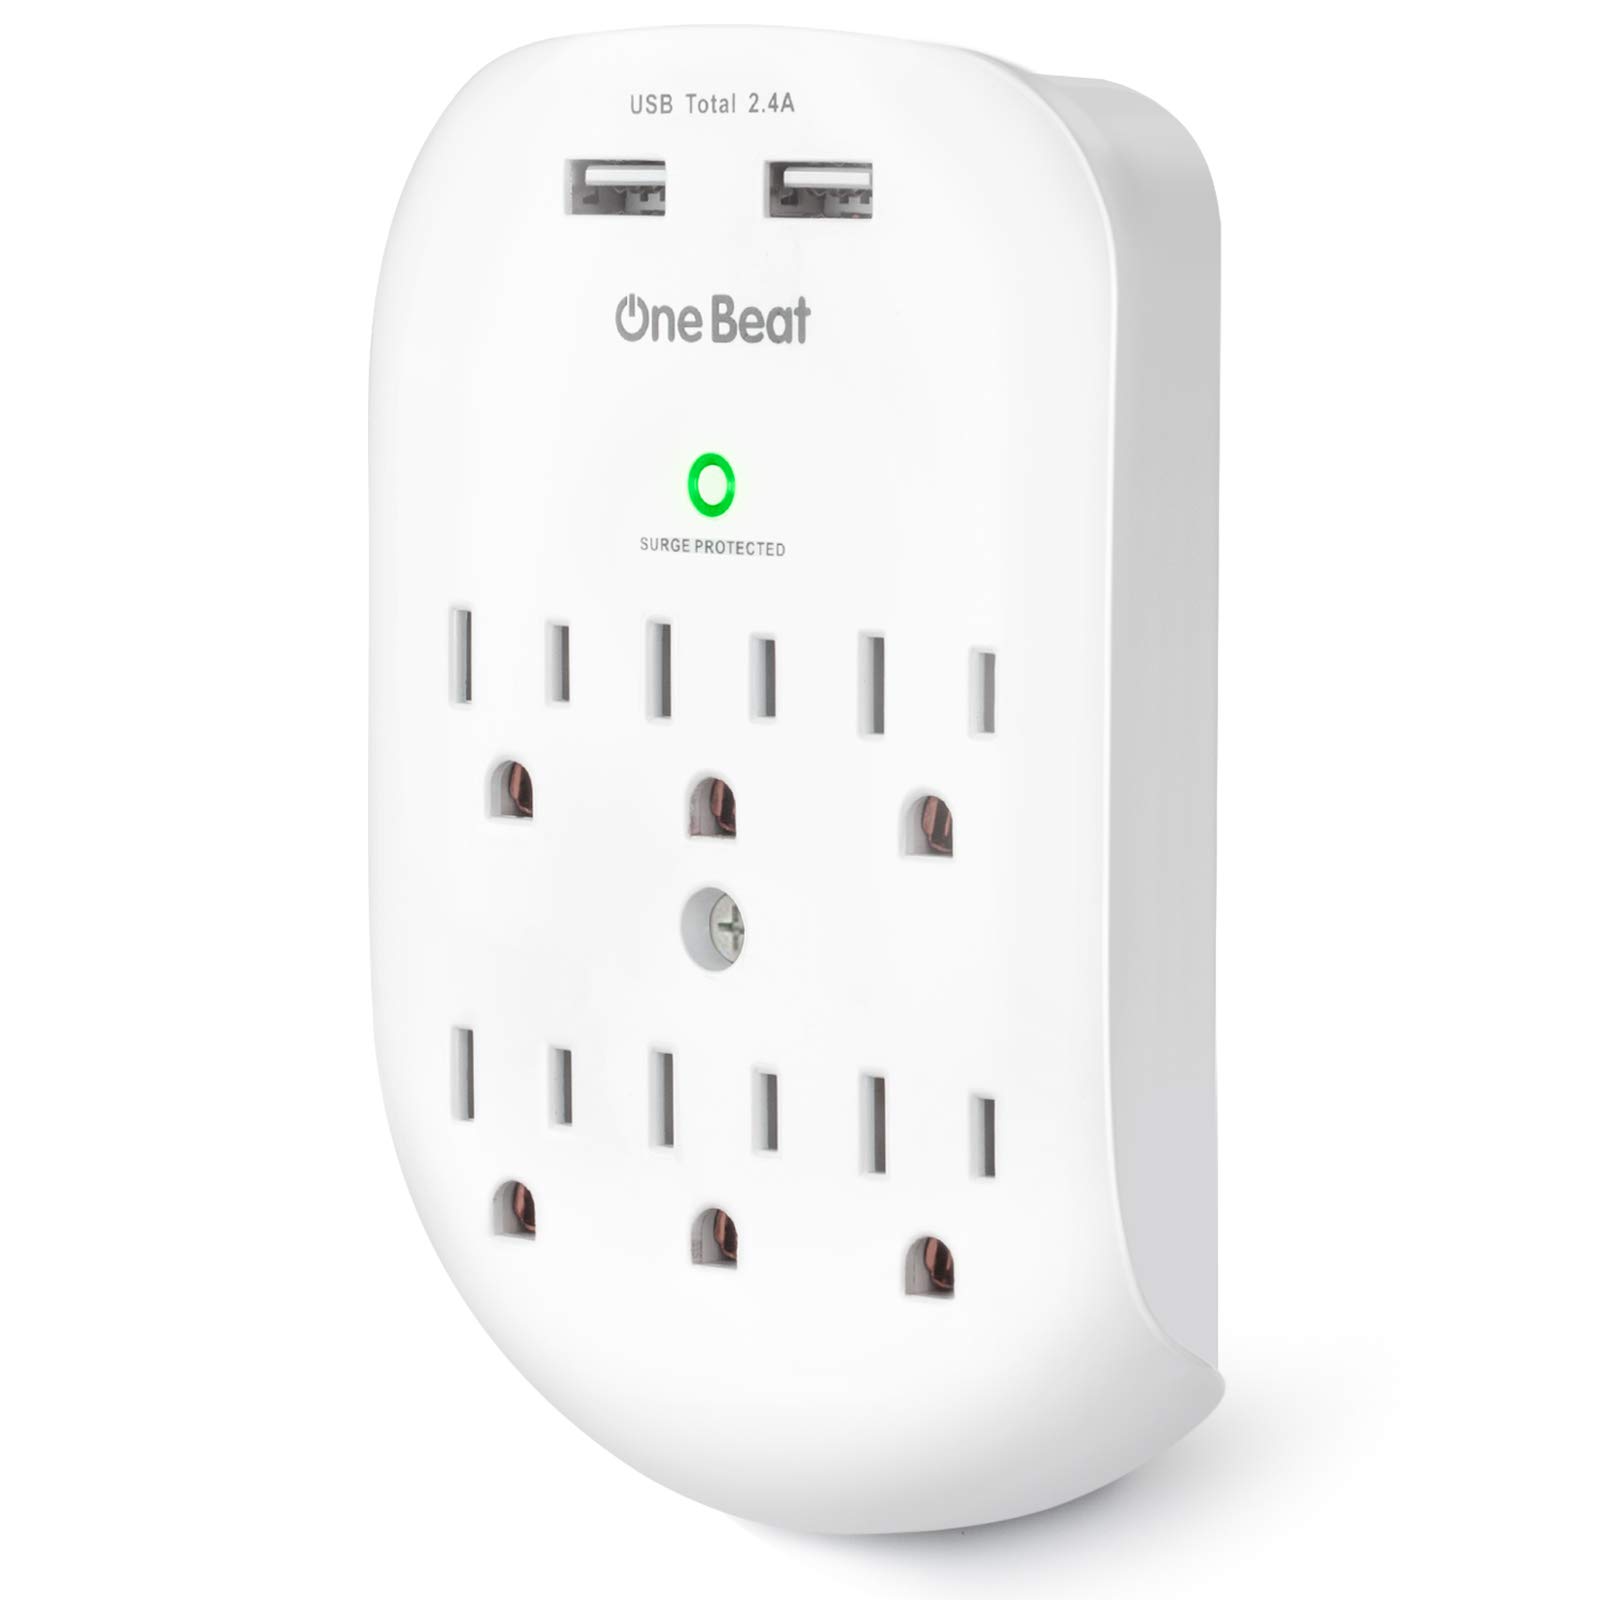
First, check all of your electrical connections. Ensure that the power cable is securely plugged into both the wall outlet and the power supply unit (PSU) of your computer. If you’re using a surge protector, make sure it is functioning properly and consider trying a different outlet.
If the issue persists, try booting your computer in safe mode. This will help determine if the problem is related to software or drivers. To do this, restart your computer and repeatedly press the F8 key as it starts up. From the menu that appears, select “Safe Mode” and see if your computer boots successfully.
If safe mode doesn’t work, it may be worth checking your BIOS settings. Restart your computer and press the appropriate key (usually Del, F2, or F10) to enter the BIOS menu. Look for any settings related to power management or startup, and make sure they are configured correctly.
If none of these steps resolve the issue, it could be a hardware problem. Check your computer’s internal components, such as the memory modules and expansion cards, to ensure they are seated properly. Additionally, inspect the power supply and look for any signs of damage or overheating.
Remember to always take proper safety precautions when working with electrical components. If you’re unsure or uncomfortable with any of these steps, it’s best to consult a professional.
Hardware and Memory Diagnostics
- Check power connections: Ensure that all power cables are securely connected to the computer and power supply.
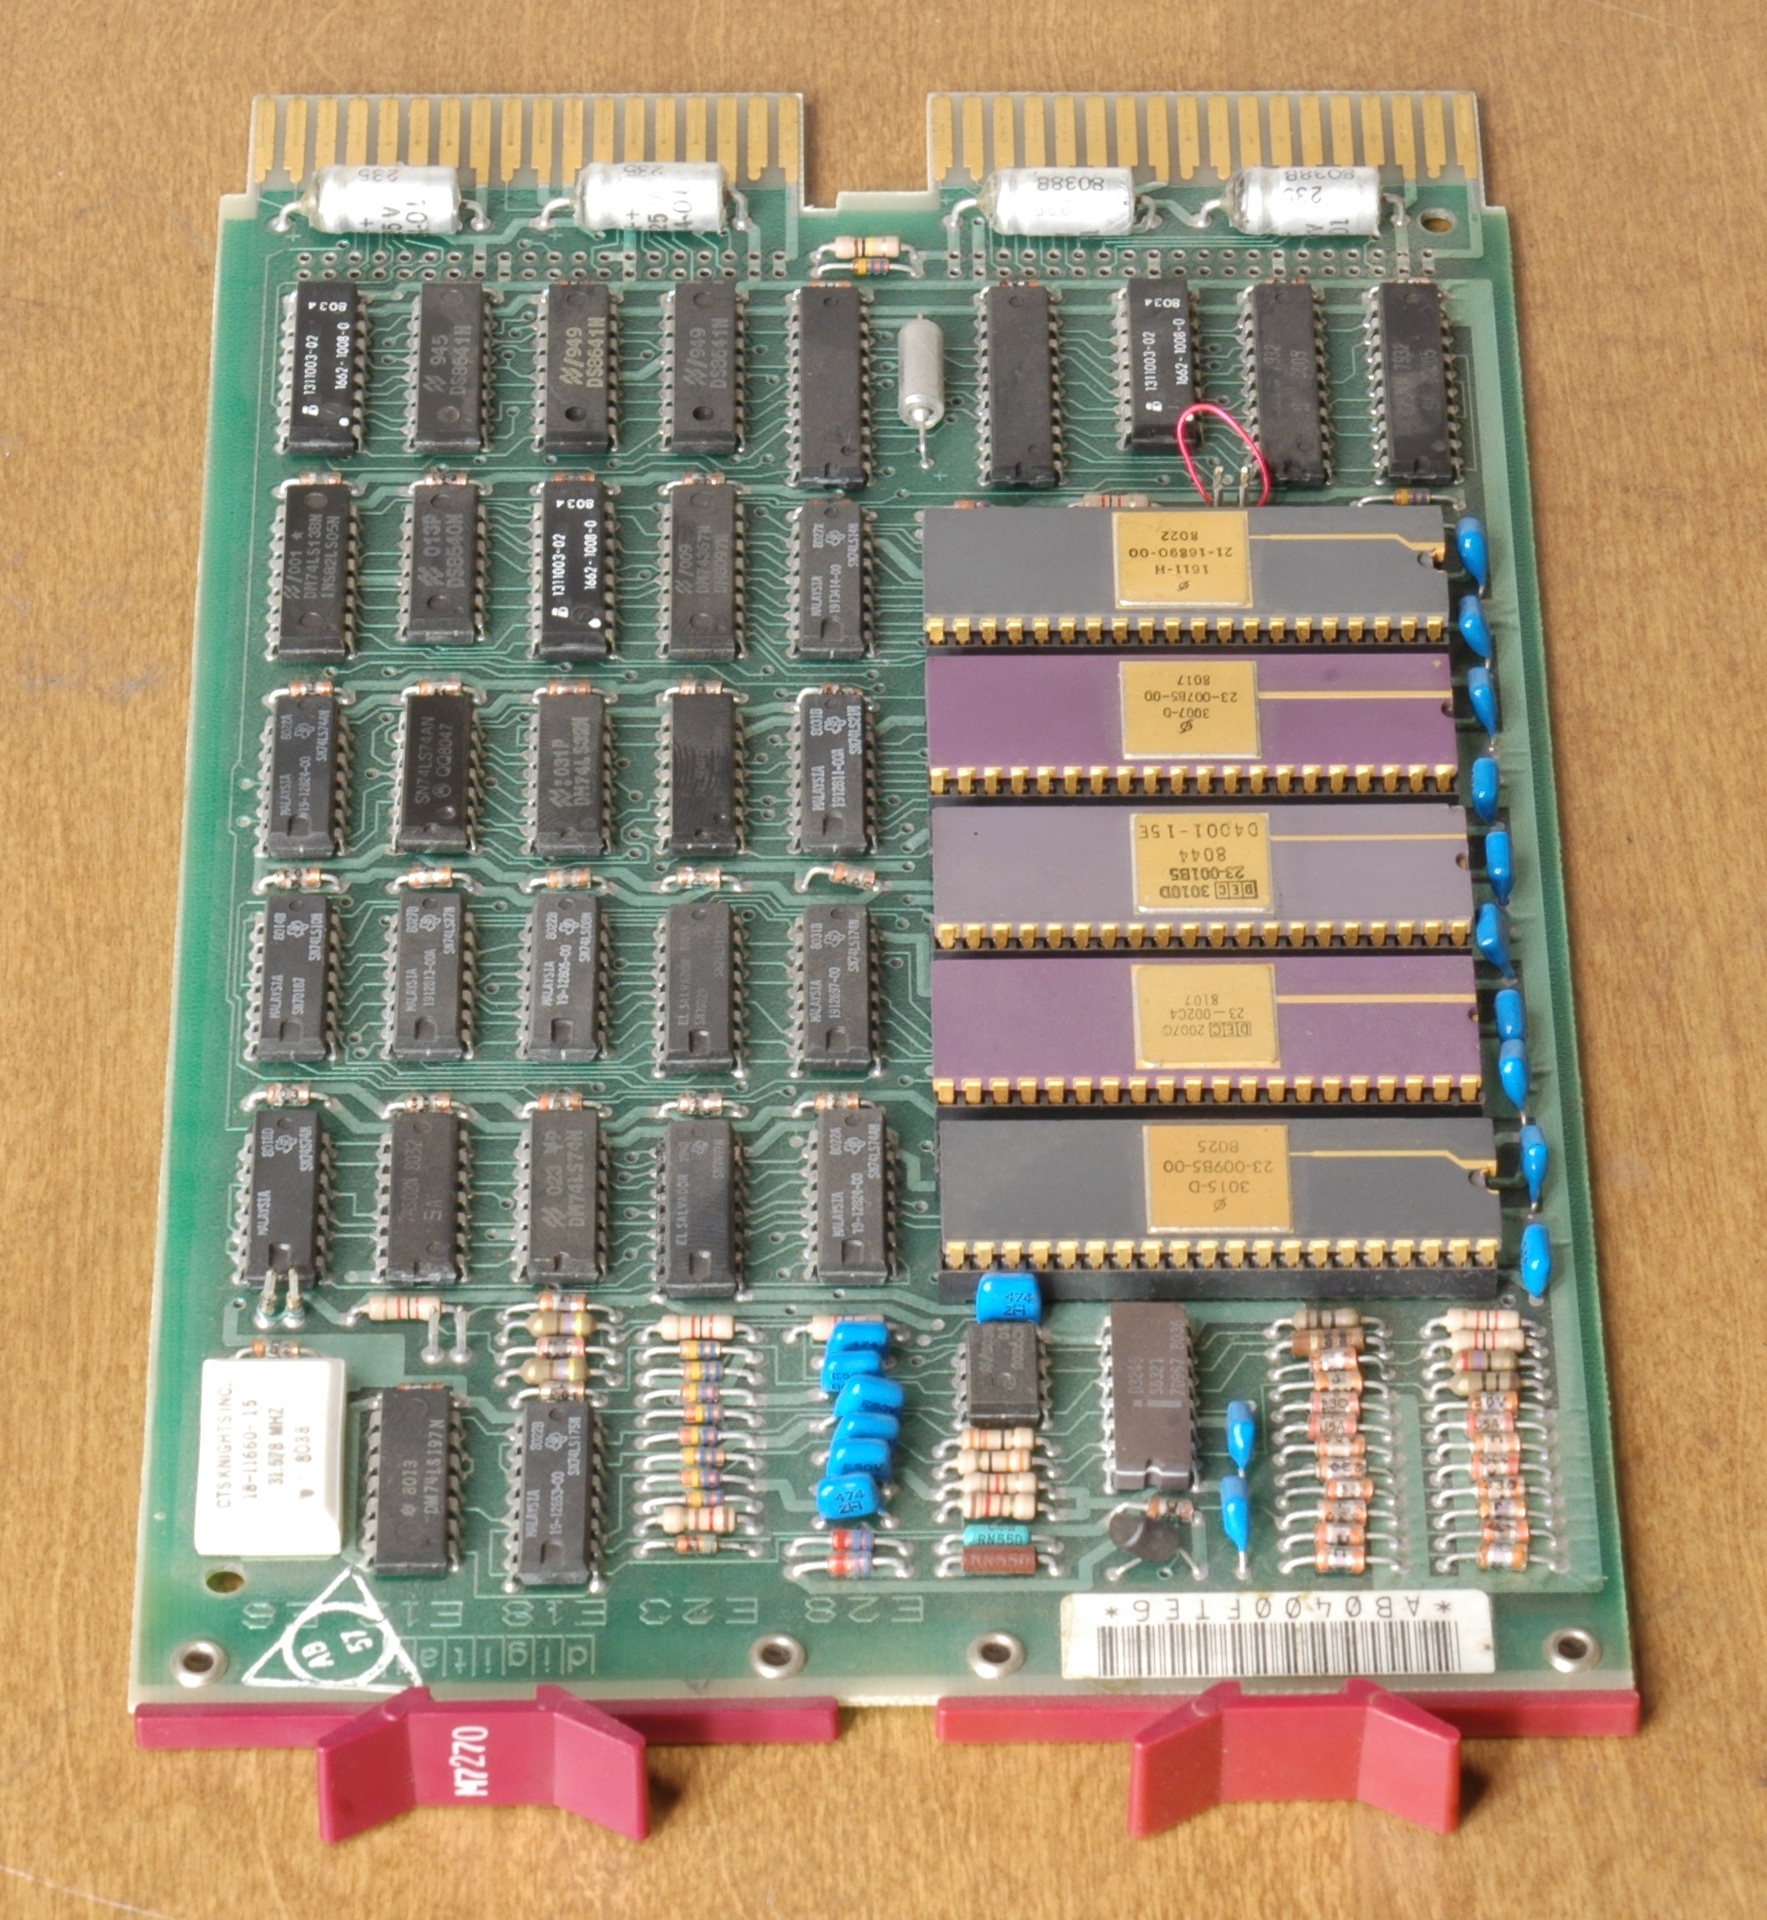
- Inspect hardware components: Look for any physical damage or loose connections in the motherboard, RAM sticks, graphics card, and other peripherals.
- Run a hardware diagnostics test: Utilize a reliable software tool to perform a comprehensive scan of the hardware components for any potential issues.
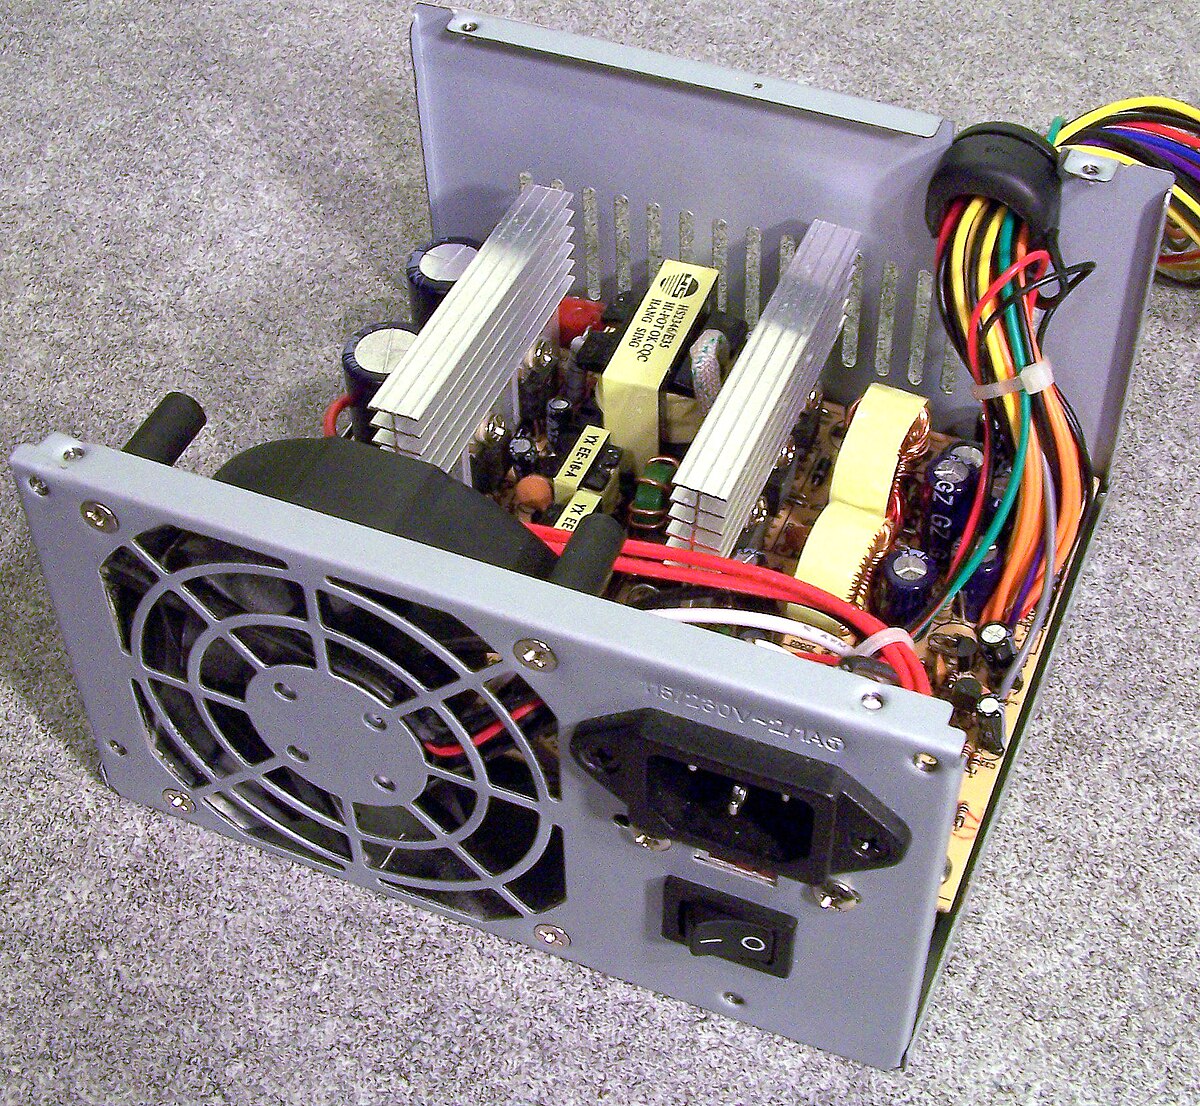
- Verify adequate power supply: Make sure that the power supply unit (PSU) provides sufficient power for all the computer’s components.
- Test the memory modules: Use a memory diagnostic tool to check for any faults or errors in the RAM modules.
- Clean the computer: Remove dust and debris from the internal components, particularly the cooling fans and heat sinks, to prevent overheating.
- Update device drivers: Ensure that all device drivers are up to date, as outdated drivers can cause startup issues.
- Reset BIOS settings: Reset the computer’s BIOS (Basic Input/Output System) to its default settings, as incorrect configurations can lead to startup problems.
- Check for overheating: Monitor the computer’s temperature and ensure that it stays within safe limits to prevent sudden shutdowns.
- Remove recently added hardware: If the issue started after installing new hardware, try removing it to see if the problem persists.
Update Drivers and GPU Software
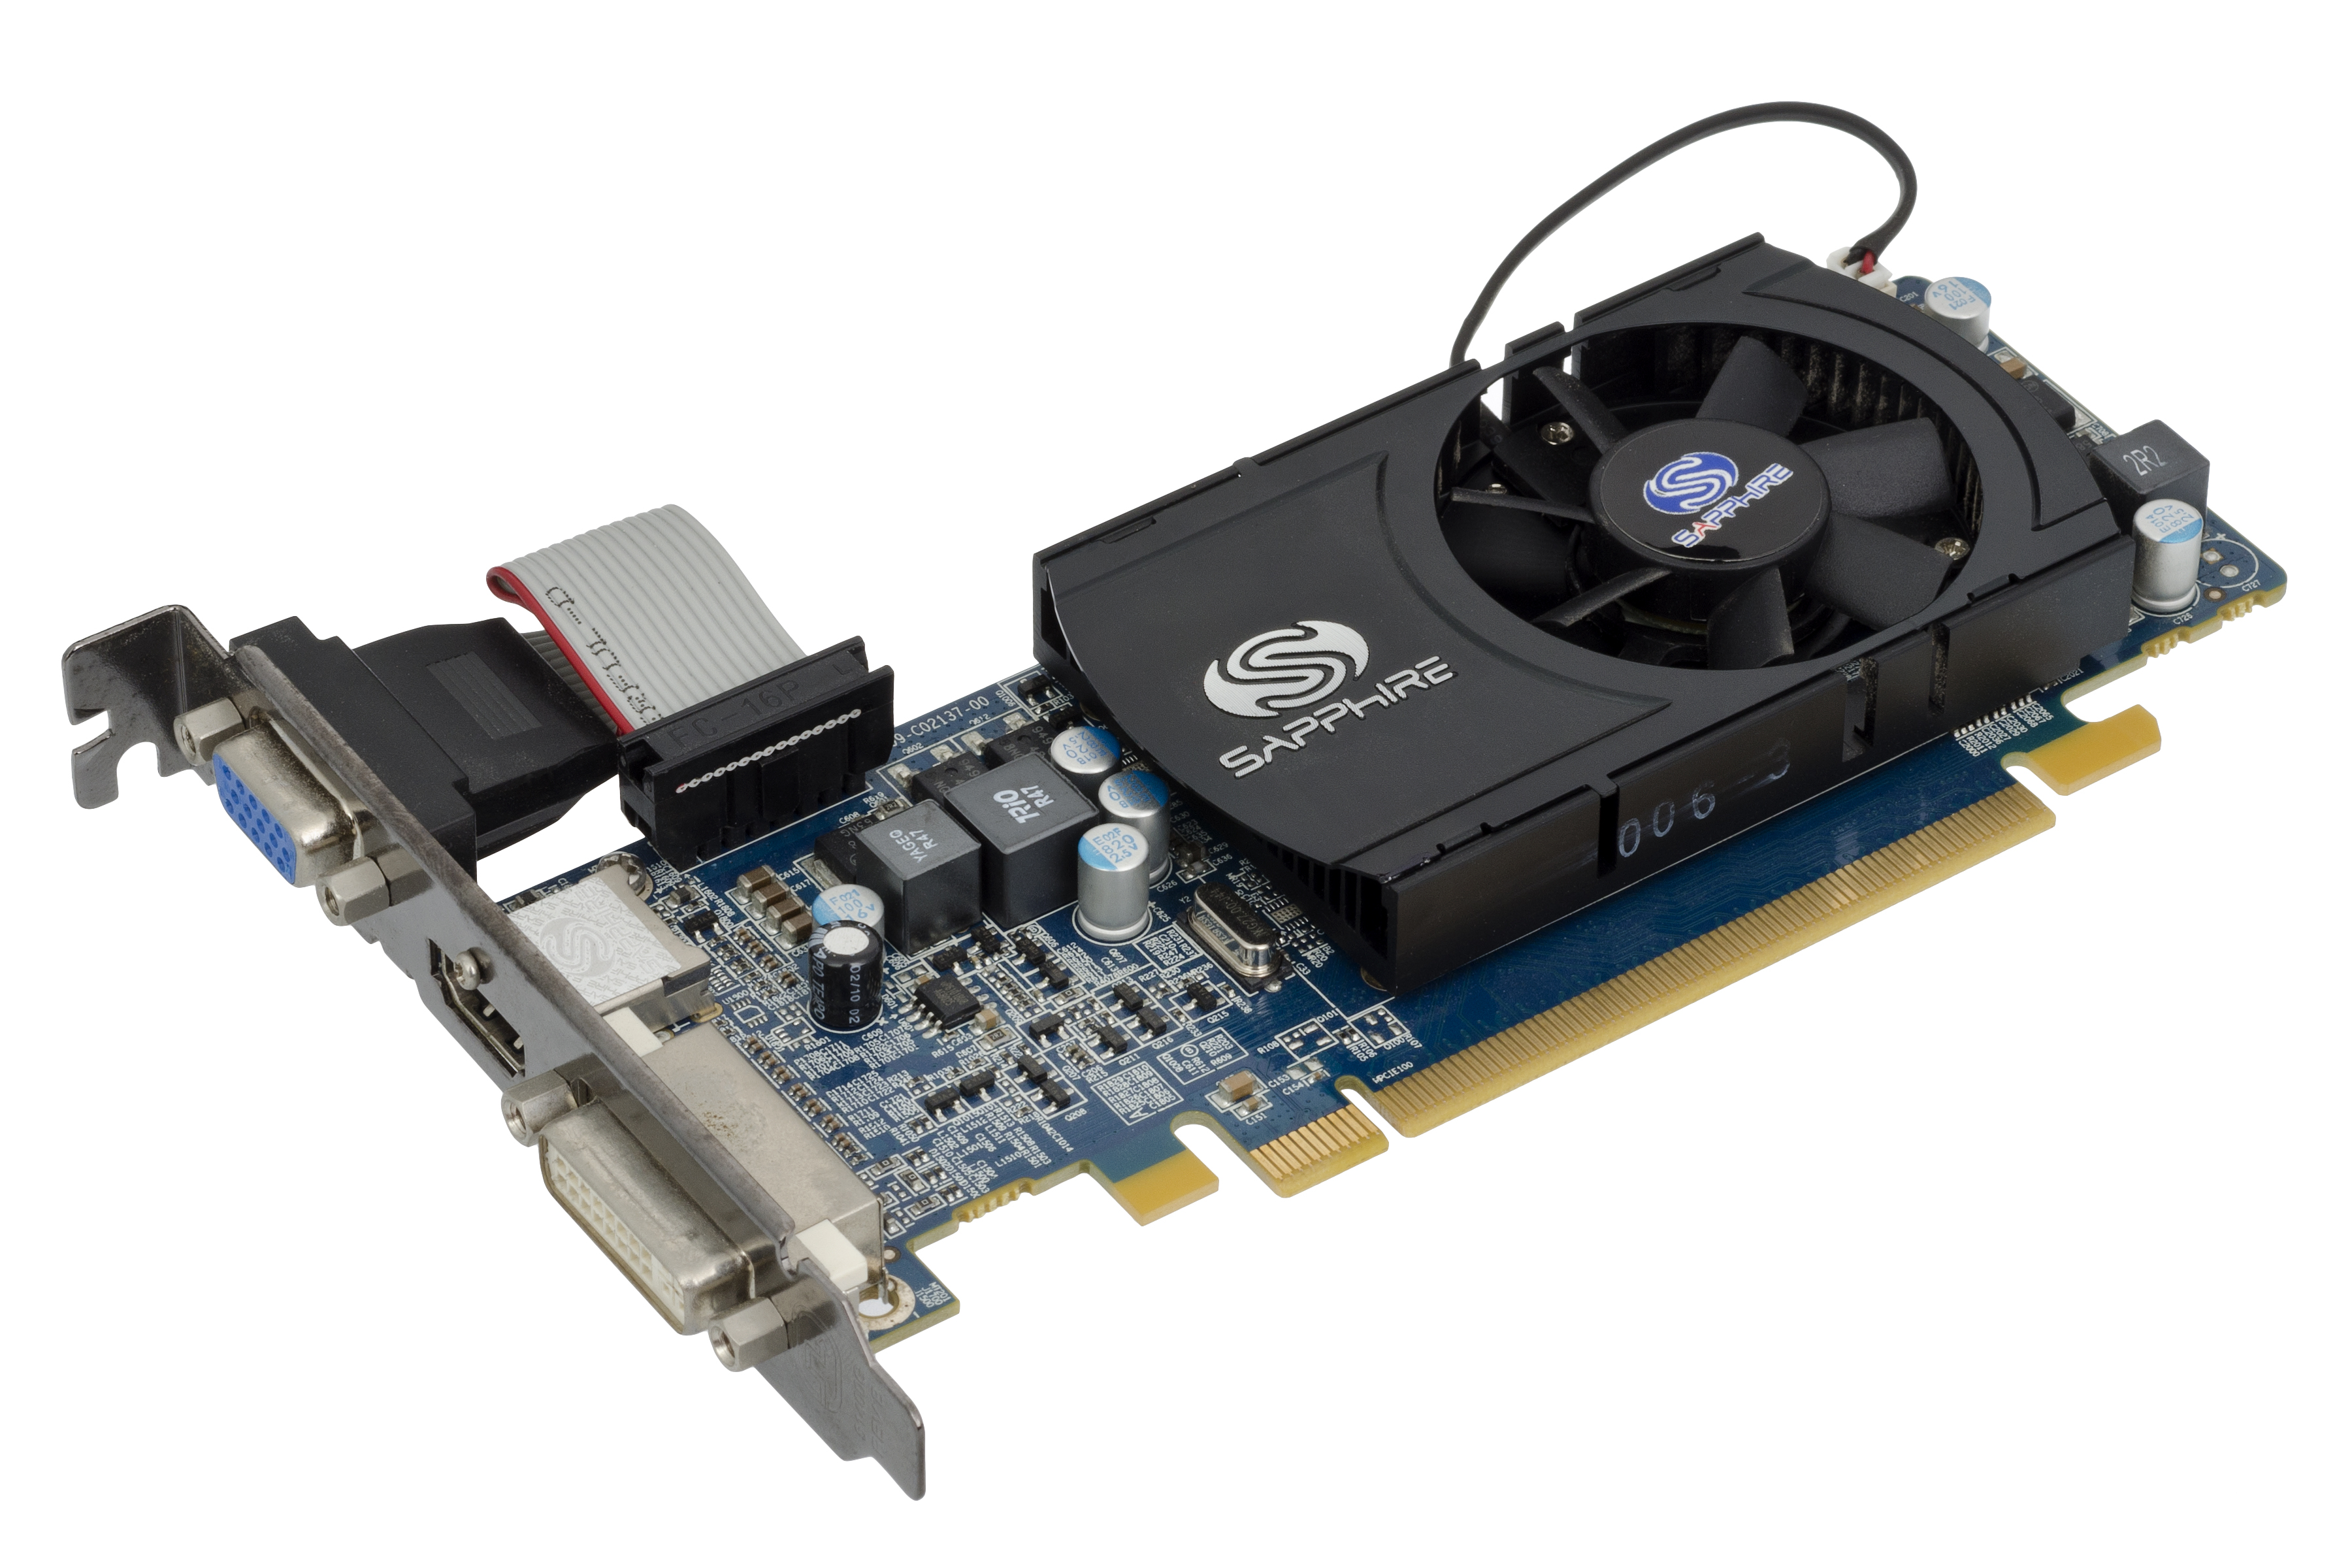
To troubleshoot PC shutdowns on startup, one potential solution is to update your drivers and GPU software. Outdated or incompatible drivers can cause system instability and lead to unexpected shutdowns.
To update your drivers, follow these steps:
1. Open Device Manager by pressing the Windows key + X and selecting Device Manager from the menu.
2. Expand the categories and locate the devices that require updates, such as the graphics card or network adapter.
3. Right-click on the device and select Update driver.
4. Choose the option to search automatically for updated driver software.
5. If an update is found, follow the on-screen instructions to install it.
Additionally, updating your GPU software can also help resolve shutdown issues. Visit the manufacturer’s website (such as NVIDIA or AMD) and download the latest driver for your graphics card.
Remember to restart your computer after updating the drivers and GPU software to apply the changes.
If the shutdown problem persists, it may be necessary to seek further assistance or consider other troubleshooting steps.
Virus and Malware Scanning
To troubleshoot PC shutdowns on startup, it’s important to ensure that your system is free from viruses and malware. These malicious programs can cause unexpected shutdowns and other performance issues. Start by running a comprehensive virus scan using reliable antivirus software. This will help identify and remove any harmful files that may be causing the problem. Additionally, consider scanning for malware using specialized malware removal tools.
These programs can detect and eliminate hidden threats that might not be detected by regular antivirus software. By regularly scanning your system for viruses and malware, you can prevent unexpected shutdowns and ensure the smooth operation of your PC.
Power Supply and Voltage Concerns
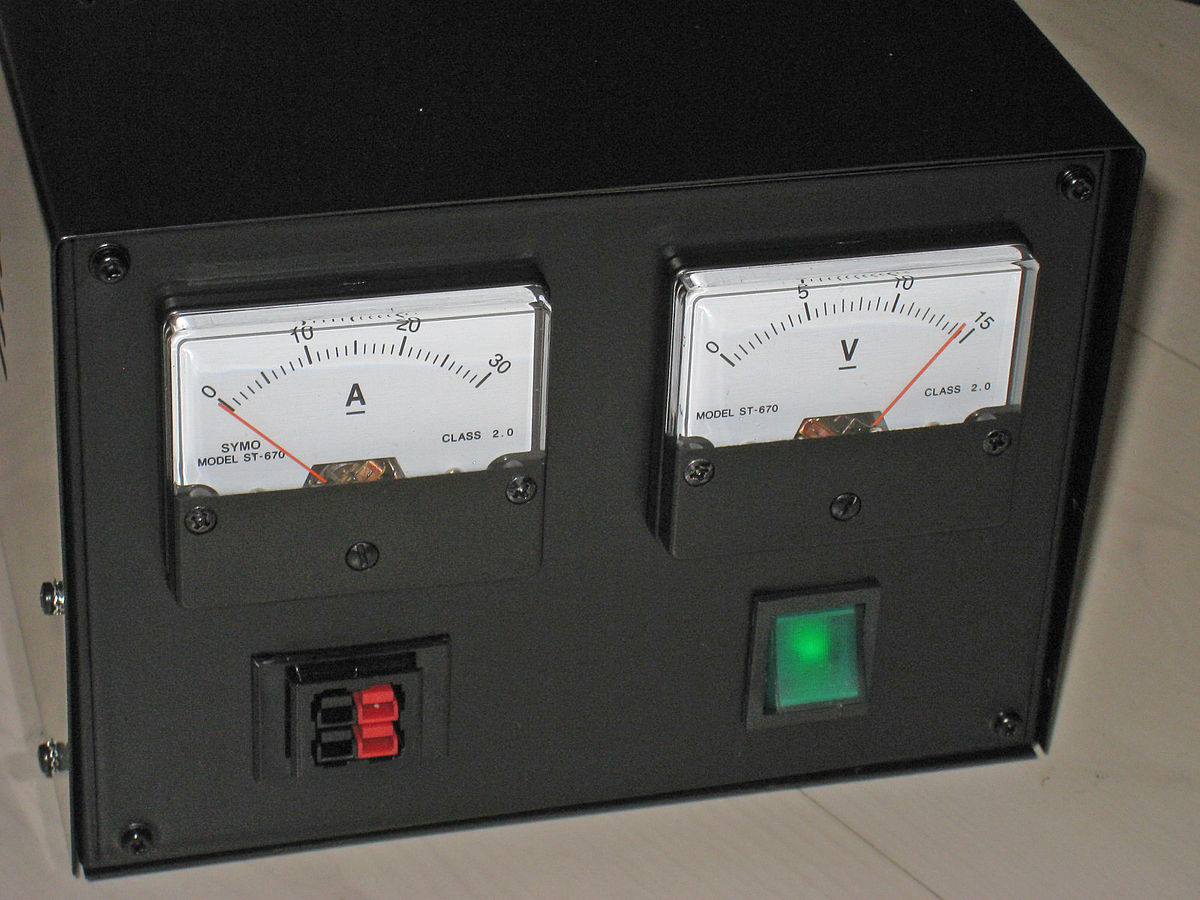
If you are experiencing PC shutdowns on startup, power supply issues may be the culprit. Here are some steps to troubleshoot and resolve the problem:
1. Check the power supply unit (PSU) connections and make sure they are securely plugged in. Ensure the power cable is firmly connected to both the PSU and the wall outlet.
2. Inspect the power cable for any damage or fraying. If necessary, replace it with a new one.
3. Test the voltage output of the PSU using a multimeter. Refer to the manufacturer’s instructions or consult a professional if you are unsure how to do this.
4. If you are using a laptop, make sure the AC adapter is functioning properly. Try using a different adapter or battery to see if the issue persists.
5. Clean the power supply fan and vents to prevent overheating. Use compressed air to remove any dust or debris that may be blocking airflow.
6. Check the voltage settings in the BIOS or UEFI. Make sure the voltage is set correctly for your specific hardware.
7. If you have recently added any new hardware, such as an expansion card or memory module, remove it and test if the shutdown issue still occurs.
Fast Startup and Sleep Mode Settings
First, check your fast startup settings. In Windows, go to the Control Panel and search for “Power Options.” Click on “Choose what the power buttons do” and then “Change settings that are currently unavailable.” Make sure the “Turn on fast startup” option is unchecked. This can sometimes cause conflicts during startup.
Next, check your sleep mode settings. Go back to the Power Options menu and click on “Change when the computer sleeps.” Make sure the “Put the computer to sleep” option is set to a reasonable amount of time or disabled altogether.
If adjusting these settings doesn’t resolve the issue, try a cold boot. To do this, shut down your computer completely, unplug the power cord, and hold down the power button for 10-15 seconds. Then, plug the power cord back in and turn on your computer. This can sometimes reset any hardware or software issues causing the shutdown problem.
If the issue persists, it may be worth checking your computer’s hardware. Ensure that all cables and connections are secure, and check for any signs of damage or overheating. You could also try removing any recently added hardware or expansion cards, as these could be causing conflicts.
Lastly, if none of the above solutions work, you may need to seek professional help or contact your computer manufacturer for further assistance.
BIOS Updates and System File Checks
To troubleshoot PC shutdowns on startup, it is important to check for any issues with the BIOS and system files. These steps can help resolve the problem:
1. Update BIOS: Ensure your BIOS is up to date by visiting the manufacturer’s website and downloading the latest version. Follow the instructions for BIOS update to install it properly.
2. Run System File Check: In Microsoft Windows, open the Command Prompt as an administrator and type “sfc /scannow“. This will scan and repair any corrupted system files.
3. Check for Hardware Issues: Make sure all hardware components, such as the power supply unit and memory modules, are properly connected and functioning. Clean any dust from the computer cooling system to prevent overheating.
By performing these steps, you can resolve common issues that may cause PC shutdowns on startup.
Use of Performance Monitors and Diagnostic Tools
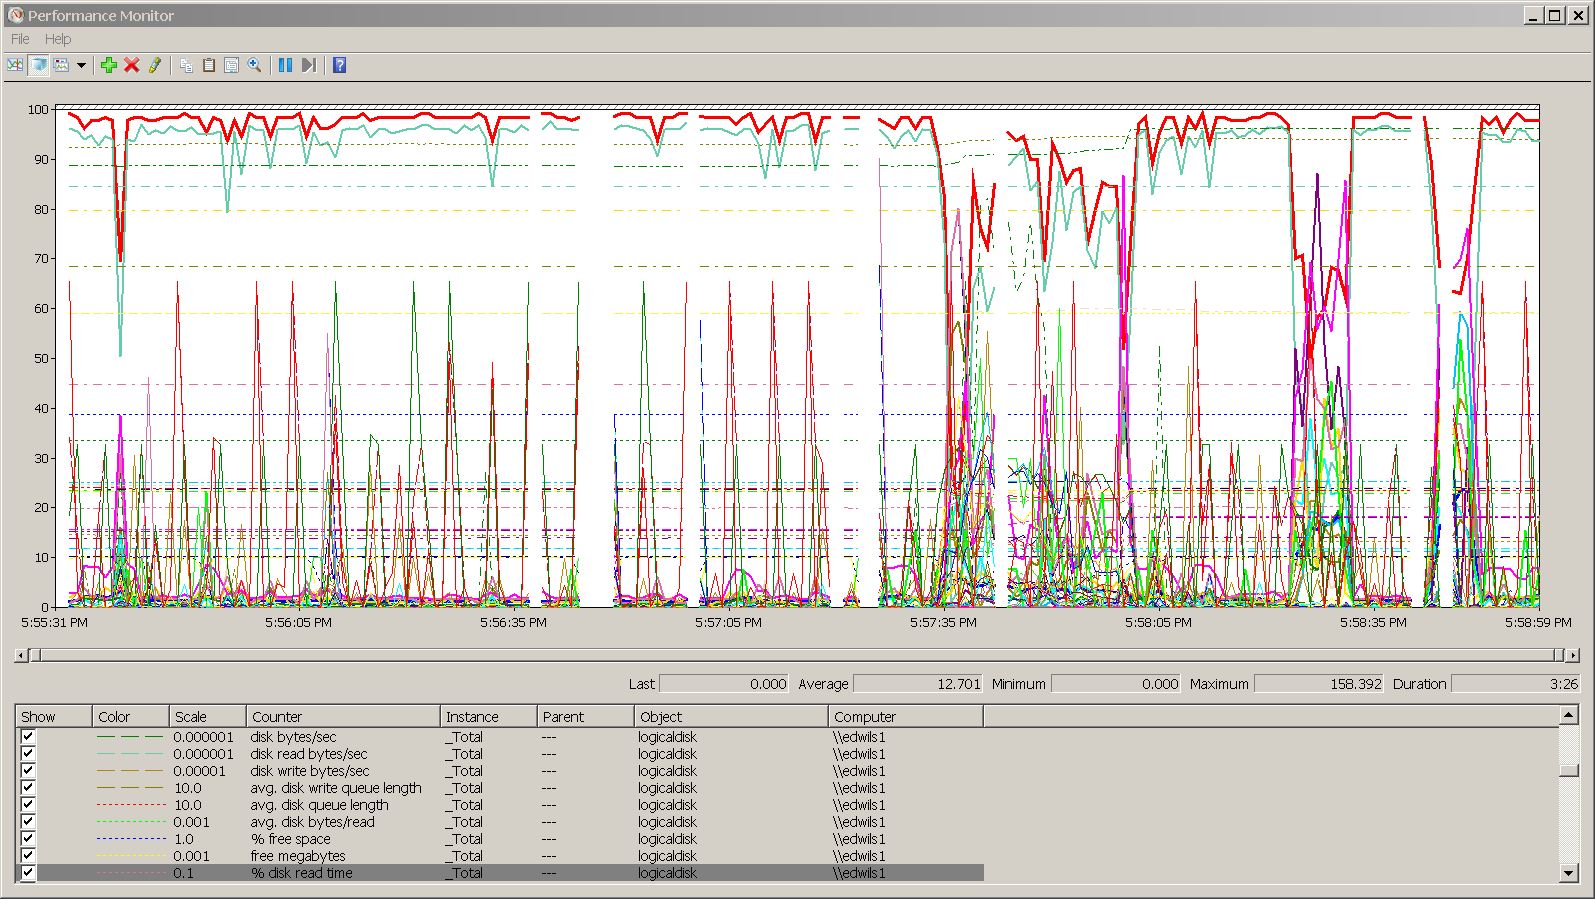
- Open Task Manager by pressing Ctrl+Shift+Esc
- Check the Processes tab for any programs or processes that are consuming a high amount of CPU or memory
- If any suspicious or unnecessary programs are running, right-click on them and select End Task
- Open Resource Monitor by typing “resmon” in the Run dialog (Windows key + R)
- Switch to the CPU tab and look for any processes with a high CPU usage
- If necessary, right-click on the process and select End Process
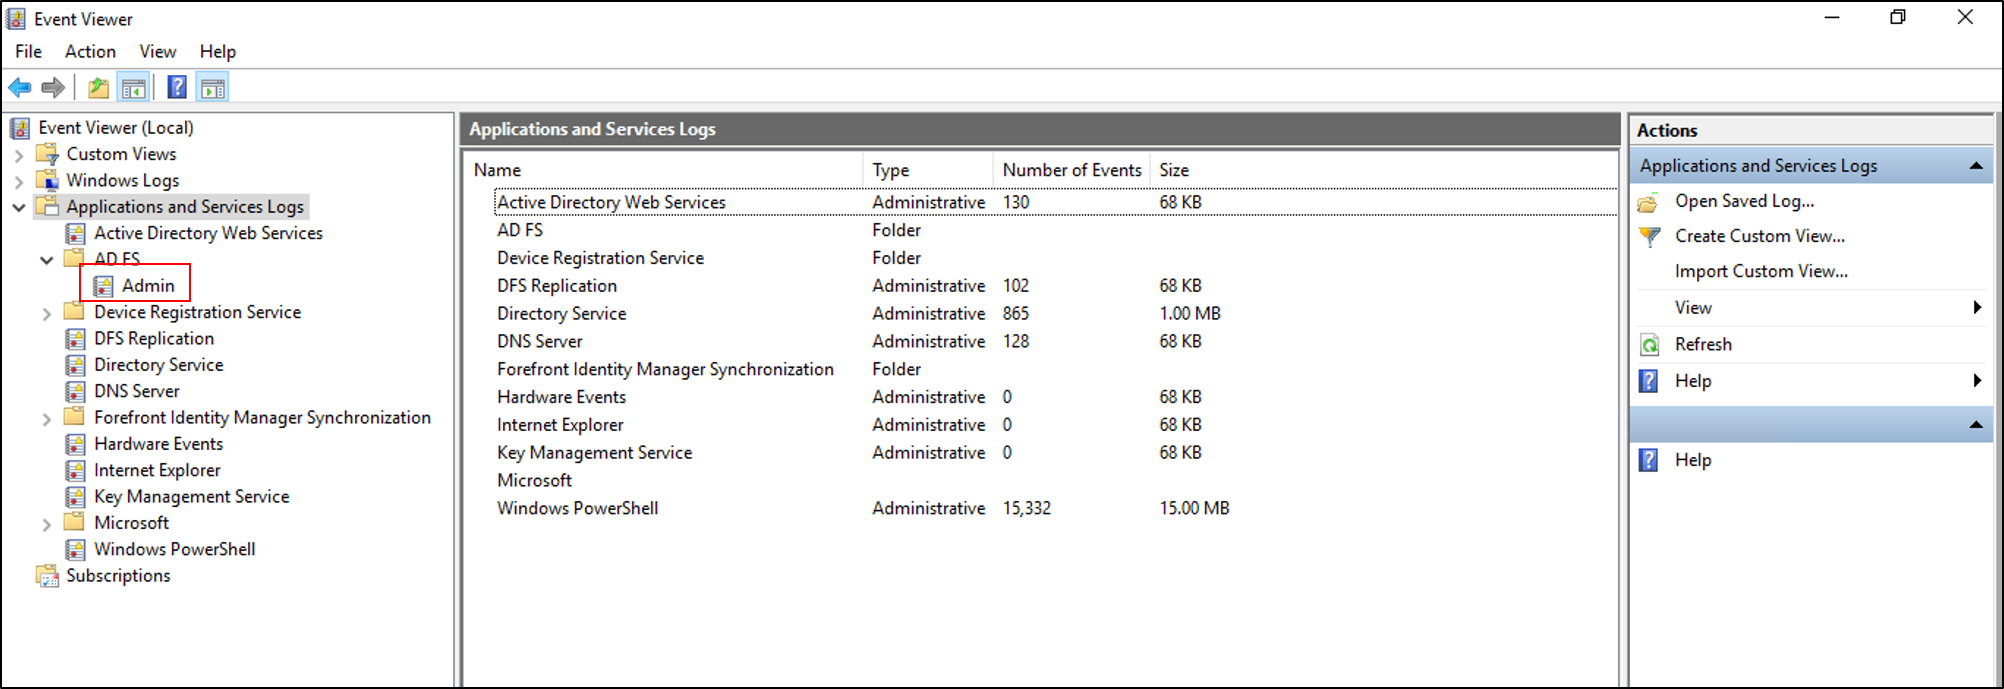
- Use Event Viewer to check for any error messages or warnings related to the startup issues
- Open Event Viewer by typing “eventvwr.msc” in the Run dialog (Windows key + R)
- Expand the Windows Logs folder and select System
- Look for any Error or Warning events that occurred during the startup
- Double-click on the event to view detailed information and possible solutions
- Run a System File Checker scan to check for corrupted or missing system files
- Open Command Prompt as an administrator by typing “cmd” in the Run dialog (Windows key + R), then press Ctrl+Shift+Enter
- Type “sfc /scannow” and press Enter to start the scan
- Wait for the scan to complete and follow any instructions provided
- Check the health of your hard drive using a diagnostic tool
- Download and install a reliable hard drive diagnostic tool, such as CrystalDiskInfo or HD Tune
- Run the diagnostic tool and check for any errors, bad sectors, or signs of impending failure
- Follow the tool’s instructions on how to resolve any detected issues
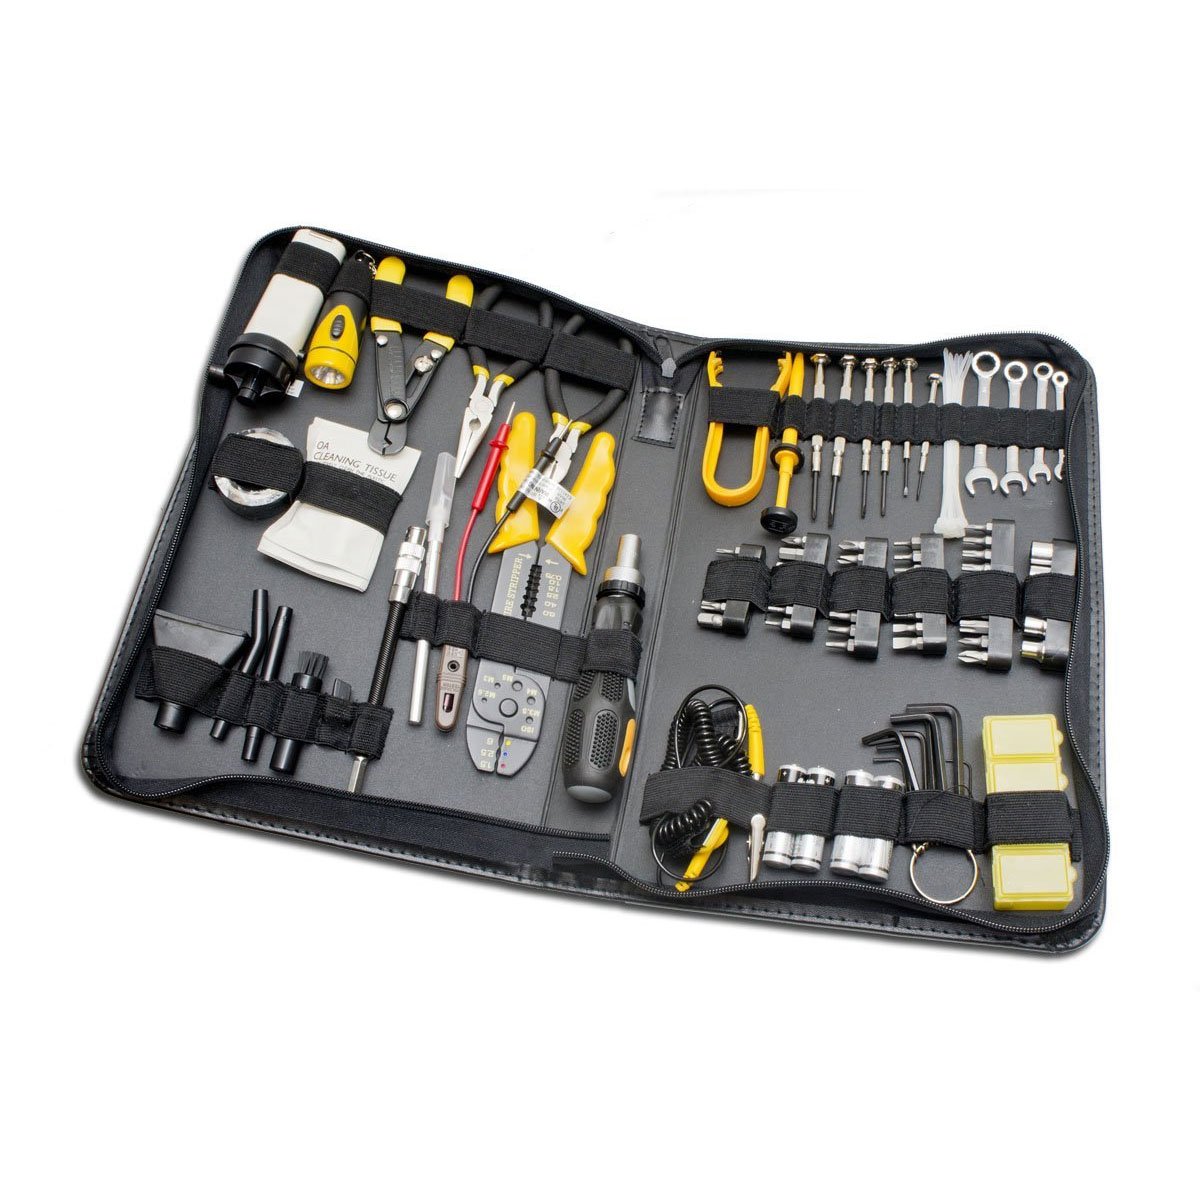
Professional Computer Repair Solutions
| Issue | Possible Causes | Solution |
|---|---|---|
| Computer immediately shuts down after pressing power button |
|
|
| Computer shuts down during Windows startup process |
|
|
| Computer shuts down after displaying Windows logo |
|
|
Frequently Asked Questions
Why does my computer light up for a second then turn off?
Your computer lights up for a second and then turns off because there may be a power fault or issue. Additionally, you can try troubleshooting by testing different RAM slots or sticks.
Why does my computer turn off after 5 seconds?
Your computer may be turning off after 5 seconds because of overheating. If the heat is not being properly transferred from the processor to the heat sink, it can quickly overheat. To prevent potential damage to the hardware, the computer automatically shuts down when it exceeds a certain temperature.
Why does my PC keep turning off when I start it?
Your PC keeps turning off when you start it because the power supply is likely causing the issue. It is common for the power supply to be the cause of a computer turning off by itself. To resolve this, replace the power supply if it fails any tests. If you do replace it, make sure to keep the computer plugged in for at least five minutes before attempting to power it on.


