Is your Windows 7 taking forever to boot? Here’s how to fix it.
Close Unnecessary Startup Programs
To close unnecessary startup programs, follow these steps:
1. Press the Windows key + R to open the Run dialog box.
2. Type “msconfig” (without the quotes) and press Enter.
3. In the System Configuration window that appears, click on the “Startup” tab.
Here, you will see a list of all the programs that are set to launch during startup. These programs are usually indicated by checkmarks next to their names. However, not all programs are essential for the startup process, so it’s important to identify and close the unnecessary ones.
4. To close a program, simply uncheck the box next to its name. Be cautious when unchecking programs – make sure you are familiar with the program and confident that it is not critical for your computer’s operation.
5. Once you have unchecked all the unnecessary programs, click “Apply” and then “OK” to save the changes.
After closing unnecessary startup programs, restart your computer to see the improvements in boot time. By reducing the number of programs that launch during startup, you can optimize your computer’s performance and experience faster boot times.
It’s worth noting that closing unnecessary startup programs alone may not solve all performance issues. It’s also important to regularly run antivirus software and scan your computer for any potential malware or viruses that could be affecting its performance. Tools like Malwarebytes can help detect and remove malicious software, protecting your computer from potential threats like viruses, spyware, ransomware, and more.
In addition to closing unnecessary startup programs, you can also consider other steps to optimize your computer’s boot time. For example, upgrading your computer’s hardware, such as adding more RAM or switching to a solid-state drive (SSD), can significantly improve boot times. Updating device drivers and keeping your operating system up to date can also help enhance performance.
Use Boot Performance Diagnostics
If you’re experiencing a slow boot time on your Windows 7 computer, Boot Performance Diagnostics can help you identify and resolve the issue. This tool analyzes the boot process and provides valuable insights into what might be causing the delay. Follow these steps to use Boot Performance Diagnostics and improve your Windows 7 boot speed:
1. Press the Windows key + R to open the Run dialog box.
2. Type perfmon /report and press Enter. This will launch the Performance Monitor tool.
3. In the left-hand pane of Performance Monitor, expand “Data Collector Sets” and then “Startup Event Trace Sessions”.
4. Right-click on “Boot Performance Monitoring” and select “Properties”.
5. Under the “Trace Session” tab, make sure the “Boot Base” option is selected. Click “OK” to close the properties window.
6. Right-click on “Boot Performance Monitoring” again and select “Start”.
7. Wait for the boot process to complete. This may take some time, depending on your computer’s speed.
8. Once the boot process is finished, go back to Performance Monitor and navigate to “Reports” > “System” > “System Diagnostics” > “Boot Performance”.
9. In the right-hand pane, you’ll find a detailed report on your boot performance. Look for any warnings or errors that might indicate the cause of the slow boot.
10. Pay attention to the “Boot Duration” section, which shows the time it takes for your computer to boot. If it exceeds a reasonable time frame (usually around 30 seconds), there might be an issue that needs fixing.
11. Use the information in the report to troubleshoot and fix the specific problem causing the slow boot. This could involve updating drivers, removing unnecessary startup programs, or performing a malware scan using reputable antivirus software.
12. Once you’ve addressed the identified issues, restart your computer and see if the boot time has improved.
By using Boot Performance Diagnostics, you can pinpoint the factors contributing to your Windows 7 slow boot and take the necessary steps to optimize your computer’s startup process.
Remove Peripherals
One of the possible reasons for a slow Windows 7 boot is having too many peripherals connected to your computer. Peripherals such as printers, scanners, external hard drives, or even USB devices can sometimes slow down the boot process.
To fix this issue, you can try removing any unnecessary peripherals from your computer. Simply disconnect them from the USB ports or unplug them from the power source.
If you have a printer or scanner that you rarely use, consider unplugging it until you actually need to use it. This can help improve the boot time of your Windows 7 system.
Remember to only remove peripherals that are not essential for your daily tasks. If you rely on a particular peripheral for your work or personal needs, it’s best to keep it connected.
By removing unnecessary peripherals, you can optimize your boot time and improve the overall performance of your Windows 7 system.
Update Drivers
To fix slow Windows 7 boot, one important step is to update your drivers. Outdated drivers can cause sluggish performance and longer boot times. Follow these steps to update your drivers:
1. Identify outdated drivers: Open Device Manager by pressing the Windows key + R, then typing “devmgmt.msc” and pressing Enter. Look for any devices with a yellow exclamation mark, as these indicate outdated drivers.
2. Update drivers manually: Right-click on the device with the outdated driver and select “Update driver.” Choose the option to search for drivers automatically. Windows will search for the latest driver and install it if available.
3. Use Windows Update: Windows Update can also help you find and install updated drivers. Go to the Control Panel and click on “Windows Update.” Check for updates and install any driver updates that are available.
4. Update graphics drivers: Graphics drivers are often a culprit for slow boot times. Visit the website of your graphics card manufacturer (such as NVIDIA or AMD) and download the latest drivers for your specific model.
5. Use driver update software: If you prefer a more automated approach, you can use driver update software like Driver Genius or Driver Booster. These tools will scan your system for outdated drivers and automatically download and install the latest versions.
Scan for Malware and Viruses
To fix a slow Windows 7 boot, it is important to ensure that your system is free from malware and viruses. These malicious programs can significantly slow down your computer’s booting process and overall performance.
To scan for malware and viruses, follow these steps:
1. Install a reliable antivirus software on your computer. There are many options available, but popular ones include Malwarebytes, Norton, and Avast. Make sure to choose a reputable and up-to-date program.
2. Open the antivirus software and navigate to the scanning options. Look for a “Full Scan” or “Deep Scan” option, as these will thoroughly analyze your system for any potential threats.
3. Start the scan and let the antivirus software run its course. This process may take some time, depending on the size of your hard drive and the amount of data stored on it.
4. While the scan is running, avoid using other resource-intensive programs or tasks. This will help the antivirus software perform the scan more efficiently.
5. Once the scan is complete, the antivirus software will display a report of any detected malware or viruses. Follow the software’s instructions to remove or quarantine these threats.
6. After removing the malware or viruses, restart your computer to ensure that the changes take effect.
Regularly scanning for malware and viruses is essential to maintaining a fast and secure computer. It is recommended to perform these scans at least once a week to stay protected. By taking these precautions, you can improve your Windows 7 boot speed and overall system performance.
Increase RAM

1. Check your current RAM: First, determine how much RAM your computer currently has. Click the Start button, right-click on “Computer” or “My Computer,” and select “Properties.” Under the “System” section, you will find information about your installed RAM.
2. Purchase additional RAM: If your current RAM is insufficient for your needs, consider upgrading it. Determine the type and maximum capacity of RAM your computer supports by referring to the manufacturer’s documentation or visiting their website. Purchase compatible RAM modules from a reputable retailer.
3. Power off your computer: Before installing the new RAM, shut down your computer completely and disconnect it from any power source.
4. Open your computer’s case: If you have a desktop computer, carefully remove the screws or latches securing the case. Gently slide or lift off the case to access the internal components.
5. Locate the RAM slots: Look for the RAM slots on your computer’s motherboard. They are usually long, narrow slots, and there may be multiple slots available.
6. Insert the new RAM: Remove the old RAM, if necessary, by gently pushing down on the retaining clips on either side of the module. Align the notch on the new RAM module with the slot and firmly press it down until the retaining clips click into place.
7. Close the computer case: Once the new RAM is installed, carefully place the computer case back on and secure it with the screws or latches.
8. Power on your computer: Reconnect the power source and turn on your computer. Windows should automatically recognize the new RAM and adjust its settings accordingly.
9. Verify the increased RAM: To confirm that the new RAM is recognized by your computer, right-click on “Computer” or “My Computer” and select “Properties.” Under the “System” section, you should see the updated RAM capacity.
10. Enjoy faster boot times: With increased RAM, your Windows 7 computer should experience improved boot speeds and overall performance.
Upgrade to SSD
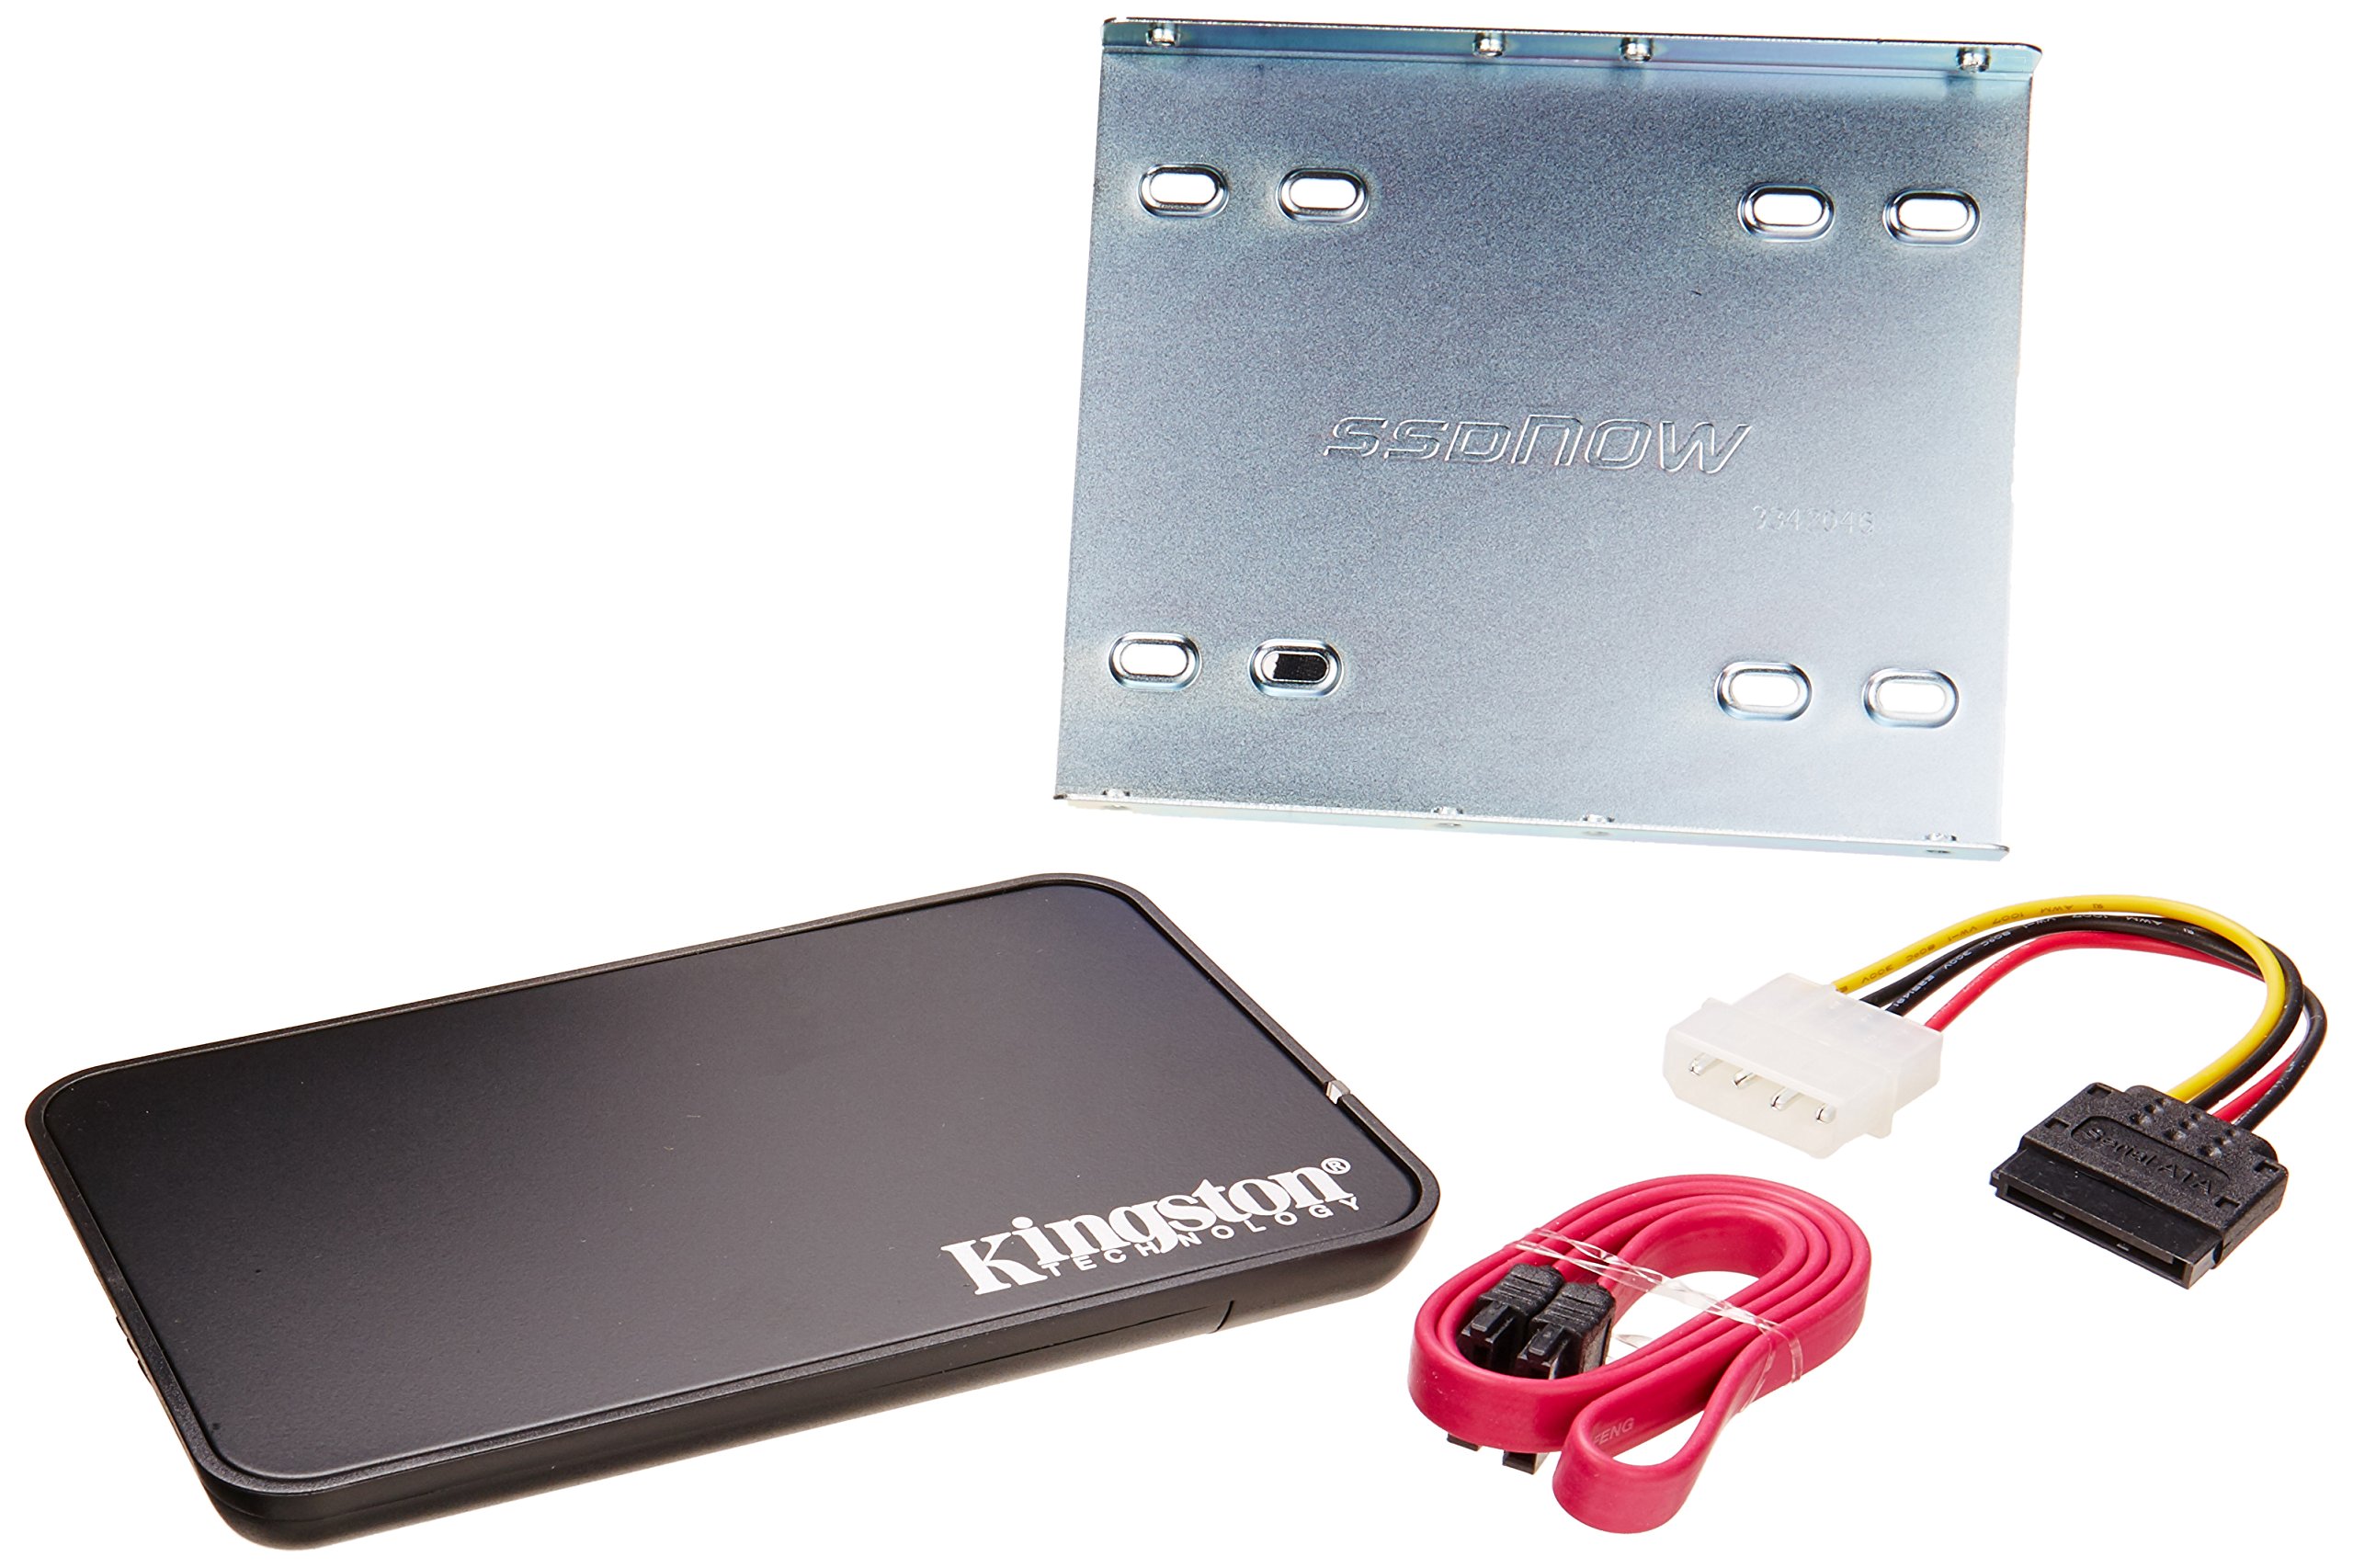
If you’re experiencing slow boot times on your Windows 7 computer, upgrading to a solid-state drive (SSD) can significantly improve your system’s performance. An SSD is a type of computer data storage that uses flash memory to store data, making it faster and more reliable than traditional hard disk drives.
To upgrade to an SSD, you’ll need to follow a few steps:
1. Back up your data: Before making any changes to your computer’s hardware, it’s essential to back up all your important data. You can use an external hard drive or a cloud storage service to create a backup of your files.
2. Choose the right SSD: There are various types and sizes of SSDs available on the market. Make sure to select one that is compatible with your computer’s interface (usually SATA) and has enough storage capacity for your needs.
3. Prepare for installation: Shut down your computer and disconnect any peripherals, such as printers or scanners. If you’re using a laptop, make sure it’s unplugged and remove the battery.
4. Remove the old hard drive: Open your computer’s case and locate the old hard drive. Disconnect any cables connected to it, such as the SATA and power cables. Carefully remove the hard drive from its bay.
5. Install the SSD: Take your new SSD and secure it in the empty bay. Connect the SATA and power cables to the SSD. Make sure the connections are secure.
6. Replace the old hard drive (optional): If you want to keep your old hard drive for extra storage, you can reinstall it in an available bay or use an external enclosure to turn it into an external hard drive.
7. Boot up your computer: Close the computer’s case and plug it back in. Press the power button to turn it on. Your computer should now boot up faster with the new SSD.
8. Install Windows 7 (optional): If you haven’t already installed Windows 7 on your new SSD, you’ll need to do so. Insert your Windows 7 installation disc or USB flash drive and follow the on-screen instructions to install the operating system.
9. Restore your data: Once you have Windows 7 installed on your SSD, you can restore your backed-up data. Use the external hard drive or cloud storage service to transfer your files back to your computer.
By upgrading to an SSD, you’ll experience faster boot times and overall improved performance on your Windows 7 computer. This upgrade can be especially beneficial for older computers that are struggling to keep up with modern applications and processes. So, if you’re tired of waiting for your computer to start up, consider upgrading to an SSD and enjoy a faster and more efficient user experience.
Apply Hotfixes and Updates
![]()
- Check for Windows updates:
- Open the Start menu and click on All Programs.
- Click on Windows Update or Windows Security.
- Click on Check for updates.
- If updates are available, click on Install updates and follow the on-screen instructions.
- Download and install hotfixes:
- Visit the Microsoft Support website.
- Search for the specific hotfix related to slow Windows 7 boot.
- Download the hotfix and save it to a location on your computer.
- Double-click on the downloaded file to run the hotfix installer.
- Follow the on-screen instructions to install the hotfix.
- Apply service packs:
- Visit the Microsoft Support website.
- Search for the latest service pack for Windows 7.
- Download the service pack and save it to a location on your computer.
- Double-click on the downloaded file to run the service pack installer.
- Follow the on-screen instructions to install the service pack.
- Run Windows Update Troubleshooter:
- Open the Start menu and click on Control Panel.
- Click on Troubleshooting.
- Under the System and Security section, click on Fix problems with Windows Update.
- Click on Advanced and make sure the option Apply repairs automatically is selected.
- Click on Next and wait for the troubleshooter to detect and fix any issues.
- Reset Windows Update components:
- Open Command Prompt as an administrator by searching for it in the Start menu, right-clicking on it, and selecting Run as administrator.
- Type the following commands and press Enter after each one:
- net stop wuauserv
- net stop cryptSvc
- net stop bits
- net stop msiserver
- Type the following commands to rename the software distribution and catroot2 folders and press Enter after each one:
- ren C:\Windows\SoftwareDistribution SoftwareDistribution.old
- ren C:\Windows\System32\catroot2 Catroot2.old
- Type the following commands to restart the Windows Update services and press Enter after each one:
- net start wuauserv
- net start cryptSvc
- net start bits
- net start msiserver
F.A.Q.
How do I fix my computer taking forever to boot?
To fix your computer taking forever to boot, you can try the following solutions:
– Disable unnecessary startup programs.
– Clear up space on your boot drive.
– Run a malware scan.
– Access BIOS to tweak settings.
– Restore or reinstall Windows.
– Consider upgrading your computer’s hard drive and/or memory.
How do I fix Windows 7 boot problem?
To fix a Windows 7 boot problem, you can start by booting from the Windows 7 DVD and selecting “Repair your computer” after choosing the language, time format, and keyboard preferences. Then, select the Windows 7 installation you want to repair and choose “Startup Repair.” Follow any prompts and accept suggested changes.
How do I fix a slow computer Windows 7?
To fix a slow computer running Windows 7, you can try the following methods: run the Performance Troubleshooter, turn off unnecessary programs, defrag your hard disk, clean the dust, extend the system partition, and align the SSD partition.
How can I make Windows 7 startup faster?
To make Windows 7 startup faster, you can enable Windows’ Fast Startup Mode, adjust UEFI/BIOS settings, reduce startup programs, allow Windows updates to run during downtime, upgrade to a solid-state drive, or simply use sleep mode.
