Cortana disabled error in Windows 10 can be a frustrating issue. In this article, I will guide you through the steps to enable, disable, and fix this error.
Temporarily Turning Off Cortana
To temporarily turn off Cortana in Windows 10, follow these steps:
1. Open the Cortana settings by right-clicking on the taskbar and selecting “Cortana” from the context menu.
2. In the Cortana settings, click on the “Talk to Cortana” tab.
3. Toggle the switch under “Hey Cortana” to the off position. This will disable the voice activation feature.
4. To further disable Cortana’s functionality, click on the “Permissions & History” tab.
5. Toggle the switches under “Permissions” to the off position. This will prevent Cortana from accessing your location, contacts, and calendar.
6. Scroll down to the “Clear Cortana data” section and click on the “Clear” button. This will delete any stored personal information that Cortana has gathered.
By following these steps, you can temporarily turn off Cortana and protect your privacy. Keep in mind that turning off Cortana may limit certain features and search capabilities in Windows 10. If you decide to re-enable Cortana in the future, simply follow the same steps and toggle the switches back on.
Adjusting Cortana Settings
To adjust Cortana settings in Windows 10 and resolve the Cortana disabled error, follow these steps:
1. Open the Cortana settings by right-clicking on the Cortana icon in the taskbar and selecting “Cortana” from the context menu.
2. In the Cortana settings, you can enable or disable Cortana by toggling the switch under “Cortana can give you suggestions, ideas, reminders, alerts, and more” option.
3. If Cortana is disabled and you’re encountering the Cortana disabled error, you can try fixing it by following these steps:
a. Press the Windows key + R to open the Run dialog box.
b. Type “regedit” and press Enter to open the Registry Editor.
c. Navigate to the following registry key: HKEY_CURRENT_USER\Software\Microsoft\Windows\CurrentVersion\Search
d. Double-click on the “BingSearchEnabled” entry and change its value to “1” to enable Cortana.
e. Double-click on the “CortanaConsent” entry and change its value to “1” to enable Cortana.
4. Once you have adjusted the Cortana settings and fixed the disabled error, you can customize other preferences such as privacy settings, keyboard shortcuts, and more in the Cortana settings menu.
5. If you encounter any issues or want to revert the changes, you can always use the System Restore feature to restore your computer to a previous state.
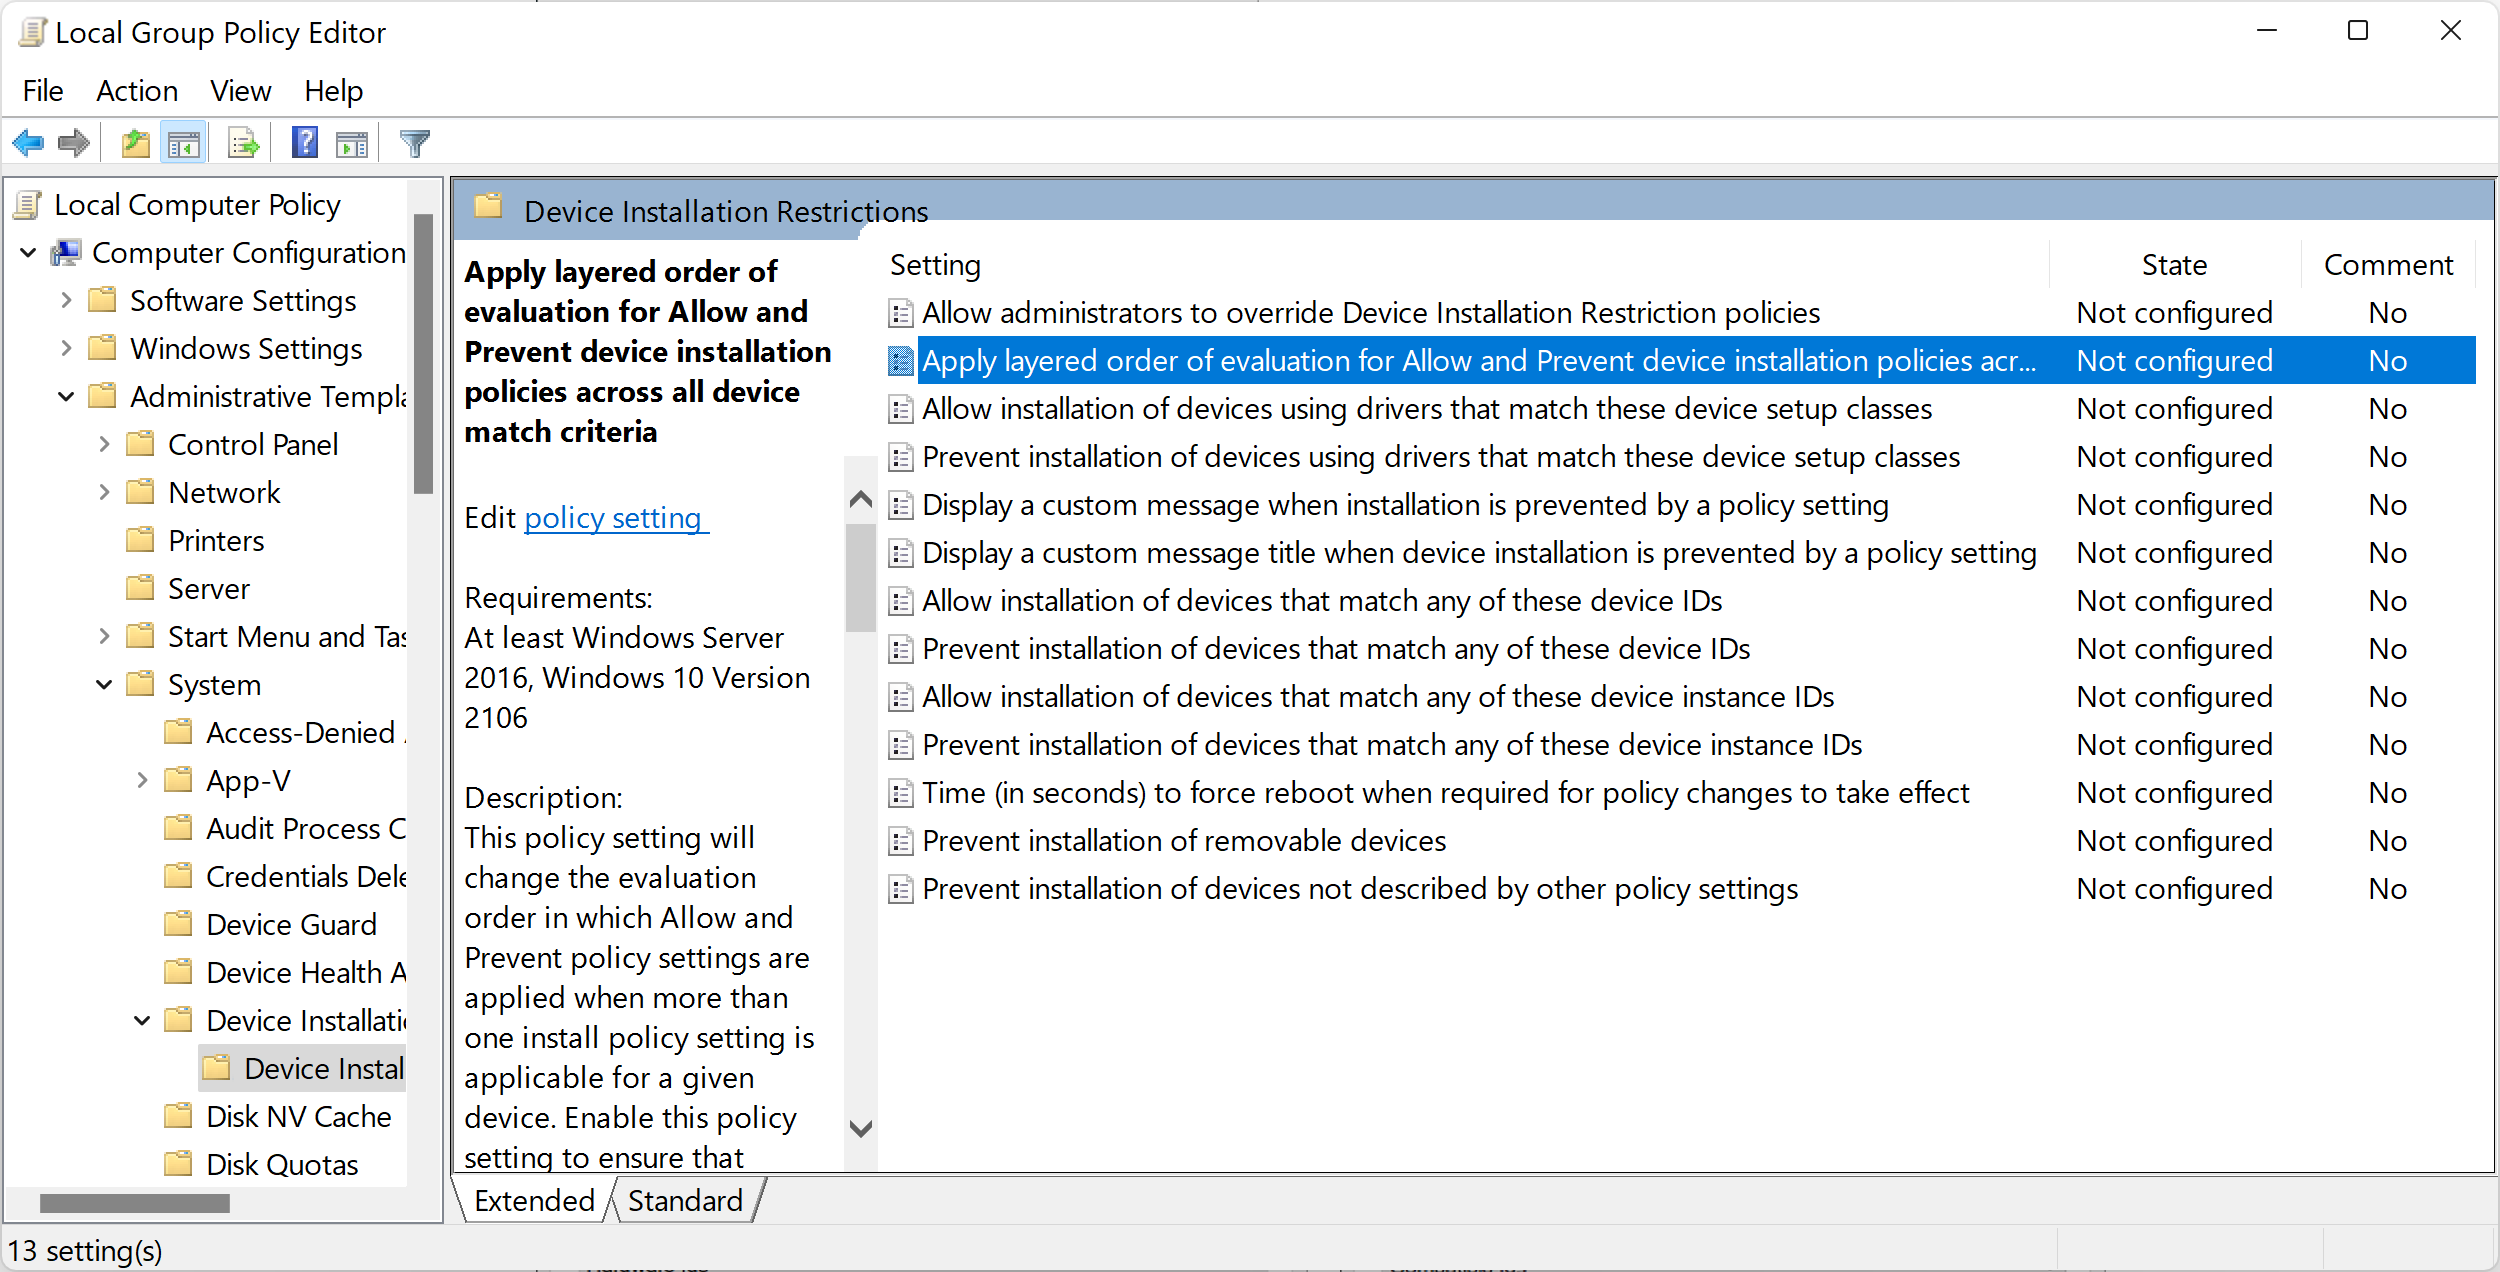
Using Group Policy Editor for Enabling or Disabling
- Press Win + R to open the Run dialog box.
- Type gpedit.msc and press Enter to open the Group Policy Editor.
- In the Group Policy Editor window, navigate to Computer Configuration > Administrative Templates > Windows Components > Search.
- On the right side of the window, locate the policy Allow Cortana.
- If you want to enable Cortana, double-click on Allow Cortana and select Enabled. Then click Apply and OK.
- If you want to disable Cortana, double-click on Allow Cortana and select Disabled. Then click Apply and OK.
- Close the Group Policy Editor window.
- Restart your computer for the changes to take effect.
Modifying Registry Editor Settings

To enable, disable, or fix the Cortana Disabled Error in Windows 10, you can make changes to the Registry Editor settings. Here’s how:
1. Press the Windows key + R to open the Run dialog box.
2. Type “regedit” and press Enter to open the Registry Editor.
3. Navigate to the following key: HKEY_LOCAL_MACHINE\SOFTWARE\Policies\Microsoft\Windows\Windows Search. If the “Windows Search” key doesn’t exist, you’ll need to create it.
4. Right-click on the “Windows Search” key and select “New” > “DWORD (32-bit) Value”.
5. Name the new value “AllowCortana” and set its value to 1 to enable Cortana or 0 to disable Cortana.
6. Close the Registry Editor and restart your computer for the changes to take effect.
Note: Modifying the registry can be risky, so it’s recommended to back up your registry or create a system restore point before making any changes.
F.A.Qs
Should Cortana be disabled on startup?
Cortana should be disabled on startup if you are not accustomed to using it, as it will not affect your computer’s performance.
How do I enable Cortana again?
To enable Cortana again, open Cortana, go to Settings, and select Talk to Cortana. Then, switch the toggle for Hey Cortana to On.
How can we enable disable Cortana?
To enable or disable Cortana, you can follow these steps:
1. Open Cortana by selecting the Cortana icon (small circle) in the taskbar.
2. In the upper-left corner of the Cortana app, click on the three vertical dots.
3. Select “Settings” from the drop-down menu.
4. Choose “Keyboard shortcut.”
5. Turn off the “Keyboard shortcut” option.
6. Restart your device.
7. Repeat steps 1-3.
8. Select “Voice activation permissions.”
9. From there, you can enable or disable Cortana as desired.
