Windows 8 offers various options for switching, assigning, and changing the default audio device.
Changing The Default Playback Device
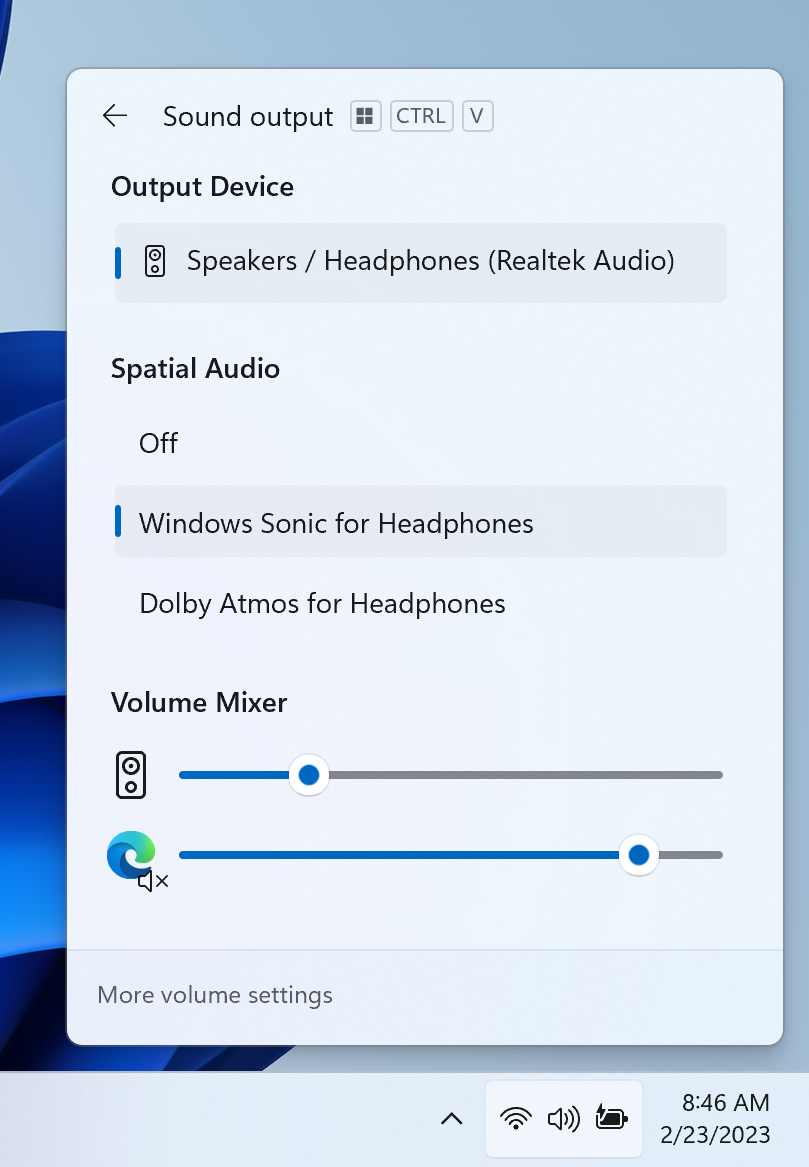
To change the default playback device on Windows 8, follow these steps:
1. Right-click on the speaker icon in the taskbar and select “Playback devices” from the context menu.
2. In the Sound window that appears, you will see a list of available playback devices. The default device will have a green check mark next to it.
3. To switch the default device, simply right-click on the desired device and select “Set as Default Device” from the menu.
4. If you want to assign a different output device for specific applications, click on the “Communications” tab in the Sound window. Here, you can choose to have Windows automatically adjust the volume when a communication activity is detected.
5. To troubleshoot any issues with your audio devices, click on the “Properties” button in the Sound window. This will allow you to check the device status, update drivers, and perform other troubleshooting steps.
Remember, you can connect various audio devices to your computer, such as headphones, speakers, or a mixing console, via USB or the audio phone connector. Windows 8 supports a wide range of devices from different manufacturers, including Asus, Logitech, and Apple Inc.
Setting The Default Recording Device
To set the default recording device on Windows 8, follow these steps:
1. Right-click on the speaker icon in the taskbar and select “Recording devices” from the context menu.
2. In the Sound window that appears, you will see a list of available recording devices. Choose the device you want to set as the default.
3. Click on the device and then click the “Set Default” button. This will make the selected device the default recording device.
4. If you have multiple devices connected, you can also change the order in which they appear. Simply click on a device and use the “Up” or “Down” arrow buttons to rearrange them.
5. To check if the device is working properly, you can click on it and then click the “Properties” button. In the Properties window, go to the “Levels” tab and make sure the volume is set to an appropriate level.
6. If you’re still having issues with your default recording device, you can try troubleshooting the problem. Right-click on the device and select “Troubleshoot” from the context menu. Windows will attempt to fix any issues it detects.
Troubleshooting Missing Sound Devices
- Check device connections: Ensure that all audio devices are properly connected to your computer.
- Verify device power: Make sure that your speakers or headphones are turned on and have sufficient power.
- Update audio drivers: Check for and install the latest drivers for your sound devices.
- Restart the computer: Sometimes a simple restart can resolve sound device issues.
- Run the Audio Troubleshooter: Windows 8 has a built-in troubleshooter that can help identify and fix sound device problems.
- Check audio settings: Ensure that the correct audio device is set as the default and that the volume is not muted or set too low.
- Disable audio enhancements: Some audio enhancements can interfere with sound playback. Try disabling them to see if it resolves the issue.
- Scan for malware: Malware infections can sometimes affect sound devices. Run a malware scan to eliminate any potential threats.
- Try a different audio output: If available, test your sound devices on a different output port to determine if the issue is hardware-related.
- Seek professional assistance: If none of the above steps resolve the problem, consider contacting a professional for further assistance.
Using Saved Searches for Quick Results
Saved searches can be a handy tool for quickly finding the default audio device on Windows 8. Instead of manually searching through various settings and menus, you can save time by creating a saved search that directly takes you to the desired option.
Here’s how you can use saved searches to quickly switch, assign, and change the default audio output on Windows 8:
1. Open the Control Panel by pressing the Windows key + X and selecting “Control Panel” from the menu.
2. In the Control Panel, click on the “Sound” option to open the Sound settings.
3. On the Sound window, click on the “Playback” tab to see the list of available audio devices.
4. Right-click anywhere on the empty space in the Playback tab and select “Show Disabled Devices” and “Show Disconnected Devices” to display all devices, even if they are currently disabled or disconnected.
5. Once you have the desired device visible, right-click on it and select “Set as Default Device” to make it the default audio output.
6. To assign a specific device to a certain application or program, right-click on the desired device and select “Set as Default Communications Device” or “Set as Default Device for Playback” accordingly.
7. To change the default audio device, simply repeat steps 5 and 6 for the new device you want to set as default.
Remember to save your searches for future use, so you can quickly access the Sound settings whenever needed. To save a search, simply click on the “Save Search” button located on the top right corner of the Control Panel window.
By using saved searches, you can streamline the process of switching, assigning, and changing the default audio device on Windows 8, saving you time and effort.
FAQs
How do I fix the Sound on my window 8?
To fix the sound on Windows 8, you can try the following steps:
– Use Automatic Updates to ensure your system has the latest updates.
– Use the Windows Troubleshooter to diagnose and fix any sound issues.
– Verify that all Windows Updates are installed.
– Check the Sound Settings to ensure they are configured correctly.
– Test your microphone to make sure it is working properly.
– Check the Microphone Privacy settings to ensure they are not blocking sound.
– If necessary, uninstall the Sound Driver in the Device Manager.
– Update or roll back the Sound Driver in the Device Manager if needed.
How do I enable audio output on Windows 8?
To enable audio output on Windows 8, go to Start and click on Control Panel. Open the Sound settings and navigate to the Playback tab. Right-click in the window and select Show Disabled devices. Locate the headphones in the list, right-click on them, and choose Enable.
How to fix no audio output device is installed in Windows 8?
To fix the issue of “no audio output device is installed” in Windows 8, you can follow these steps:
1. Echo back the question as a statement: The steps to fix “no audio output device is installed” in Windows 8 are as follows.
2. Search for and open Device Manager in Windows.
3. Double-click on Sound, video and game controllers.
4. Right-click on the audio device and select Update Driver.
5. Click on “Search automatically for updated driver software” to check for and install a driver.
How do I set my default audio device?
To set your default audio device, click on the volume (or speaker) icon and then click on the small arrow. From there, choose the audio output device you want to use as the default. In the new window, set the desired audio device as “Default”.
