Having trouble with your Dell Thunderbolt Dock WD19TB not powering on? Here’s what you need to know.
Download and Install Docking Station Drivers
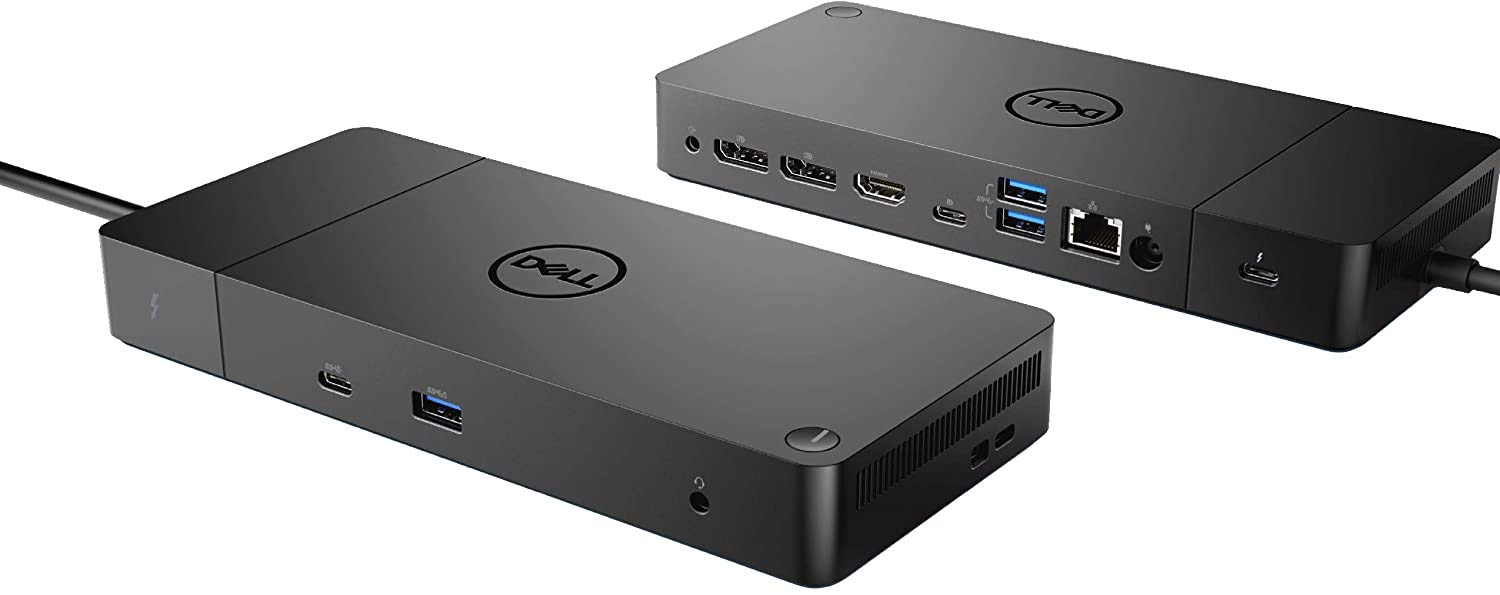
![]()
To download and install the docking station drivers for the Dell Thunderbolt Dock WD19TB, follow these steps:
1. Connect your Dell Thunderbolt Dock WD19TB to your computer using the USB-C cable.
2. Go to the Dell Support website and search for the drivers for your specific docking station model, the Dell Thunderbolt Dock WD19TB.
3. Locate the appropriate driver for your operating system and click on the download button.
4. Once the driver is downloaded, locate the file and double-click on it to start the installation process.
5. Follow the on-screen prompts to complete the installation of the docking station driver.
6. After the installation is complete, restart your computer to ensure that the driver is properly installed.
If your Dell Thunderbolt Dock WD19TB is not powering on, here are some troubleshooting steps you can try:
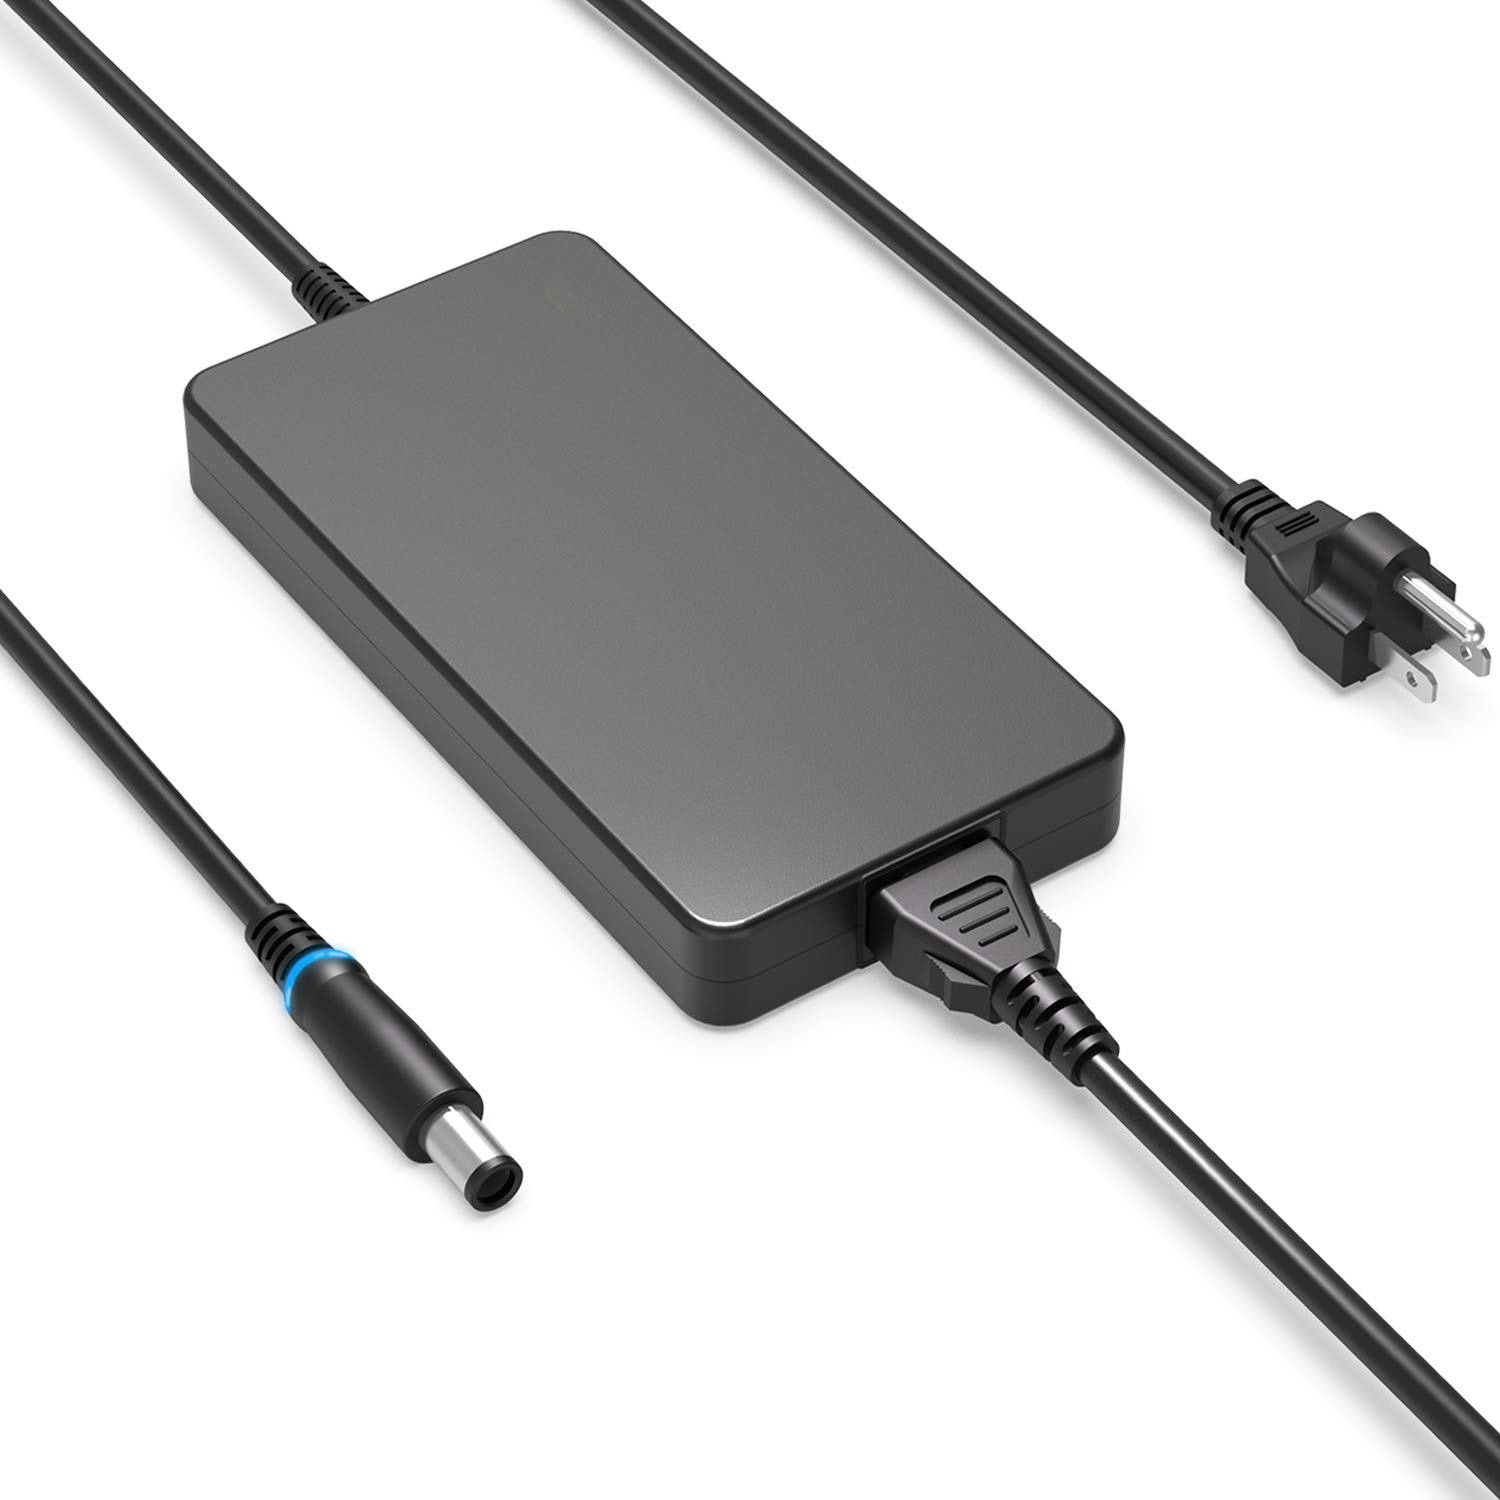
1. Verify that the AC adapter is securely connected to both the docking station and a power outlet.
2. Check if the power LED on the docking station is lit. If not, try using a different AC adapter or power outlet.
3. Ensure that the docking station is compatible with your computer model. Some Dell Thunderbolt Docks may only be compatible with specific Dell laptop models.
4. Update the docking station firmware by visiting the Dell Support website and searching for firmware updates for your specific docking station model.
5. Check the Thunderbolt settings in your computer’s BIOS. Make sure that Thunderbolt support is enabled.
6. Update the Thunderbolt drivers on your computer. Go to the Dell Support website and search for the Thunderbolt drivers for your specific computer model.
7. Check if there are any USB hardware conflicts by opening the Device Manager and looking for any yellow exclamation marks or error messages next to the USB devices.
8. Try connecting the docking station to a different USB-C port on your computer.
9. Restart your computer and check if the docking station powers on.
10. If the issue persists, contact Dell technical support for further assistance.
Troubleshooting Docking Station Power Issues
If your Dell Thunderbolt Dock WD19TB is not powering on, there are a few troubleshooting steps you can take to resolve the issue. Follow these instructions to identify and fix the problem:
1. Check the power source: Ensure that the docking station is properly connected to a power outlet. If it is connected to a power strip or surge protector, try plugging it directly into the wall socket. Also, confirm that the power outlet itself is working by plugging in a different device.
2. Verify the power cable: Inspect the power cable for any signs of damage or loose connections. If any issues are found, replace the cable with a compatible one.
3. Reset the docking station: To reset the docking station, unplug the power cable from both the docking station and the power outlet. Leave it unplugged for a few minutes, then reconnect the power cable and try turning it on again.
4. Update the firmware: Visit the Dell support website and search for the latest firmware update for your Dell Thunderbolt Dock WD19TB. Download and install the update according to the provided instructions. Firmware updates often include bug fixes and improvements that can help resolve power issues.
5. Check the Thunderbolt connection: Ensure that the Thunderbolt cable connecting the docking station to your computer is securely plugged in at both ends. If possible, try using a different Thunderbolt cable to rule out any cable-related issues.
6. Test with a different device: If available, connect the docking station to a different compatible device, such as a Dell XPS or Dell Latitude laptop. This will help determine if the issue is specific to your computer or the docking station itself.
7. Update drivers and BIOS: Visit the Dell support website and download the latest drivers and BIOS updates for your computer. Install them according to the provided instructions. Outdated drivers or BIOS can sometimes cause power issues with docking stations.
8. Perform a hardware scan: Some Dell laptops have a built-in hardware diagnostic tool that can help identify and fix hardware-related problems. Access the tool by restarting your computer and pressing the appropriate key during startup, usually F12 or F10. Run a comprehensive hardware scan to check for any issues.
Configuration and Security Settings for Thunderbolt
| Setting | Description |
|---|---|
| Thunderbolt Security Level | Configure the security level for Thunderbolt devices. Options include: No Security, User Authorization, Secure Connect, and Secure Connect and Display. |
| Thunderbolt Boot Support | Enable or disable Thunderbolt boot support. If enabled, the system can boot from Thunderbolt devices. |
| Thunderbolt Port Configuration | Configure the Thunderbolt port behavior. Options include: Enabled, Disabled, and Pre-Boot ACL. |
| Thunderbolt Pre-Boot ACL | Configure a list of authorized Thunderbolt devices that can be connected during pre-boot. This enhances security by allowing only approved devices to connect. |
| Thunderbolt Firmware Update | Check for and update Thunderbolt firmware to ensure compatibility and performance. |
| Thunderbolt Driver Update | Check for and update Thunderbolt drivers to resolve any compatibility issues. |
| Power Delivery Negotiation | Configure the Power Delivery negotiation process for Thunderbolt devices. Options include: Default, USB Power Delivery, and Thunderbolt Power Delivery. |
Resolving Display and Audio Connector Problems
- Check the physical connections:
- Ensure all display and audio cables are securely plugged into the appropriate ports on the Dell Thunderbolt Dock WD19TB and the connected devices.
- Inspect the cables for any signs of damage or wear, such as frayed wires or bent pins.
- If using an adapter or converter, ensure it is compatible with the dock and the connected devices.
- Verify the display settings:
- On your computer, open the display settings by right-clicking on the desktop and selecting “Display settings” (Windows) or “System Preferences” > “Displays” (Mac).
- Ensure the correct display resolution, refresh rate, and orientation are selected for each connected display.
- Try changing the display settings to see if it resolves the issue.
- Update the graphics drivers:
- Visit the Dell support website or the website of your computer’s manufacturer to download the latest graphics drivers for your specific model.
- Install the downloaded drivers according to the provided instructions.
- Restart your computer to apply the driver updates.
- Reset the dock:
- Disconnect all cables from the Dell Thunderbolt Dock WD19TB.
- Power off the dock by pressing and holding the power button for at least 10 seconds.
- Reconnect all cables to the dock.
- Power on the dock and check if the display and audio connectors are working properly.
- Try a different cable or adapter:
- If possible, borrow a known working cable or adapter to replace the existing one.
- Connect the new cable or adapter between the dock and the connected device.
- Check if the display and audio connectors function correctly with the new cable or adapter.
F.A.Qs
How do I reset my Thunderbolt dock?
To reset your Thunderbolt dock, follow these steps:
1. Unplug your computer from the dock by disconnecting the USB-C cable.
2. Disconnect the dock from the power source or AC adapter.
3. Press and hold the power button on the top of the dock for 15-30 seconds.
4. Plug the power adapter back into the dock.
5. Wait for about 15-30 seconds for the dock to start up before proceeding.
How do I reset my Dell Thunderbolt dock?
To reset your Dell Thunderbolt dock, first disconnect the dock USB-C or Thunderbolt cable from your computer. Then, unplug the AC power from the WD19 series dock. Next, drain any remaining power by holding the power button for 30 seconds. After that, plug the AC power back into the dock. You should see the dock LED on the power button blink three times.
Why is my Dell dock not lighting up?
Your Dell dock may not be lighting up because there could be an issue with the connection or the dock may not have power. To resolve this, try reseating the cable to the port on your computer. Also, check the AC Adapter LED to ensure it is providing power. Additionally, perform a hard reset procedure and confirm that the self-test passes.
Why is my Dell docking station not powering on?
Your Dell docking station may not be powering on due to a faulty AC adapter. To troubleshoot, disconnect all cables from the docking station, including the AC adapter. Check the LED on the AC adapter plug – if it is off, try using a known-good AC adapter.
