Initial Troubleshooting Steps
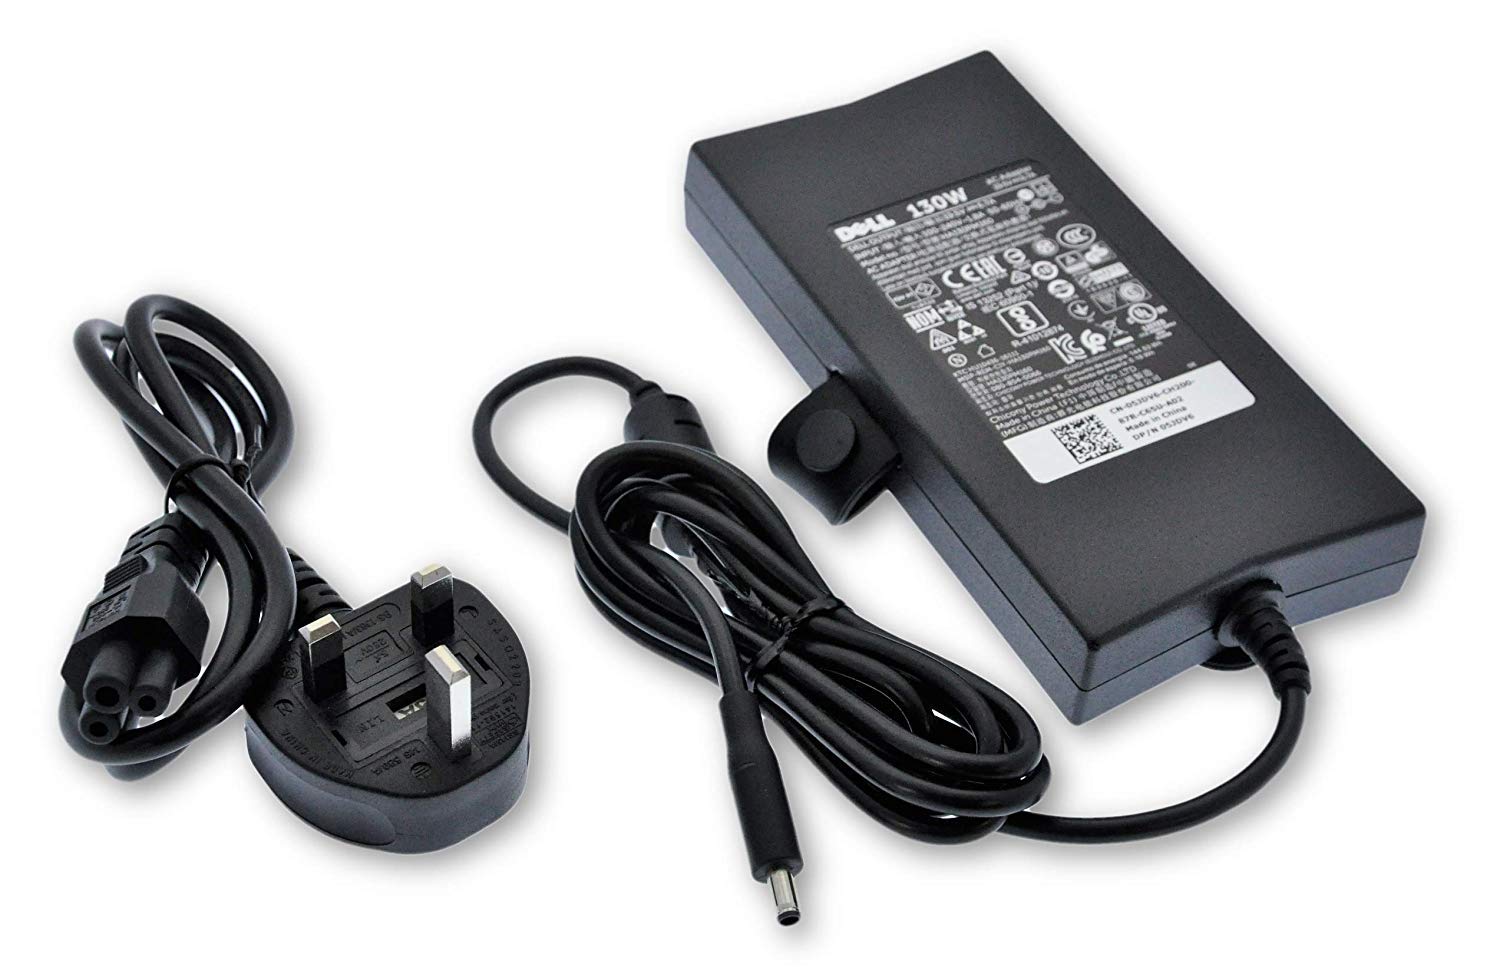
– Check the AC adapter and ensure it is properly connected to both the laptop and the power source.
– Inspect the power cable for any visible damage or fraying.
– Try using a different electrical outlet or power source to rule out any issues with the current outlet.
– If possible, try using a different AC adapter to see if the issue lies with the adapter itself.
– Restart the laptop and enter the BIOS settings by pressing the appropriate key during startup.
– Look for any settings related to power management or battery charging and make sure they are properly configured.
– Update the BIOS to the latest version if available.
– Check for any software updates for the operating system, especially if using Windows 10.
–
Power Cycle and Battery Tips
To fix the issue of a Dell XPS plugged in but not charging, you can try power cycling your laptop and following some battery tips. Here’s how:
1. Power Cycle: To reset the charging system, unplug your laptop from the power source and remove the battery (if possible). Press and hold the power button for about 30 seconds, then release it. Reinsert the battery (if removed) and plug your laptop back in.
2. Battery Tips: Ensure that the battery is properly connected and not loose. Check for any physical damage or corrosion on the battery and clean it if necessary. Also, make sure the charging port and cable are in good condition.
3. Software Check: Update your operating system, especially if you’re using Windows 10. Outdated software can sometimes cause charging issues. Additionally, check for any firmware updates for your Dell XPS model.
4. Power Settings: Adjust your power settings to optimize battery charging. Go to the Control Panel or Settings menu and navigate to the Power Options. Select a power plan that suits your needs, or customize the settings to balance performance and battery life.
5. Display Brightness: Reduce the screen brightness to conserve battery power. Lowering the brightness level can significantly extend the battery life of your Dell XPS.
Advanced Power Management Solutions
- Check the Power Adapter and Cable:
- Ensure that the power adapter is securely connected to both the wall outlet and the laptop’s power port.
- Inspect the power cable for any signs of damage or fraying. If any issues are found, consider replacing the cable.
- Try using a different power adapter and cable, if available, to rule out any potential issues with the current ones.
- Reset the Power Settings:
- Open the Power Options by searching for it in the Start menu or Control Panel.
- Select the High Performance power plan or create a custom power plan with the desired settings.
- Click on Change plan settings and then Change advanced power settings.
- Expand the Battery section and adjust the settings accordingly, ensuring that options like Battery Level and Low Battery Level are set appropriately.
- Click on Apply and OK to save the changes.
- Update the BIOS:
- Visit the Dell support website and enter the laptop’s model number to find the latest BIOS update.
- Download and install the BIOS update following the provided instructions.
- Restart the laptop after the update is complete and check if the charging issue is resolved.
- Run the Battery Diagnostics:
- Press F12 during the laptop’s startup to access the diagnostics menu.
- Select Diagnostics and then Run Tests.
- Choose Battery from the list of available tests.
- Follow the on-screen instructions to complete the battery diagnostics.
- Review the results and take appropriate action based on the provided information.
- Calibrate the Battery:
- Charge the laptop to 100% and keep it connected to the power source.
- Use the laptop normally, allowing the battery to discharge naturally until it reaches a critically low level.
- Allow the laptop to enter sleep or hibernation mode due to low battery.
- Leave the laptop in this state for a few hours to ensure the battery is fully drained.
- Connect the laptop to the power source again and let it charge to 100% without interruptions.
- Repeat this process once or twice to calibrate the battery.
FAQ
Why is my Dell laptop not charging when connected?
Your Dell laptop may not be charging when connected due to a few possible reasons. First, check for any physical damage or overheating in the AC adapter and cables, including the power cable. Additionally, inspect the pin inside the plug or adapter port to ensure it is not bent, broken, or damaged.
What to do if your computer is plugged in but the battery is not charging?
If your computer is plugged in but the battery is not charging, first check the power cable connection to ensure it is securely connected. If that doesn’t work, try unplugging and replugging the power cord.
Why is my Dell laptop not charging when plugged into the docking station?
Your Dell laptop may not be charging when plugged into the docking station due to a loose connection between the AC adapter and the docking station, a faulty AC adapter, or an old or damaged battery that needs to be replaced.
