In this article, I will guide you on how to effectively utilize CHKDSK to diagnose and resolve hard drive issues on Windows 10.
Introduction to CHKDSK
CHKDSK, also known as Check Disk, is a command-line tool in Windows 10 that helps repair and fix hard drive problems. It is used to scan and verify the integrity of the file system and file metadata on a disk, and it can also fix any errors that it finds.
To use CHKDSK, open a Command Prompt window by typing “cmd” in the Start menu search bar and selecting “Command Prompt” or “Command Prompt (Admin)” from the results. Alternatively, you can press Windows key + X and choose “Command Prompt” or “Command Prompt (Admin)” from the menu.
In the Command Prompt window, type “chkdsk” followed by the drive letter you want to check. For example, if you want to check the C: drive, you would type “chkdsk C:“. You can also add parameters to the command to customize the scan. For example, “chkdsk C: /f /r” will fix any errors it finds and recover readable information from bad sectors.
To schedule a disk check to run at the next system restart, add the parameter “/f” or “/r” to the command. For example, “chkdsk C: /f /r“. This is useful when you want to check the system drive, as it cannot be checked while the operating system is running.
CHKDSK can be used on both hard disk drives (HDDs) and solid-state drives (SSDs). It works with the NTFS and exFAT file systems, and it can be used to check both the system drive and additional drives.
By using CHKDSK regularly, you can detect and fix issues such as bad sectors, file system fragmentation, and disk partitioning problems. This helps ensure the health and performance of your hard drive and can prevent data loss and other issues.
Indications for Using CHKDSK
When encountering issues with your Windows 10 computer’s hard drive, using CHKDSK can help diagnose and repair problems. Here are some indications that may prompt you to use CHKDSK:
1. Slow Performance: If your computer is running slower than usual, CHKDSK can identify and fix file system errors that may be causing the slowdown.
2. Frequent Crashes: If your computer frequently crashes or freezes, running CHKDSK can detect and fix any issues with the hard drive that may be causing these problems.
3. File System Corruption: If you are experiencing issues accessing or opening files, CHKDSK can help repair file system corruption, ensuring that your files are accessible and intact.
4. Bad Sectors: CHKDSK can locate and repair bad sectors on your hard drive. Bad sectors are areas of the disk that are damaged and can cause data loss or system instability.
5. Disk Errors: If you encounter error messages related to disk errors or disk corruption, running CHKDSK can help identify and fix these errors, ensuring the health and reliability of your hard drive.
To use CHKDSK, follow these steps:
1. Open Command Prompt: Press the Windows key, type “cmd,” and press Enter to open the Command Prompt.
2. Run CHKDSK: In the Command Prompt window, type “chkdsk [drive letter]: /f /r” and press Enter. Replace “[drive letter]” with the letter assigned to the drive you want to check.
3. Schedule Disk Check: If you want to schedule CHKDSK to run at the next system startup, type “chkdsk [drive letter]: /f /r /x” and press Enter. This will ensure that CHKDSK runs the next time you boot your computer.
Remember to replace “[drive letter]” with the appropriate drive letter.
By using CHKDSK, you can effectively diagnose and repair hard drive problems, improving the performance and reliability of your Windows 10 computer.
Running CHKDSK through Various Methods
- Open Command Prompt as an administrator.
- Type chkdsk /f /r and press Enter.
- Enter Y when prompted to schedule the disk check for the next restart.
- Restart your computer.
- The disk check will be performed before Windows starts.
Method 2: Using File Explorer
- Open File Explorer (Windows key + E).
- Right-click on the drive you want to check.
- Select Properties.
- Go to the Tools tab.
- Under the “Error checking” section, click on Check.
- A dialog box will appear, click on Scan drive.
- The disk check will begin and may take some time.
Method 3: Using Windows PowerShell
- Open Windows PowerShell as an administrator.
- Type Repair-Volume -DriveLetter C -Scan (replace C with the drive letter you want to scan) and press Enter.
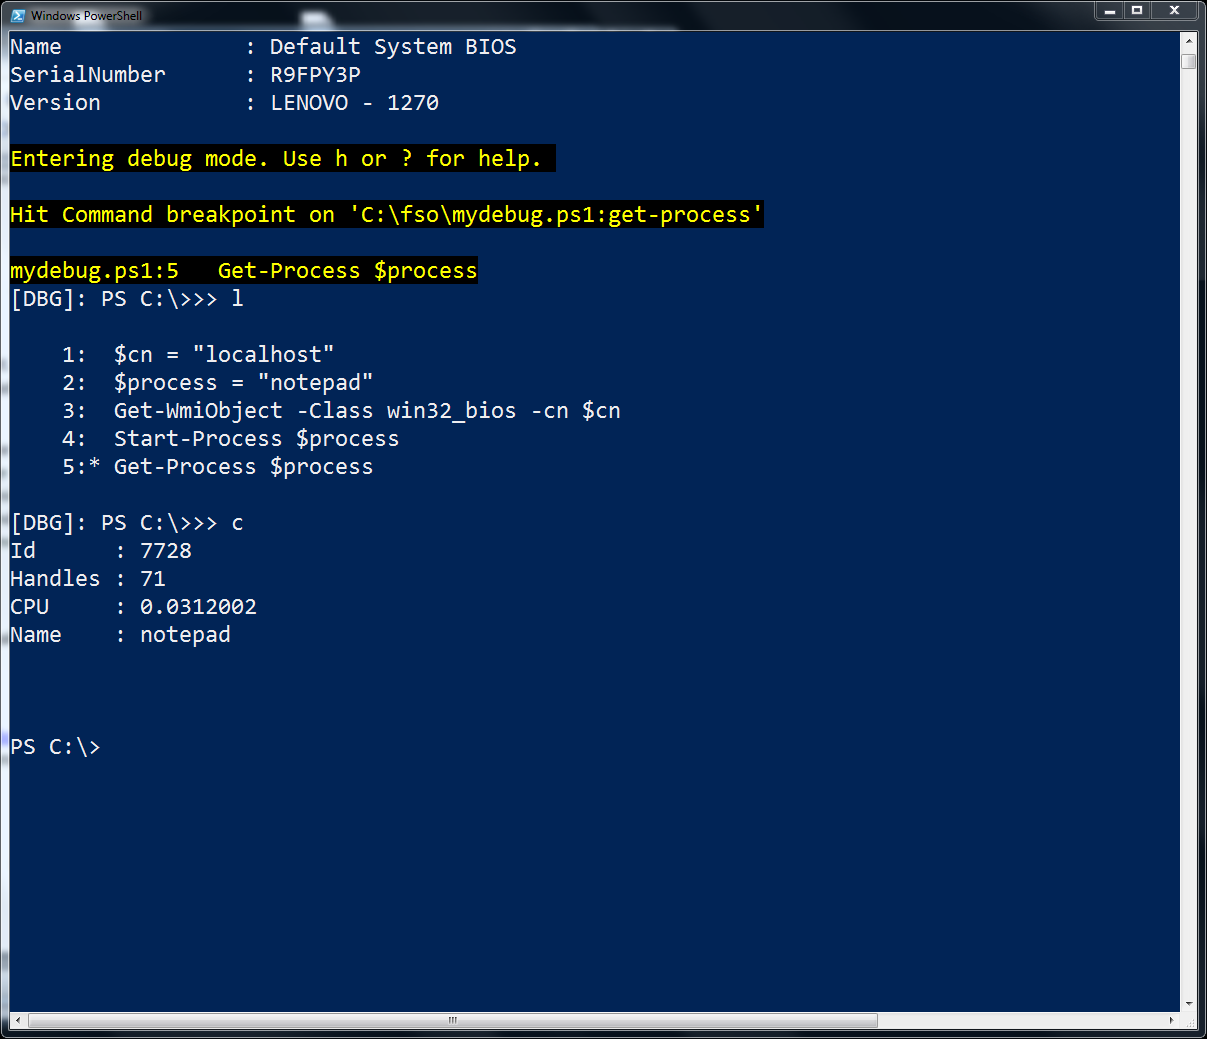
- The disk check will start and may take a while to complete.
How to Execute CHKDSK Using File Explorer

To execute CHKDSK using File Explorer in Windows 10, follow these steps:
1. Open File Explorer by either clicking on the folder icon in the taskbar or pressing the Windows key + E on your keyboard.
2. In File Explorer, locate the drive you want to run CHKDSK on. This could be a hard drive, solid-state drive, or a USB drive.
3. Right-click on the drive and select “Properties” from the context menu.
4. In the Properties window, go to the “Tools” tab.
5. Under the “Error checking” section, click on the “Check” button.
6. If prompted, select the option to “Scan and repair drive”.
7. Windows will now scan the drive for errors and repair any issues it finds. This process may take some time, depending on the size and condition of the drive.
8. Once the scan is complete, you will see a summary of the results. If any errors were found and fixed, you will be notified.
Remember to save your work and close any open files or programs before running CHKDSK, as it may require a restart to complete the scan and repair process.
Please note that while CHKDSK is a useful tool for fixing hard drive problems, it may not be able to repair all issues. If you continue to experience problems with your hard drive, it’s recommended to seek professional help or consider replacing the drive if it’s failing.
Additionally, if you prefer using the command-line interface to execute CHKDSK, you can open a Command Prompt window with administrative privileges by typing “cmd” into the Start menu, right-clicking on “Command Prompt” or “Command Prompt (Admin)”, and selecting “Run as administrator”. From there, you can use the “chkdsk” command with various parameters to perform disk checks and repairs.
Initiating CHKDSK via Command Prompt
To initiate CHKDSK via Command Prompt, follow these steps:
1. Open Command Prompt: Press the Windows key + R to open the Run dialog box. Type “cmd” and press Enter to launch Command Prompt.
2. Run CHKDSK command: In the Command Prompt window, type “chkdsk” followed by the drive letter you want to check. For example, if you want to check drive C, type “chkdsk C:“.
3. Choose parameters (optional): You can add parameters to customize the CHKDSK process. For example, “/f” fixes errors automatically, “/r” locates bad sectors and recovers readable information, and “/x” forces the volume to dismount before the process begins.
4. Start CHKDSK: Press Enter to start the CHKDSK process. Depending on the size of the drive and the issues found, it may take a while to complete.
5. View results: Once CHKDSK completes, it will display a summary of the scan results. If any errors or issues were found, CHKDSK will attempt to fix them.
It’s important to note that running CHKDSK requires administrative privileges. Therefore, make sure you run Command Prompt as an administrator.
Performing CHKDSK from Installation Media
If you’re experiencing hard drive problems on your Windows 10 computer, you can use CHKDSK to repair and fix them. To perform CHKDSK from installation media, follow these steps:
1. Insert your Windows 10 installation media, such as a USB or DVD, into your computer.
2. Restart your computer and boot from the installation media. This may require changing the boot order in your computer’s BIOS settings.
3. When prompted, choose your language preferences and click “Next.”
4. On the next screen, click “Repair your computer.”
5. Select “Troubleshoot” and then “Advanced options.”
6. Choose “Command Prompt” to open the command-line interface.
7. In the command prompt, type the following command and press Enter: chkdsk C: /f (replace “C:” with the drive letter of the partition you want to check).
8. CHKDSK will start scanning the drive for errors and fixing any issues it finds. This process may take some time.
9. Once CHKDSK completes, you can restart your computer and boot into Windows normally.
Performing CHKDSK from installation media allows you to repair hard drive problems even if your operating system is not bootable. It can help fix issues such as bad sectors, file system fragmentation, and disk errors.
Remember to replace “C:” with the correct drive letter for the partition you want to check. You can also use additional parameters with the CHKDSK command to customize the scan, such as /r to locate and repair bad sectors.
Using CHKDSK from installation media is a useful method to repair and fix hard drive problems on your Windows 10 computer.
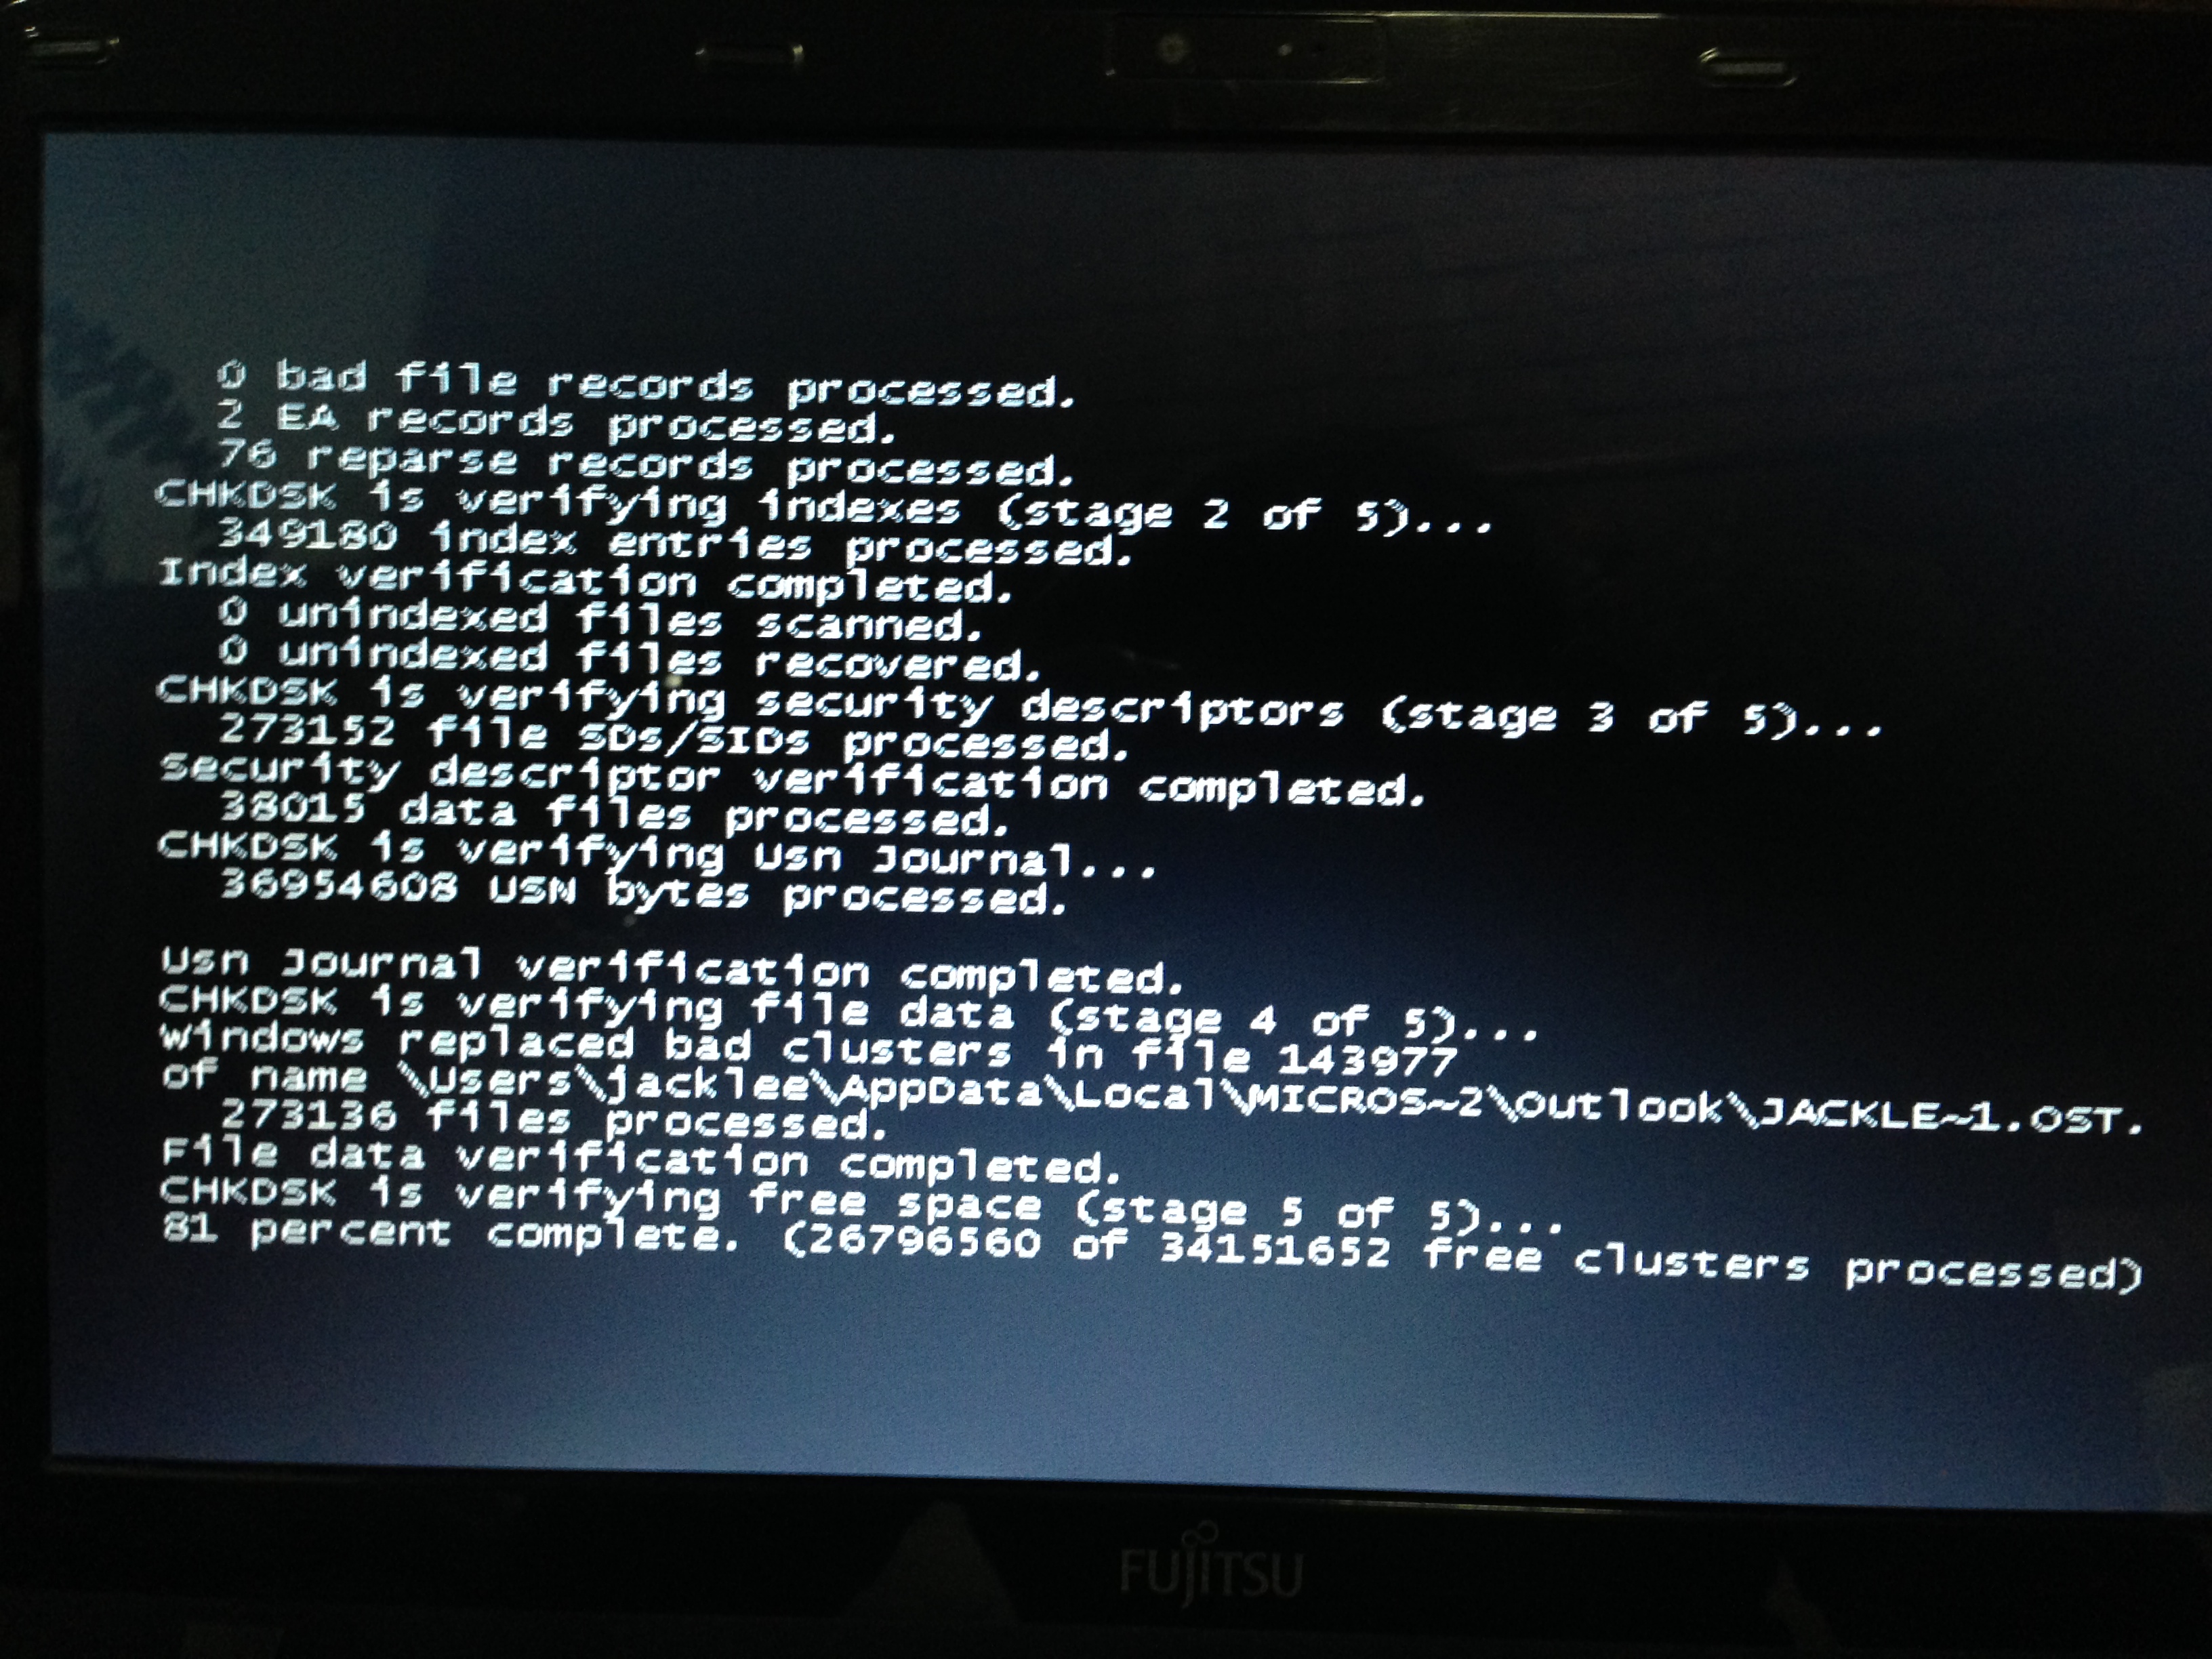
Compatibility with Older Windows Versions
![]()
If you’re using an older version of Windows, such as Windows 7 or Windows 8, you may be wondering if CHKDSK is compatible. The good news is that CHKDSK can be used and scheduled for disk check on these older Windows versions as well.
To use CHKDSK on Windows 7 or Windows 8, you can follow the same steps as mentioned earlier in this article. Simply open the Command Prompt by pressing the Windows key + R, then typing “cmd.exe” and pressing Enter. From there, you can use the CHKDSK command with the desired parameters to repair and fix hard drive problems.
For scheduling a disk check on Windows 7 or Windows 8, you can follow a similar process. Open the Command Prompt as an administrator and use the “chkntfs /c” command to schedule a disk check on the next system restart.
It’s important to note that the CHKDSK command and its parameters remain the same across different Windows versions. So, whether you’re using Windows 10, Windows 7, or Windows 8, you can still use CHKDSK to repair and fix hard drive problems.
By being compatible with older Windows versions, CHKDSK ensures that users can effectively troubleshoot and resolve hard disk drive issues regardless of the operating system they are using. This compatibility allows for a seamless experience in maintaining and optimizing disk storage.
Modifying a Scheduled CHKDSK Operation
To modify a scheduled CHKDSK operation in Windows 10, follow these steps:
1. Open the Command Prompt by pressing the Windows key + R, typing “cmd,” and pressing Enter.
2. In the Command Prompt window, type “chkntfs /x C:” and press Enter. Replace “C:” with the drive letter you want to modify.
3. This command will exclude the specified drive from being checked during the next system startup. You will see a message confirming the exclusion.
4. To modify the scheduled CHKDSK operation for a different drive, repeat step 2 with the appropriate drive letter.
5. If you want to include the drive in the scheduled CHKDSK operation again, type “chkntfs /d” followed by the drive letter and press Enter. This will reset the exclusion.
Comprehensive List of CHKDSK Commands
| Command | Description |
|---|---|
| /F | Fixes errors on the disk. It automatically fixes errors without prompting the user. |
| /R | Locates bad sectors and recovers readable information. It also implies the functionality of /F. |
| /X | Forces the volume to dismount before the scan begins. This is required for system volumes or drives that are currently in use. |
| /B | Re-evaluates bad clusters on the volume (implies /R). |
| /V | Displays the full path and name of every file on the disk (implies /R). |
| /I | Performs a less rigorous check of index entries (implies /R). |
| /C | Skip directory corruption checks, useful when running CHKDSK on an external drive. |
| /L | Size of the log file in kilobytes (KB) where CHKDSK stores results of its scan (default is 65536 KB). |
| /S | Scans the drive for Windows system files and attempts to recover any corrupted versions. |
Common CHKDSK Issues and Resolutions
- CHKDSK stuck at a certain percentage:
- Restart your computer and try running CHKDSK again.
- Run CHKDSK in Safe Mode.
- Use the Command Prompt to run CHKDSK with specific parameters.
- CHKDSK unable to complete the scan:
- Check your hard drive for errors and bad sectors using the built-in Windows Error Checking tool.
- Run a third-party disk diagnostic tool to identify and repair any issues with the hard drive.
- Back up your important data and consider replacing the hard drive if the issues persist.
- CHKDSK gets stuck in an endless loop:
- Cancel the CHKDSK process and restart your computer.
- Disable any third-party disk optimization or antivirus software that may interfere with CHKDSK.
- Run CHKDSK from the Command Prompt using specific parameters to bypass the loop.
- CHKDSK reports “Windows cannot run disk checking on this volume because it is write-protected”:
- Remove any write protection settings on the disk or volume.
- Ensure you have the necessary permissions to run CHKDSK on the volume.
- Disable any third-party software that may be preventing write access to the disk or volume.
Understanding and Resolving Disk Errors
CHKDSK is a command-line tool that helps you check and repair disk errors on your hard drive. It scans your drive for any issues and fixes them automatically. Here’s how you can use and schedule CHKDSK to repair and fix hard drive problems:
1. Open the Command Prompt:
– Press the Windows key + R to open the Run dialog box.
– Type cmd and press Enter to open the Command Prompt.
2. Run CHKDSK to check and repair errors:
– In the Command Prompt, type chkdsk C: /f and press Enter.
– Replace “C:” with the drive letter of the disk you want to check.
3. Schedule CHKDSK to run at startup:
– In the Command Prompt, type chkdsk C: /f /r and press Enter.
– This will schedule CHKDSK to run the next time you restart your computer.
4. Restart your computer:
– Close the Command Prompt.
– Restart your computer for CHKDSK to start scanning and repairing errors.
5. Monitor the progress:
– During the scan, CHKDSK will display a progress bar indicating the percentage of completion.
– It may take some time depending on the size of your hard drive and the number of errors found.
6. Review the scan results:
– After the scan is complete, CHKDSK will display a summary of the scan results.
– If any errors were found and fixed, CHKDSK will provide details.
By using CHKDSK and scheduling regular disk checks, you can prevent potential hard drive failure and ensure the integrity of your files and data.
Preventing Data Corruption and Loss

Data corruption and loss can be a major headache, but with the right precautions, you can minimize the risk. Here are some tips to help you prevent data corruption and loss on your Windows 10 system.
1. Regularly run CHKDSK: CHKDSK is a powerful built-in Windows tool that can help detect and fix errors on your hard drive. Running CHKDSK on a regular basis can help prevent data corruption and loss. To run CHKDSK, open a Command Prompt window as an administrator and type “chkdsk /f” followed by the drive letter you want to check (e.g., “chkdsk /f C:“). This will schedule a disk check and fix any errors it finds.
2. Schedule automatic disk checks: To make sure your hard drive is regularly checked for errors, you can schedule automatic disk checks. Open a Command Prompt window as an administrator and type “chkntfs /c C:“, replacing “C:” with the drive letter you want to schedule the check for. This will schedule the disk check to run every time you start your computer.
3. Backup your data: One of the most important steps in preventing data loss is to regularly backup your important files. Use an external hard drive, cloud storage, or any other reliable backup solution to regularly make copies of your data. This way, even if your hard drive fails or becomes corrupted, you’ll still have a backup of your important files.
4. Keep your system updated: Regularly updating your Windows 10 system can help prevent data corruption and loss. Updates often include bug fixes and security patches that can improve the stability and reliability of your system.
5. Use reliable antivirus software: Installing and regularly updating a reliable antivirus software can help protect your system from malware and viruses that can cause data corruption. Consider using reputable software like Avast to ensure your system is protected.
Enhancing PC Performance and Maintenance
To enhance PC performance and maintenance, it is important to regularly perform disk checks using CHKDSK on your Windows 10 system. CHKDSK is a powerful tool that can help repair and fix hard drive problems. Here’s how you can use and schedule disk checks in Windows 10:
1. Open the Command Prompt by pressing the Windows key + R, typing “cmd,” and pressing Enter.
2. In the Command Prompt window, type “chkdsk” followed by the drive letter you want to check (e.g., “C:”) and press Enter.
3. CHKDSK will start scanning the drive for errors and fix them automatically. This process may take some time, so be patient.
4. If you want to schedule disk checks to run automatically, use the “/f” parameter. For example, type “chkdsk C: /f” to schedule a disk check on drive C: during the next system restart.
5. You can also use the “/r” parameter to locate bad sectors on the hard drive and recover readable information. For example, type “chkdsk C: /r” to perform a thorough scan of drive C:.
6. To check and repair errors on a specific file or folder, use the “/scan” parameter. For example, type “chkdsk C: /scan” to check the entire drive C:.
7. Once the disk check is complete, you will receive a summary of the scan results, including any errors that were fixed.
Regularly running disk checks with CHKDSK can help prevent hard drive failure, improve performance, and ensure the integrity of your computer files. Remember to schedule disk checks periodically to maintain the health of your system.
Note: CHKDSK can be used with both NTFS and exFAT file systems, and it works on both hard disk drives (HDDs) and solid-state drives (SSDs).
F.A.Q.
How to use chkdsk in Windows 10?
To use chkdsk in Windows 10, you can follow these steps:
– Start by clicking on the Start button and then selecting My Computer.
– Right-click on the drive that you want to perform a check disk on and choose Properties.
– In the Properties window, click on the Tools tab.
– Under the Error Checking section, click on the Check button.
How do I check my disk drive?
To check your disk drive, start by clicking on Start and then My Computer. Right-click on the drive you want to check and select Properties. In the Properties window, click on the Tools tab and then click on Check under error checking. Finally, click the Start button to initiate the process.
Does chkdsk fix corrupt files?
No, chkdsk does not fix corrupt files. It is not a data recovery tool and does not repair or recover lost or damaged files. However, it can help detect and repair formatting issues with your hard drive.
How do I run a disk check?
To run a disk check, click on “Start,” type “cmd,” and select “Run as administrator.” In the command prompt, enter a CHKDSK command with parameters like “/f,” “/r,” and “/x” to scan and repair errors. If you only want to scan for drive errors, type “chkdsk” and press “Enter.”
