In this article, we will explore effective methods to resolve the issue of 100% disk usage in Windows 10.
Restart Your Device

Restarting your device is a simple yet effective solution to fix the 100% disk usage issue in Windows 10. This can help resolve any temporary glitches or background processes that may be causing the problem.
To restart your device, follow these steps:
1. Click on the Start menu in the bottom left corner of your screen.
2. From the Start menu, click on the Power button.
3. In the power menu that appears, select Restart.
4. Wait for your device to shut down and restart. This may take a few moments.
5. Once your device has restarted, check if the 100% disk usage issue has been resolved.
If restarting your device doesn’t fix the problem, you may need to perform additional troubleshooting steps.
Update Windows
![]()
1. Open the Start menu and type “Windows Update” in the search bar. Click on “Windows Update settings” from the search results.
2. In the Windows Update settings window, click on “Check for updates” to see if there are any available updates for your system. If there are updates, download and install them.
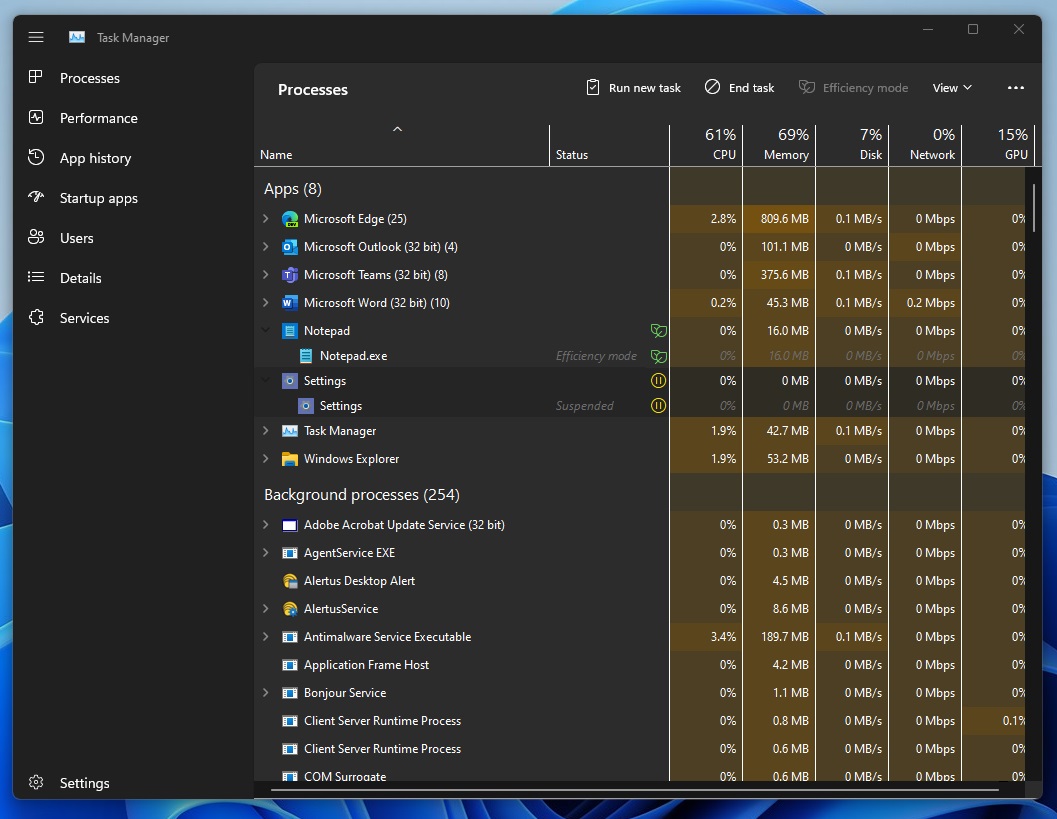
3. If you have already installed the latest updates and are still experiencing high disk usage, you can try disabling certain background processes. Press Ctrl + Shift + Esc to open the Task Manager.
4. In the Task Manager window, click on the “Processes” tab. Look for any processes that are using a high percentage of disk usage. Right-click on the process and select “End task” to stop it.
5. Another possible solution is to update your device drivers. Press Win + X and select “Device Manager” from the context menu.
6. In the Device Manager window, expand the categories and look for any devices with a yellow exclamation mark. Right-click on the device and select “Update driver” to search for the latest driver updates.
7. If none of the above solutions work, you can try disabling Windows Search temporarily. Open the Start menu and type “Services” in the search bar. Click on “Services” from the search results.
8. In the Services window, scroll down and find “Windows Search” in the list. Right-click on it and select “Properties.”
9. In the Windows Search Properties window, click on the “Stop” button to temporarily disable the service. Click “Apply” and then “OK.”
10. Restart your computer and check if the disk usage has improved.
Reduce Startup Apps
- Open Task Manager by pressing Ctrl+Shift+Esc
- The Task Manager window will open.
- Click on the Startup tab at the top of the Task Manager window.
- A list of all the startup apps will be displayed.
- Identify the apps that you want to disable from starting up with Windows.
- Look for apps that you don’t use frequently or that are not essential for your computer’s startup process.
- Right-click on the app you want to disable and select Disable.
- This will prevent the app from starting up when you boot your computer.
- Repeat step 5 for any other apps you want to disable.
- If there are multiple apps you want to disable, go through the list and disable them one by one.
- Close the Task Manager window.
- Click on the “X” button at the top right corner of the Task Manager window to close it.
- Restart your computer.
- This will apply the changes you made and prevent the disabled apps from starting up.
Update Device Drivers
1. Open the Device Manager by pressing the Windows key + X and selecting “Device Manager” from the context menu.
2. In the Device Manager window, expand the categories to find the device drivers you want to update. Common categories to check include “Display adapters,” “Network adapters,” and “Disk drives.”
3. Once you’ve located the device driver you want to update, right-click on it and select “Update driver” from the context menu.
4. Choose the option to search automatically for updated driver software. Windows will then scan your computer and the internet for the latest driver version.
5. If Windows finds an updated driver, it will automatically download and install it. Follow any on-screen instructions that may appear during the installation process.
6. Repeat steps 3-5 for any other device drivers you want to update.
7. After updating all necessary device drivers, restart your computer to apply the changes.
Updating device drivers can help resolve compatibility issues and improve performance. It ensures that your operating system can communicate effectively with your hardware components.
Remember to periodically check for driver updates to keep your system running smoothly.
Note: If you’re experiencing persistent disk usage issues after updating your device drivers, further troubleshooting may be required. Consider checking for malware infections, disabling unnecessary background processes, or optimizing your virtual memory settings.
For more detailed troubleshooting steps, refer to other sections of this article or consult Microsoft’s official documentation.
Keep in mind that these instructions specifically apply to Windows 10. The process may differ slightly for other versions of Windows.
Check for Malware
If you’re experiencing 100% disk usage on your Windows 10 computer, malware could be the culprit. Malicious software can cause excessive disk activity, slowing down your system and consuming valuable resources. To fix this issue, follow these steps:
1. Open Task Manager: Press Ctrl + Shift + Esc to open the Task Manager. Alternatively, right-click on the taskbar and select “Task Manager” from the menu.
2. Check the Disk Usage: In the Task Manager window, click on the “Processes” tab. Look for any processes that are using a high percentage of disk usage. If you see any suspicious or unfamiliar processes, it’s possible that malware is causing the problem.
3. Scan for Malware: To check for malware, use a reliable antivirus software such as Microsoft Defender Antivirus. Open the antivirus program and perform a full system scan. If any malware is detected, follow the software’s instructions to remove it.
4. Disable Background Processes: Some applications and services run in the background, consuming disk resources. To disable unnecessary background processes, go to the “Startup” tab in the Task Manager. Right-click on any unwanted processes and select “Disable”.
5. Update Windows and Drivers: Outdated software and drivers can also cause disk usage issues. Make sure your Windows 10 is up to date by going to Settings > Update & Security > Windows Update. Additionally, update your device drivers by visiting the manufacturer’s website or using a driver update tool.
Clean Junk Files
1. Open the Task Manager by pressing Ctrl + Shift + Esc.
2. Go to the “Processes” tab and look for any processes that are using a high amount of disk usage.
3. Right-click on the process and select “End Task” to stop it.
4. Next, open the “Details” tab in Task Manager and look for any suspicious or unnecessary processes.
5. Right-click on these processes and select “End Task” as well.
6. Now, open the Windows Start menu and type “Disk Cleanup” in the search bar.
7. Click on the “Disk Cleanup” app that appears.
8. Select the drive you want to clean (usually the C: drive) and click “OK.”
9. Check the boxes next to the types of files you want to delete, such as temporary files, system files, and Recycle Bin files.
10. Click “OK” to start the cleanup process.
11. Once the cleanup is complete, restart your computer.
By following these steps, you can effectively clean junk files and reduce the disk usage on your Windows 10 system. This should help improve system performance and resolve the 100% disk usage issue.
Change Energy Options
| Change Energy Options |
|---|
|
Step 1: Click on the Start menu and select Control Panel. |
|
Step 2: In the Control Panel, click on Hardware and Sound. |
|
Step 3: Under the Power Options section, click on Change power-saving settings. |
|
Step 4: On the Power Options window, select the High performance power plan. |
|
Step 5: Click on Change plan settings next to the High performance plan. |
|
Step 6: Adjust the Turn off the display and Put the computer to sleep settings to desired values, or set them to Never to keep the disk active. |
|
Step 7: Click on Save changes to apply the new power settings. |
Disable Superfetch Service
To disable the Superfetch service in Windows 10 and fix 100% disk usage, follow these steps:
1. Open the Task Manager by pressing Ctrl+Shift+Esc.
2. Click on the “Services” tab.
3. Scroll down and locate the “SysMain” service.
4. Right-click on it and select “Properties”.
5. In the Properties window, go to the “General” tab.
6. Under the “Startup type” section, select “Disabled”.
7. Click on “Apply” and then “OK” to save the changes.
Disabling the Superfetch service can help resolve high disk usage issues in Windows 10. This service is responsible for preloading frequently used applications into memory to improve performance. However, in some cases, it can cause excessive disk activity and slow down the system.
By following the steps above, you can disable the Superfetch service and potentially alleviate the 100% disk usage problem. Remember to only disable this service if you are experiencing disk usage issues and have tried other troubleshooting methods without success.
Note that the Superfetch service is known as “SysMain” in Windows 10. In previous versions of Windows, it was called “Superfetch”. The steps provided above are specifically for Windows 10.
If you’re using Windows 11, the process may vary slightly, so it’s best to refer to updated guides specific to that operating system.
Keep in mind that disabling the Superfetch service may have an impact on overall system performance, especially when launching applications or accessing frequently used files. If you notice any negative effects, you can always re-enable the service by following the same steps and selecting “Automatic” or “Manual” as the startup type.
Reset Virtual Memory
1. Open the Start menu and search for “System.” Click on “System” from the search results.
2. In the System window, click on “Advanced system settings” on the left-hand side.
3. In the System Properties window, under the Advanced tab, click on the “Settings” button in the Performance section.
4. In the Performance Options window, go to the Advanced tab and click on the “Change” button in the Virtual memory section.
5. Uncheck the box that says “Automatically manage paging file size for all drives.”
6. Select the drive where your Windows 10 is installed (usually the C: drive) and choose the “Custom size” option.
7. Enter the initial and maximum size for the virtual memory. You can use the recommended values provided or set a custom size based on your system’s requirements. It is generally suggested to set the initial size to be equal to the recommended value and the maximum size to be twice the initial size.
8. Click on the “Set” button and then click on “OK” to apply the changes.
9. Restart your computer for the changes to take effect.
Resetting virtual memory can help resolve high disk usage issues in Windows 10 by optimizing the way your computer uses its memory resources. By manually setting the virtual memory size, you can ensure that your system has enough space to handle memory paging efficiently.
Remember to follow these steps carefully and only make changes if you are confident in your technical abilities. If you’re unsure or uncomfortable with making these changes, it’s always a good idea to seek assistance from a knowledgeable friend or a professional.
If you continue to experience high disk usage after resetting virtual memory, it could be indicative of other underlying issues. In such cases, it may be advisable to consult Microsoft support or seek further technical assistance.
Perform a Disk Check
Performing a disk check can help resolve issues with 100% disk usage in Windows 10. Follow these steps:
1. Open the Command Prompt: Press the Windows key + R, type “cmd”, and press Enter.
2. Run the disk check command: In the Command Prompt window, type “chkdsk C: /f /r” and press Enter. Replace “C:” with the drive letter you want to check.
3. Confirm the disk check: If prompted, type “Y” and press Enter to schedule the disk check to run on the next system restart.
4. Restart your computer: Close any open programs and restart your computer. The disk check will start automatically during the boot process.
5. Wait for the disk check to complete: The disk check may take some time to finish, depending on the size of your hard drive and the number of errors found.
6. Review the disk check results: Once the disk check is complete, you’ll see a summary of any errors or issues that were found on your hard drive.
7. Take action based on the results: If any errors were found, you may need to repair or replace your hard drive. Consult with a professional if you’re unsure how to proceed.
Performing a disk check can help identify and resolve disk-related issues that may be causing high disk usage in Windows 10.
Disable Antivirus Software Temporarily
To temporarily disable antivirus software in Windows 10 and fix 100% disk usage, follow these steps:
1. Open the Start menu and search for “Windows Security.” Click on the Windows Security app to open it.
2. In the Windows Security app, click on “Virus & threat protection” in the left-hand menu.
3. Under “Virus & threat protection settings,” click on “Manage settings.”
4. Scroll down to the “Real-time protection” section and click on the toggle switch to turn it off. Confirm the action if prompted.
5. Now, open Task Manager by pressing “Ctrl + Shift + Esc” on your keyboard or by right-clicking on the taskbar and selecting “Task Manager.”
6. In Task Manager, click on the “Processes” tab.
7. Look for any processes related to your antivirus software. They may have names like “AVG,” “Avast,” or “McAfee.” Right-click on each antivirus process and select “End task” to stop them.
8. Close Task Manager and check if the disk usage has decreased. If it has, then the antivirus software was likely causing the issue. If not, there may be other factors contributing to the high disk usage.
Remember to re-enable your antivirus software after troubleshooting the disk usage issue. Leaving it disabled for an extended period can leave your computer vulnerable to malware and other security threats.
Please note that disabling antivirus software should only be done temporarily and for troubleshooting purposes. It is essential to have antivirus protection enabled to keep your computer and personal data safe from threats.
If you still experience high disk usage after disabling antivirus software, consider seeking further assistance or exploring other potential solutions.
Check for Corrupted System Files
| Step | Description |
|---|---|
| Step 1 | Press the Windows key + X and select “Command Prompt (Admin)” to open Command Prompt with administrative privileges. |
| Step 2 | In the Command Prompt window, type the following command and press Enter: sfc /scannow |
| Step 3 | Wait for the system file checker to complete the scan. It will automatically repair any corrupted system files it finds. |
| Step 4 | Once the scan is complete, restart your computer to apply the changes. |
Frequently Asked Questions
Why is my disk running at 100%?
Your disk may be running at 100% due to various factors such as malware, corruption, power issues, physical damage, or other reasons. It is important to address disk errors promptly to prevent data loss. Windows 10 will typically notify you if it detects a problem with your hard disk.
Why is my SSD at 100 active time?
Your SSD is at 100% active time because it is constantly reading and accessing data from the disk, causing the PCIE link to retrain frequently.
How do I free up disk space?
To free up disk space, you can perform a disk cleanup, uninstall unnecessary programs, remove unnecessary files, and store files in the cloud.
How do I lower my disk usage?
To lower your disk usage, consider updating Windows 10, disabling Superfetch, closing background applications, rebuilding the Windows Search index, repairing hard disk issues, deleting malfunctioning page files, deleting temporary files, and updating drivers.
