Facing DISM Error 87 on my Windows 7? Here’s how I resolved it.
Use the Correct DISM Command-Line Syntax
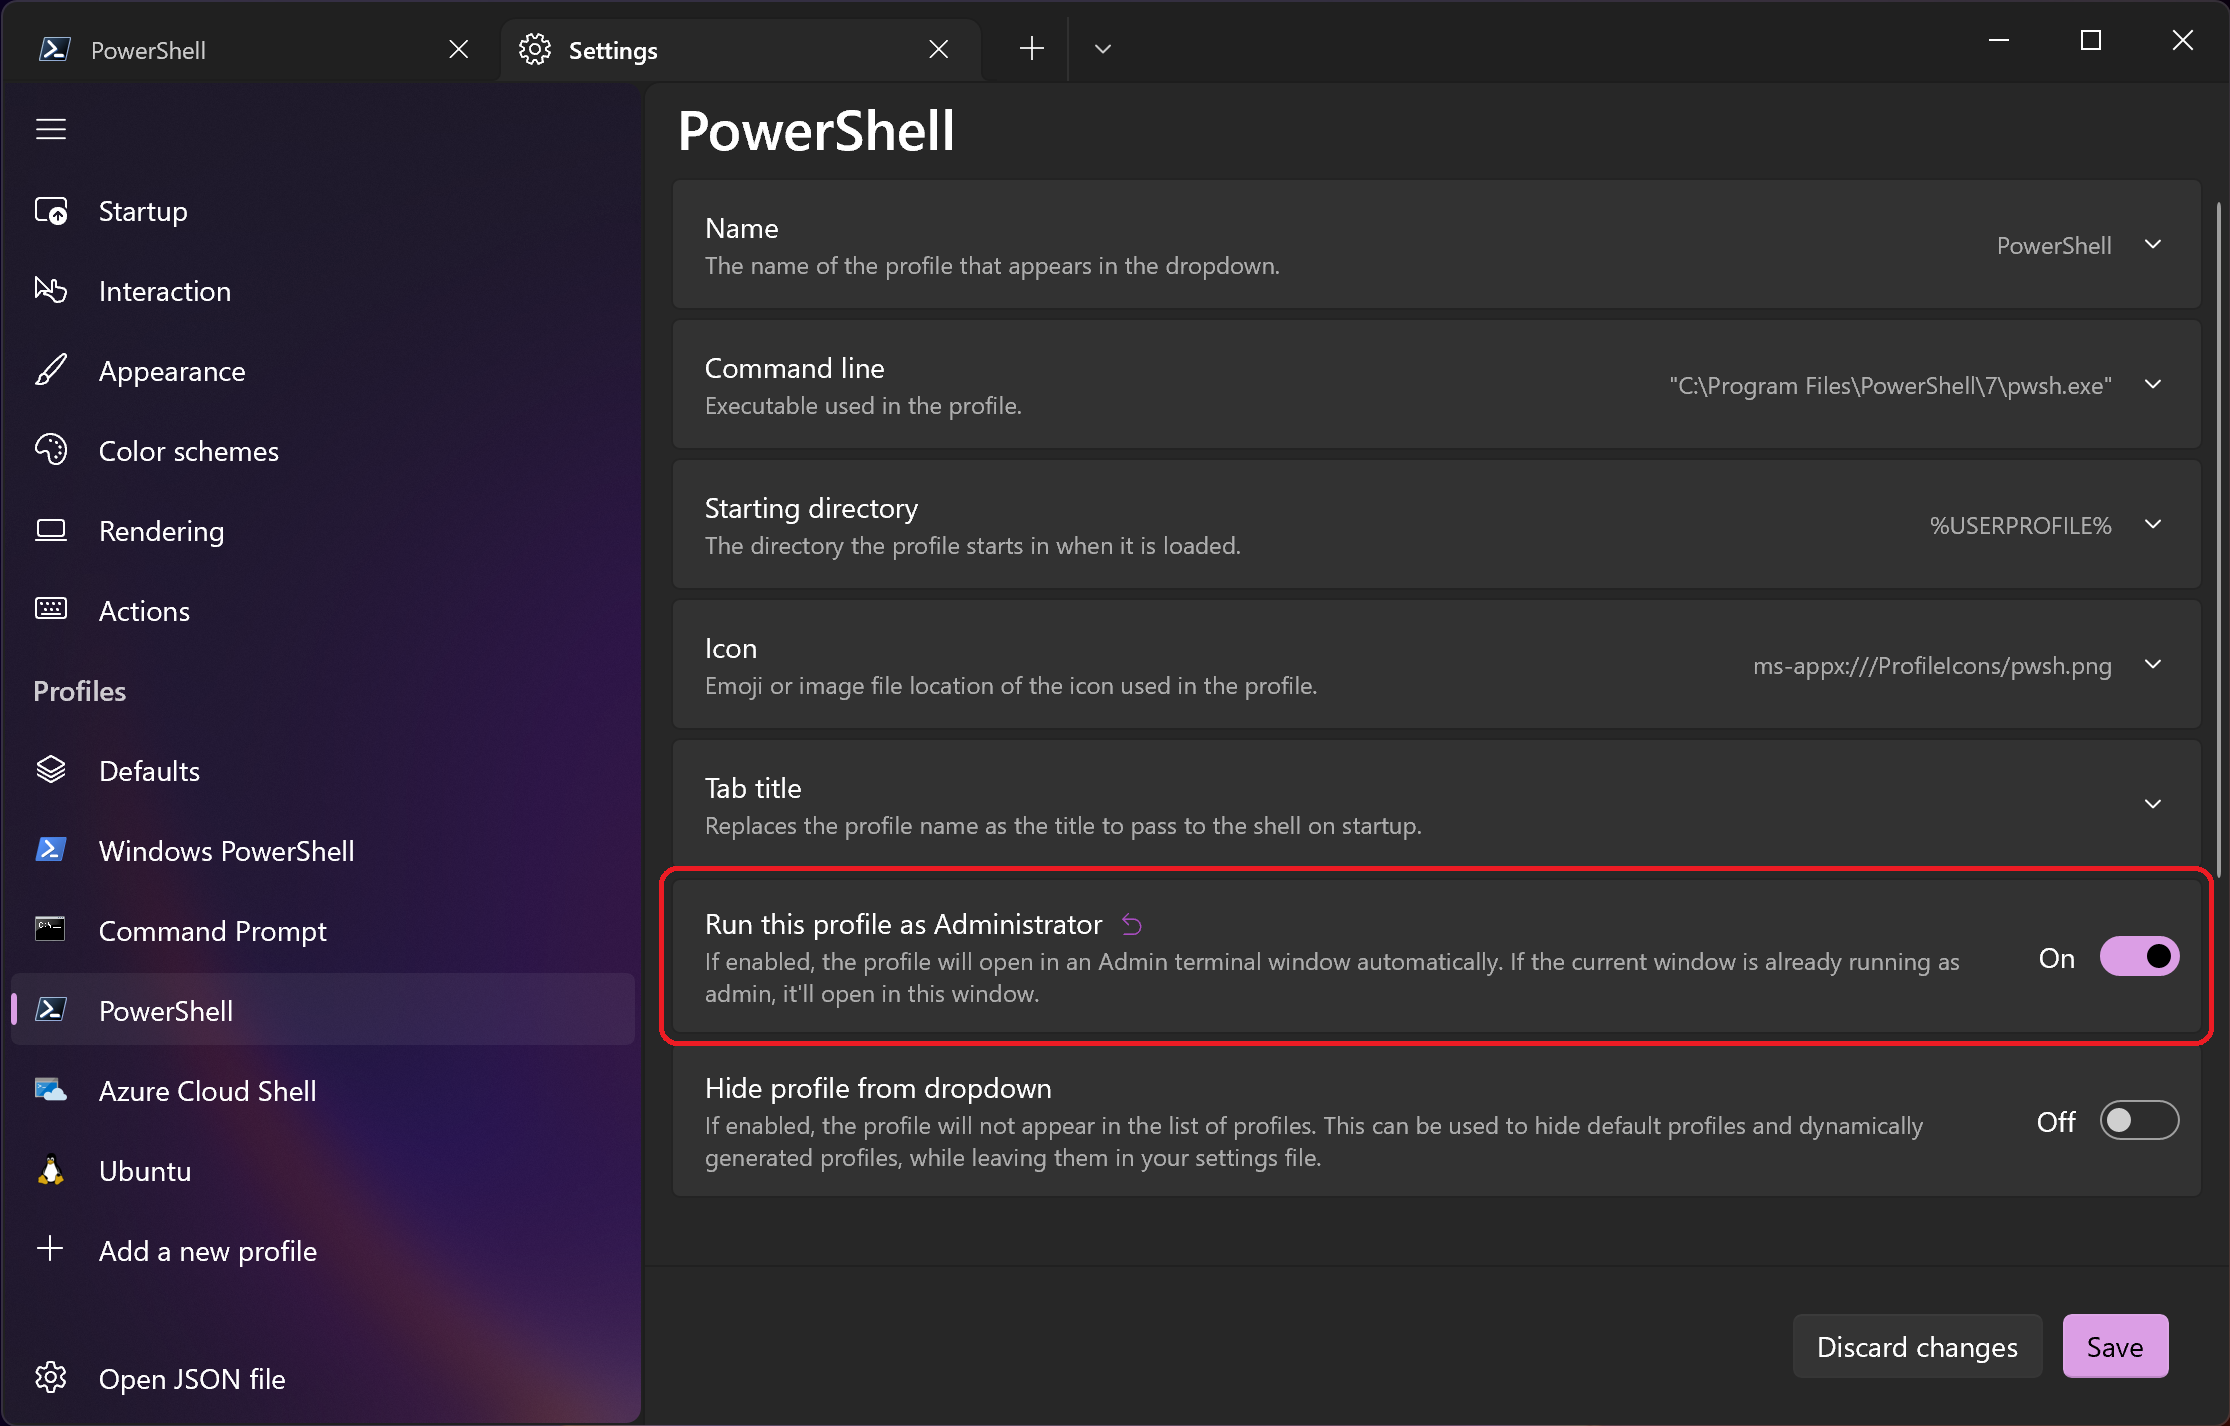
1. Open the Command Prompt with administrative privileges. You can do this by typing “cmd” in the Windows search bar, right-clicking on “Command Prompt,” and selecting “Run as administrator” from the context menu.
2. Once the Command Prompt opens, type the following command and press Enter: dism /online /cleanup-image /restorehealth
3. This command will initiate the DISM tool and scan for any corruption in the Windows image. It will automatically replace any damaged files with healthy copies from the Windows Update servers.
4. Wait for the scan to complete. This process may take some time, so be patient.
5. After the scan is finished, restart your computer and check if the DISM Error 87 is resolved.
Run Commands with Elevated Command Prompt
To fix DISM Error 87 on Windows 7, you can run commands with an elevated Command Prompt. Here’s how:
1. Press the Windows key on your keyboard to open the Start menu.
2. Type “cmd” (without quotes) to search for the Command Prompt.
3. Right-click on the Command Prompt result and select “Run as administrator” from the context menu.
4. When the Command Prompt opens, type “dism /online /cleanup-image /restorehealth” and press Enter.
5. Wait for the command to complete. This may take some time.
6. Once the command finishes, restart your computer.
By running the above command with an elevated Command Prompt, you can fix DISM Error 87 on Windows 7.
Implement Windows Update
![]()
1. Open the Command Prompt as an administrator by pressing the Windows key and typing “cmd”. Right-click on “Command Prompt” and select “Run as administrator”.
2. In the Command Prompt window, type “dism /online /cleanup-image /restorehealth” and press Enter. This command will scan your system for any corruption and attempt to repair it.
3. Wait for the DISM tool to complete the repair process. This may take some time, so be patient.
4. Once the repair process is finished, restart your computer.
5. After the restart, open the Command Prompt as an administrator again.
6. Type “sfc /scannow” and press Enter. This command will scan your system files for any issues and automatically fix them if possible.
7. Wait for the System File Checker to complete the scan and repair process.
8. Restart your computer once again.
9. After the restart, open the Windows Update settings by pressing the Windows key and typing “Windows Update”. Select “Windows Update settings” from the search results.
10. Click on “Check for updates” to manually check for any available updates.
11. If there are updates available, click on “Install updates” to start the installation process. Make sure you are connected to the internet during this process.
12. Wait for the updates to download and install. This may take some time depending on the size and number of updates.
13. Once the updates are installed, restart your computer one last time to complete the update process.
Execute System File Checker (SFC) Scan
To fix DISM Error 87 on Windows 7, you can perform a System File Checker (SFC) scan. Here’s how:
1. Open the Command Prompt as an administrator. You can do this by pressing the Windows key, typing “cmd,” right-clicking on Command Prompt, and selecting “Run as administrator.”
2. In the Command Prompt window, type “sfc /scannow” and press Enter. This will initiate the SFC scan.
3. The scan will start and may take some time to complete. It will check for any corrupt or missing system files and attempt to repair them.
4. Once the scan is finished, you will see a message indicating whether any issues were found and repaired.
5. If the scan found and fixed any problems, restart your computer and check if the DISM Error 87 issue is resolved.
Performing an SFC scan can help resolve various system-related errors and ensure the stability of your Windows 7 operating system. It’s always a good idea to back up your important data before making any changes to your system.
Perform Disk Check with CHKDSK Tool
Performing a disk check using the CHKDSK tool can help fix the DISM Error 87 on Windows 7. To begin, open the Command Prompt by pressing the Windows key + R, typing “cmd,” and pressing Enter. Once the Command Prompt is open, follow these steps:
1. Type “chkdsk C: /f” and press Enter. Replace “C:” with the drive letter you want to check.
2. A message will appear asking if you want to schedule the disk check for the next restart. Type “Y” and press Enter.
3. Restart your computer to initiate the disk check.
4. The CHKDSK tool will scan your disk for errors and attempt to fix them.
5. Once the disk check is complete, your computer will restart again.
It is important to note that performing a disk check may take some time, so be patient. Additionally, it is recommended to back up your important data before running CHKDSK, as there is a slight risk of data loss. If you encounter any issues during the disk check, you can try running it in Safe Mode or using the CHKDSK tool with additional parameters.
Consider System Restore or Reinstallation
If you have encountered DISM Error 87 on Windows 7, there are two options you can consider to fix the issue: System Restore or Reinstallation.
System Restore:
1. Open the Start menu and search for “System Restore”.
2. Select “System Restore” from the search results.
3. In the System Restore window, click on “Next” to proceed.
4. Choose a restore point that was created before the DISM Error 87 occurred.
5. Click on “Next” and then “Finish” to start the restoration process.
6. Wait for the system to restore to the selected point and then check if the error is resolved.
Reinstallation:
1. Back up your important files and data to prevent any potential loss during the reinstallation process.
2. Obtain a Windows 7 installation disc or USB drive.
3. Insert the installation media into your computer and restart it.
4. Follow the on-screen prompts to boot from the installation media.
5. Choose your language preferences and click on “Install now”.
6. Accept the license terms and select the “Custom (advanced)” installation option.
7. Select the disk partition where Windows 7 is installed and click on “Next”.
8. Wait for the installation to complete and then follow the instructions to set up your Windows 7 system.
Preventive Measures for Future Errors

- Keep your system updated: Regularly install Windows updates to ensure that your operating system is equipped with the latest bug fixes and improvements.
- Run System File Checker (SFC) scan: Use the SFC tool to scan and repair corrupted system files that may be causing the DISM Error 87.
- Use reliable antivirus software: Install a trusted antivirus program and perform regular scans to detect and remove any malware that could interfere with system operations.
- Be cautious when installing third-party software: Only download and install software from reputable sources to avoid introducing potentially harmful programs to your system.
- Back up your important files: Create regular backups of your essential data to prevent data loss in case of any unexpected errors or system failures.
- Perform disk cleanup and optimization: Regularly clean up unnecessary files and optimize your hard drive to improve system performance and minimize the chances of encountering errors.
- Keep hardware drivers up to date: Ensure that all your hardware drivers are updated to their latest versions to maintain compatibility and resolve any potential conflicts.
- Use System Restore: If you encounter persistent errors, you can revert your system to a previous state using System Restore to undo recent changes that may have caused the issue.
- Perform regular system maintenance: Clean out temporary files, defragment your hard drive, and run regular system maintenance tasks to keep your system running smoothly.
- Seek professional assistance: If you are unable to resolve the DISM Error 87 or encounter other persistent issues, consider contacting a professional technician or seeking support from Microsoft forums or help centers.
F.A.Qs
How do I fix error 87 on Windows 7?
To fix error 87 on Windows 7, you can try the following steps:
1. Type in the correct DISM command-line.
2. Run the SFC or SCANNOW tool.
3. Run the CHKDSK tool.
4. Run Windows Update.
5. Consider restoring or re-installing Windows if the issue persists.
How do I fix DISM on Windows 7?
To fix DISM on Windows 7, open Command Prompt as administrator by pressing Win + R, typing cmd, and then pressing Shift + Ctrl + Enter. In the Command Prompt, enter the command: Dism.exe /online /Cleanup-Image /StartComponentCleanup and press Enter. Wait for the command to finish.
How do I fix code 87?
To fix code 87, you can try the following methods:
1. Use the DISM command-line correctly.
2. Revert Windows Update and clear the Component Store.
3. Run the SFC /SCANNOW tool.
4. Run the CHKDSK tool.
5. Run a System Restore.
