In this article, I will discuss the effective methods to resolve Windows 7 crash dump and blue screen errors.
Causes of Blue Screen Errors
Blue screen errors, also known as the “blue screen of death,” can be caused by a variety of factors. These errors occur when a critical system error is detected by the operating system, causing the computer to crash and display a blue screen with an error message.
One common cause of blue screen errors is faulty hardware. Issues with the computer’s hardware components, such as the graphics card, sound card, or memory, can lead to system crashes. If you have recently installed new hardware or made any changes to your computer’s hardware configuration, it’s worth checking if these changes are causing the blue screen errors.
Another possible cause of blue screen errors is outdated or incompatible device drivers. Device drivers are software programs that allow your computer’s operating system to communicate with hardware devices. If a device driver is outdated or incompatible with your operating system, it can cause system instability and lead to blue screen errors. Updating your device drivers or reinstalling them can often resolve these issues.
Software bugs and conflicts can also trigger blue screen errors. If you have recently installed new software or made changes to your system settings, it’s possible that these changes are causing conflicts with existing software or the operating system itself. In such cases, uninstalling or disabling the problematic software can help resolve the blue screen errors.
Malware infections can also lead to blue screen errors. Computer viruses and other forms of malware can corrupt system files and cause system crashes. Running a thorough antivirus scan to remove any malware infections can help eliminate this potential cause of blue screen errors.
In some cases, blue screen errors can be caused by issues with the operating system itself. Corruption in system files or problems with the Windows registry can lead to system crashes. Running a system restore to a previous point in time or performing a clean installation of the operating system can help resolve these issues.
It’s worth noting that blue screen errors can also be caused by hardware or software issues specific to Windows 7. Keeping your operating system up to date with the latest Windows updates and patches can help address these issues.
Initial Steps to Resolve Blue Screen Errors

-
Check for recently installed software or hardware:
- Open Control Panel by clicking on the Start button and selecting Control Panel.
- Click on Programs and then select Uninstall a program.
- Look for any recently installed software that may be causing conflicts or compatibility issues.
- If a recent hardware installation is suspected, open the computer case and ensure all components are properly connected and seated.
-
Scan for malware:
- Open Windows Security by clicking on the Start button, selecting Settings, and then clicking on Update & Security.
- Click on Windows Security and select Virus & threat protection.
- Click on Quick scan to check for any malware or viruses.
- If any threats are detected, follow the recommended actions to remove them.
-
Update device drivers:
- Open Device Manager by pressing Win + X and selecting Device Manager.
- Expand the categories and locate any devices with a yellow exclamation mark indicating a driver issue.
- Right-click on the device and select Update driver.
- Choose the option to search automatically for updated driver software.
- Follow the on-screen instructions to complete the driver update process.
-
Check for available Windows updates:
- Open Windows Update by clicking on the Start button, selecting Settings, and then clicking on Update & Security.
- Click on Windows Update and select Check for updates.
- If updates are available, click on Download and install to install them.
- Restart the computer after the updates are installed.
-
Run a disk check:
- Open File Explorer by clicking on the Start button and selecting File Explorer.
- Right-click on the main system drive (usually C:) and select Properties.
- Go to the Tools tab and click on Check under the Error checking section.
- Select Scan drive to start the disk check.
- Wait for the scan to complete and follow any instructions provided.
UNMOUNTABLE BOOT VOLUME Error Solutions
If you’re experiencing the UNMOUNTABLE BOOT VOLUME error on your Windows 7 computer, there are a few steps you can take to resolve the issue.
1. Restart your computer: Sometimes, a simple restart can fix the problem. Give it a try and see if the error goes away.
2. Check your hardware connections: Ensure that all cables and connections to your computer’s hard disk drive are secure. Loose connections can cause boot issues.
3. Use the Windows Recovery Environment: Start your computer and press F8 repeatedly to access the Advanced Boot Options menu. Select “Repair Your Computer” and choose the operating system you want to repair. From there, select “Command Prompt” and enter the following command: chkdsk /r. This will scan your hard drive for errors and attempt to fix them.
4. Perform a System Restore: If you recently installed new software or made changes to your system, a System Restore can help you revert back to a previous working state. To do this, access the Windows Recovery Environment and choose “System Restore” instead of “Command Prompt”. Follow the on-screen instructions to restore your system to a previous date.
5. Update your device drivers: Outdated or incompatible device drivers can cause boot problems. Visit the manufacturer’s website and download the latest drivers for your hardware.
Remember to always back up your important files before attempting any troubleshooting steps. If these solutions don’t work, it may be necessary to seek technical support or consult with a professional to diagnose and resolve the issue.
For more helpful tips and information on resolving Windows 7 crash dump and blue screen errors, continue reading the rest of the article.
Fixing INACCESSIBLE BOOT DEVICE Error
If you are experiencing the INACCESSIBLE BOOT DEVICE error on your Windows 7 computer, there are a few steps you can take to resolve it.
First, try restarting your computer. Sometimes, a simple reboot can fix the issue.
If that doesn’t work, you can try running the Startup Repair tool. To do this, follow these steps:
1. Insert your Windows 7 installation disc or USB drive.
2. Restart your computer and boot from the installation disc or USB drive.
3. Choose your language settings and click “Next.”
4. Click “Repair your computer.”
5. Select the operating system you want to repair and click “Next.”
6. In the System Recovery Options, click “Startup Repair.”
The Startup Repair tool will automatically scan your computer and attempt to fix any issues that are preventing it from booting properly.
If the Startup Repair tool doesn’t fix the issue, you can try using the Command Prompt to fix the Master Boot Record (MBR). Here’s how:
1. Follow steps 1-5 from the previous section to access the System Recovery Options.
2. Instead of selecting “Startup Repair,” choose “Command Prompt.”
3. In the Command Prompt window, type “bootrec /fixmbr” and press Enter.
4. Wait for the process to complete, then restart your computer.
These steps should help resolve the INACCESSIBLE BOOT DEVICE error on your Windows 7 computer. If the issue persists, it may be related to a hardware problem, such as a faulty hard drive or corrupted memory. In this case, it’s recommended to seek technical support or consult a professional for further assistance.
Resolving NTFS FILE SYSTEM Error
If you’re experiencing the NTFS FILE SYSTEM error on your Windows 7 computer, there are a few steps you can take to resolve it.
First, start by booting your computer into Safe Mode. To do this, restart your computer and press the F8 key repeatedly before the Windows logo appears. From the Advanced Boot Options menu, select Safe Mode and press Enter.
Once in Safe Mode, you can try running a virus scan to check for any malware that might be causing the error. Install a reliable antivirus program if you don’t have one already, and perform a full system scan. Remove any detected viruses or malware from your computer.
Next, check your computer’s hardware. A faulty hard disk drive or a problem with your computer’s memory or central processing unit (CPU) can cause the NTFS FILE SYSTEM error. Use the built-in Windows Memory Diagnostic tool to check your computer’s memory, and run a disk check to scan for any issues with your hard disk drive.
If the error persists, try updating your device drivers. Outdated or incompatible drivers can also cause the NTFS FILE SYSTEM error. Open the Control Panel and navigate to Device Manager. Expand the categories and locate any devices with a yellow exclamation mark. Right-click on the device and select Update Driver Software.
Lastly, if none of the above steps work, you can try restoring your computer to a previous state using System Restore. This will revert your computer’s settings and drivers to a previous working state. To access System Restore, type “system restore” in the Start menu search bar and select the relevant result. Follow the on-screen instructions to choose a restore point and restore your computer.
Solutions for SYSTEM THREAD EXCEPTION NOT HANDLED Error
If you are experiencing the SYSTEM THREAD EXCEPTION NOT HANDLED error on your Windows 7 computer, there are a few solutions you can try to resolve the issue.
1. Update device drivers: Outdated or incompatible device drivers can cause this error. To fix it, update your drivers to the latest version. You can do this by going to the manufacturer’s website and downloading the appropriate drivers for your hardware.
2. Check for software conflicts: Certain software programs can conflict with each other and cause this error. Try uninstalling recently installed programs or disabling any third-party antivirus software temporarily to see if that resolves the issue.
3. Run a virus scan: Viruses or malware can also cause the SYSTEM THREAD EXCEPTION NOT HANDLED error. Run a full system scan using a reliable antivirus program to check for any infections and remove them.
4. Check for Windows updates: Microsoft regularly releases updates and patches for Windows 7 to fix bugs and improve system stability. Make sure your computer is up to date by checking for and installing any available updates through the Control Panel.
5. Repair corrupted system files: Corrupted system files can also trigger this error. Use the System File Checker tool to scan your system for any corrupt files and repair them. Open Command Prompt as an administrator and type “sfc /scannow” to initiate the scan.
6. Perform a clean boot: Sometimes, third-party software or services can interfere with system processes and cause this error. Perform a clean boot to start Windows with only essential services and startup programs. This can help identify the source of the problem.
KERNEL MODE EXCEPTION NOT HANDLED Error Fixes

If you are experiencing the KERNEL MODE EXCEPTION NOT HANDLED error on your Windows 7 computer, there are a few fixes you can try to resolve the issue. Here are some steps to follow:
1. Check for software conflicts: Sometimes, incompatible or outdated software can cause this error. Uninstall any recently installed programs or drivers that may be causing the conflict.
2. Update your device drivers: Outdated or incompatible device drivers can also trigger the KERNEL MODE EXCEPTION NOT HANDLED error. Update your drivers to the latest version from the manufacturer’s website.
3. Run a virus scan: A computer virus or malware infection can also cause this error. Scan your computer for viruses and malware using a reliable antivirus software.
4. Check for hardware issues: Faulty hardware components can lead to this error. Ensure all your computer hardware is properly connected and functioning. You can also try removing and reseating components like RAM, hard drives, and graphics cards.
5. Use System Restore: If the error started occurring after making changes to your system, such as installing new software or drivers, you can try using the System Restore feature to restore your computer to a previous working state.
6. Perform a clean boot: This will help identify if any third-party software is causing the error. Follow the steps to perform a clean boot and then gradually enable services and startup items to pinpoint the problematic software.
7. Check for Windows updates: Microsoft regularly releases updates to address software bugs and security vulnerabilities. Make sure your Windows 7 is up to date by checking for and installing any available updates.
Addressing PAGE FAULT IN NONPAGED AREA Error
PAGE FAULT IN NONPAGED AREA is a common error that can cause a Windows 7 system to crash and display the blue screen of death. If you encounter this error, there are a few steps you can take to resolve it.
First, check for any recent changes or updates that may have caused this error. If you recently installed new software or hardware, try uninstalling or removing it to see if that resolves the issue.
Next, make sure your computer is free from viruses or malware. Run a full scan using your antivirus software to check for any infections that may be causing the error.
If the error persists, it may be related to a device driver issue. Start by updating your drivers to the latest version. You can do this by visiting the manufacturer’s website and downloading the latest drivers for your device.
If updating the drivers doesn’t help, you can also try disabling any recently installed drivers to see if that resolves the issue. To do this, go to the Control Panel, select Device Manager, and locate the problematic driver. Right-click on it and select Disable.
Another solution is to check your computer’s memory. PAGE FAULT IN NONPAGED AREA errors can sometimes be caused by faulty RAM. Use the Windows Memory Diagnostic tool to test your memory for any issues. To access this tool, simply type “Windows Memory Diagnostic” into the Start menu and follow the on-screen instructions.
If none of these solutions work, you may need to perform a system restore or reinstall Windows 7. This will restore your computer to a previous state where the error was not present.
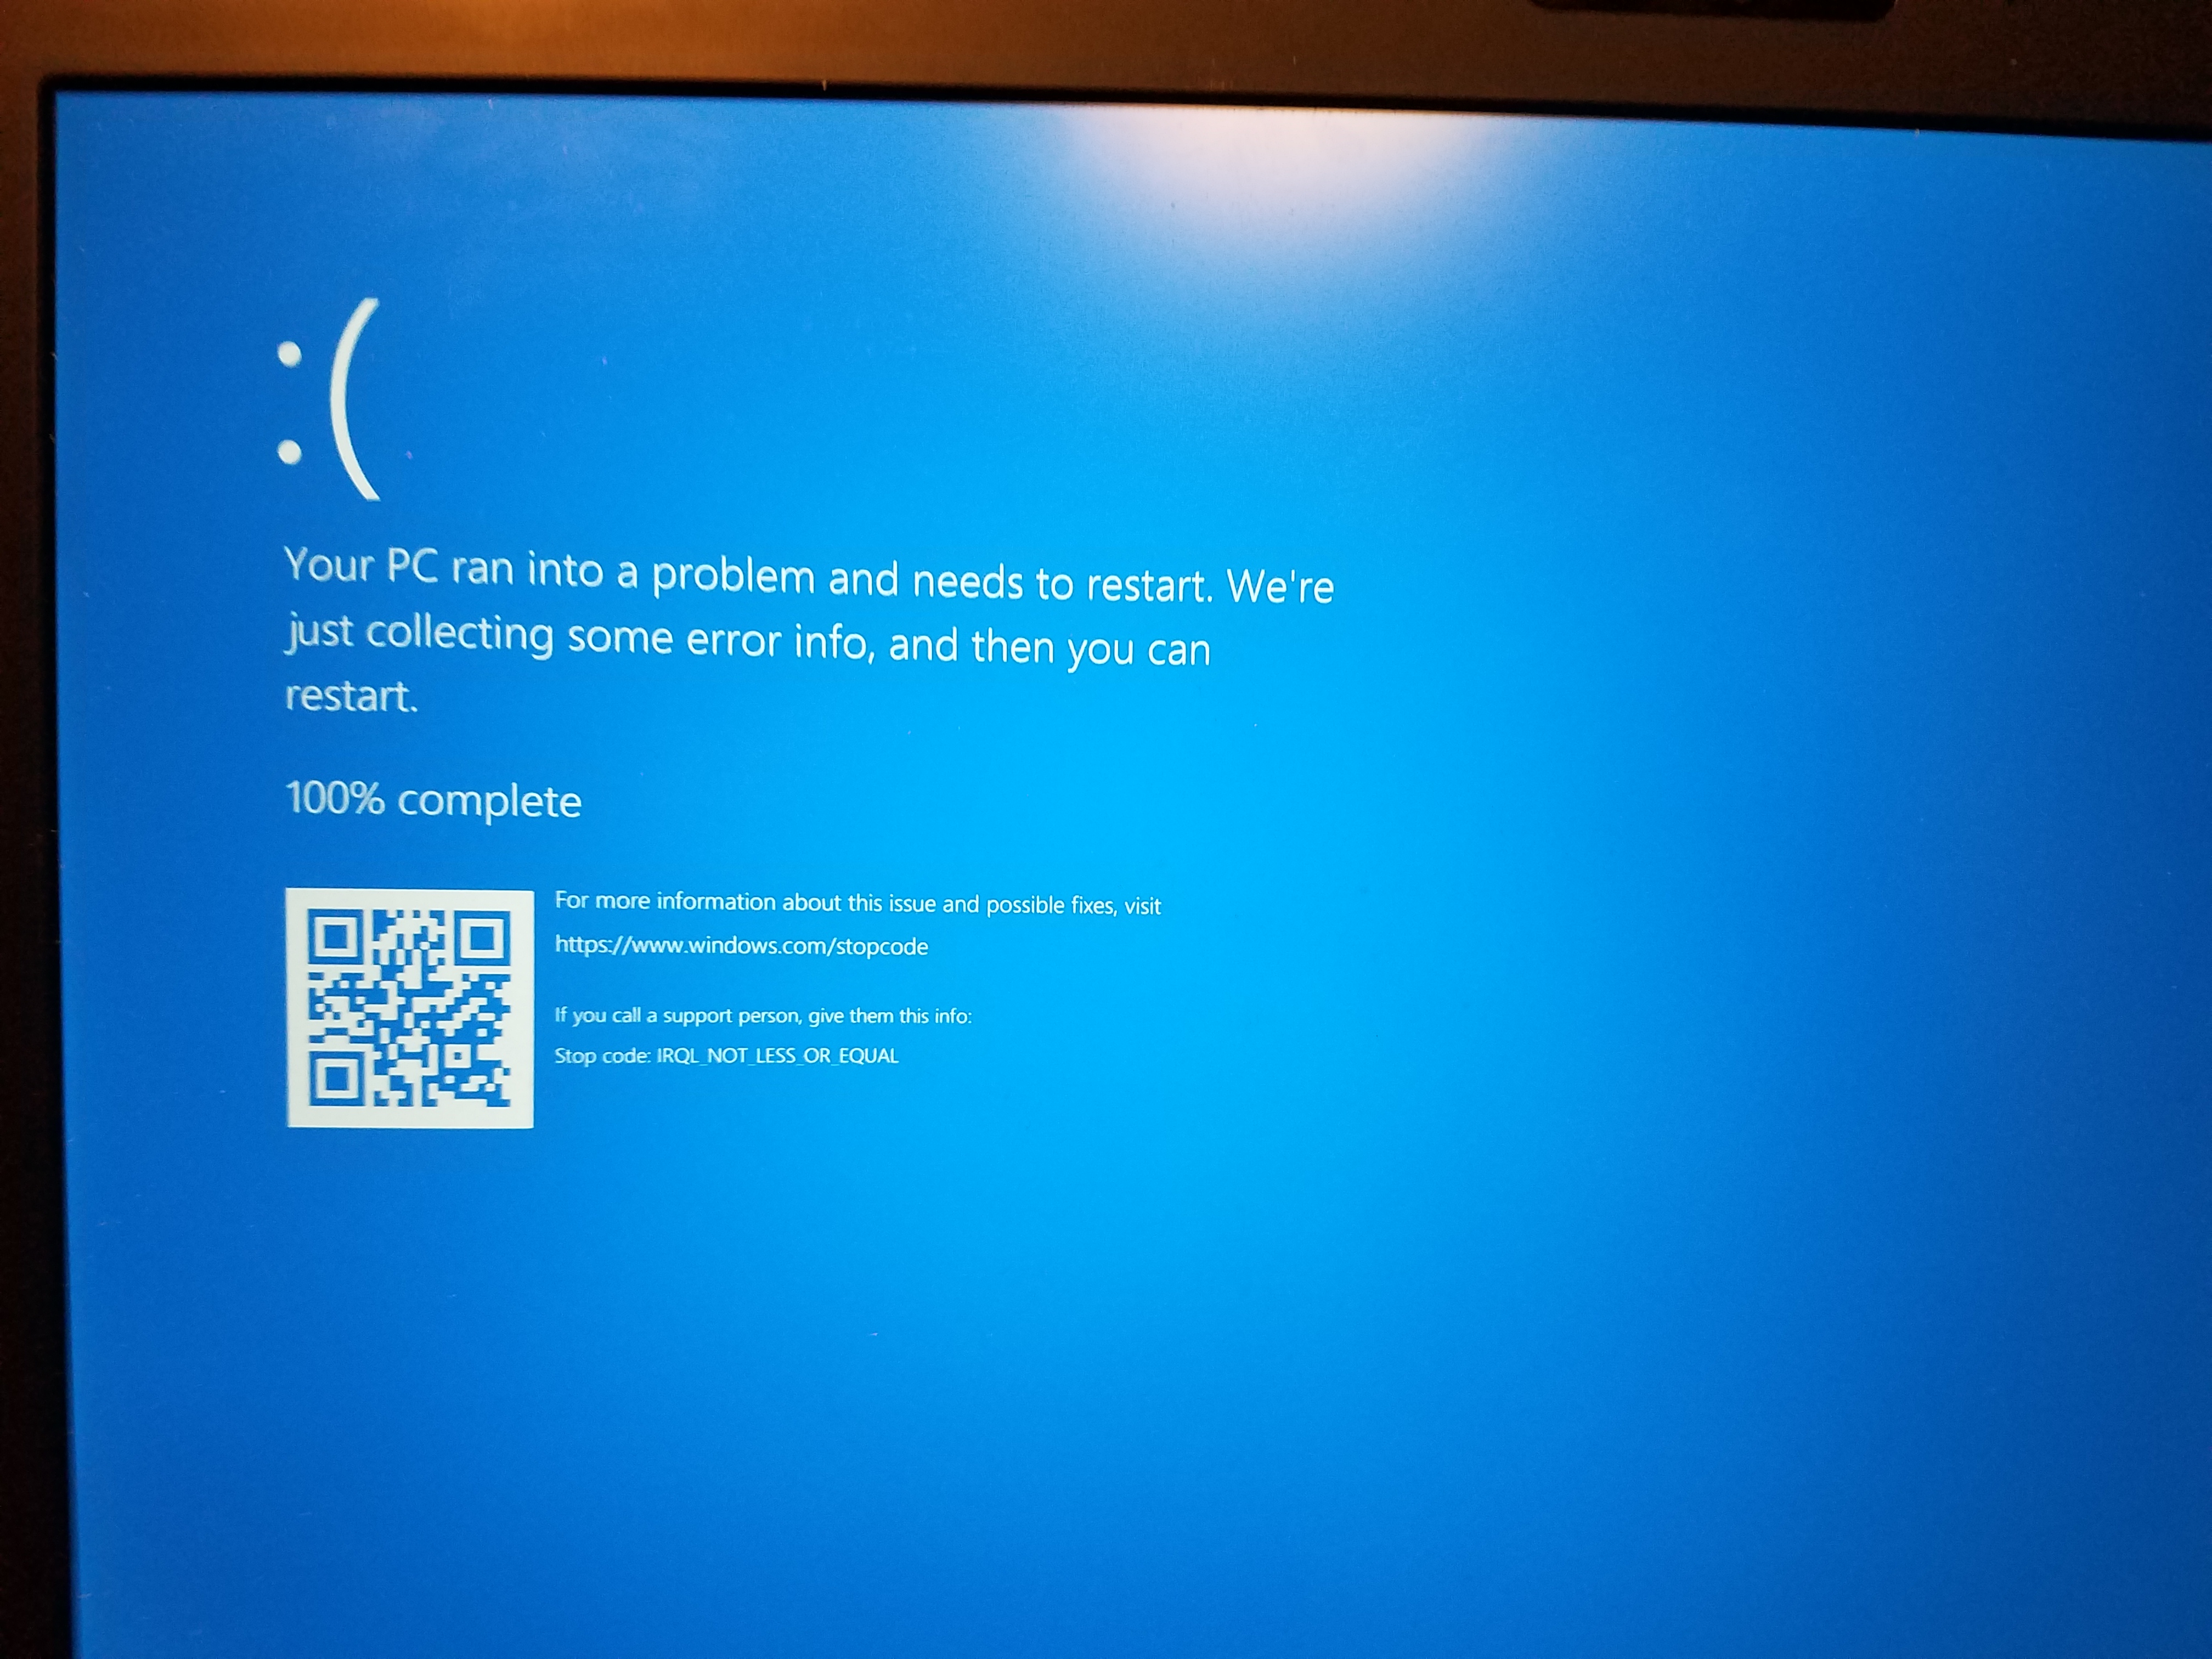
DRIVER IRQL NOT LESS THAN OR EQUAL TO Error Solutions
If you’re experiencing the DRIVER IRQL NOT LESS THAN OR EQUAL TO error on your Windows 7 computer, here are some solutions to resolve the issue:
1. Update your drivers: Outdated or incompatible drivers can cause this error. Visit the manufacturer’s website for each hardware component (such as sound card, printer, etc.) and download the latest drivers.
2. Run a virus scan: A computer virus can also trigger this error. Use a reliable antivirus program to scan your system and remove any malware.
3. Check for Windows updates: Microsoft regularly releases updates to fix bugs and improve system stability. Go to the Control Panel, click on Windows Update, and install any available updates.
4. Perform a system restore: If the error started after installing a new application or driver, you can try restoring your computer to a previous working state using the System Restore feature.
5. Check your hardware: Faulty hardware, such as a malfunctioning RAM or hard drive, can cause this error. Run hardware diagnostics to identify and resolve any issues.
6. Disable overclocking: If you have overclocked your CPU or GPU, revert the settings back to their default values. Overclocking can sometimes lead to system instability and cause errors.
THREAD STUCK IN DEVICE DRIVER Error Fixes
THREAD STUCK IN DEVICE DRIVER is a common error that can cause your Windows 7 computer to crash and display a blue screen. This error is usually related to a problem with the device drivers installed on your computer.
To fix this error, you can follow these steps:
1. Restart your computer: Sometimes, a simple restart can resolve the issue. Press the power button on your computer and wait for it to shut down completely. Then, press the power button again to turn it back on.
2. Update your device drivers: Outdated or incompatible device drivers can cause the THREAD STUCK IN DEVICE DRIVER error. To update your drivers, follow these steps:
– Open the Device Manager by pressing the Windows key + X and selecting Device Manager from the menu.
– Expand the categories to find the device that is causing the error.
– Right-click on the device and select Update Driver.
– Choose to search automatically for updated driver software. Windows will search for the latest drivers and install them if available.
3. Check for Windows updates: Microsoft often releases updates that include bug fixes and patches for known issues. To check for updates, follow these steps:
– Open the Control Panel and go to Windows Update.
– Click on Check for updates.
– If updates are available, click on Install updates to download and install them.
4. Run a system file check: Corrupted system files can also cause the THREAD STUCK IN DEVICE DRIVER error. To check and repair these files, follow these steps:
– Open the Command Prompt as an administrator by pressing the Windows key + X and selecting Command Prompt (Admin) from the menu.
– In the Command Prompt window, type “sfc /scannow” (without quotes) and press Enter.
– Wait for the scan to complete and follow any on-screen instructions.
5. Perform a clean boot: A clean boot can help identify if a third-party program or service is causing the error. To perform a clean boot, follow these steps:
– Press the Windows key + R to open the Run dialog box.
– Type “msconfig” (without quotes) and press Enter.
– In the System Configuration window, go to the Services tab and check the “Hide all Microsoft services” checkbox.
– Click on Disable all.
– Go to the Startup tab and click on Open Task Manager.
– In the Task Manager window, disable all startup programs.
– Close the Task Manager and click on OK in the System Configuration window.
– Restart your computer and check if the error persists.
Advanced Troubleshooting Techniques
| Technique | Description |
|---|---|
| 1. Analyzing Crash Dump Files | Examining the crash dump files generated by Windows to identify the cause of the crash or blue screen error. |
| 2. Updating Device Drivers | Ensuring all device drivers are up to date as outdated or incompatible drivers can often trigger system crashes. |
| 3. Checking Hardware Compatibility | Verifying that all hardware components installed in the system are compatible with Windows 7 to prevent conflicts and crashes. |
| 4. Scanning for Malware | Performing a thorough scan for malware and removing any infections that may be causing system instability. |
| 5. Disabling Overclocking | Disabling any overclocking settings in the BIOS as they can lead to system instability and crashes. |
| 6. Checking for Faulty RAM | Running memory diagnostics to identify and replace any faulty RAM modules that may be causing crashes. |
| 7. Repairing Corrupted System Files | Using the System File Checker (SFC) tool to scan and repair any corrupted system files that could be triggering crashes. |
| 8. Performing a Clean Boot | Starting Windows with only essential services and startup programs enabled to identify if third-party software is causing crashes. |
FAQ
How do I fix memory management blue screen Windows 7?
To fix memory management blue screen in Windows 7, you can try the following solutions:
1. Run a Memory Diagnostics test to identify any memory problems.
2. Update the drivers for the chipset, video card, display, and network adapter from the computer manufacturer’s website.
3. Check if the issue occurs in safe mode.
Where is the crash dump file in Windows 7?
The crash dump file in Windows 7 is located in the %SystemRoot%\Memory.dmp directory.
How do I fix blue screen crash dump Windows 7?
To fix a blue screen crash dump in Windows 7, you can start by inserting the Windows 7 installation disc or USB flash drive, or a system repair disc, and then shutting down your computer. After that, restart your computer using the power button and follow the instructions that appear if prompted.
