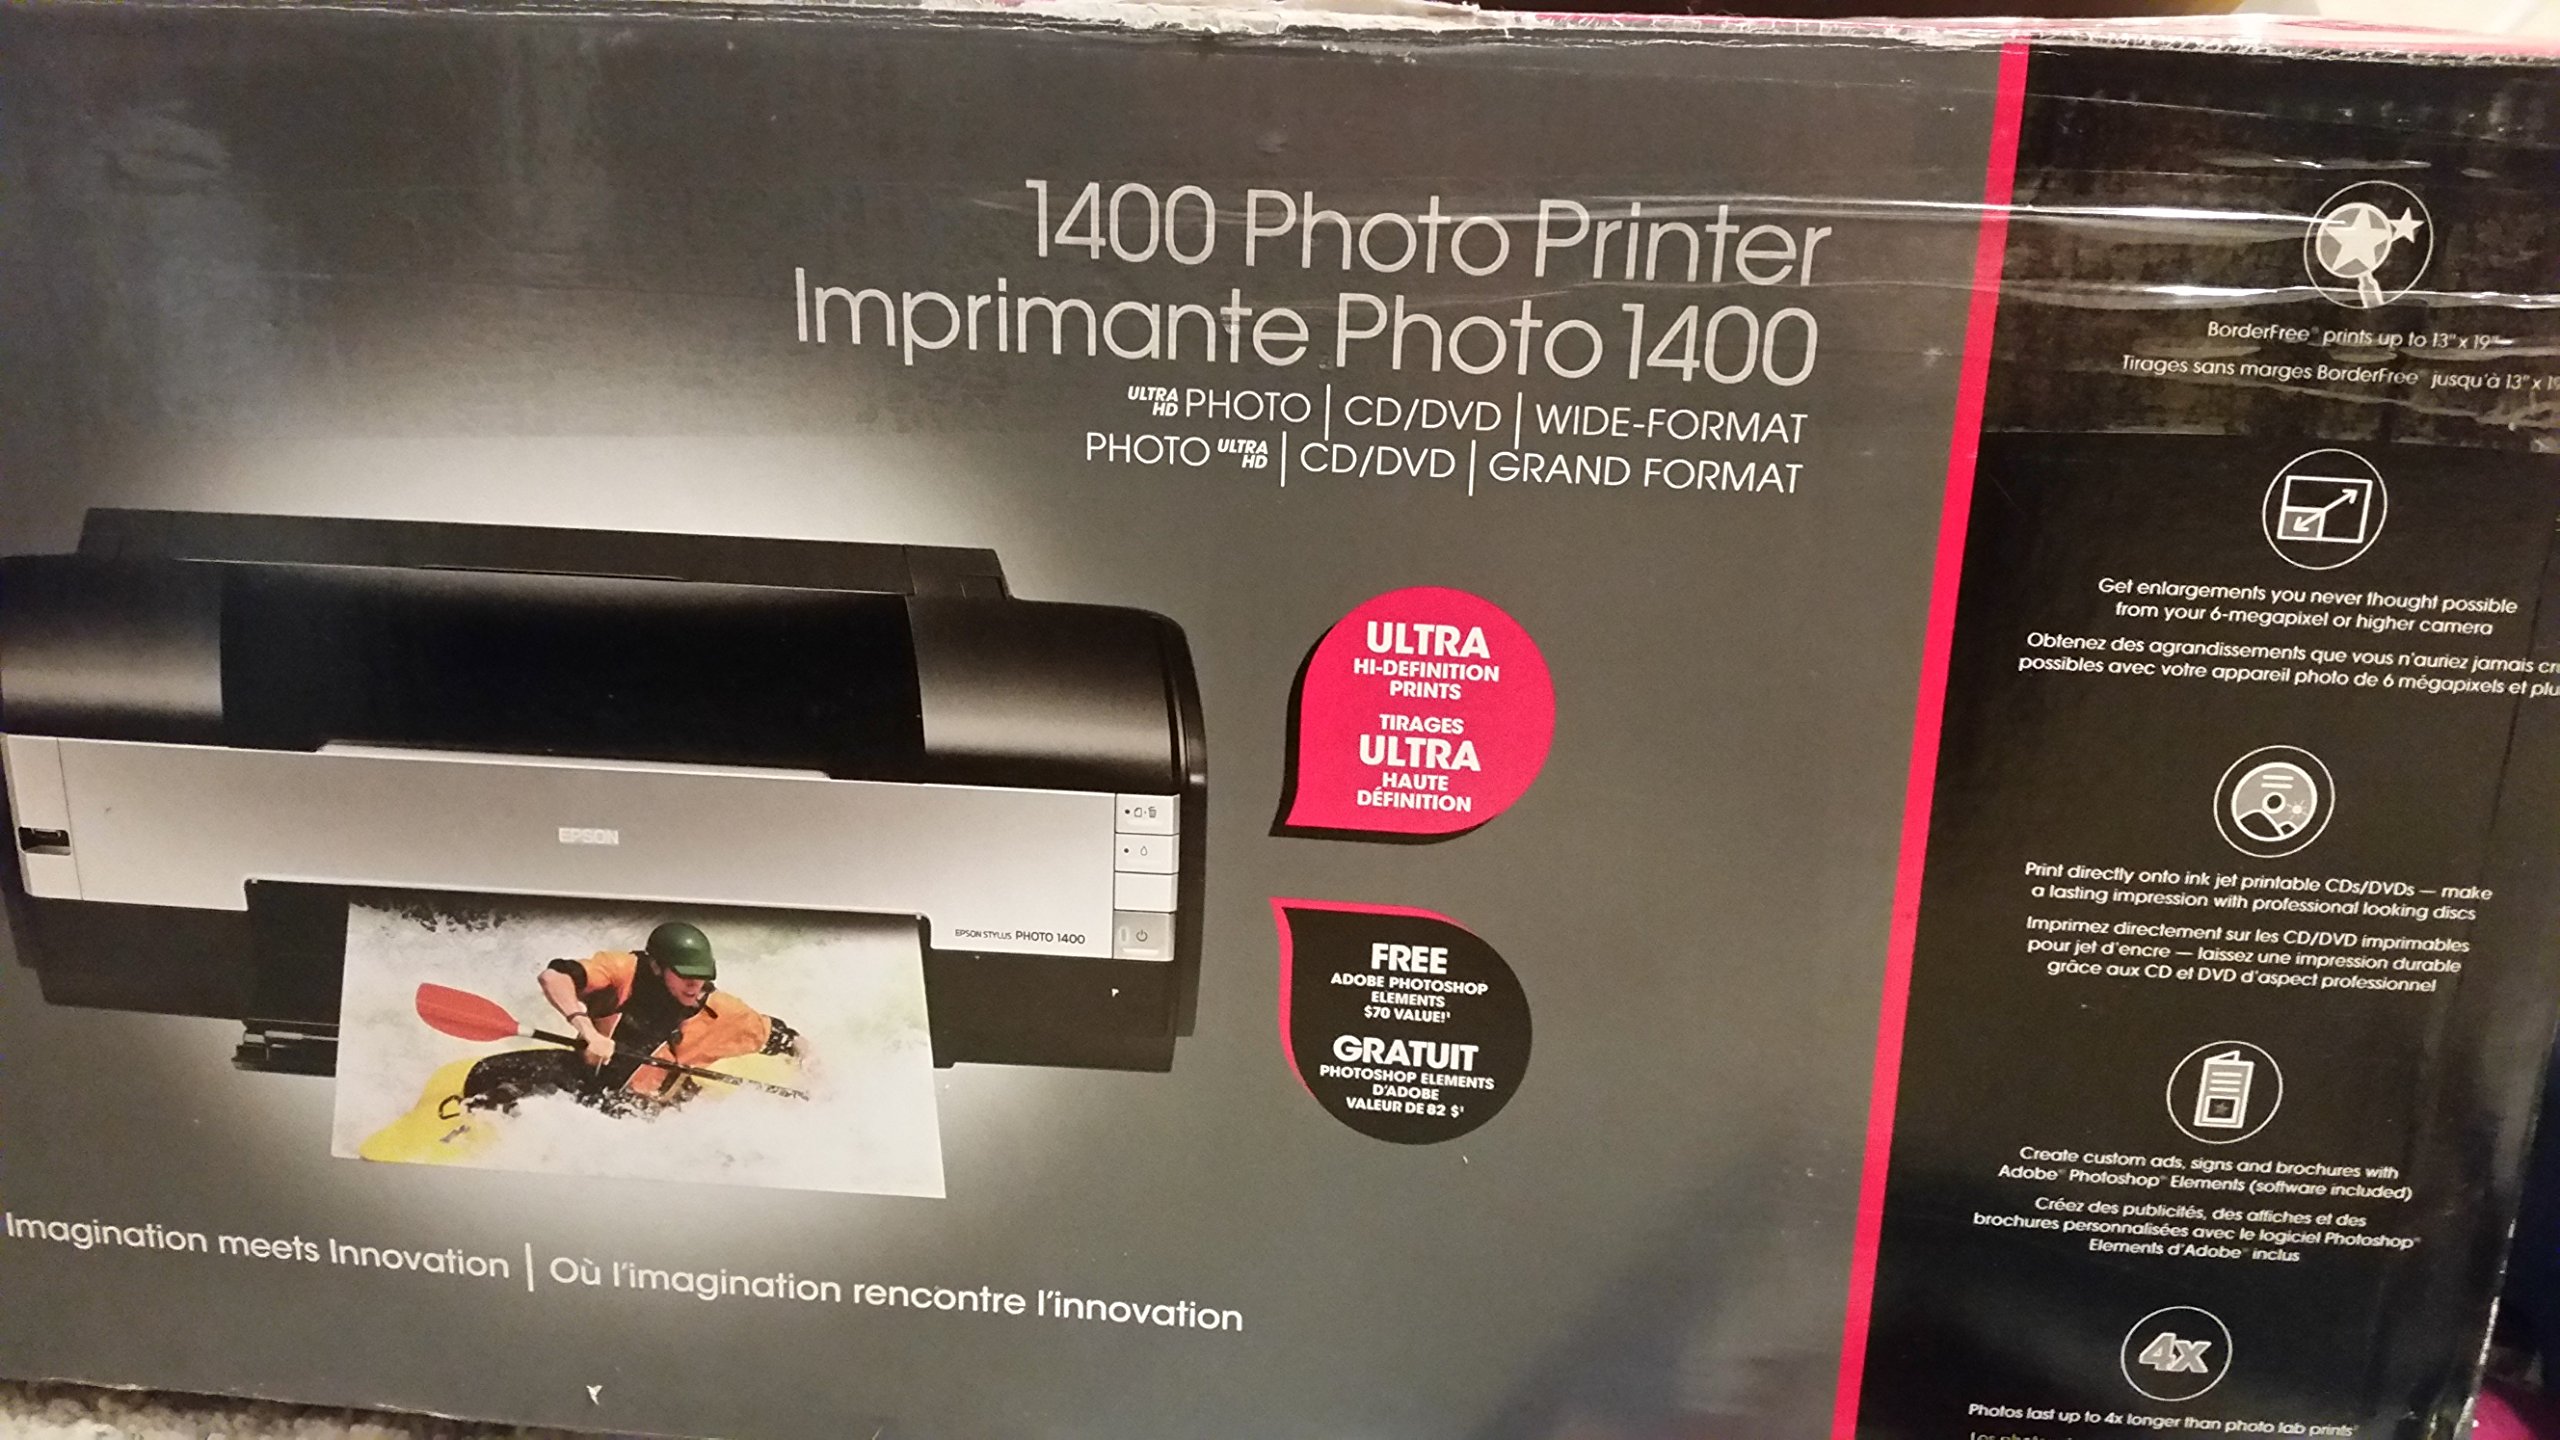
Welcome to the comprehensive guide for troubleshooting and support of the Epson Stylus Photo 1400.
Identify and Diagnose Errors
Identifying and diagnosing errors in the article titled “Epson Stylus Photo 1400 Troubleshooting and Support” is crucial for resolving any issues you may be facing with your Epson printer. Here, we will provide direct and helpful instructions to assist you in this process.
1. Error Messages: Pay close attention to any error messages displayed on your printer or computer screen. These messages often provide valuable information about the problem at hand. Take note of the specific error code or message and refer to the troubleshooting section of the article for guidance.
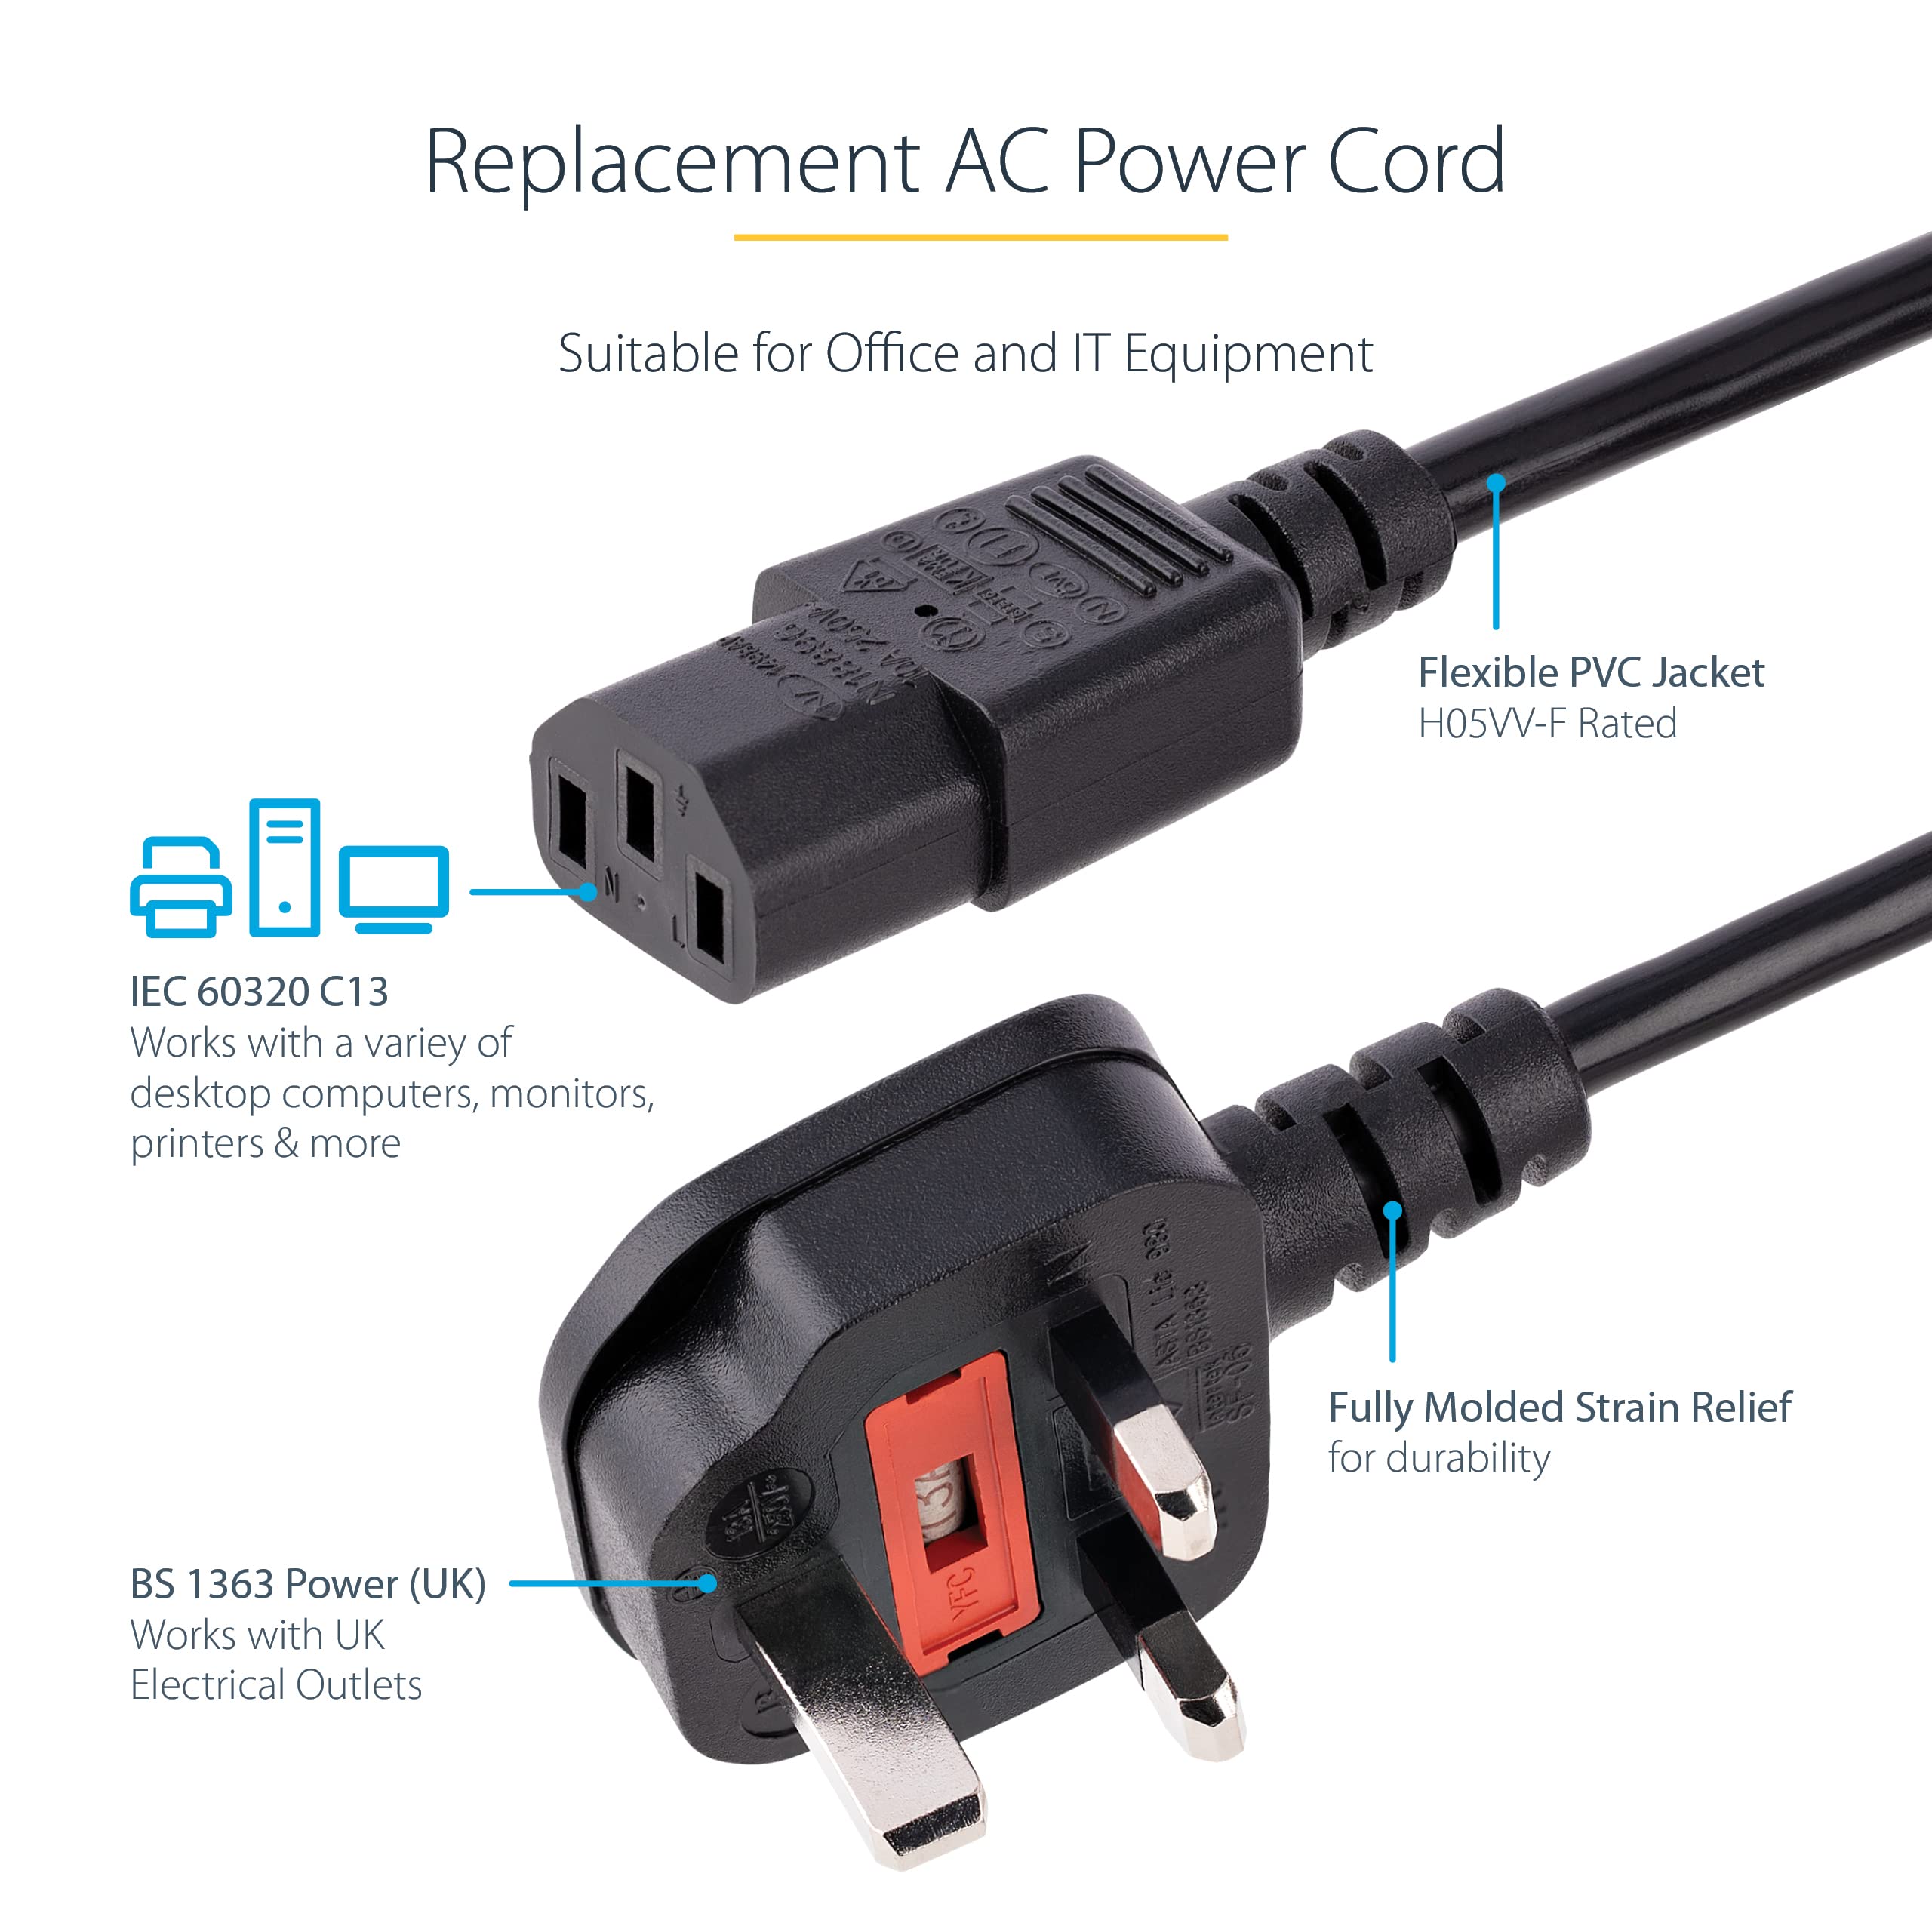
2. Printer Not Responding: If your printer is not responding or seems to be disconnected, ensure that it is properly connected to your computer or network. Check all the cables, including the USB cable, and make sure they are securely plugged in. Restart both your printer and computer if necessary.
3. Paper Jams: Paper jams are a common issue with printers. If you encounter a paper jam, follow these steps to resolve it:
– Turn off the printer and unplug it from the power source.
– Gently remove any jammed paper from the printer, being careful not to tear it.
– Check for any small pieces of paper or debris that may be causing the jam and remove them.
– Plug in the printer, turn it on, and try printing again.
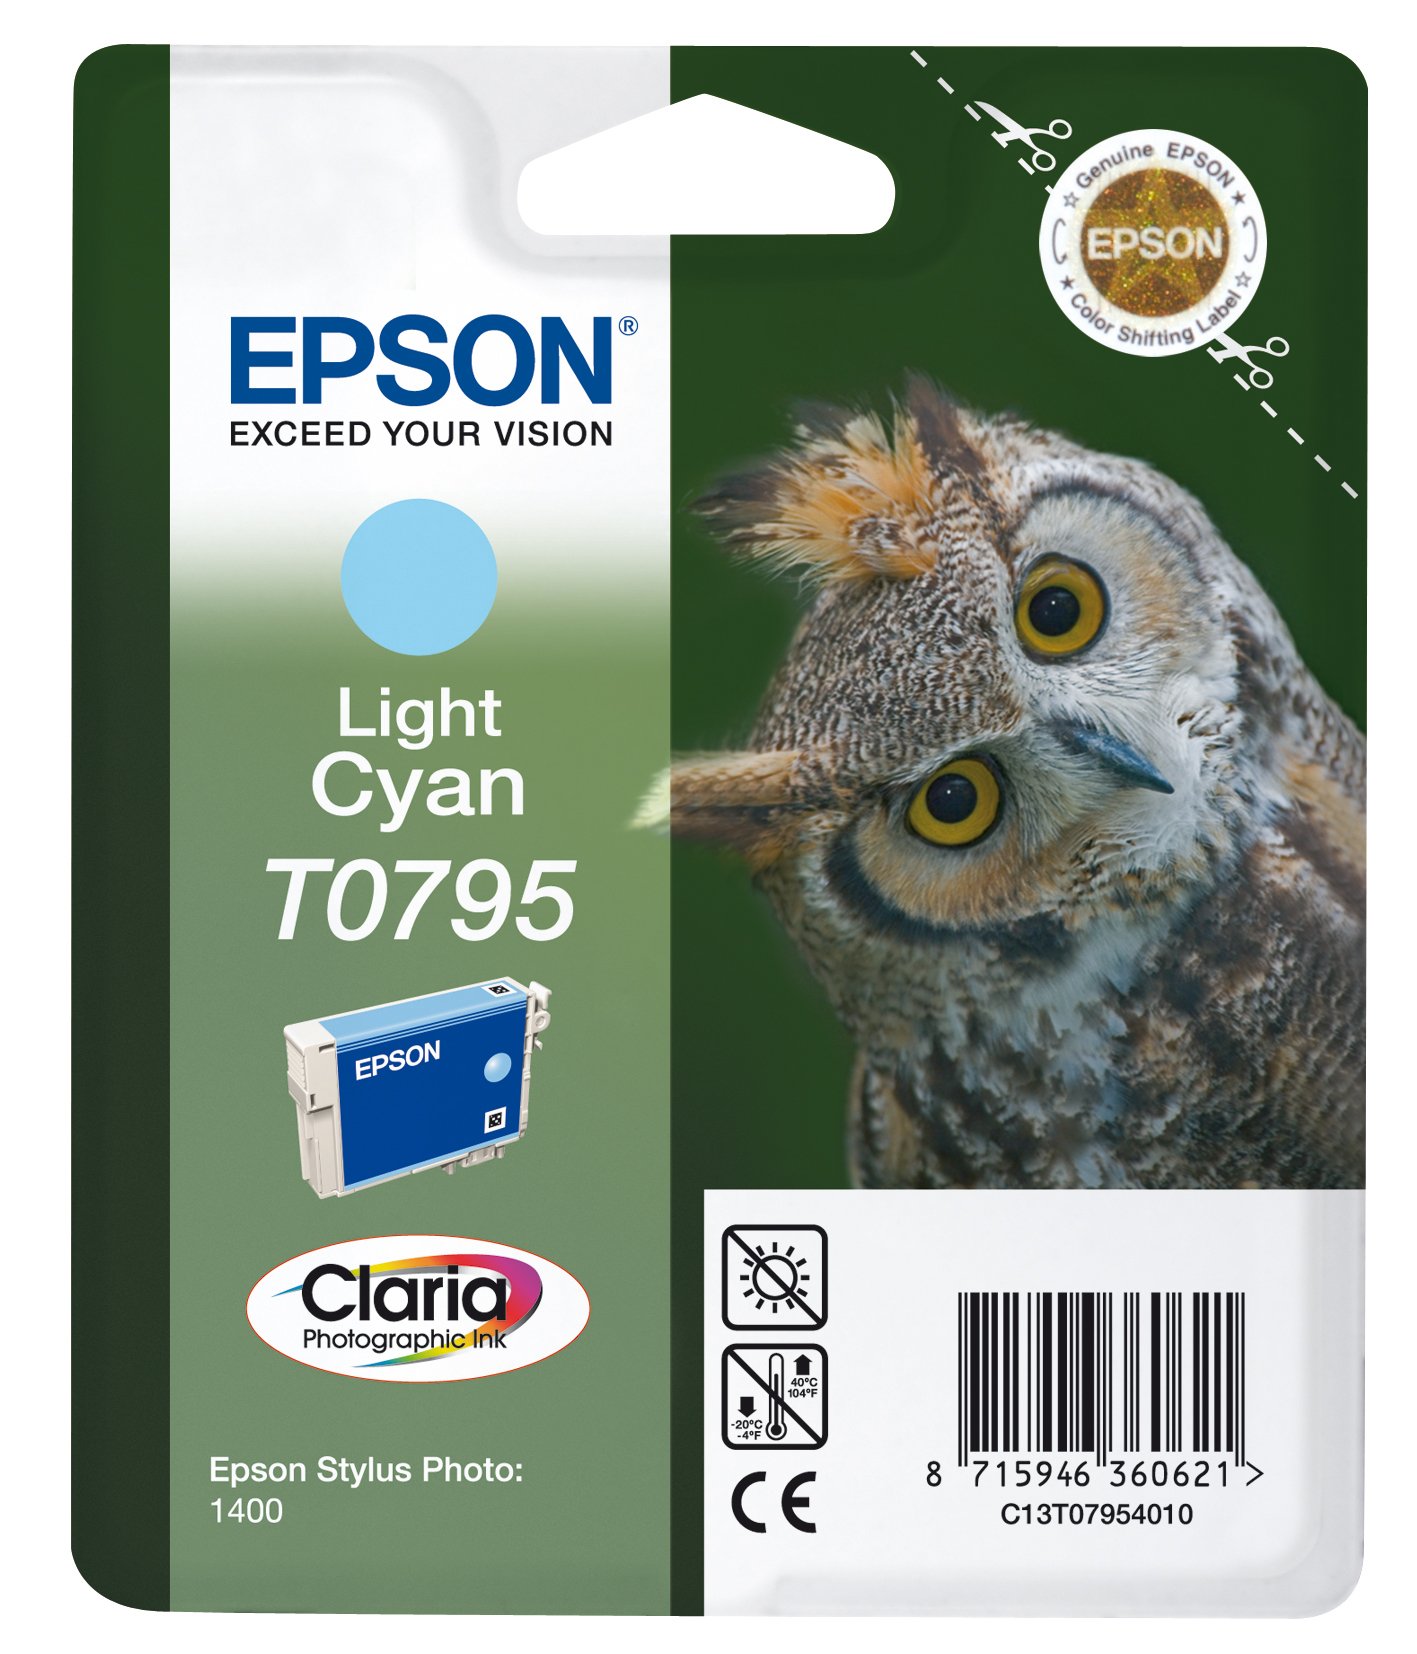
4. Ink Cartridges: Issues with ink cartridges can cause printing problems. Check the ink levels on your printer or computer to ensure that the cartridges are not empty or low. If necessary, replace any empty or low ink cartridges with new ones. Make sure to follow the instructions provided by the manufacturer for properly installing the cartridges.
5. Printer Driver: A corrupt or outdated printer driver can also lead to errors. Ensure that you have the latest printer driver installed on your computer. Visit the Epson website and download the appropriate driver for your printer model and operating system.
6. Compatibility with MacOS Catalina and MacOS Big Sur: If you are using MacOS Catalina or MacOS Big Sur, ensure that your Epson printer is compatible with these operating systems. Visit the Epson website or refer to the printer’s user manual for compatibility information and any necessary software updates.
7. PictBridge and Camera Connectivity: If you are experiencing issues with printing directly from a camera using PictBridge or connecting a camera to your printer via USB, check the camera’s settings and connections. Make sure the camera is properly connected to the printer and that the PictBridge or USB option is enabled on the camera.
8. Printing from Digital Devices: For printing from digital devices such as camera phones or digital cameras, ensure that the device is connected to the printer via USB or wireless connection. Refer to the printer’s user manual for instructions on how to set up and print from these devices.
Remember, if you encounter any specific error or have a question related to a particular print job or printer function, refer to the troubleshooting section of the article for further guidance. If the issue persists, it is advisable to contact Epson support or seek assistance from a qualified technician.
Check Connectivity and Indicator Lights
- Check the power cable: Ensure that the power cable is securely connected to both the printer and a working electrical outlet.
- Inspect USB connection: Verify that the USB cable is properly connected between the printer and your computer.
- Test network connection: If using a network connection, check if the printer is connected to the network and has a valid IP address.
- Verify indicator lights: Check the printer’s indicator lights to see if any error or status messages are being displayed.
- Restart printer: Turn off the printer, wait for a few seconds, and then turn it back on to reset any temporary communication issues.
- Update printer drivers: Ensure that you have the latest printer drivers installed on your computer.
- Check for paper jams: Inspect the printer for any paper jams that might be causing connectivity problems.
- Restart computer: Sometimes a simple computer restart can resolve connectivity issues between the printer and your computer.
Understand LED and Power Button Patterns
Understanding LED and Power Button Patterns is crucial for troubleshooting and resolving issues with your Epson Stylus Photo 1400 printer. These patterns can provide important information about the printer’s status and any errors that may be occurring. Here’s a guide to help you interpret the LED and Power Button patterns:
1. Solid Power LED:
– If the Power LED is solid, it means the printer is receiving power and is ready for use.
– If the Power LED is not solid, make sure the printer is properly connected to a power source and try turning it on again.
2. Blinking Power LED:
– A blinking Power LED indicates that the printer is in sleep mode or performing a maintenance task, such as cleaning the print head.
– Wait for the printer to finish its task or press the Power button to wake it up.
3. Solid Error LED:
– If the Error LED is solid, it means there is an error that requires your attention.
– Check the printer’s LCD screen or computer for any error messages that may provide more details about the issue.
– If necessary, consult the printer’s user manual for specific error code explanations.
4. Blinking Error LED:
– A blinking Error LED indicates a specific error condition.
– Count the number of times the LED blinks in a cycle and refer to the printer’s user manual or Epson’s support website for an explanation of the error code.
– Follow the recommended troubleshooting steps to resolve the issue.
5. Combined LED and Power Button Patterns:
– In some cases, the printer’s LED and Power button may blink together to indicate a specific error or status condition.
– Again, consult the printer’s user manual or Epson’s support website for an explanation of the pattern and recommended solutions.
Remember, understanding LED and Power Button patterns is just the first step in troubleshooting your Epson Stylus Photo 1400 printer. If you encounter any issues, it’s important to follow the recommended troubleshooting steps provided by Epson or seek further assistance from their support team.
If you need to replace ink cartridges or perform other maintenance tasks, consult the printer’s user manual for specific instructions. Epson provides detailed guides on their website for various tasks, so you can easily find the information you need.
Conclusion: Resolving Issues and Seeking Help
In conclusion, troubleshooting and seeking support for the Epson Stylus Photo 1400 can be a straightforward process with the right approach. By following these steps and seeking the appropriate help when needed, users can effectively resolve any issues they may encounter.
Firstly, when facing any problems with the printer, it is essential to refer to the user manual or online resources provided by Epson. These resources often contain detailed instructions on how to troubleshoot common issues and can help users identify the root cause of their problem.
Additionally, reaching out to Epson’s customer support can be immensely helpful. They have a dedicated team of experts who can provide personalized assistance and guidance tailored to the specific issue at hand. Users can contact customer support through phone or email, and it is recommended to have the printer’s model number and any error messages ready when reaching out for assistance.
For common issues such as paper jams or print quality problems, there are a few general steps that users can take to resolve them. First, it is important to check for any obstructions in the printer’s paper path or paper tray. Clearing any jams and ensuring that the paper is loaded correctly can often resolve these issues.
If print quality is poor, it may be necessary to clean the printhead. Epson provides instructions on how to perform this cleaning process in their user manual or online resources. Additionally, replacing ink cartridges when they are low or empty can also improve print quality.
When seeking help online, it can be beneficial to visit Epson’s official website or join online forums and communities dedicated to Epson printers. These platforms often have a wealth of information and can provide answers to common problems or connect users with others who have experienced similar issues.
Lastly, it is important to approach troubleshooting with patience and a methodical mindset. Sometimes, issues can be resolved by simply restarting the printer or computer, or by ensuring that all connections are secure. If the problem persists, it may be necessary to consult a professional technician or consider repairing or replacing the printer.
Frequently Asked Questions
Why is my Epson printer not pulling the paper through?
Your Epson printer may not be pulling the paper through because of a few common reasons. Firstly, ensure that the paper cassette is fully inserted into the printer. Additionally, make sure that the paper size and type settings on your printer match the size and type of paper you have loaded. If the paper still does not feed correctly, try removing and reloading it in the cassette while adjusting the edge guides.
How do I fix my Epson printer that is not responding?
To fix an Epson printer that is not responding, you can try the following steps:
1. Ensure that the printer has power, all cables are connected properly, and there is enough paper in the tray.
2. Check your internet connection to ensure it is stable.
3. Clear any pending print jobs in the printer queue.
4. Restart both your computer and the printer.
5. Set your Epson printer as the default printer.
6. Update the printer driver to the latest version.
Why does my Epson printer keep failing to print?
Your Epson printer may keep failing to print because the ink cartridges could be empty or running low. To resolve this issue, check the ink levels using the printer’s control panel or software on your computer, and if necessary, replace them with new, genuine Epson cartridges.
Why is my Epson printer not printing anything even though it has ink?
Your Epson printer may not be printing anything even though it has ink due to printhead clogs. The nozzles that apply ink to the paper can become blocked with dried ink or debris, resulting in poor print quality or no printing. This issue can occur regardless of the ink cartridges being full.
