Having trouble with a CD-ROM error 19 in Windows? Here’s how to fix it.
Update or Reinstall Drivers
To fix CD-ROM Error 19 in Windows, you can try updating or reinstalling your drivers. This can help resolve any compatibility issues or corruption that may be causing the error. Here’s how you can do it:
1. Open the Device Manager by right-clicking on the Start button and selecting “Device Manager” from the context menu.
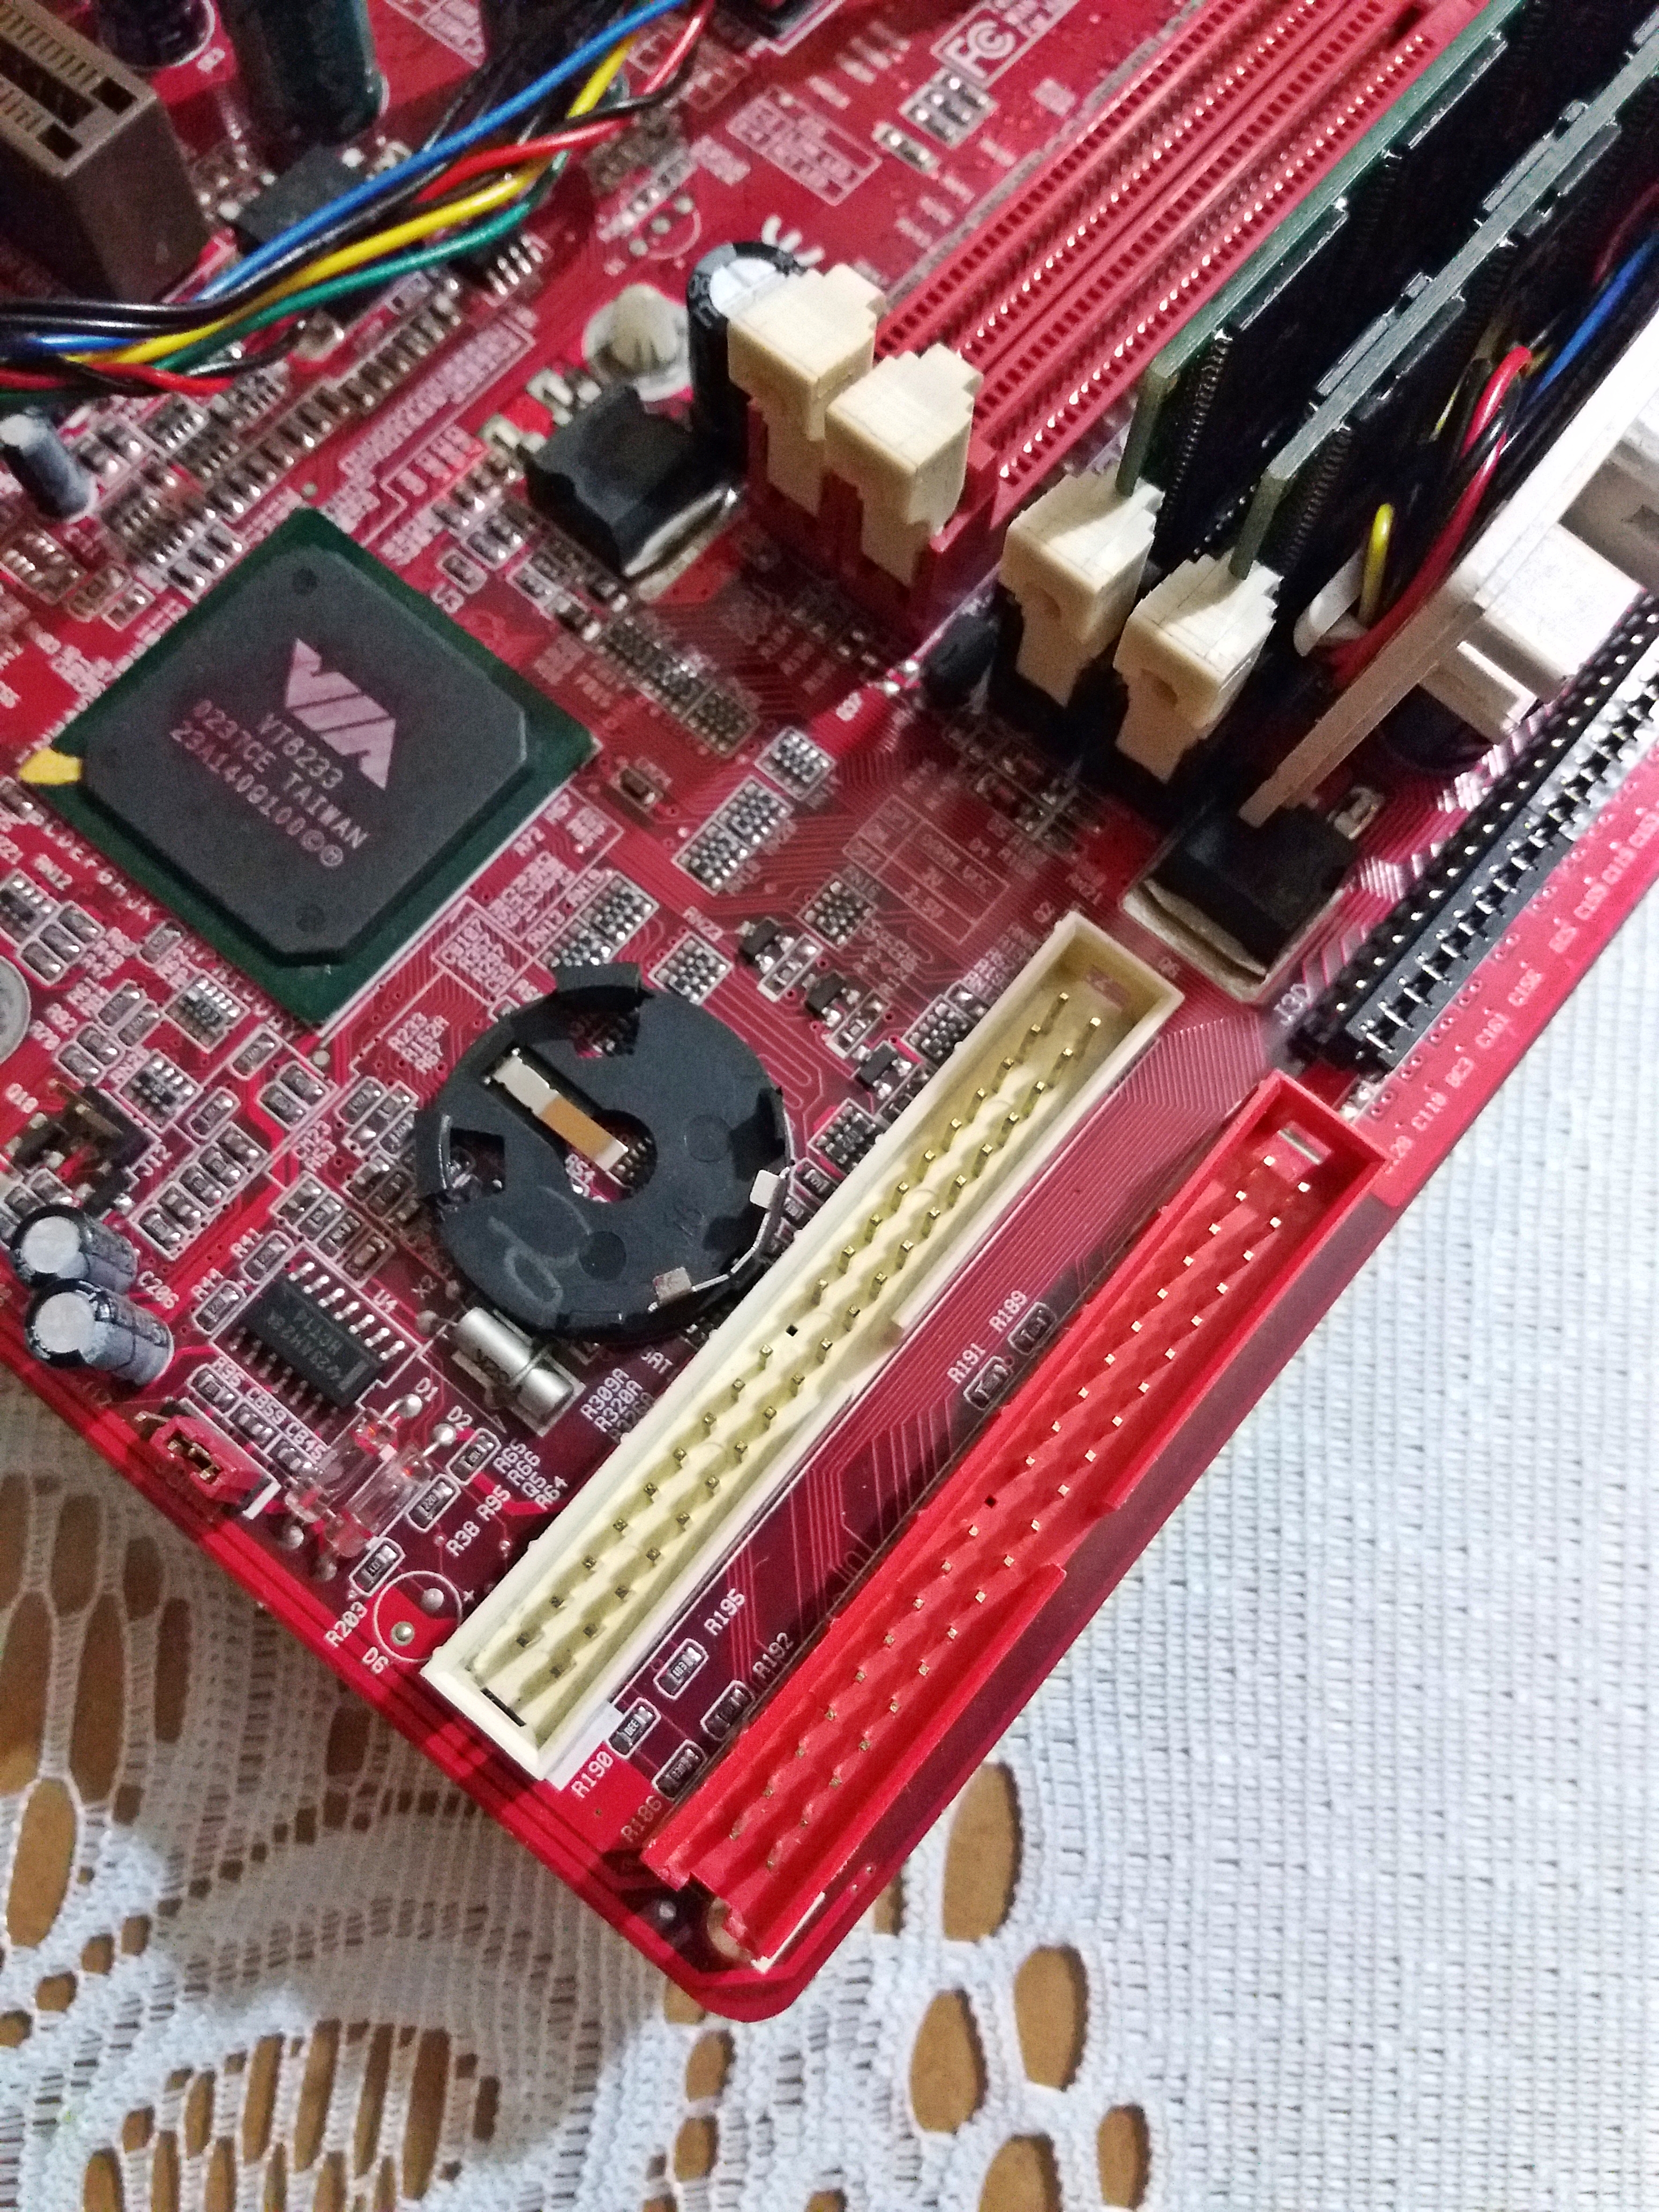
2. In the Device Manager, expand the “DVD/CD-ROM drives” category.
3. Right-click on your CD-ROM drive and select “Update driver.”
4. Choose to “Search automatically for updated driver software” and let Windows find and install the latest driver for your CD-ROM drive.
5. If Windows doesn’t find a suitable driver, you can try reinstalling the driver. Right-click on your CD-ROM drive again and select “Uninstall device.” Then restart your computer, and Windows will reinstall the driver automatically.
6. If the error persists, you may need to manually download the driver from the manufacturer’s website. Go to the manufacturer’s support website, locate the driver for your specific CD-ROM drive model, and download it.
7. Once downloaded, double-click on the driver file to install it manually.
8. After installing the driver, restart your computer and check if the CD-ROM Error 19 is resolved.
By updating or reinstalling your drivers, you can often fix CD-ROM Error 19 in Windows. Make sure to restart your computer after any driver changes to ensure they take effect.
Modify Registry Entries
1. Open the Registry Editor: Press Windows key + R, type “regedit”, and hit Enter.
2. Backup the Registry: Before making any changes, it’s important to create a backup of the registry. Go to File > Export and save the backup file in a safe location.
3. Locate the UpperFilters and LowerFilters entries: Navigate to the following path in the Registry Editor: HKEY_LOCAL_MACHINE\SYSTEM\CurrentControlSet\Control\Class\{4D36E965-E325-11CE-BFC1-08002BE10318}
4. Delete UpperFilters and LowerFilters: Right-click on UpperFilters and LowerFilters entries one by one, and select Delete from the context menu. Confirm the deletion if prompted.
5. Restart your computer: After deleting the entries, restart your computer to apply the changes.
6. Check if the CD-ROM error is resolved: After rebooting, check if the CD-ROM error 19 is fixed. If not, you may need to try other troubleshooting methods or seek further assistance.
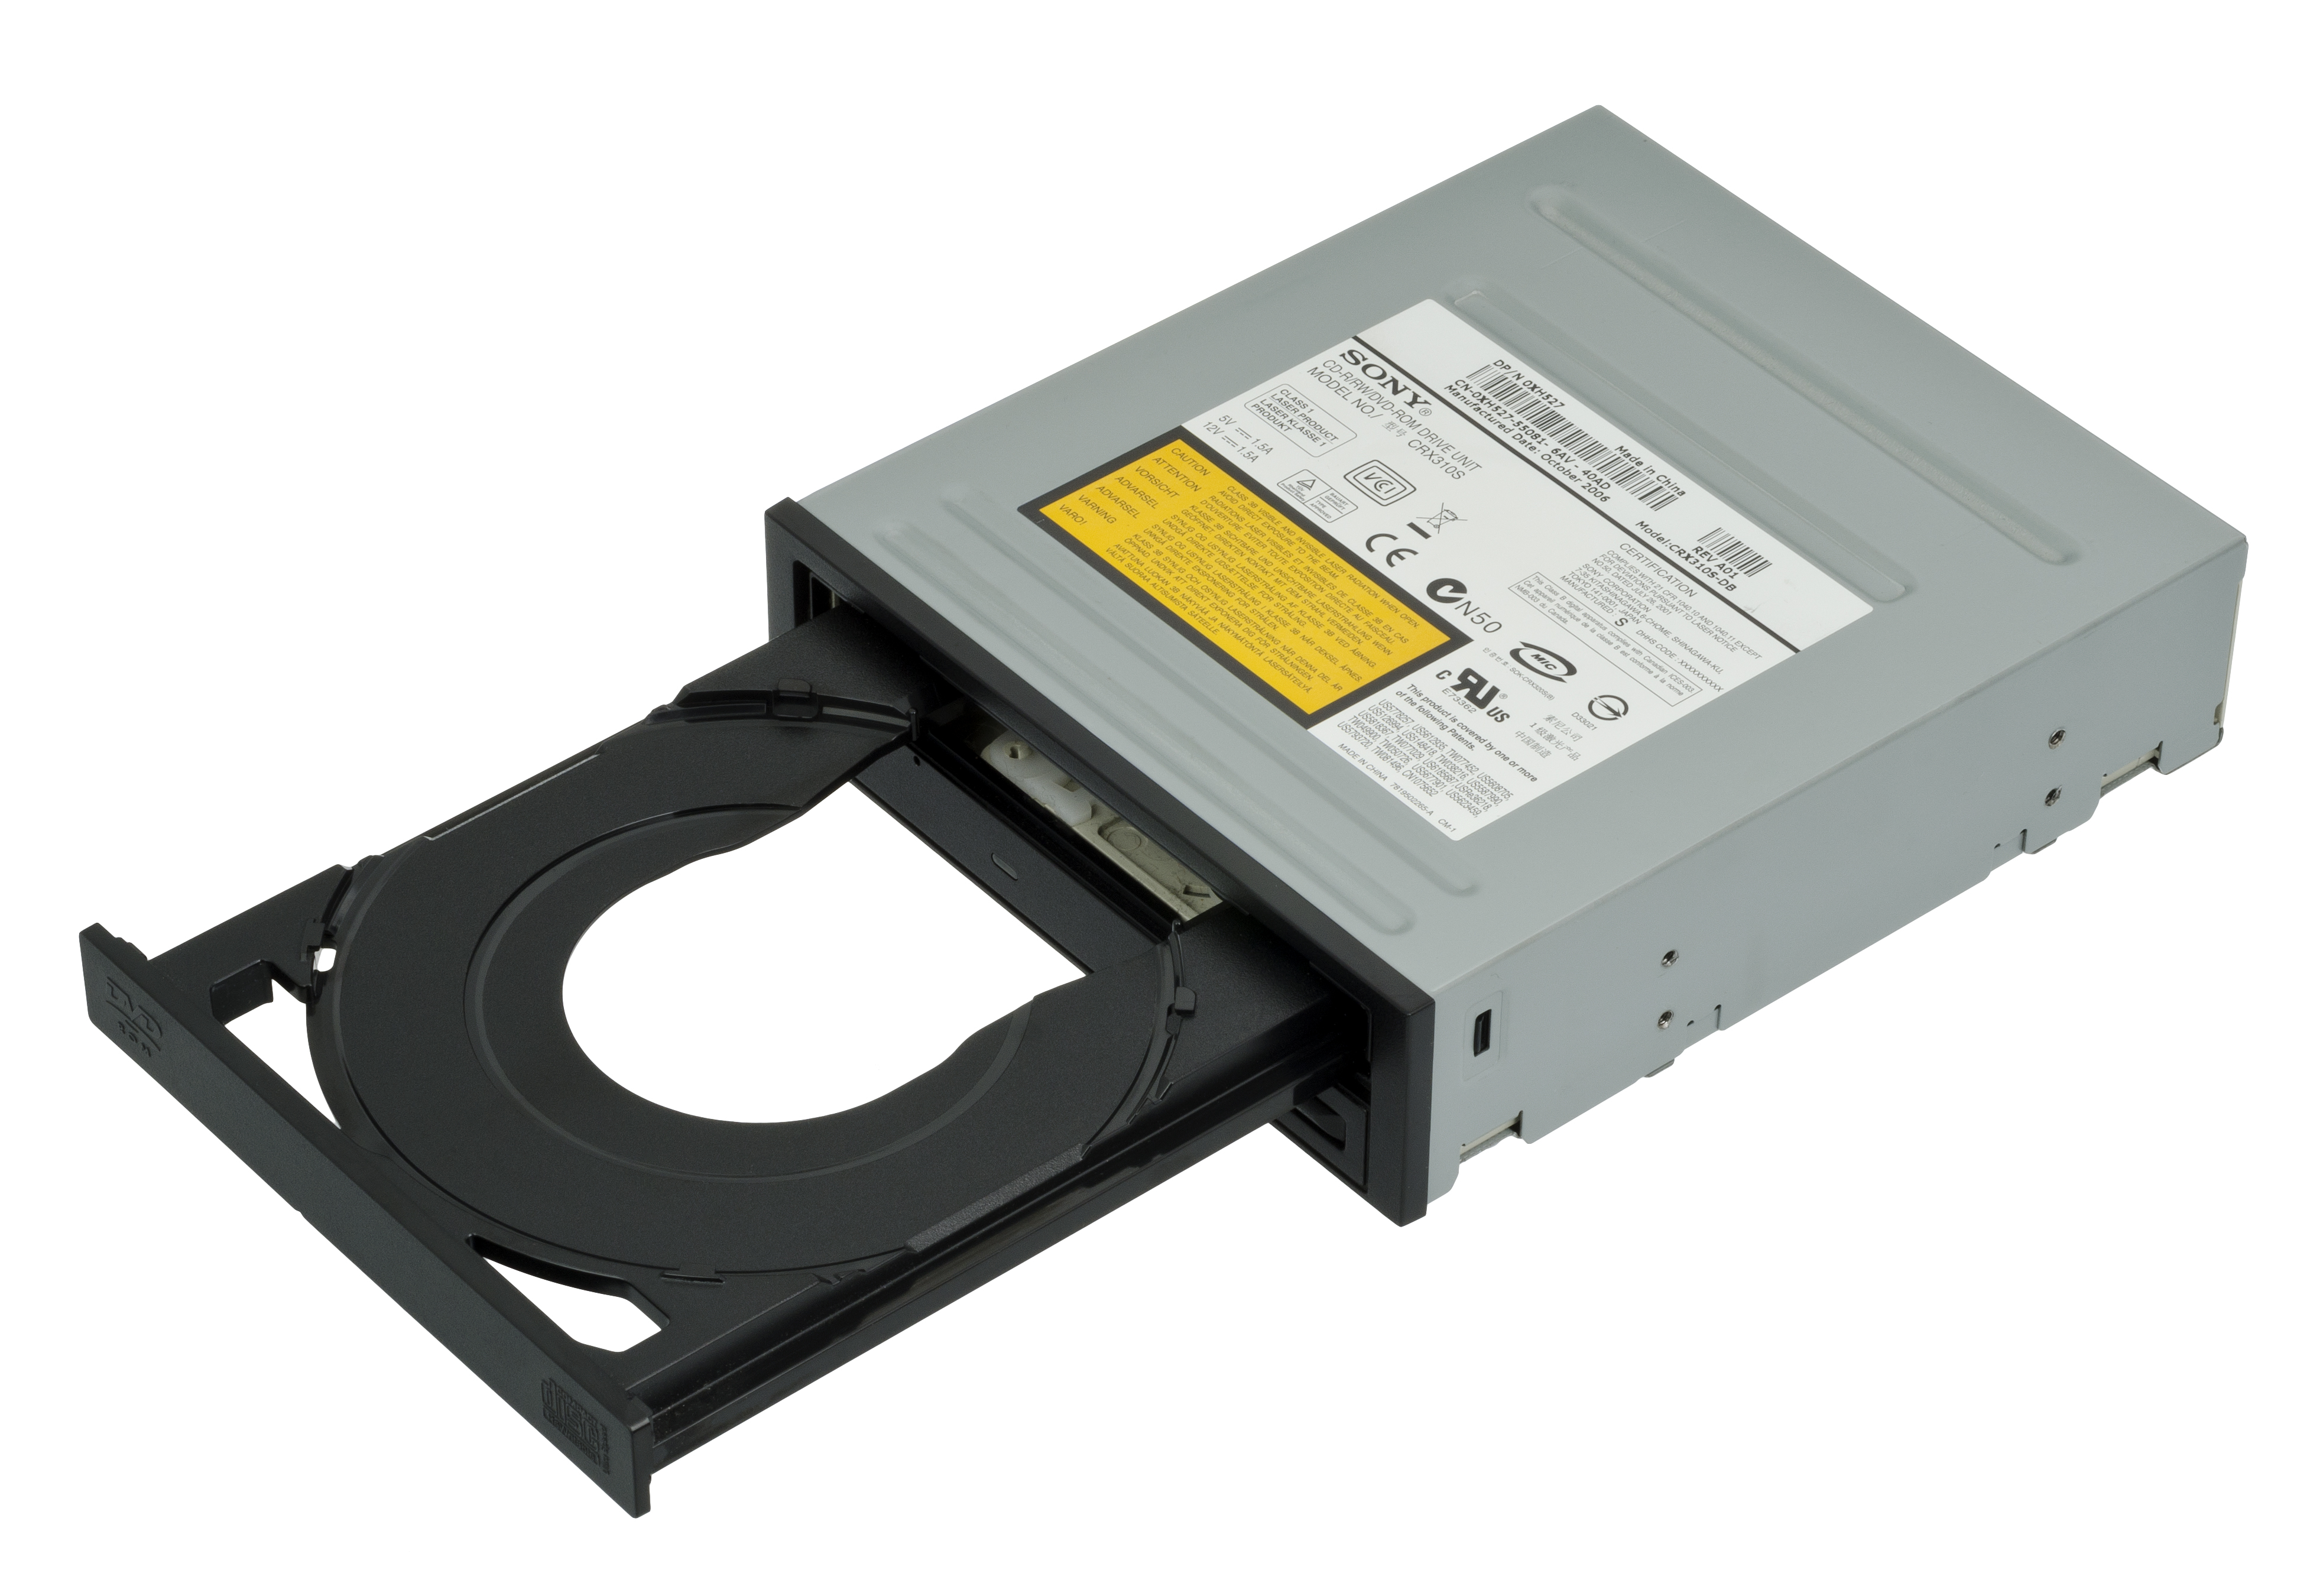
Uninstall and Reinstall DVD/CD and IDE ATA/ATAPI Drivers
To fix CD-ROM Error 19 in Windows, you may need to uninstall and reinstall DVD/CD and IDE ATA/ATAPI drivers. Here’s a step-by-step guide to help you with this process:
Step 1: Press the Windows key + X and select “Device Manager” from the menu.
Step 2: Expand the “DVD/CD-ROM drives” and “IDE ATA/ATAPI controllers” sections.
Step 3: Right-click on the DVD/CD drive and select “Uninstall device.” Confirm the uninstallation when prompted.
Step 4: Repeat the process for each DVD/CD drive listed.
Step 5: Right-click on each IDE ATA/ATAPI controller and select “Uninstall device.” Confirm the uninstallation when prompted.
Step 6: Restart your computer.
Step 7: Windows will automatically reinstall the DVD/CD and IDE ATA/ATAPI drivers upon restart.
Step 8: Check if the CD-ROM Error 19 is resolved.
Remember to follow these steps carefully, as modifying device drivers can have consequences if done incorrectly. If you’re unsure or uncomfortable with this process, it’s recommended to seek professional assistance or consult the device manufacturer’s support resources.
Convert DVDs to Digital Format
- Why convert DVDs to digital format: Preserve your DVD collection, access movies and shows on various devices, save space, and protect against damage.
- Step 1: Install a DVD ripping software like Handbrake or WinX DVD Ripper.
- Step 2: Launch the software and insert the DVD you want to convert.
- Step 3: Choose the output format (e.g., MP4, AVI, MKV) and specify the destination folder.
- Step 4: Customize the video settings if desired, such as resolution, bitrate, or subtitles.
- Step 5: Start the conversion process and wait for it to complete.
- Step 6: Transfer the converted digital file to your preferred device or upload it to a cloud storage service.
- Tips: Make sure you have enough storage space, consider using a dedicated DVD drive for faster ripping, and always use legally obtained DVDs.
FAQ
How do I fix code 19 error?
To fix code 19 error, you can follow these steps:
– Echoing back the question: To fix code 19 error, you can try the following steps.
– From Start, search for device manager and select Device Manager from the results.
– Right-click the device in the list.
– Select Uninstall from the menu that appears.
– After the device is uninstalled, choose Action on the menu bar.
How do I fix a CD-ROM error?
To fix a CD-ROM error, you can try uninstalling the optical drive from Device Manager and then restarting your computer. Windows 10 will automatically detect and reinstall the drive.
Why is my CD-ROM not reading discs?
Your CD-ROM may not be reading discs because the disc surface is dirty or scratched. To troubleshoot this issue, check the disc for damage and make sure it is compatible with your computer. Clean the disc by using filtered water and a lint-free cloth to remove any dust or smudges.
