Having trouble with your Ethernet connection? Dealing with the “No Valid IP Configuration” issue can be frustrating. Let’s delve into the possible solutions to get your Ethernet connection up and running smoothly again.
Understanding the Error

When encountering the error “Fix Ethernet – No Valid IP Configuration,” there are a few steps you can take to resolve the issue.
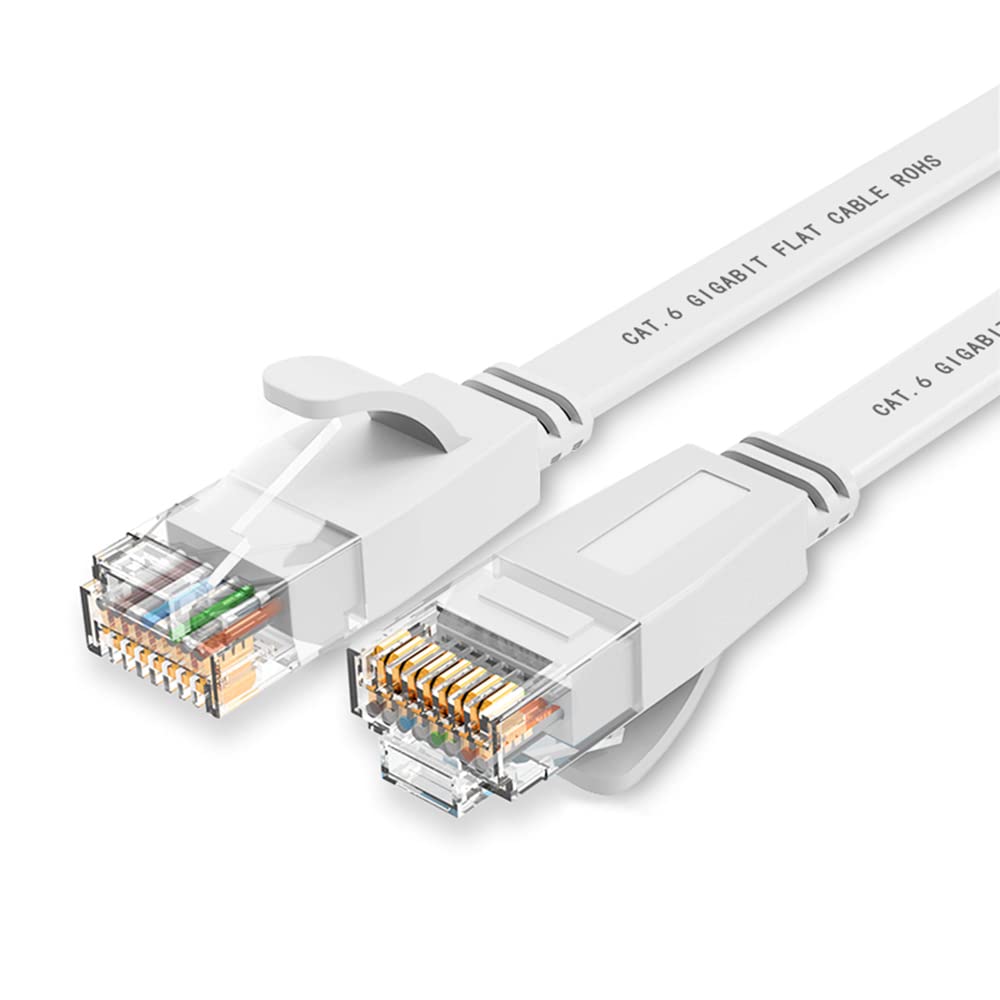
First, ensure that your Ethernet cable is securely connected to both your computer and the router. Check for any physical damage to the cable as well.
Next, try resetting your network settings. To do this, open the Command Prompt by pressing the Windows key + R, then type “cmd” and hit Enter. In the Command Prompt, type “ipconfig /release” and press Enter, followed by “ipconfig /renew” and press Enter again. This will reset your IP configuration.
If the issue persists, try updating your network adapter driver. To do this, right-click on the Start button and select “Device Manager.” Expand the “Network Adapters” category, right-click on your network adapter, and select “Update driver.” Choose the option to search automatically for updated driver software.
If none of these steps resolve the issue, you may need to contact technical support for further assistance.
Restart Devices and Network Components
To fix the “Ethernet – No Valid IP Configuration” issue, restarting your devices and network components can often resolve the problem. Follow these steps:
1. Power off your computer, modem, and router. This will ensure a fresh start for all the devices involved in your network connection.
2. Wait for about 30 seconds before powering them back on. This allows enough time for all the components to fully shut down.
3. Start by powering on your modem first. Wait until all the lights on the modem stabilize, indicating a successful connection to your internet service provider.
4. Next, power on your router. Wait for it to establish a connection with the modem and for the lights to stabilize.
5. Finally, power on your computer. This will allow your computer to establish a fresh connection with the network.
Adjust Network Adapter Settings
1. Press the Windows key + R to open the Run dialog box.
2. Type “ncpa.cpl” and press Enter to open the Network Connections window.
3. Right-click on your Ethernet or LAN connection and select “Properties”.
4. In the Properties window, scroll down and select “Internet Protocol Version 4 (TCP/IPv4)” and click on “Properties”.
5. Make sure “Obtain an IP address automatically” and “Obtain DNS server address automatically” are selected.
6. If they are already selected, try manually entering the DNS server address. To do this, select “Use the following DNS server addresses” and enter the preferred and alternate DNS server addresses provided by your Internet Service Provider (ISP).
7. Click “OK” to save the changes.
8. Restart your computer and check if the issue is resolved.
If the problem persists, consider resetting your network settings or contacting your ISP for further assistance.
Refresh Network Cache

To refresh the network cache and fix the “Ethernet – No Valid IP Configuration” issue, follow these steps:
1. Press the Windows key + R to open the Run dialog box.
2. Type “cmd” and press Enter to open the Command Prompt.
3. In the Command Prompt, type “ipconfig /flushdns” and press Enter. This will clear the DNS cache.
4. Next, type “nbtstat -R” and press Enter to reset the NetBIOS cache.
5. Finally, type “netsh int ip reset” and press Enter to reset the TCP/IP stack.
6. Restart your computer to apply the changes.
By refreshing the network cache, you are clearing any corrupt or outdated information that may be causing the “No Valid IP Configuration” error. This can help your computer establish a valid IP address and regain internet connectivity.
If the issue persists, you may need to troubleshoot further or seek technical support.
Reset TCP/IP Configuration
To reset the TCP/IP configuration and fix the “Ethernet – No Valid IP Configuration” issue, follow these steps:
1. Open Command Prompt: Press the Windows key + R, type “cmd”, and press Enter.
2. Run Command: In the Command Prompt window, type the following command and press Enter: netsh int ip reset
3. Reset Winsock: After the previous command finishes, type the following command and press Enter: netsh winsock reset
4. Restart Your Computer: After the Winsock reset completes, restart your computer.
5. Check Connection: After the restart, check if the “Ethernet – No Valid IP Configuration” issue is resolved.
If the problem persists, try other troubleshooting methods or contact your network administrator for assistance.
Update or Reinstall Network Adapter Driver
To update or reinstall your network adapter driver, follow these steps:
1. Press the Windows key + X and select “Device Manager” from the menu.
2. In the Device Manager window, expand the “Network adapters” category.
3. Right-click on your network adapter and select “Update driver” to automatically search for and install the latest driver available.
4. If the update doesn’t fix the issue, right-click on the network adapter again and select “Uninstall device”.
5. Confirm the uninstallation and restart your computer.
6. After the restart, Windows will automatically reinstall the network adapter driver.
7. If Windows doesn’t reinstall the driver, go back to Device Manager, right-click on your computer name at the top of the list, and select “Scan for hardware changes”.
These steps should help resolve the “Ethernet – No Valid IP Configuration” issue.
Disable Fast Startup Feature
To disable the Fast Startup feature, follow these steps:
1. Press the Windows key and type “Control Panel” to open the Control Panel.
2. In the Control Panel, click on “Power Options.”
3. On the left-hand side, click on “Choose what the power buttons do.”
4. Click on “Change settings that are currently unavailable.”
5. Scroll down and uncheck the box next to “Turn on fast startup (recommended).”
6. Click on “Save changes” to apply the settings.
Disabling Fast Startup can help resolve the “Ethernet – No Valid IP Configuration” issue by ensuring a full restart of the network interface controller and allowing it to obtain a valid IP configuration from the DHCP server. This can also help resolve connectivity issues with other network devices.
Remember to restart your computer after making this change for it to take effect.
If you’re still experiencing the issue after disabling Fast Startup, it may be necessary to troubleshoot further or seek assistance from a technical expert.
Direct Connection to Router

To directly connect to your router and fix the “Ethernet – No Valid IP Configuration” issue, follow these steps:
1. Start by turning off your computer and router.
2. Disconnect the Ethernet cable from both ends – the computer and the router.
3. Wait for a few seconds and then reconnect the Ethernet cable securely to both ends.
4. Turn on your router first, and wait for it to fully boot up.
5. Then turn on your computer and wait for it to fully start up.
6. Once your computer is on, press the Windows key + R to open the Run dialog box.
7. In the Run box, type “cmd” and press Enter to open the Command Prompt.
8. In the Command Prompt, type “ipconfig /release” and press Enter. This will release your current IP configuration.
9. Then type “ipconfig /renew” and press Enter. This will request a new IP configuration from your router.
10. If you receive a valid IP address, your Ethernet connection should now be fixed. You can verify this by typing “ipconfig” and checking the “IPv4 Address” under your Ethernet adapter.
11. If you still see a “No Valid IP Configuration” error, try restarting your computer and router again.
12. If the issue persists, you may need to update your network adapter driver. Visit your computer manufacturer’s website or the network adapter manufacturer’s website to download and install the latest driver for your network adapter.
F.A.Qs
How do I fix my Ethernet connection?
To fix your Ethernet connection, ensure that the Ethernet cable is firmly connected to both your router and Windows 10 PC. Additionally, try restarting your modem and wireless router to establish a fresh connection with your internet service provider (ISP).
How to configure Ethernet IP?
To configure Ethernet IP, follow these steps:
1. Select Internet Protocol Version 4 (TCP/IPv4) and click on Properties.
2. Choose “Use the following IP address.”
3. Enter the desired static IP address for your Ethernet adapter, such as 192.168.0.210.
4. Save the settings.
After configuring the Ethernet IP, you can access the access point web interface by entering http://192.168.0.100 in your web browser.
How do I fix no valid IP address?
To fix no valid IP address, you can try the following steps:
Restart your router.
Change the router’s SSID and password.
Check if the network service is running.
Restart your computer with a clean boot.
Run the network adapter troubleshooter.
How do I fix Ethernet doesn’t have valid IP configuration?
To fix “Ethernet doesn’t have valid IP configuration,” go to Control panel, then Network and sharing center, and select Change adapter settings. Right-click on Ethernet, choose Properties, and double-click on Internet Protocol Version 4 (TCP/IPv4). Finally, select the Obtain an IP address automatically radio button.

