Experiencing high CPU usage on your Windows computer? Here’s how to fix it.
Identify and Close High-Resource Processes
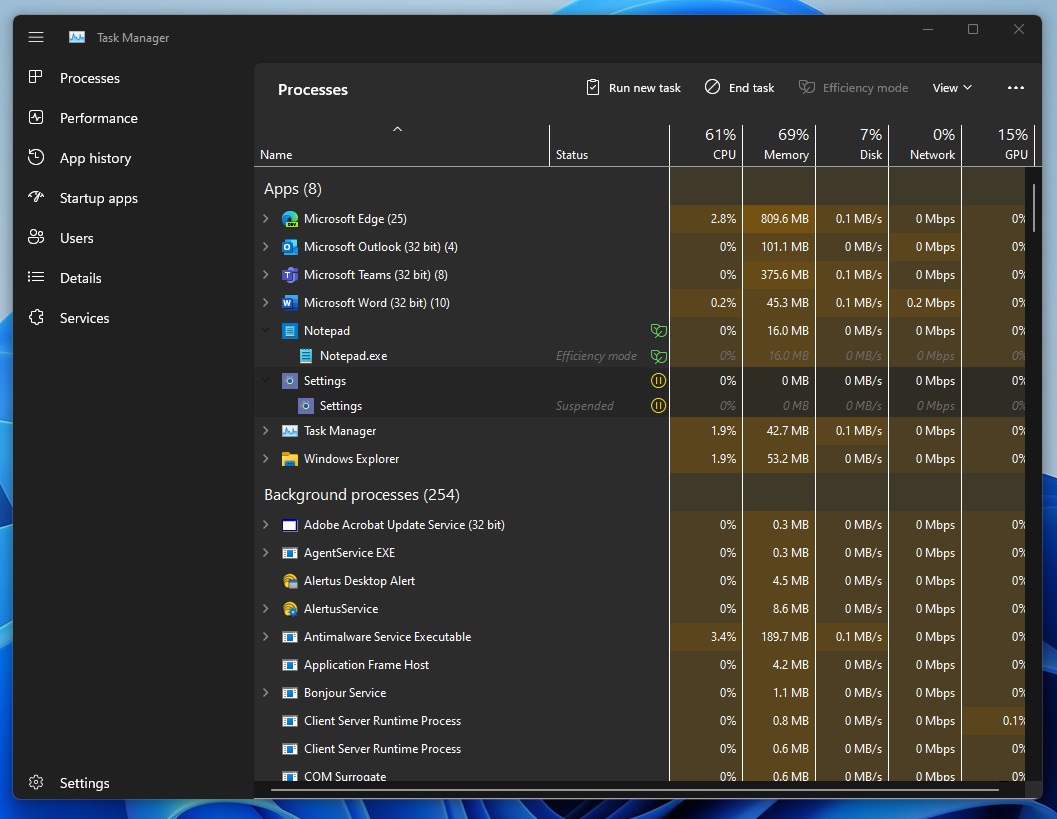
- Open Task Manager by pressing Ctrl+Shift+Esc.
- This will launch the Task Manager window.
- Click on the Processes tab to view all running processes.
- This tab displays a list of all the processes currently running on your system.
- Look for the processes that are consuming a high amount of CPU resources.
- These processes will be listed with high CPU usage percentages.
- Select the process that is using a significant amount of CPU resources.
- Click on the process to highlight it.
- Click on the End Task button located at the bottom-right corner of the Task Manager window.
- This will terminate the selected process.
- Repeat steps 4-6 for any other high-resource processes.
- Identify and close any additional processes that are using excessive CPU resources.
- Monitor the CPU usage after closing the high-resource processes.
- Check if the CPU usage has decreased significantly.
- If the CPU usage is still high, repeat steps 4-7 to identify and close any remaining problematic processes.
- Continue identifying and terminating processes until CPU usage is within normal range.
Update Drivers and BIOS
1. Update Drivers:
– Open the Start menu and search for “Device Manager.”
– Click on the “Device Manager” app to open it.
– Expand the categories and locate the devices that need driver updates.
– Right-click on the device and select “Update driver.”
– Choose the option to search automatically for updated driver software.
– Windows will search online for the latest drivers and install them if available.
– Repeat this process for all devices that need driver updates.
2. Update BIOS:
– Visit the website of your motherboard manufacturer.
– Look for the support or downloads section.
– Enter your motherboard model number and search for the latest BIOS update.
– Download the BIOS update file and save it to a USB drive.
– Restart your computer and enter the BIOS setup by pressing a specific key (usually displayed during startup).
– Navigate to the “BIOS Update” or “Flash BIOS” section.
– Select the USB drive as the source for the BIOS update file.
– Follow the on-screen instructions to update the BIOS.
– Once the update is complete, restart your computer.
Updating drivers and BIOS can help resolve compatibility issues, improve system stability, and fix high CPU usage problems. Make sure to regularly check for driver and BIOS updates to keep your system running smoothly.
Remember to always download drivers and BIOS updates from official and trusted sources to avoid malware and other security risks. Additionally, it is recommended to create a system restore point before making any changes to your computer’s hardware or software.
By keeping your drivers and BIOS up to date, you can optimize your computer’s performance and reduce CPU usage, allowing for smoother multitasking and improved overall system responsiveness.
Conduct Malware and Antivirus Scans
Conducting malware and antivirus scans can help fix high CPU usage in Windows. Malware and viruses can consume a significant amount of CPU resources, causing your computer to slow down and experience performance issues. To resolve this problem, you should regularly scan your system for any malicious software or viruses.
To conduct a malware and antivirus scan, follow these steps:
1. Open your antivirus software: Start by opening your antivirus software. If you don’t have one installed, consider using a reputable antivirus program like Avast, AVG, or Norton.
2. Update your antivirus software: Before running a scan, make sure your antivirus software is up to date. This ensures that it has the latest virus definitions and can effectively detect and remove any malware.
3. Perform a full system scan: In your antivirus software, look for an option to perform a full system scan. This scan will thoroughly examine your entire computer, including all files and processes, for any malware or viruses. Run the scan and allow the software to complete its analysis.
4. Quarantine or remove any threats: After the scan is complete, your antivirus software will display a list of any threats it has detected. Take the necessary action to quarantine or remove these threats from your system. Follow your antivirus software’s instructions to safely remove or quarantine the identified malware or viruses.
5. Restart your computer: Once you have removed or quarantined the threats, restart your computer. This will help ensure that any remaining malicious processes are terminated and that your system is clean.
By regularly conducting malware and antivirus scans, you can prevent high CPU usage caused by malware and viruses. This will help keep your computer running smoothly and protect your personal information from potential threats.
Remember to keep your antivirus software up to date and consider enabling real-time scanning for continuous protection against malware. Additionally, practice safe browsing habits, avoid downloading files from untrusted sources, and keep your operating system and other software up to date with the latest patches to minimize the risk of malware infections.
Modify Power and Registry Settings
1. Adjust Power Settings: Open the Control Panel and navigate to “Power Options.” Select the power plan you are currently using and click on “Change plan settings.” From here, you can adjust the power settings to use less CPU power. Decreasing the maximum processor state can help reduce CPU usage.
2. Modify Registry Settings: Open the Registry Editor by pressing Windows key + R and typing “regedit.” Navigate to “HKEY_LOCAL_MACHINE\SYSTEM\CurrentControlSet\Control\Session Manager\Memory Management.” Look for the “ClearPageFileAtShutdown” value and double-click on it. Change the value from 0 to 1 to clear the paging file at shutdown, which can free up CPU resources.
3. Disable Startup Programs: Press Windows key + R, type “msconfig,” and hit Enter. Go to the “Startup” tab and uncheck any unnecessary programs that are set to launch at startup. Disabling these programs can reduce the CPU load during booting and improve overall performance.
4. Update Windows: Keeping your operating system up to date is crucial for optimal performance. Open the Start menu, search for “Windows Update,” and click on “Check for updates.” Install any available updates to ensure that your system is running smoothly and efficiently.
5. Scan for Malware: Run a full system scan using a reliable antivirus program to check for any malware or viruses that may be causing high CPU usage. Malware can significantly impact your computer’s performance and should be removed promptly.
Disable Unnecessary Background Applications

- Open Task Manager by pressing Ctrl+Shift+Esc
- Click on the Processes tab
- Sort the processes by CPU usage (click on the CPU column header)
- Identify any processes that are using a high amount of CPU resources
- Right-click on the process and select End Task
- Repeat this process for all unnecessary background applications

Restart or Reinstall Critical Services
If you’re experiencing 100% CPU usage on your Windows computer, restarting or reinstalling critical services can help resolve the issue. Here’s how you can do it:
1. Open the Task Manager by pressing Ctrl + Shift + Esc on your keyboard.
2. In the Task Manager window, go to the “Processes” tab.
3. Look for any processes that are using a high amount of CPU resources. These processes will be listed under the “CPU” column and will have a high percentage next to them.
4. Right-click on the process and select “End Task” to stop it. Repeat this step for any other processes that are consuming a high amount of CPU.
5. After ending the problematic processes, check if the CPU usage has decreased. If it has, the issue may have been caused by a background process or application.
6. If the high CPU usage persists, you can try restarting the Windows Management Instrumentation (WMI) service. Press Win + R on your keyboard to open the Run dialog box, type “services.msc“, and press Enter.
7. In the Services window, locate the “Windows Management Instrumentation” service, right-click on it, and select “Restart”. This will restart the service and may help resolve the high CPU usage.
8. If restarting the service doesn’t work, you can try reinstalling the WMI service. To do this, open the Command Prompt as an administrator by pressing Win + X and selecting “Command Prompt (Admin)”.
9. In the Command Prompt window, type the following command and press Enter: “sc config winmgmt start= disabled“. This will disable the WMI service.
10. Next, type the following command and press Enter: “winmgmt /resetRepository“. This will reset the WMI repository.
11. Finally, type the following command and press Enter: “sc config winmgmt start= auto“. This will set the WMI service to start automatically.
12. Restart your computer and check if the CPU usage has improved.
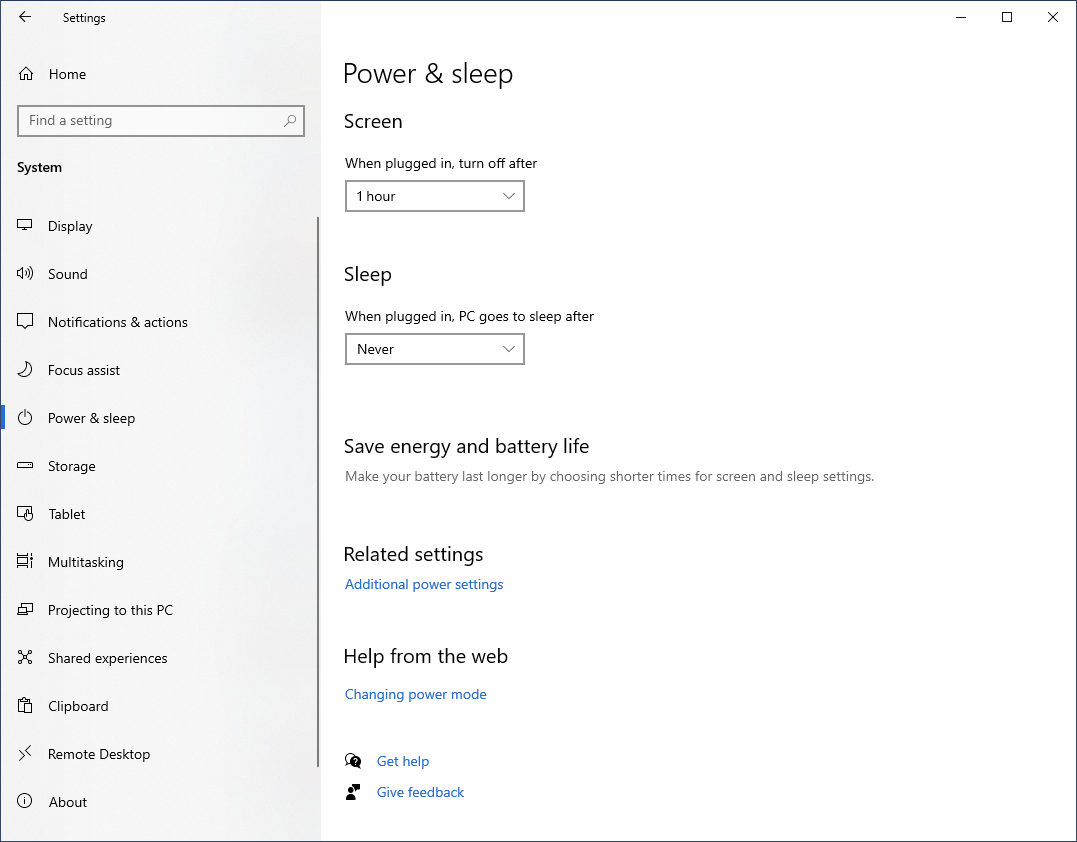
Optimize Notification and Sharing Settings
1. Open the “Settings” menu by clicking on the “Start” button and selecting the gear icon.
2. Click on “System” in the Settings menu.
3. In the left-hand menu, click on “Notifications & actions.”
4. Disable unnecessary notifications:
– Scroll down to the “Notifications” section.
– Toggle off the notifications for apps that you don’t need to receive notifications from.
– Consider disabling notifications for non-essential system apps as well.
5. Manage notification settings:
– Scroll down to the “Get notifications from these senders” section.
– Toggle off the notifications for specific apps that you don’t want to receive notifications from.
– Customize the notification settings for each app by clicking on the app name.
6. Adjust sharing settings:
– Go back to the main “System” page.
– Click on “Shared experiences” in the left-hand menu.
– Toggle off the “Nearby sharing” and “Share across devices” options if you don’t need these features.
7. Check for software updates:
– Open the “Settings” menu again.
– Click on “Update & Security.”
– Click on “Windows Update” in the left-hand menu.
– Click on the “Check for updates” button to make sure your computer has the latest updates installed.
8. Monitor CPU usage:
– Press the “Ctrl,” “Shift,” and “Esc” keys together to open the Task Manager.
– Click on the “Processes” tab.
– Sort the processes by CPU usage to identify any programs or processes using excessive CPU resources.
– If you find any problematic processes, right-click on them and select “End Task” to close them.
By optimizing your notification and sharing settings and keeping your software up to date, you can help reduce CPU usage on your Windows computer and improve overall performance.
Maintain Regular PC Cleaning and Upkeep

Maintaining regular PC cleaning and upkeep is crucial for fixing 100% CPU usage in Windows. By following these steps, you can optimize your computer’s performance and avoid potential issues.
First, start by cleaning the dust that accumulates on your computer’s hardware. Dust can clog the fans and heat sinks, leading to overheating and increased CPU usage. Use a can of compressed air or a soft brush to carefully remove the dust from your computer’s components.
Next, update your software. Outdated software can cause compatibility issues and consume more CPU resources. Make sure to install the latest updates for your operating system, applications, and drivers. This can often fix bugs and improve performance.
Another important step is to manage your startup programs. Many applications automatically start when you boot up your computer, which can slow down your system and increase CPU usage. Use the Task Manager to disable unnecessary startup programs and only keep the essential ones.
Additionally, check for malware and viruses. These malicious programs can consume a significant amount of CPU resources, leading to high CPU usage. Use a reliable antivirus software to scan your system and remove any threats that are detected.
Furthermore, monitor your CPU usage using the Task Manager. This tool provides real-time information on the processes and applications that are consuming the most CPU resources. Identify any resource-intensive programs and consider closing or uninstalling them if they are not necessary.
Lastly, ensure that your computer’s hardware is in good condition. Overheating can cause high CPU usage, so make sure that your computer is properly ventilated and that the fans are functioning correctly. Consider cleaning or replacing the thermal paste on your CPU and ensure that the heat sink is properly connected.
FAQ
Can I damage my CPU by Utilising it at 100%?
Running a CPU at 100% is generally safe as long as the temperature does not exceed the manufacturer’s maximum safe temperature.
What does it mean when your CPU is running at 100%?
When your CPU is running at 100%, it means that your computer is attempting to handle more tasks than it can handle efficiently.
Why is my CPU all the time 100%?
Your CPU is running at 100% all the time because your computer is trying to handle more tasks than it can efficiently handle, causing a slowdown in its performance. This is particularly common when running computationally intensive tasks like gaming.
How do I fix 100% CPU utilization?
To fix 100% CPU utilization, you can start by identifying the process causing the issue. Close any unnecessary applications or put them to sleep. Check for malware and update your drivers and software. Reset power settings and disable Windows notifications. Additionally, disabling P2P sharing and Cortana in the Registry Editor can help resolve the problem.
