Having trouble with the Windows 10 Gateway automatic repair loop? Here’s how to fix it.
Perform a Hard Reboot
Performing a hard reboot can help fix the Windows 10 Gateway automatic repair loop issue. Here’s how you can do it:
1. Press and hold the power button on your computer for about 10 seconds until it shuts down completely.
2. Once the computer is off, unplug the AC adapter or remove the battery if you’re using a laptop.
3. After a few seconds, plug the AC adapter back in or reinsert the battery.
4. Press the power button to turn on your computer.
5. As the computer boots up, repeatedly press the F8 key to access the Advanced Boot Options menu.
6. From the menu, select “Safe Mode” and press Enter.
7. Once in Safe Mode, you can run a scan with your antivirus software to check for any malware or viruses that may be causing the issue.
8. Alternatively, you can try using a boot disk or a USB flash drive with Windows Setup to repair the system files.
9. If none of these steps resolve the automatic repair loop issue, you may need to seek further assistance from a professional or contact the manufacturer of your computer.
Performing a hard reboot can help resolve various boot-related issues and get your Windows 10 Gateway back up and running smoothly.
Boot in Safe Mode
To boot Windows 10 in Safe Mode and fix the automatic repair loop issue on your Gateway computer, follow these steps:
1. Start your computer and immediately press and hold the Shift key until the Windows logo appears.
2. On the Windows sign-in screen, click on the Power icon in the bottom-right corner while holding the Shift key, and then select Restart.
3. Your computer will restart and display the Choose an option screen. Select Troubleshoot.
4. On the Troubleshoot screen, select Advanced options.
5. On the Advanced options screen, choose Startup Settings.
6. Click on the Restart button to access the Startup Settings menu.
7. Once the Startup Settings menu appears, press the 4 or F4 key on your keyboard to boot into Safe Mode.
8. Your computer will now start in Safe Mode, allowing you to troubleshoot and fix any issues causing the automatic repair loop.
Remember, Safe Mode starts Windows with only the essential drivers and services, which can help determine if a software or driver conflict is causing the problem. Use this opportunity to run antivirus scans, check for malware, repair corrupted files using CHKDSK, or uninstall any recently installed software that may be causing the issue.
If you’re unable to fix the problem in Safe Mode, you may need to seek additional assistance from a professional or contact Gateway support.
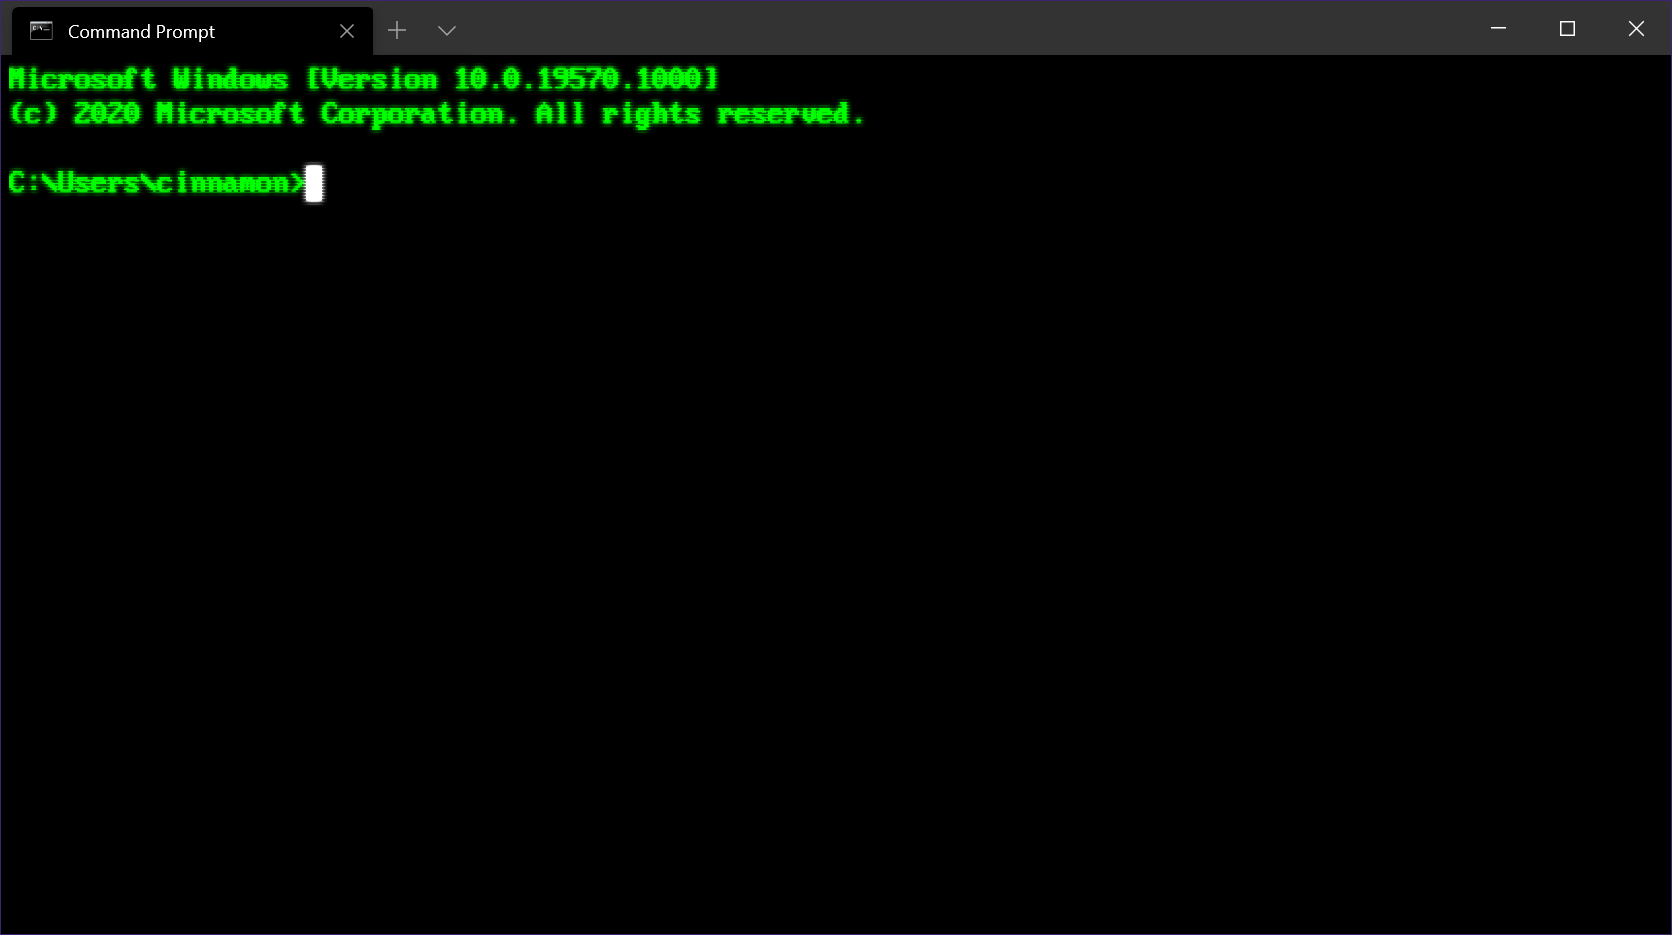
Rebuild BCD Using Command Prompt
1. Boot your Windows 10 computer using a bootable USB flash drive or DVD of Windows 10.
2. On the Windows Setup screen, select your language preferences and click “Next.”
3. Click “Repair your computer” at the bottom left corner of the screen.
4. Select “Troubleshoot” > “Advanced options” > “Command Prompt.”
5. In the Command Prompt window, type “bootrec /fixmbr” and press Enter. This command repairs the Master Boot Record (MBR) on your computer.
6. Next, type “bootrec /fixboot” and press Enter. This command repairs the boot sector of your computer.
7. Finally, type “bootrec /rebuildbcd” and press Enter. This command rebuilds the Boot Configuration Data (BCD) file.
8. If prompted, select the operating system you want to add to the BCD and press Enter.
9. Once the process is complete, type “exit” and press Enter to close the Command Prompt.
10. Restart your computer and check if the automatic repair loop issue is resolved.
Note: Rebuilding BCD can help fix issues related to the booting process of Windows 10, such as the “Gateway Automatic Repair Loop.”
Disable Automatic Repair at Boot
To disable the automatic repair at boot in Windows 10, follow these steps:
1. Restart your computer and press the F8 key repeatedly until the Advanced Boot Options menu appears.
2. Use the arrow keys to select “Disable automatic repair on startup” and press Enter.
3. Your computer will now start without going into the automatic repair loop.
4. If you still experience issues, you can try running CHKDSK to check for any errors on your hard drive. Open the Command Prompt as an administrator and type “chkdsk C: /f /r“, replacing “C:” with the drive letter of your main hard drive. Press Enter and follow the instructions.
5. Another option is to use a boot disk or recovery disc to repair your computer. Insert the boot disk or recovery disc and restart your computer. Follow the on-screen instructions to access the repair options.
6. If all else fails, you may need to reset your computer to its factory settings. This will erase all your personal files and programs, so make sure to back up your important data beforehand.
Run Fixboot and Chkdsk Commands
To fix the Windows 10 Gateway Automatic Repair Loop, you can try running the Fixboot and Chkdsk commands. These commands can help resolve issues with the booting process and fix any errors on your computer.
Fixboot: This command is used to write a new boot sector on the system partition. It can help fix boot-related issues and restore the computer to a working state.
Chkdsk: This command is used to check the integrity of the file system and fix any errors that are found. It can help resolve issues with corrupted files or bad sectors on the hard drive.
To run these commands, you will need to access the Command Prompt. You can do this by booting your computer from a Windows installation DVD or USB drive.
Once you are in the Command Prompt, type the following commands:
1. bootrec /fixboot: This command will write a new boot sector on the system partition.
2. chkdsk C: /f: This command will check the integrity of the C drive and fix any errors that are found.
After running these commands, restart your computer and see if the Automatic Repair Loop issue has been resolved. If not, you may need to try other troubleshooting methods or seek professional help.
Restore the Windows Registry
![]()
1. Start by booting your computer using a Windows 10 installation disc or USB drive.
2. When prompted, select your language preferences and click “Next.”
3. On the next screen, click “Repair your computer” at the bottom left corner.
4. Select “Troubleshoot” and then choose “Advanced options.”
5. From the advanced options, click on “Command Prompt.”
6. In the Command Prompt window, type “regedit” and press Enter to open the Registry Editor.
7. In the Registry Editor, navigate to “HKEY_LOCAL_MACHINE\SYSTEM\CurrentControlSet\Control\Session Manager\Memory Management”.
8. Look for a key called “ClearPageFileAtShutdown” and change its value from 1 to 0.
9. Close the Registry Editor and restart your computer.
10. If the issue persists, you can try other troubleshooting methods or seek assistance from a professional.
Extend System Reserved Partition
To extend the System Reserved Partition in Windows 10 and fix the automatic repair loop issue, follow these steps:
1. Boot your computer into the Windows Recovery Environment by either using a Windows installation disc or pressing a specific key during startup, depending on your computer’s manufacturer.
2. Once in the recovery environment, open the Command Prompt.
3. Type “diskpart” and press Enter to open the DiskPart utility.
4. Type “list disk” and press Enter to see a list of all available disks on your computer.
5. Identify the disk that contains the System Reserved Partition and note its number.
6. Type “select disk [disk number]” and press Enter, replacing [disk number] with the actual number of the disk.
7. Type “list partition” and press Enter to see a list of all partitions on the selected disk.
8. Identify the System Reserved Partition and note its number.
9. Type “select partition [partition number]” and press Enter, replacing [partition number] with the actual number of the System Reserved Partition.
10. Type “extend” and press Enter to extend the partition using all available space on the disk.
11. Exit the DiskPart utility by typing “exit” and pressing Enter.
12. Restart your computer and check if the automatic repair loop issue is resolved.
Note: It is important to be cautious when making changes to disk partitions, as data loss can occur. Make sure to back up your important files before proceeding.
Check Hardware Compatibility
1. Restart your computer and repeatedly press the Delete or F2 key to enter the BIOS settings.
2. Navigate to the “System Information” or “Hardware” section to view your computer’s hardware components.
3. Ensure that all hardware components are compatible with Windows 10. Check for any compatibility issues, such as outdated drivers or incompatible devices.
4. If you find any incompatible hardware, consider updating the device drivers or replacing the hardware component.
5. Additionally, check for any loose connections or faulty hardware that may be causing the automatic repair loop.
6. If you suspect a virus or malware infection, run a full system scan using a reliable antivirus software.
7. If the issue persists, you may need to perform a clean installation of Windows 10. Back up your data to prevent any data loss.
8. Follow a tutorial or guide on how to reinstall Windows 10 using a bootable USB or DVD.
9. During the installation process, make sure to properly configure the disk partitioning and select the correct Windows Boot Manager.
10. After the installation is complete, install the necessary drivers and updates for your hardware components.
Reset or Refresh Windows 10
If you find yourself stuck in an automatic repair loop on your Windows 10 Gateway, there are a few steps you can take to reset or refresh your system and potentially fix the issue.
Firstly, try restarting your computer and pressing the F8 key repeatedly during the booting process to access the Advanced Boot Options menu. From there, select “Repair Your Computer” and follow the on-screen instructions to access the Recovery Console.
If this doesn’t work, you can also try resetting your Windows 10 operating system. To do this, go to the Start menu and select “Settings.” From there, click on “Update & Security” and then “Recovery.” Under the “Reset this PC” section, click on “Get Started” and follow the prompts to reset your system.
If neither of these options work, you may need to consider reinstalling Windows 10. To do this, you will need to create a Windows 10 installation media using a USB flash drive or a DVD-ROM. Once you have the installation media, restart your computer and press the appropriate key (usually F12) to access the boot menu. Select the installation media and follow the on-screen instructions to reinstall Windows 10.
Reinstall Windows
![]()
1. Start by inserting a Windows installation disc or USB drive into your computer.
2. Restart your computer and press the appropriate key (usually F12 or Esc) to access the boot menu.
3. Select the option to boot from the installation disc or USB drive.
4. On the Windows Setup screen, choose your language preferences and click “Next.”
5. Click on “Install now” and follow the on-screen instructions.
6. When prompted, enter your product key and click “Next.”
7. Accept the license terms and click “Next.”
8. Choose the “Custom: Install Windows only (advanced)” option.
9. Select the partition where Windows is currently installed and click “Delete.” Confirm the deletion if prompted.
10. Select the unallocated space and click “Next” to begin the installation process.
11. Follow the remaining on-screen instructions to complete the installation.
12. After Windows is installed, remove the installation disc or USB drive and restart your computer.
13. Your computer should now start up without the Automatic Repair Loop issue.
Remember to back up any important files before reinstalling Windows to avoid data loss.
If you continue to experience issues, it may be necessary to seek professional assistance or contact the manufacturer (such as Dell, Lenovo, Asus, or HP) for further support.
F.A.Qs
How do I cancel automatic repair?
To cancel automatic repair, you can follow these steps:
– Open Start.
– Search for Command Prompt, right-click the top result, and select Run as administrator.
– Type the command “bcdedit” and press Enter.
– Check that the values “recoveryenabled” and “identifier” under the “Windows Boot Loader” section are set to “{current}” and “yes.”
How do I get my computer out of automatic repair?
To get your computer out of automatic repair, you can try running the Fixboot and Chkdsk commands, performing a system scan in safe mode, restoring the Windows Registry, disabling the automatic repair tool, disabling Early Launch Anti-Malware, or performing a hard reboot.
Why is my Gateway laptop saying preparing automatic repair?
Your Gateway laptop may be saying “Preparing Automatic Repair” due to missing or corrupted system files, outdated drivers, malware, or a damaged system registry.
