Group Policy not updating on Windows 7 client can be a frustrating issue to encounter.
Troubleshooting Group Policy Processing
If you are experiencing issues with Group Policy not updating on a Windows 7 client, there are a few troubleshooting steps you can take.
First, check the network connectivity of the client. Ensure that the client is connected to the correct subnetwork and has a valid IP address. You can verify this by checking the Internet Protocol version 4 settings in the network adapter properties.
Next, check if there are any issues with the client’s connection to the domain controller. Make sure the client can communicate with the domain controller by pinging its hostname or IP address. If necessary, check the default gateway and DNS settings in the network adapter properties.
If the client is behind a proxy server, ensure that the proxy settings are configured correctly. Group Policy may not update if the client is unable to connect to the appropriate resources through the proxy.
It’s also important to check for any malware or computer viruses that may be interfering with Group Policy processing. Run a thorough scan using a reputable antivirus software to remove any potential threats.
If the issue persists, try resetting the Group Policy settings on the client. Open File Explorer and navigate to “C:\Windows\System32\GroupPolicy”. Delete the “Machine” and “User” folders within this directory. Then, open a command prompt with administrator privileges and run the command “gpupdate /force” to refresh the Group Policy settings.
If none of these steps resolve the issue, it may be necessary to delve deeper into the Windows Registry and check for any conflicting Group Policy settings. However, this should only be done by advanced users or under the guidance of a professional.
Ensuring Proper DNS Name Resolution
To ensure proper DNS name resolution on a Windows 7 client experiencing issues with Group Policy updates, follow these steps:
1. Verify network connectivity: Check that the client is connected to the network and can access the internet. Ensure that the network cable is securely plugged in and that the client’s network interface controller is functioning properly.
2. Check DNS settings: Open the Network and Sharing Center in the Control Panel and click on “Change adapter settings.” Right-click on the network adapter being used and select “Properties.” In the list of items, select “Internet Protocol version 4 (TCP/IPv4)” and click on “Properties.” Ensure that “Obtain DNS server address automatically” is selected or manually enter the correct DNS server addresses provided by your network administrator.
3. Flush DNS cache: Open the Command Prompt by typing “cmd” in the Start menu search bar and pressing Enter. In the Command Prompt window, type “ipconfig /flushdns” and press Enter. This will clear the DNS cache on the client.
4. Check DNS resolution: In the Command Prompt window, type “nslookup” followed by the DNS name or IP address of the server hosting the Group Policy objects. This will test the DNS resolution of the server. If the DNS resolution fails, check the DNS server settings and try using a different DNS server.
5. Verify Group Policy settings: Open the Group Policy Management Console on a domain controller and navigate to the Group Policy object that should be applied to the client. Ensure that the settings are configured correctly and that the client is in the correct organizational unit (OU) to receive the Group Policy updates.
6. Restart the client: Sometimes, a simple restart can resolve Group Policy update issues. Restart the Windows 7 client and check if the Group Policy updates are being applied correctly.
Resetting and Deleting Group Policy Files
To reset and delete Group Policy files on a Windows 7 client, follow these steps:
1. Open File Explorer and navigate to the following directory: C:\Windows\System32\GroupPolicy.
2. Delete the “Machine” folder and its contents. This will remove all Group Policy settings applied to the computer.
3. Navigate to the following directory: C:\Windows\System32\GroupPolicyUsers.
4. Delete the “User” folder and its contents. This will remove all Group Policy settings applied to user profiles on the computer.
5. Open Command Prompt as an administrator by right-clicking on the Start button and selecting “Command Prompt (Admin)” from the context menu.
6. In Command Prompt, type the following command and press Enter: gpupdate /force. This will force a Group Policy update on the client machine.
7. Restart the computer to apply the changes.
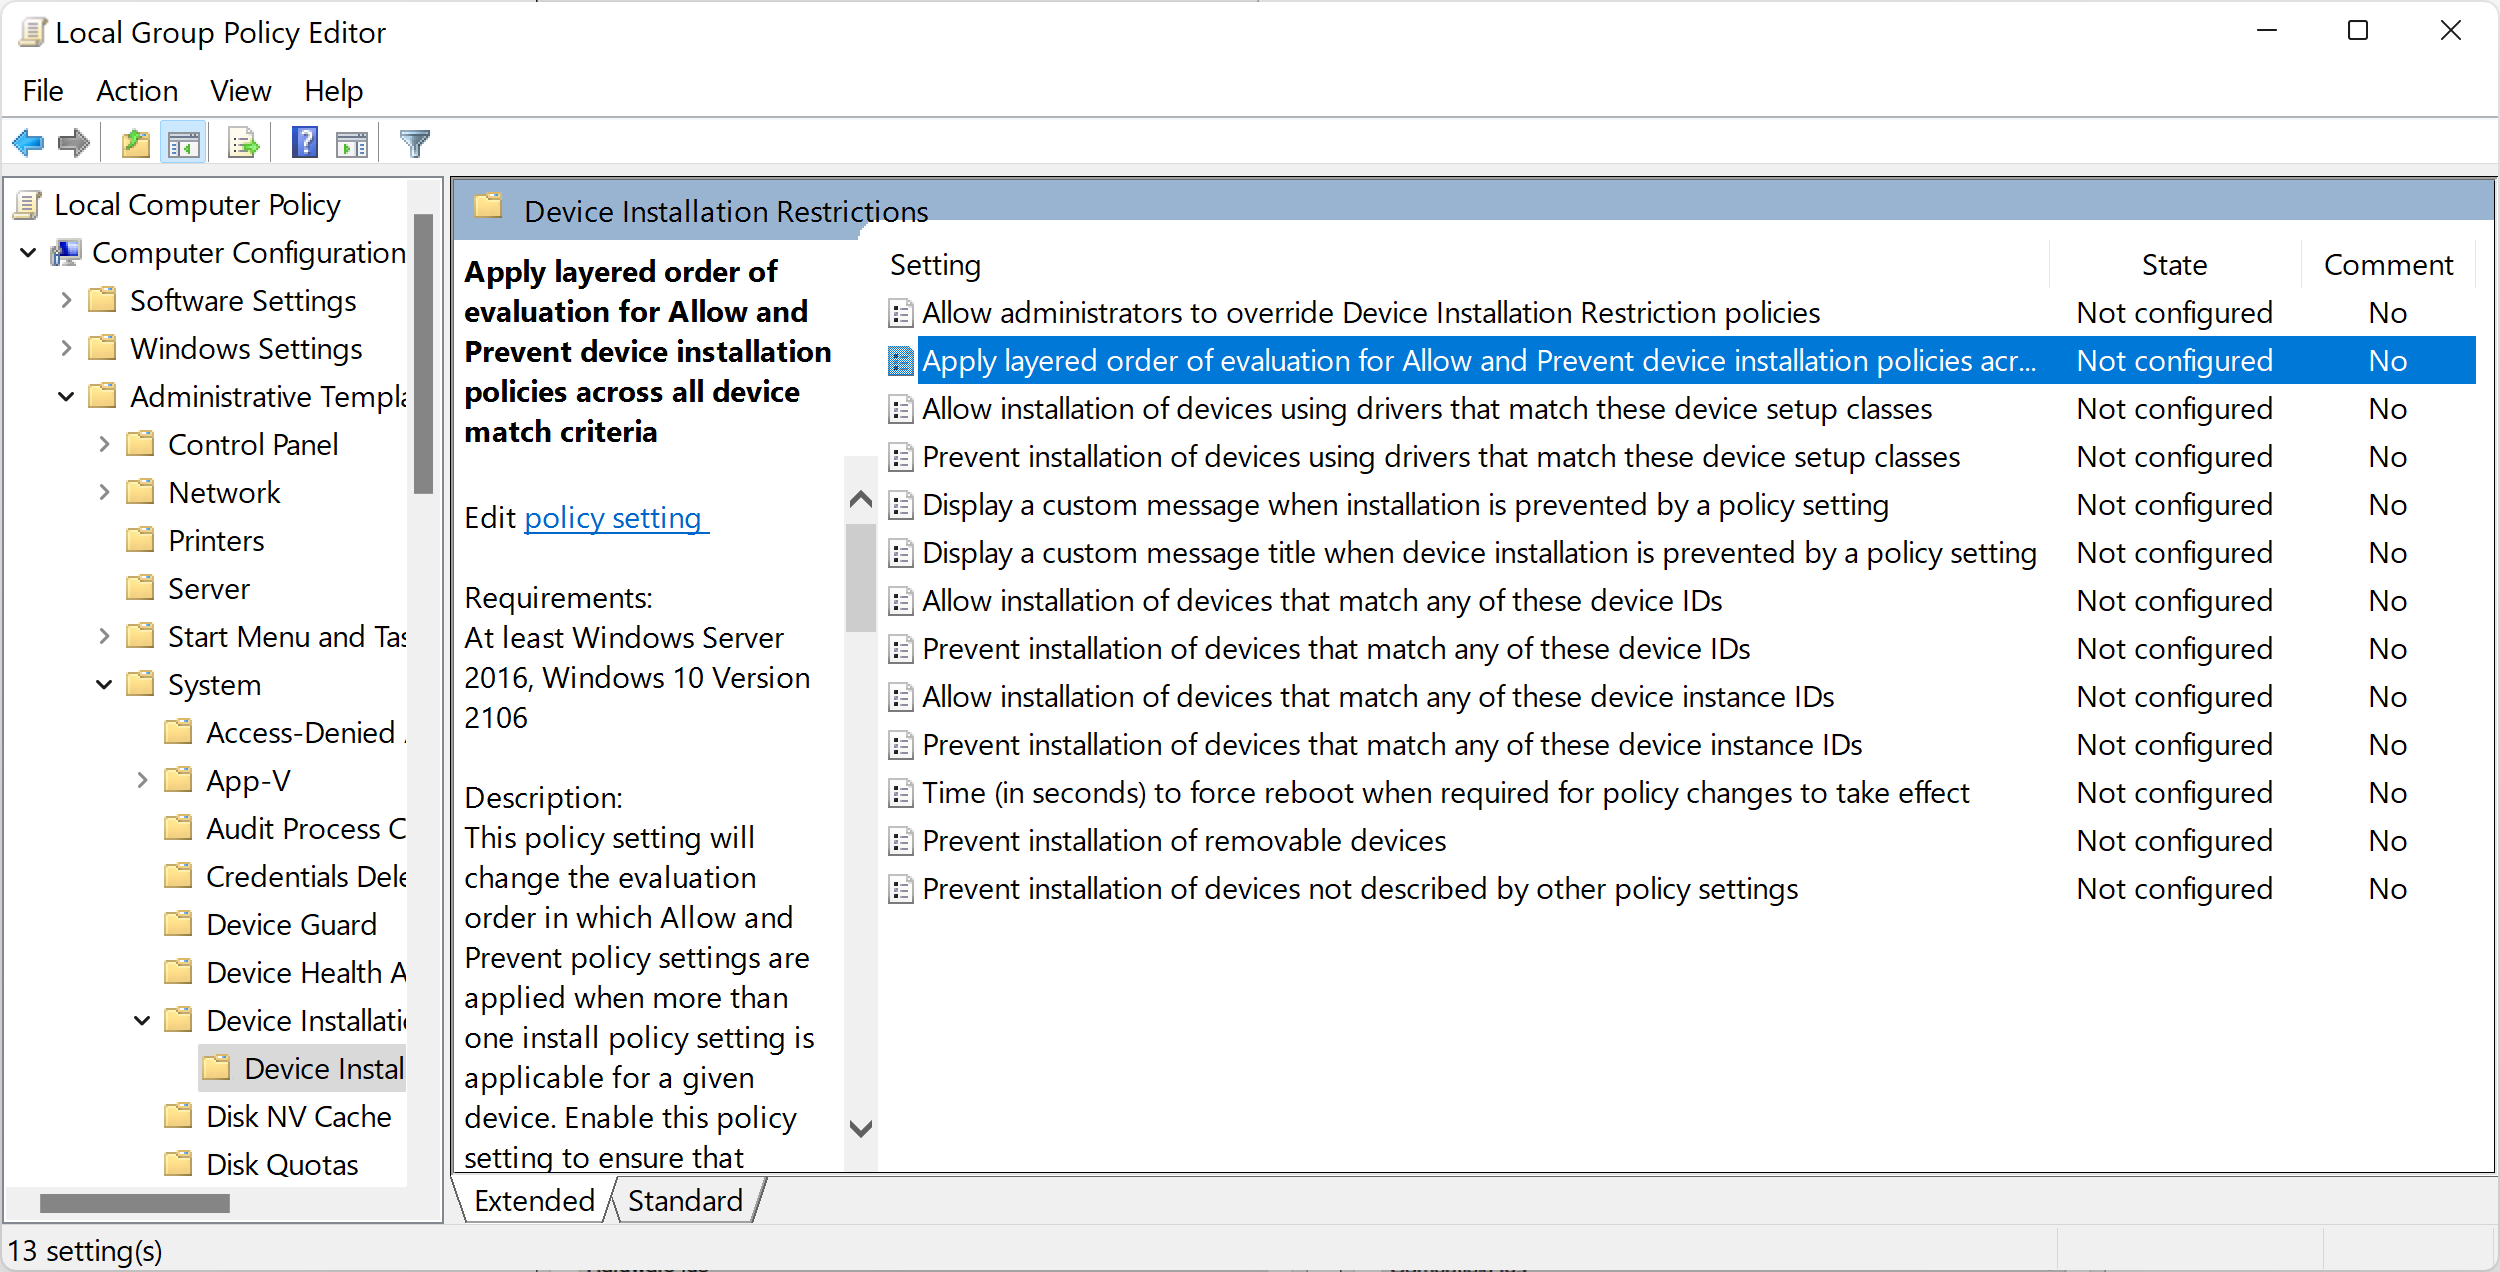
Enabling and Analyzing Group Policy Logs
| Issue | Solution |
|---|---|
| Group Policy not updating on Windows 7 client |
|


Running System Scans and Restarting Services
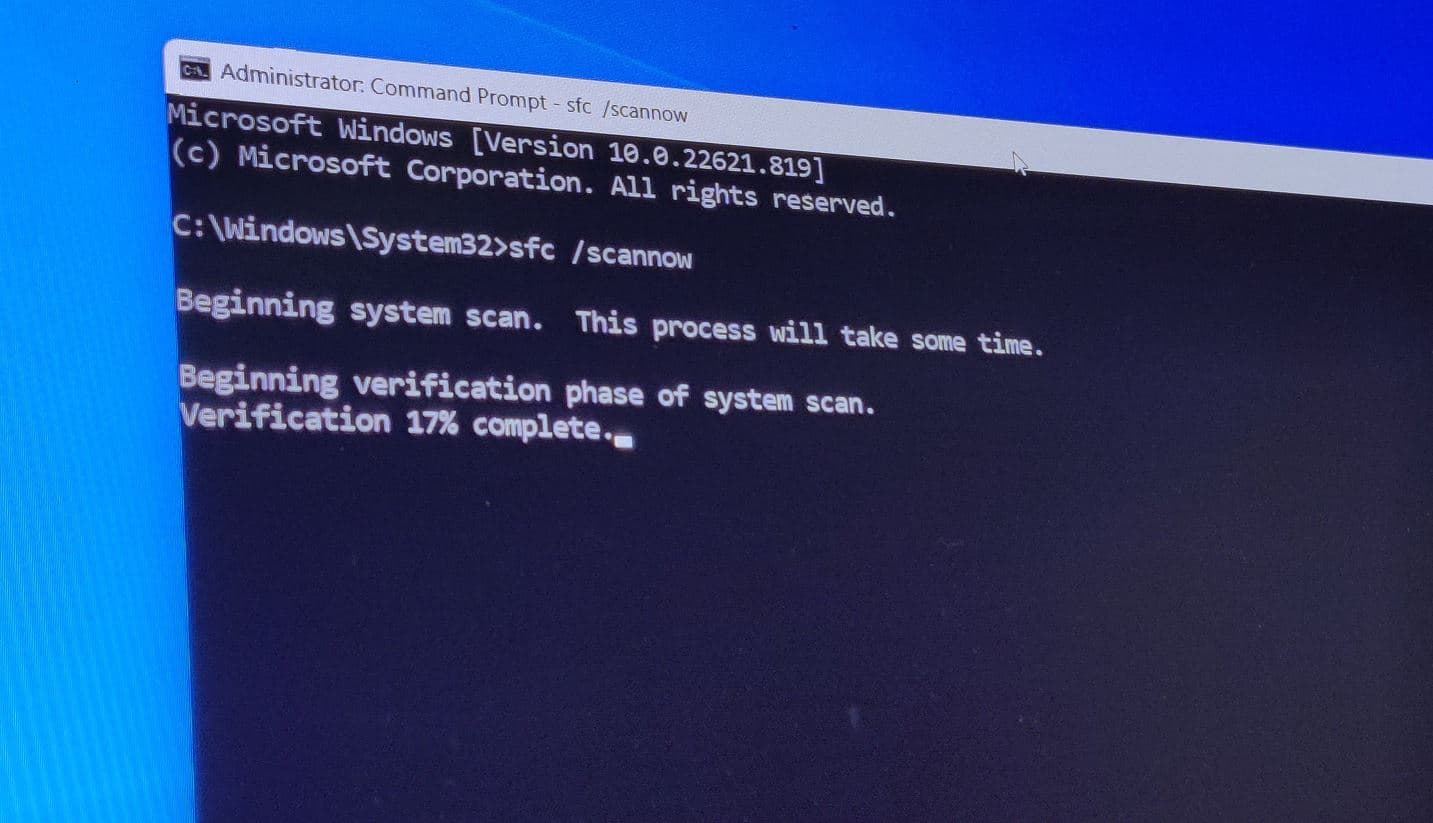
- Perform a System File Checker (SFC) scan to check for and repair any corrupted system files:
- Press the Windows key + R to open the Run dialog box.
- Type cmd and press Ctrl+Shift+Enter to open an elevated Command Prompt.
- When prompted for administrator permissions, click Yes.
- In the Command Prompt window, type sfc /scannow and press Enter.
- Wait for the scan to complete. It may take some time.
- If any corrupted files are found, the SFC scan will automatically repair them.
- Next, perform a Windows Update to ensure that your system has the latest updates and patches:
- Press the Windows key to open the Start menu.
- Type Windows Update and select Windows Update Settings.
- In the Windows Update window, click on the Check for updates button.
- If any updates are available, click on the Install updates button to download and install them.
- Restart your computer after the updates have been installed.
- If the Group Policy still doesn’t update, try restarting the necessary services:
- Press the Windows key + R to open the Run dialog box.
- Type services.msc and press Enter to open the Services window.
- In the Services window, locate the following services:
- Group Policy Client
- Background Intelligent Transfer Service (BITS)
- Cryptographic Services
- For each service, right-click on it and select Restart.
- Wait for each service to restart completely before moving on to the next one.
Resolving Common Event ID Errors
To resolve common Event ID errors related to Group Policy not updating on a Windows 7 client, follow these steps:
Step 1: Check the connectivity and network settings of the client machine. Make sure it is connected to the correct subnetwork and has the correct host, gateway, and DNS settings configured.
Step 2: Scan the client machine for malware and computer viruses. Malicious software can interfere with Group Policy updates. Use a reliable antivirus program to scan and remove any threats.
Step 3: Verify the Windows Registry settings on the client machine. Incorrect or corrupted registry entries can cause Group Policy update issues. Use the Registry Editor (regedit) to check for any discrepancies and make necessary corrections.
Step 4: Ensure the client machine has the correct default gateway and IP routing configured. Incorrect network configuration can prevent Group Policy updates from being applied.
Step 5: If the issue persists, try resetting the Group Policy settings on the client machine. Open the Command Prompt (cmd.exe) as an administrator and run the command “gpupdate /force” to forcefully update Group Policy.
Step 6: If none of the above steps resolve the issue, consider performing a data recovery or reinstalling the operating system on the client machine. This can help eliminate any underlying software or system issues causing the Group Policy update errors.
FAQs
How do I force Group Policy update on client?
To force a Group Policy update on a client, open a Command Prompt with administrative privileges and enter the command “gpupdate /force”. This command will immediately apply all policies without waiting for the next scheduled refresh.
How do I fix Group Policy not updating?
To fix Group Policy not updating, you can try the following solutions:
1. Delete the registry.pol file.
2. Run DISM and SFC scans.
3. Restart the Group Policy Client.
4. Create a new user profile.
5. Reset Group Policy.
In summary, these steps can help resolve issues with Group Policy not updating.
How to update Group Policy in Windows 7 command?
To update Group Policy in Windows 7 using the command line, you can use the command “gpupdate /force” to update all policies or simply “gpupdate” to refresh only the modified policies.
How do I manually refresh Group Policy in client system?
To manually refresh Group Policy in a client system, open PowerShell by using the icon on the taskbar. Then, at the PowerShell prompt, type “gpupdate” and press Enter.
