Having trouble with the HDMI no signal issue on your Windows 10? Here’s how I fixed it.
Check and Reconnect HDMI Cable
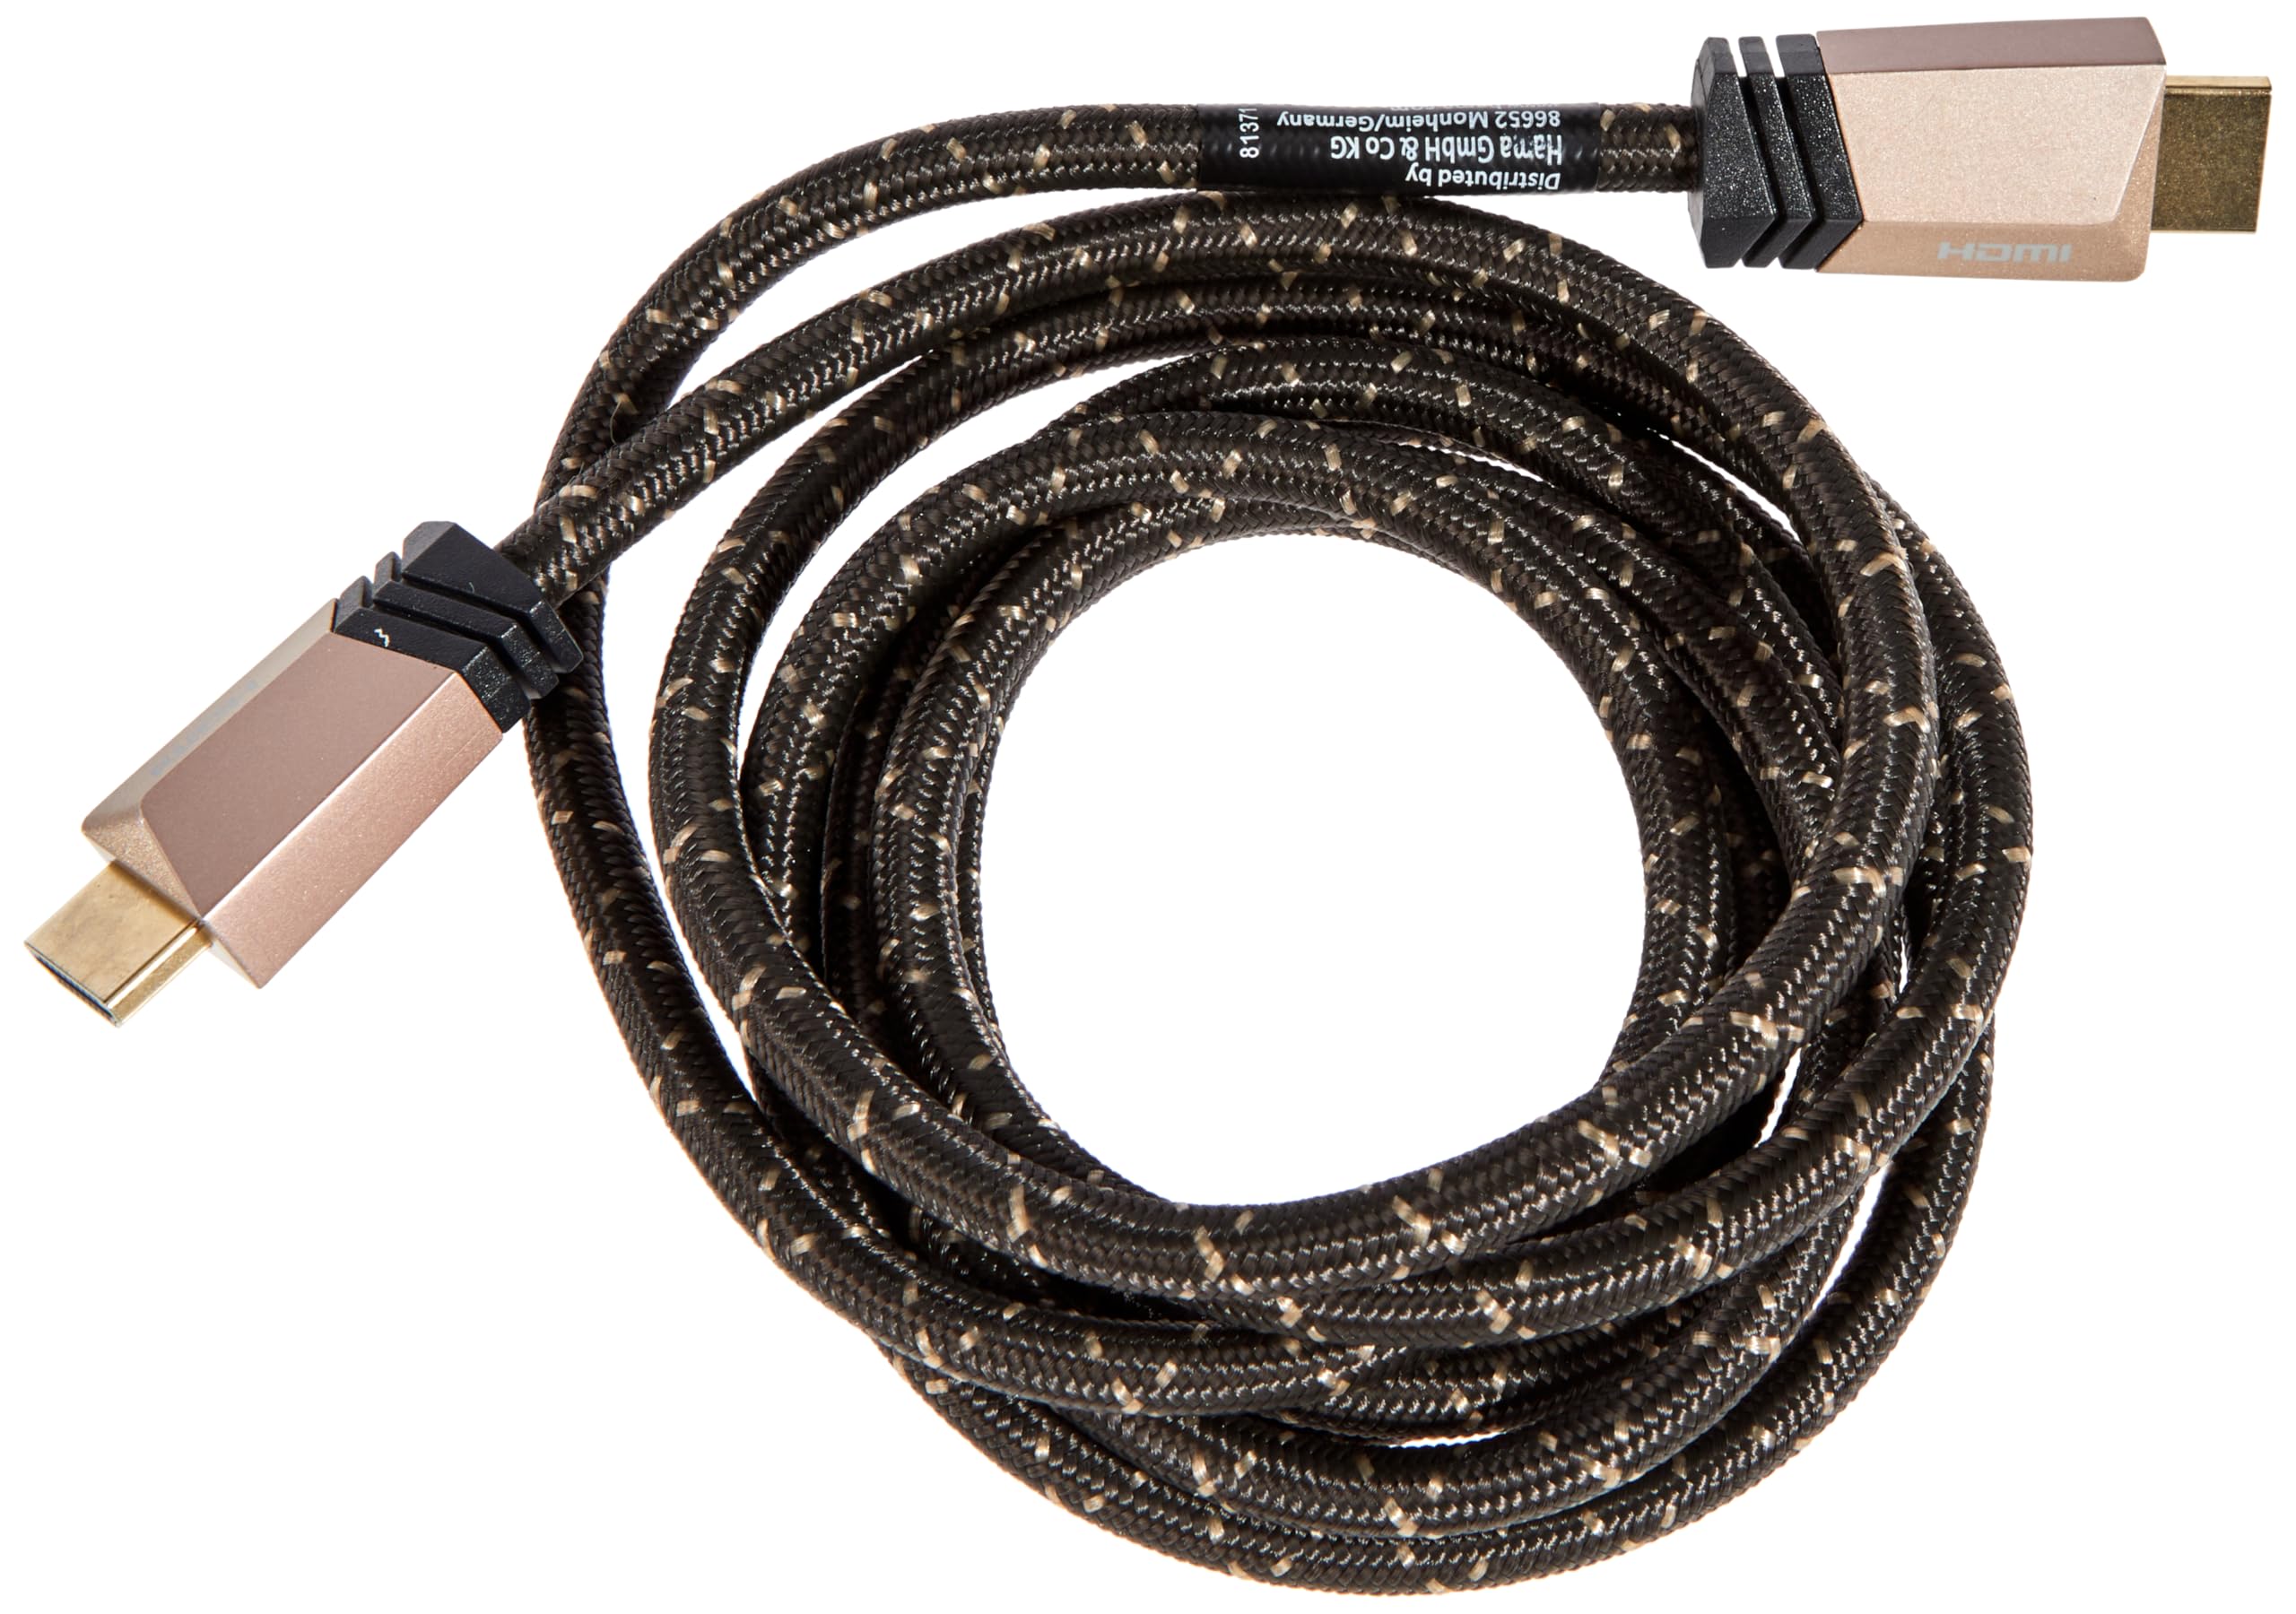
To fix the HDMI no signal issue on Windows 10, one of the first steps you should take is to check and reconnect the HDMI cable. This simple troubleshooting step can often resolve the problem.
Here’s how to do it:
1. First, locate the HDMI cable that connects your computer to the monitor or TV. It should be plugged into the HDMI port on both devices.
2. Carefully inspect the cable for any visible damage or loose connections. If you notice any issues, try using a different HDMI cable to see if the problem persists.
3. Once you’ve confirmed that the cable is securely connected, **restart your computer**. This can help in establishing a proper handshake between the devices.
4. After the restart, check if the HDMI signal is now being detected by your monitor or TV. If not, try reconnecting the cable again, making sure it is firmly plugged in.
5. If you’re still experiencing the no signal issue, you may need to troubleshoot further by checking your computer’s display settings. Go to the Control Panel and navigate to the Display settings. Ensure that the correct display output is selected.
Adjust Display and Input Settings
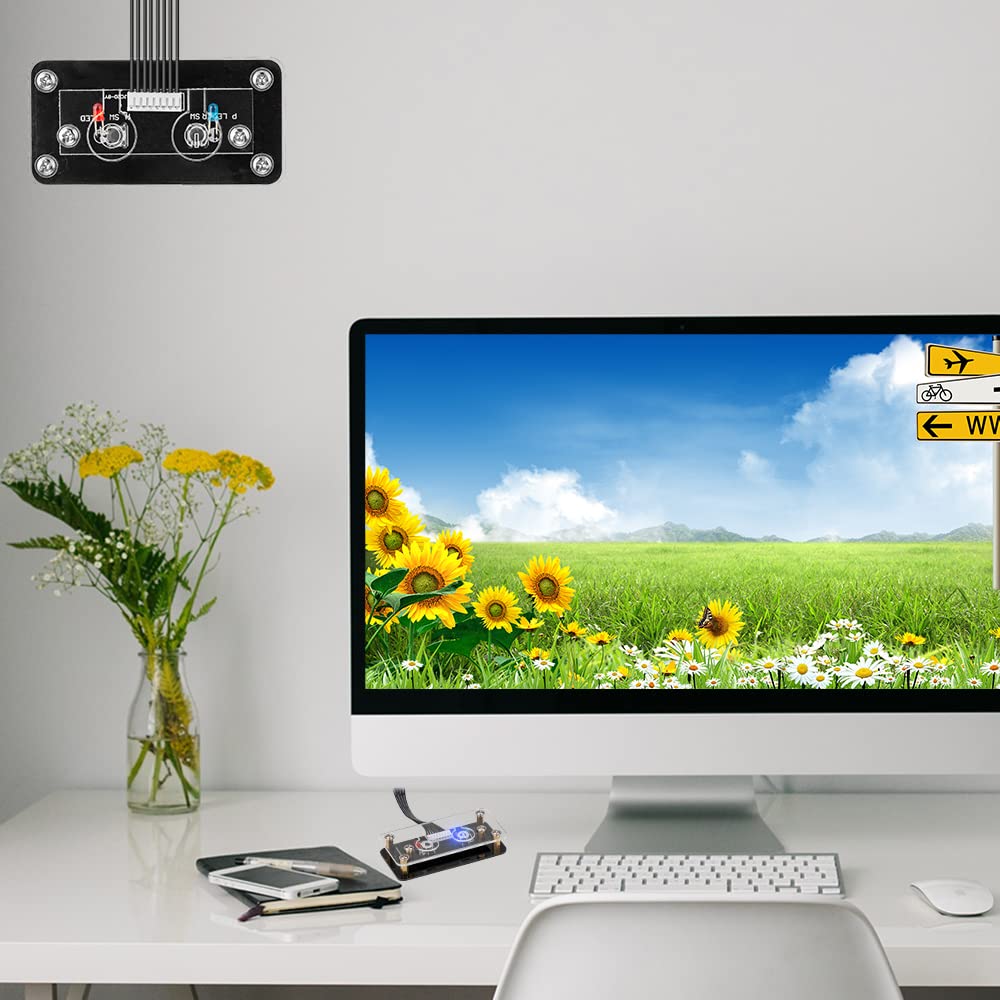
1. Check the physical connections: Ensure that the HDMI cable is securely plugged into the HDMI port on your computer and the HDMI port on your monitor or TV.
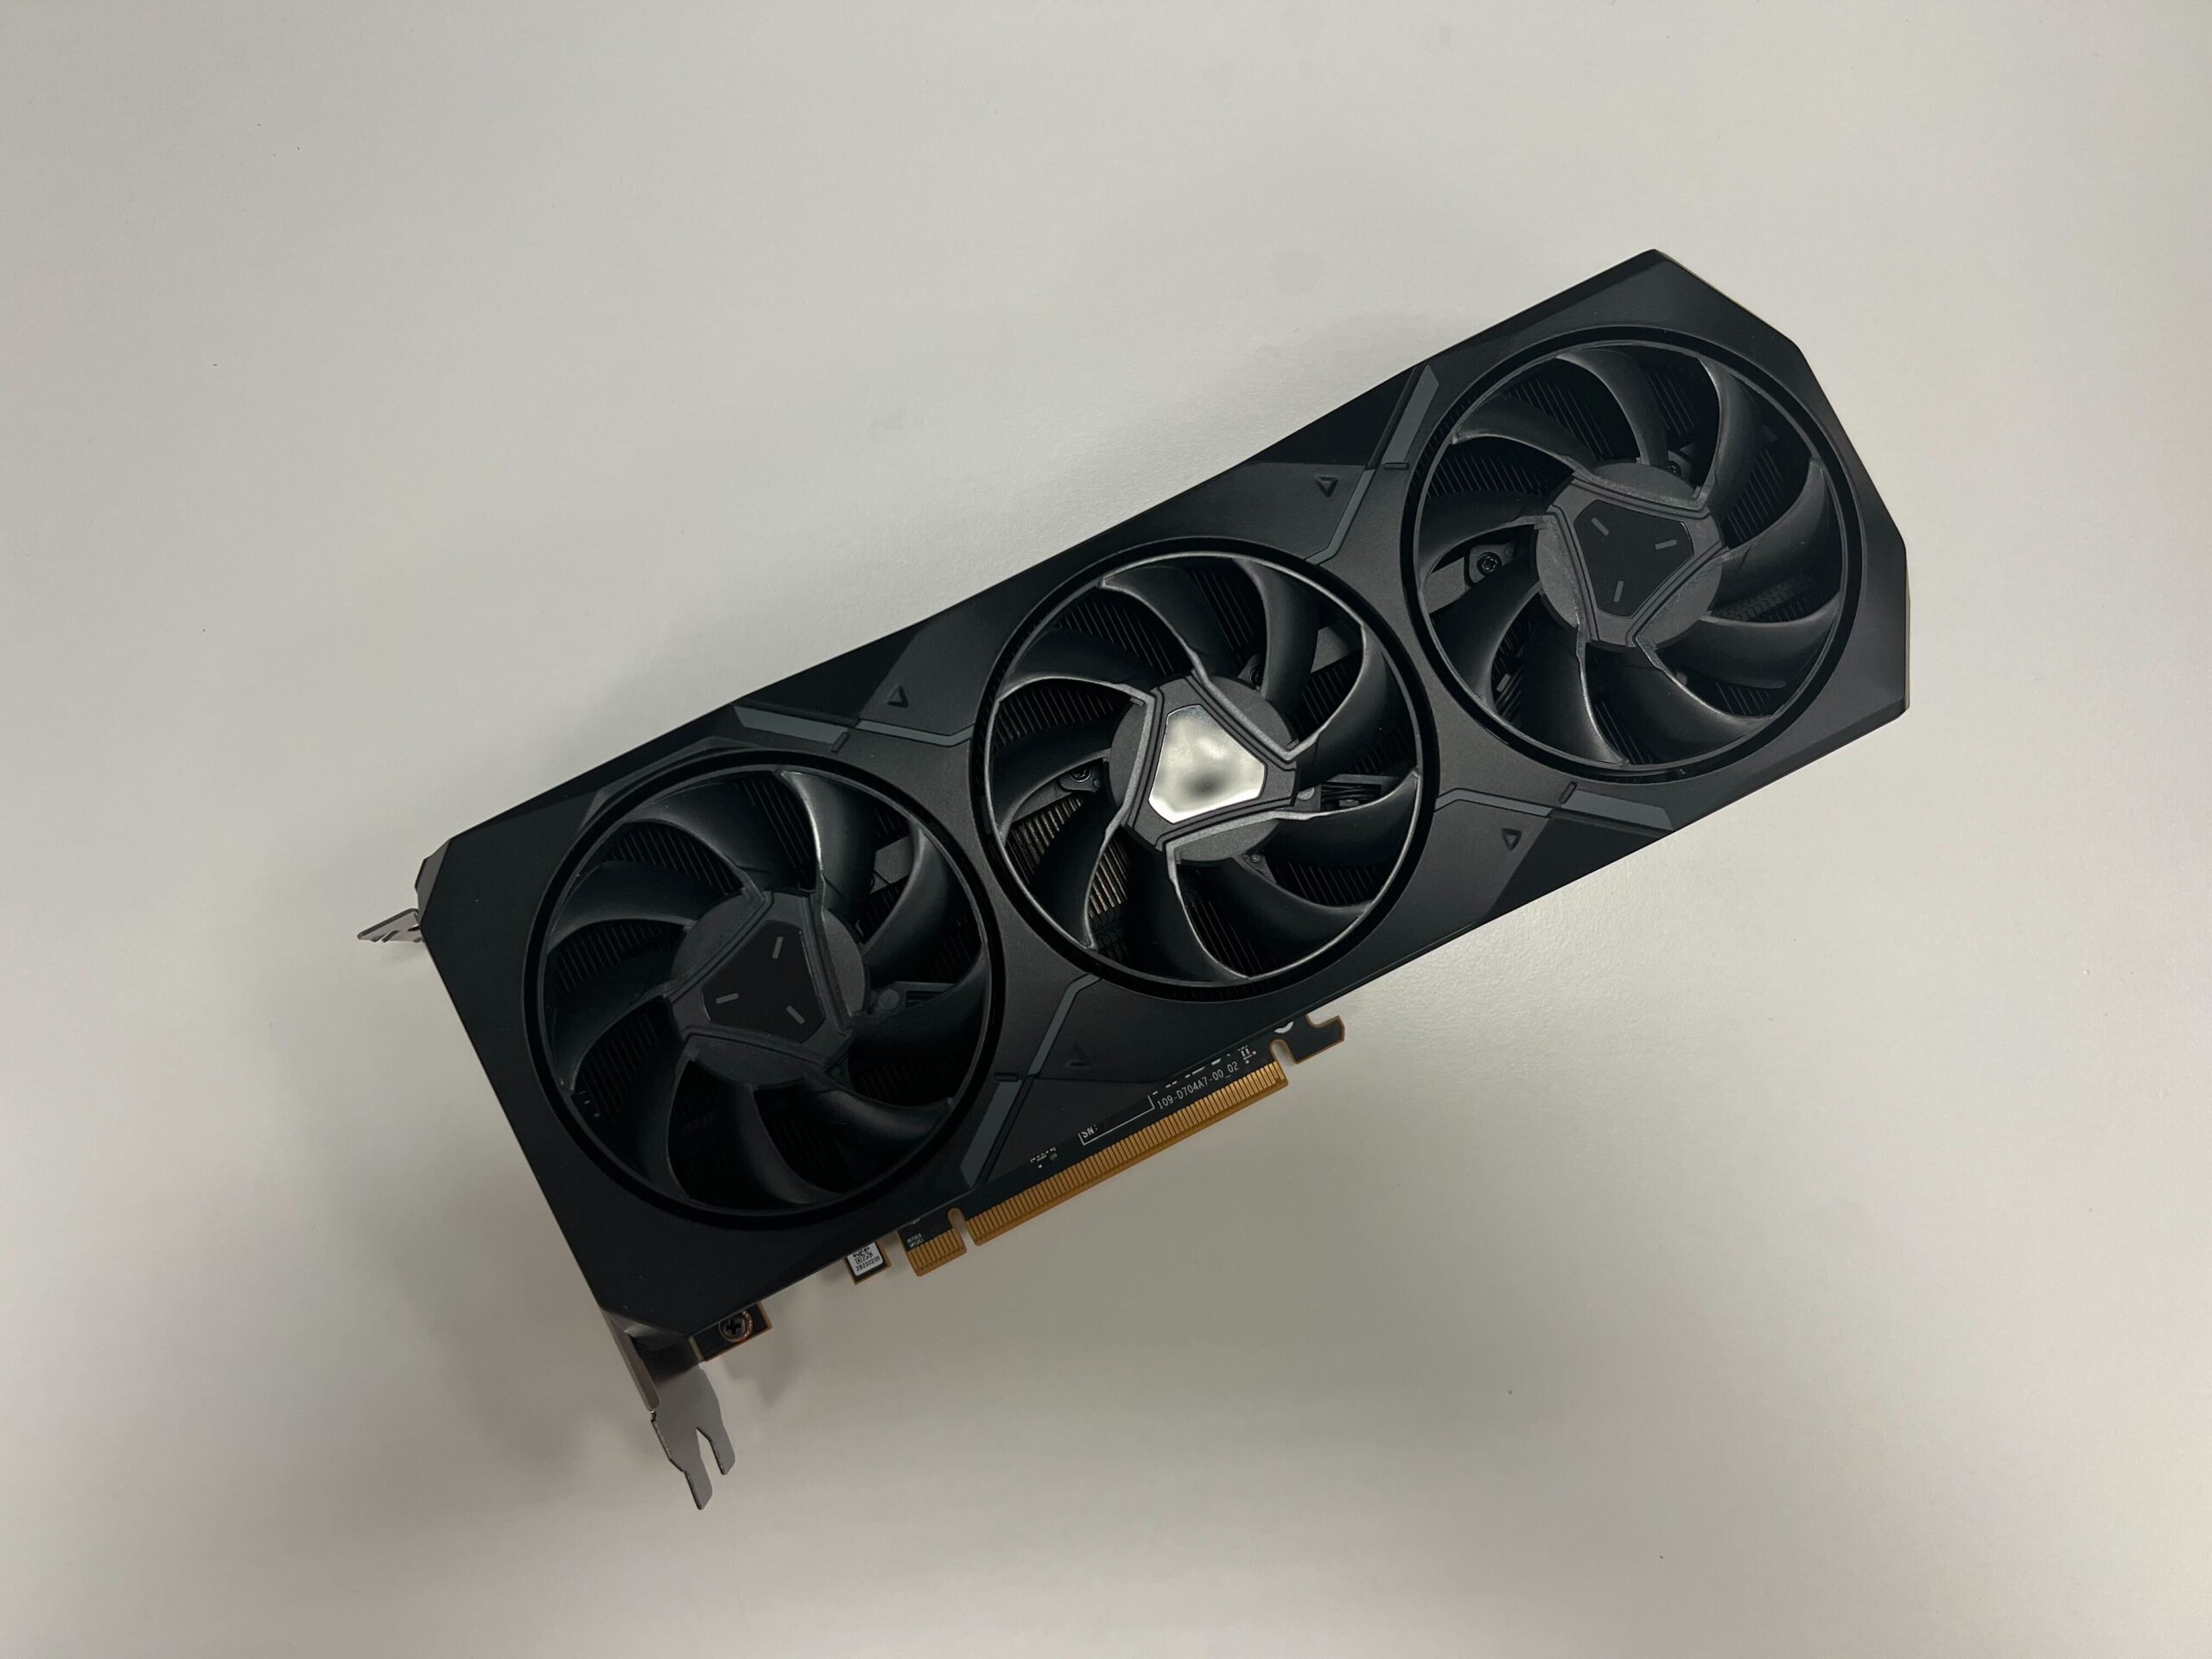
2. Update the graphics card drivers: Go to the manufacturer’s website and download the latest drivers for your graphics card. Install them to ensure compatibility and optimal performance.
3. Change display settings: Right-click on the desktop and select “Display settings.” Adjust the resolution, orientation, and multiple display settings as needed.
4. Check advanced display settings: Click on “Advanced display settings” and make sure the correct display is selected. You can also try changing the refresh rate to see if it resolves the issue.
5. Use the Control Panel: Open the Control Panel and search for “Display.” Click on “Adjust screen resolution” and follow the on-screen instructions to change the display settings.
6. Update Windows: Make sure your Windows 10 is up to date by going to Settings > Update & Security > Windows Update. Install any available updates to fix any bugs or issues.
7. Restart your computer: Sometimes, a simple restart can resolve display issues. Try restarting your computer and check if the HDMI signal is working again.
Remember to check your HDMI cable and monitor/TV as well to rule out any hardware problems.
If the issue persists, you may need to consult a computer repair technician for further troubleshooting or consider using different display interfaces such as DisplayPort or DVI.
For more detailed instructions and troubleshooting tips, you can refer to reputable tech blogs like TechRadar or Microsoft support resources.
Update or Roll Back Graphics Drivers
1. Press the Windows key + X and select “Device Manager” from the menu.
2. Expand the “Display adapters” category to see your graphics card.
3. Right-click on the graphics card and select “Properties.”
4. In the Properties window, go to the “Driver” tab.
5. Click on “Update Driver” to search for the latest driver online. If you already have the latest driver and want to roll back, click on “Roll Back Driver” instead.
6. Follow the on-screen instructions to complete the driver update or roll back process.
If you encounter any issues during the update or roll back process, you may need to uninstall the current driver first. Here’s how:
1. Open the Device Manager as mentioned earlier.
2. Right-click on the graphics card and select “Uninstall device.”
3. Check the box that says “Delete the driver software for this device” and click “Uninstall.”
4. Restart your computer.
5. After the restart, Windows will automatically install a generic driver. You can then follow the previous steps to update or roll back the driver if needed.
Remember to restart your computer after updating or rolling back the graphics driver to ensure the changes take effect.
If you’re still experiencing the HDMI no signal issue after updating or rolling back the graphics driver, it may be worth checking your HDMI cable, display settings, or connecting to a different display to troubleshoot the problem further.
For more detailed instructions or troubleshooting tips, you can visit reputable tech websites like TechRadar or Microsoft’s official support pages.
Restart Devices and Reconnect Step by Step
- Step 1: Power off your computer and monitor.
- Step 2: Unplug the HDMI cable from both the computer and the monitor.
- Step 3: Wait for a few minutes to ensure all residual power is drained.
- Step 4: Plug the HDMI cable back into the computer and the monitor firmly.
- Step 5: Power on your computer and monitor.
- Step 6: Check if the HDMI no signal issue is resolved.
Run System and Hardware Troubleshooters
- Open Settings by clicking on the Start button and selecting the gear icon.
- In the Settings window, click on the Update & Security option.
- Select the Troubleshoot tab from the left-hand menu.
- Scroll down and click on Additional troubleshooters.
- Under the Get up and running section, click on Hardware and Devices troubleshooter.
- This troubleshooter will scan for any issues with your hardware devices and attempt to fix them automatically.
- After the Hardware and Devices troubleshooter completes, go back to the Additional troubleshooters section.
- Scroll down and click on Playing Audio troubleshooter.
- This troubleshooter will check for audio-related problems that might be affecting the HDMI signal.
- Once the Playing Audio troubleshooter finishes, close the troubleshooter window.
- Restart your computer to apply any changes made by the troubleshooters.
Perform a System Restore or Factory Reset
Performing a System Restore or Factory Reset can help resolve the HDMI No Signal issue on Windows 10.
To perform a System Restore, follow these steps:
1. Press the Windows key + R to open the Run dialog box.
2. Type “rstrui” and press Enter to open the System Restore window.
3. Click “Next” and choose a restore point when your HDMI connection was working.
4. Follow the on-screen instructions to complete the System Restore process.
If the System Restore does not fix the issue, you can try a Factory Reset. Keep in mind that this will remove all your personal files and installed applications, so make sure to back up your data before proceeding.
To perform a Factory Reset, follow these steps:
1. Open the Start menu and go to Settings.
2. Click on “Update & Security” and then select “Recovery” from the left-hand menu.
3. Under the “Reset this PC” section, click on “Get started.”
4. Choose either the “Keep my files” or “Remove everything” option, depending on your preference.
5. Follow the on-screen instructions to complete the Factory Reset process.
Performing a System Restore or Factory Reset can help resolve HDMI No Signal issues by restoring your system to a previous working state or resetting it to its original settings.
F.A.Q.
Why is my computer not detecting HDMI signal?
Your computer may not be detecting HDMI signal because of a faulty cable. Try using a different cable to see if that resolves the issue. If you notice any damage, such as breakage or fraying, you will need to replace the cable.
Why is my HDMI saying no signal when its connected?
Your HDMI may be saying “no signal” when it’s connected due to a loose or faulty connection. Try disconnecting and reconnecting the HDMI cable securely. If the issue persists, try using a different HDMI cable and connecting to a different HDMI port on your TV, making sure to change the TV input accordingly.
How do I get Windows 10 to recognize HDMI?
To get Windows 10 to recognize HDMI, open Settings by pressing the Win + I key. Go to System > Display. Scroll down to the Multiple displays section and click on the Detect button. Close the Settings app when finished.
Why won’t my PC connect to my monitor with HDMI?
Your PC may not connect to your monitor with HDMI due to a faulty cable, incorrect port usage, or a malfunctioning adapter.
