Have you ever encountered a corrupted SD card and lost valuable data? Don’t panic, because I am here to guide you through the process of repairing a corrupted SD card and recovering your important files.
Common Signs Your SD Card May Be Corrupted
Signs Your SD Card May Be Corrupted:
1. Files and folders not visible or missing: If you notice that your files and folders are not showing up in File Explorer when the SD card is connected to your computer or mobile device, it could be a sign of corruption.
2. Error messages: If you receive error messages like “SD card not recognized” or “card is corrupted” when trying to access your SD card, it indicates possible corruption.
3. Slow or freezing performance: A corrupted SD card may cause your device to slow down or freeze when accessing files or saving data.
4. Inability to write or delete files: If you are unable to write new files to the SD card or delete existing files, it could be a sign of corruption.
5. Unexpected formatting prompt: Sometimes, a corrupted SD card may prompt you to format it even though it already contains data. This could lead to data loss if not handled correctly.
6. Random file names or unreadable files: Corrupted SD cards may generate random file names or display files that cannot be opened or read correctly.
If you experience any of these signs with your SD card, it is likely that the card is corrupted. Follow the steps below to repair the card and recover your data:
1. Disconnect the SD card from your device.
2. Insert the SD card into a card reader.
3. Connect the card reader to your computer.
4. Open File Explorer and locate the drive letter assigned to the SD card.
5. Right-click on the SD card drive and select “Properties” from the context menu.
6. In the “Properties” window, go to the “Tools” tab and click on “Check” under the “Error checking” section.
7. Select the “Scan and repair drive” option.
8. Wait for the scanning process to complete.
9. If any errors are found, follow the on-screen instructions to repair the SD card.
10. Once the repair process is finished, safely eject the SD card from the card reader.
11. Reconnect the SD card to your device and check if the data is accessible.
Different Ways to Connect Your SD Card
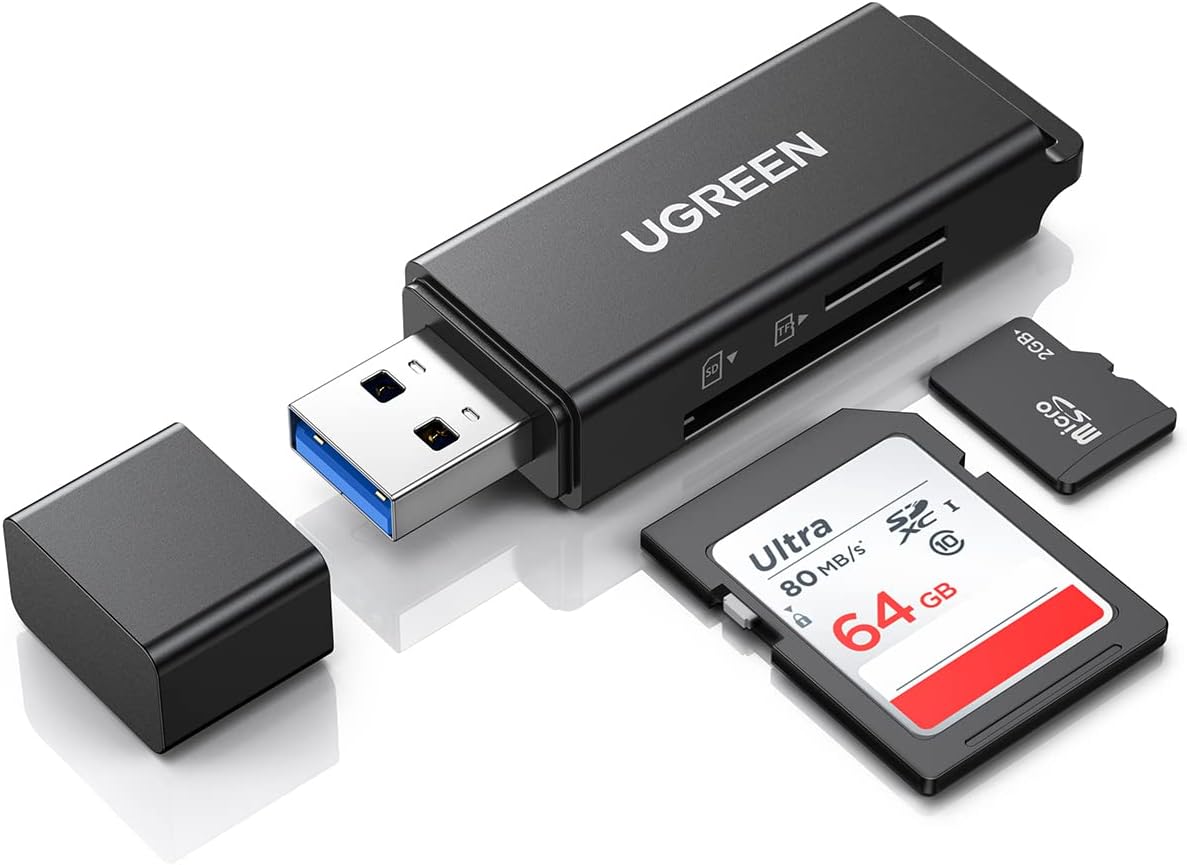
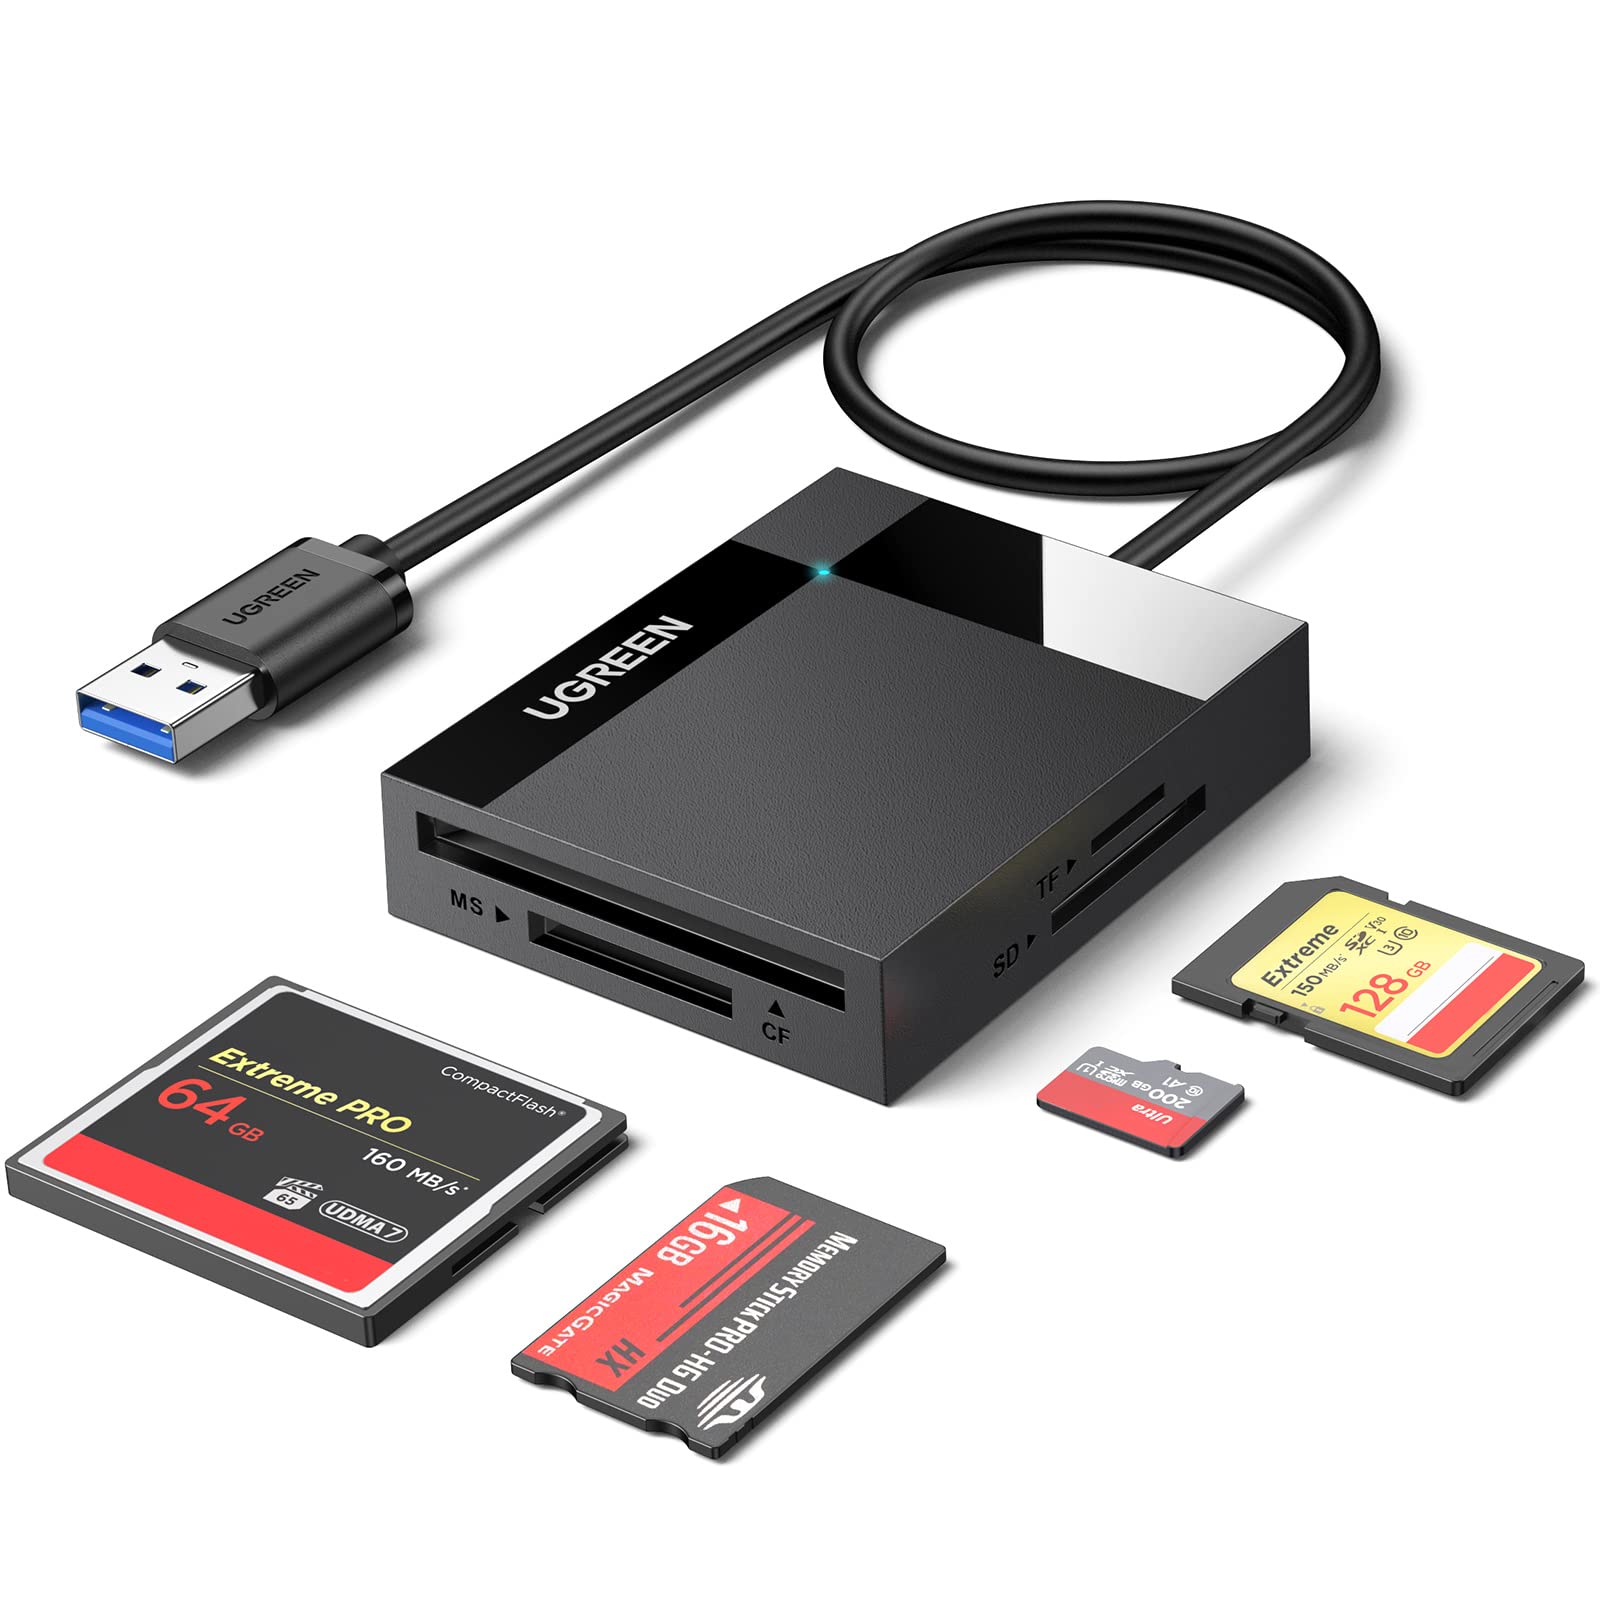
- 1. USB Card Reader: Use a USB card reader to connect your SD card to your computer.
- 2. Built-in SD Card Slot: If your computer has a built-in SD card slot, insert the SD card directly into it.
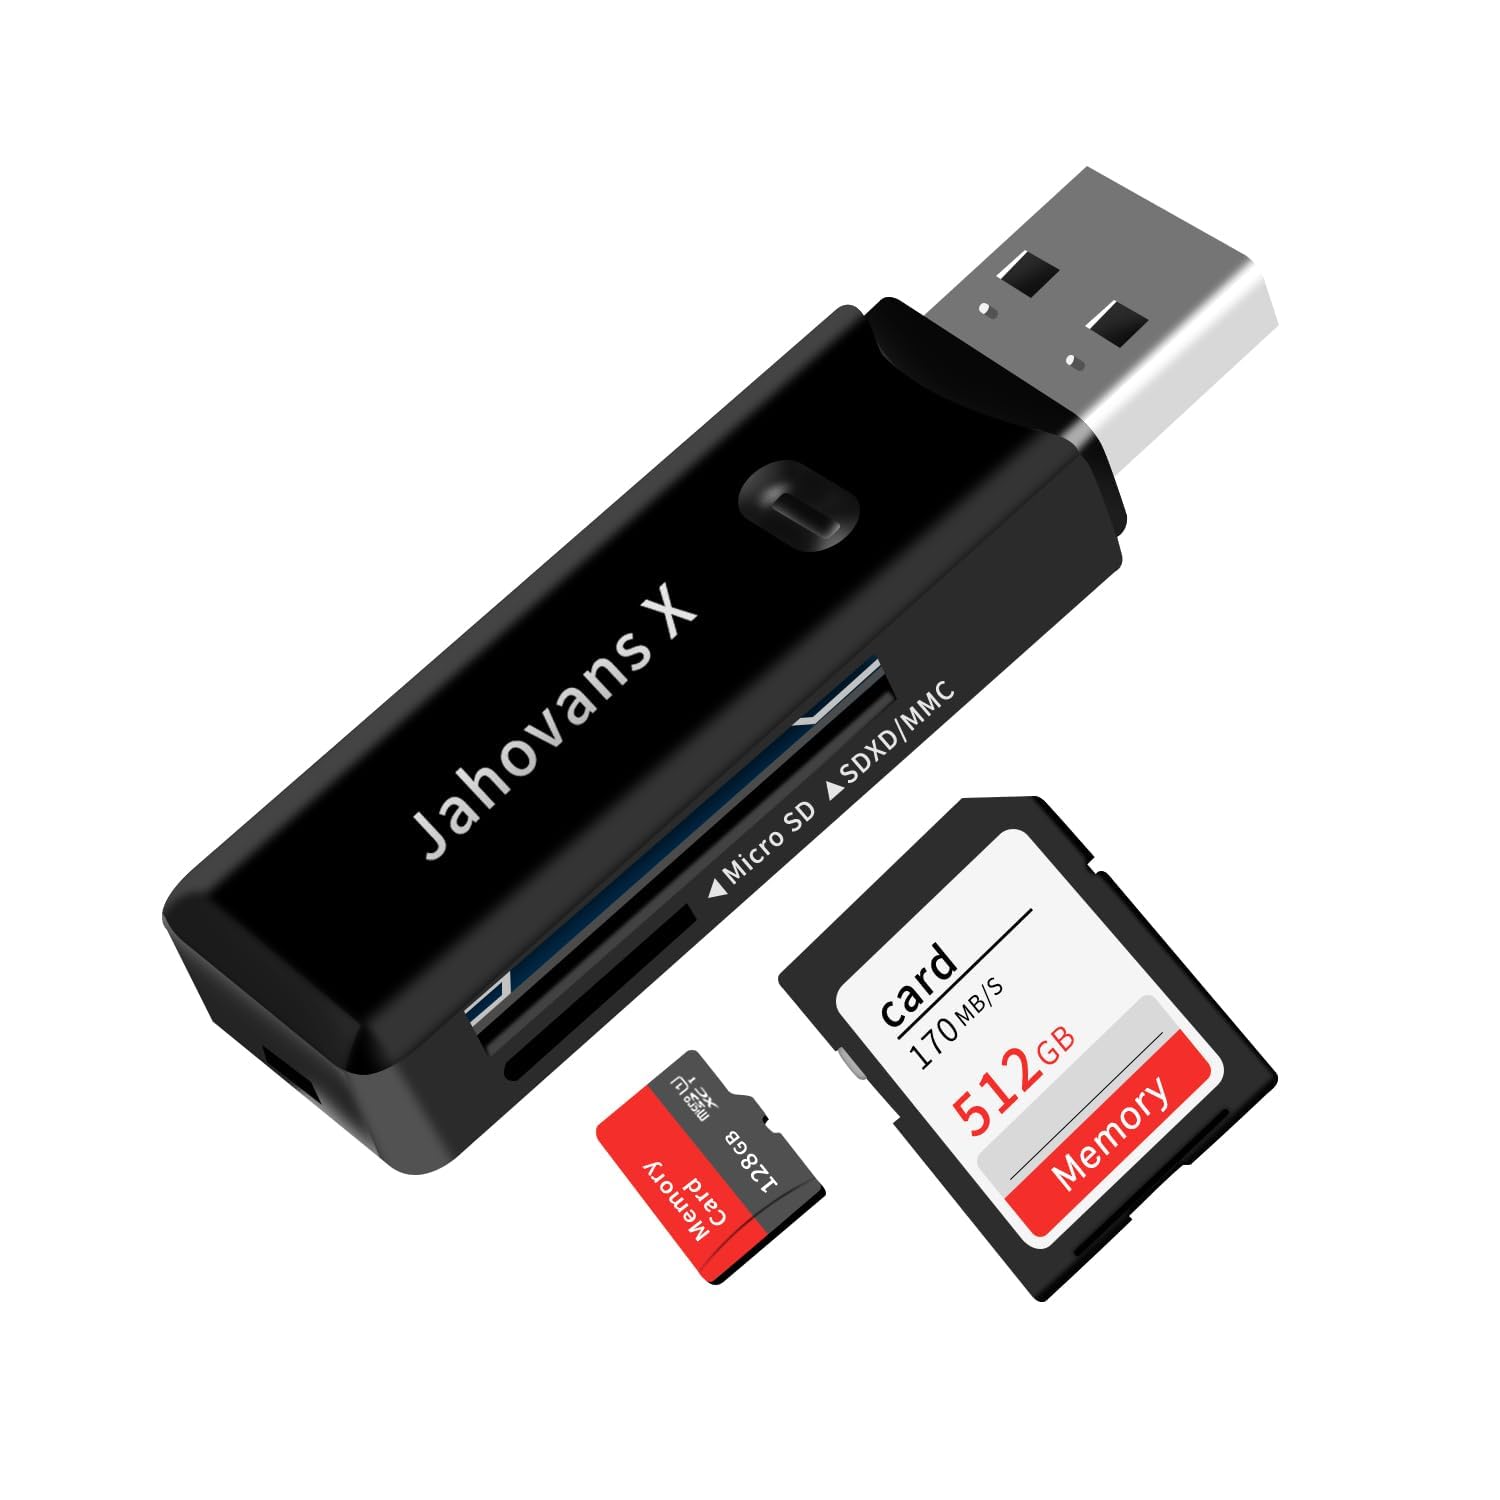
- 3. SD Card Adapter: Use an SD card adapter to connect your SD card to a USB port on your computer.
- 4. Digital Camera or Smartphone: Connect your digital camera or smartphone to your computer using a USB cable, then access the SD card through the device.
- 5. External Hard Drive: Connect your SD card to an external hard drive that has a built-in SD card slot.
- 6. Multi-card Reader: Use a multi-card reader that supports SD cards to connect your SD card to your computer.
Reinstall the SD Card Driver for Detection
1. Open the Device Manager on your computer. You can do this by right-clicking on the Start menu and selecting “Device Manager” from the context menu.
2. In the Device Manager window, locate the “Disk drives” category and click on the arrow next to it to expand the list.
3. Look for your SD card driver in the list. It may be listed as “SD Card” or something similar. Right-click on it and select “Uninstall device” from the menu. Confirm the uninstallation if prompted.
4. Once the driver is uninstalled, disconnect the SD card from your computer and restart your system.
5. After the computer restarts, connect the SD card again. Windows will automatically detect the SD card and attempt to reinstall the driver.
6. If Windows fails to reinstall the driver automatically, you can manually install it. Right-click on any empty space in the Device Manager window and select “Scan for hardware changes” from the menu. This will prompt Windows to search for any new devices, including your SD card.
7. Once the SD card is detected, right-click on it and select “Update driver” from the menu. Choose the option to search automatically for updated driver software. Windows will search for the appropriate driver and install it.
8. After the driver is successfully installed, check if the SD card is now detected by your computer. You can do this by opening File Explorer and looking for the SD card under the “This PC” or “Computer” section.
Assigning a New Drive Letter
To assign a new drive letter to a corrupted SD card and recover your data, follow these steps:
1. Connect the SD card to your personal computer using a card reader or adapter.
2. Open the “Disk Management” tool in Windows by searching for it in the Start menu.
3. Locate the SD card in the list of drives and right-click on it.
4. Select “Change Drive Letter and Paths” from the context menu.
5. In the new window, click on the “Change” button.
6. Choose an available drive letter from the drop-down menu and click “OK”.
7. Confirm the changes by clicking “Yes” in the warning prompt.
8. Now, open the File Explorer and access the SD card using the newly assigned drive letter.
9. If your data is not accessible or appears corrupted, you can try running the CHKDSK utility to repair any file system errors. Open the command prompt by searching for “cmd.exe” in the Start menu, then type “chkdsk [drive letter]: /f” and press Enter. Replace “[drive letter]” with the letter assigned to the SD card.
10. Follow the on-screen instructions to complete the CHKDSK scan and repair process.
11. Once done, you should be able to access your recovered data from the SD card through the File Explorer.
Unhide Hidden Files on SD Card
![]()
To unhide hidden files on an SD card, follow these steps:
1. Connect the SD card to your personal computer or laptop using a card reader or adapter.
2. Open the File Explorer or My Computer on your computer.
3. Locate the drive letter assigned to your SD card. It may be labeled as “Removable Disk” or “SD Card.”
4. Open the command-line interface by pressing the Windows key + R, then typing “cmd.exe” and hitting enter.
5. In the command prompt, type “attrib -h -r -s /s /d G:\*.*” (replace G with the drive letter assigned to your SD card) and press enter.
6. This command will unhide all hidden files and folders on the SD card.
7. Once the process is complete, close the command prompt and go back to the File Explorer or My Computer.
8. You should now be able to see and access all the previously hidden files on your SD card.
Repairing with CHKDSK Command
To repair a corrupted SD card and recover data, you can use the CHKDSK command on your computer. Follow these steps:
1. Connect the corrupted SD card to your computer using a card reader or adapter.
2. Open the Command Prompt by pressing Windows Key + R, typing “cmd,” and hitting Enter.
3. In the Command Prompt window, type “chkdsk [drive letter]: /f” and press Enter. Replace [drive letter] with the letter assigned to your SD card.
4. CHKDSK will scan the SD card for errors and repair any corrupt sectors. This process may take some time.
5. Once the repair is complete, you can access the recovered data from your SD card.
Remember to backup your recovered data to a safe location to avoid any future data loss.
By using the CHKDSK command, you can fix common issues that cause data corruption in SD cards. It is a useful tool to recover lost or inaccessible files from a corrupted SD card.
Note: Make sure the SD card is not write-protected before using CHKDSK. If it is, you will need to toggle the write protection switch on the side of the SD card.
Remember to handle your SD card with care to prevent physical damage. Avoid exposing it to extreme temperatures, moisture, or dust, as these can cause further issues.
If the CHKDSK command does not resolve the issue or if you are unable to recover your data, it may be necessary to seek professional help or consider using specialized data recovery software.
Utilizing Windows Repair and Troubleshooter Tools
Windows Repair and Troubleshooter Tools can be invaluable when it comes to repairing a corrupted SD card and recovering your data. These tools are built-in features of the Microsoft Windows operating system and can help diagnose and fix various issues that may be causing the corruption.
To start, connect your corrupted SD card to your computer using a card reader or adapter. Once connected, follow these steps:
1. Open the File Explorer and locate the drive letter assigned to your SD card. This is usually labeled as a removable storage device.
2. Right-click on the SD card drive and select “Properties” from the context menu.
3. In the Properties window, navigate to the “Tools” tab and click on the “Check” button under the “Error checking” section.
4. A new window will appear, asking if you want to scan the drive for errors. Check the box that says “Automatically fix file system errors” and click on the “Scan drive” button.
5. Windows will now scan the SD card for any errors and attempt to fix them. This process may take some time, depending on the size of your SD card and the extent of the corruption.
6. Once the scan is complete, Windows will display a report of the errors found and fixed. If any errors were detected and fixed, it’s a good idea to back up your data from the SD card as soon as possible.
7. If the above steps did not resolve the issue or you are still unable to access your data, you can try using a data recovery software. There are many third-party tools available that specialize in recovering data from corrupted SD cards.
Remember to always handle your SD card with care and avoid removing it from a device or computer while data is being read or written. This can prevent further damage and increase the chances of successful data recovery.
By utilizing the Windows Repair and Troubleshooter Tools, you have a better chance of repairing your corrupted SD card and recovering your valuable data.
Unlocking the SD Card Using DiskPart Command
To unlock an SD card using the DiskPart command, follow these steps:
1. Connect the corrupted SD card to your computer using a card reader or adapter.
2. Open the Command Prompt by pressing the Windows key + R, typing “cmd,” and pressing Enter.
3. In the Command Prompt window, type “diskpart” and press Enter to launch the DiskPart utility.
4. Type “list disk” and press Enter to display a list of all connected disks. Identify the disk number assigned to your SD card.
5. Type “select disk X” (replace X with the disk number of your SD card) and press Enter.
6. Type “attributes disk clear readonly” and press Enter to remove the write protection from the SD card.
7. Type “exit” and press Enter to exit the DiskPart utility.
Your SD card should now be unlocked and ready for use. If you encounter any issues, make sure to check for physical damage or contact a professional for further assistance.
Formatting the SD Card to FAT32 or exFAT
To repair a corrupted SD card and recover data, one crucial step is formatting the card to either FAT32 or exFAT. Here’s how you can do it:
1. Connect the SD card to your computer using a card reader or by inserting it into the appropriate slot.
2. Open the “File Explorer” or “My Computer” on your computer.
3. Locate the SD card under the “Devices and Drives” section.
4. Right-click on the SD card and select “Format” from the drop-down menu.
5. In the format window, choose either FAT32 or exFAT from the “File System” option. FAT32 is compatible with most devices, while exFAT is better for larger file sizes.
6. Check the box that says “Quick Format” to speed up the process.
7. Optionally, you can assign a new drive letter to the SD card by clicking on the “Drive Letter” option.
8. Double-check that all the settings are correct, then click on the “Start” button to begin the formatting process.
9. A warning message may appear, stating that all data on the SD card will be erased. Make sure you have a backup of your data before proceeding.
10. Once the formatting is complete, you can use the SD card as a fresh storage device.
Creating a New Partition on the SD Card
To create a new partition on your SD card, follow these steps:
1. Connect the SD card to your computer: Use a card reader or an adapter to connect the SD card to your computer’s USB port.
2. Open the Disk Management tool: Go to the Start menu, type “Disk Management” in the search bar, and click on the Disk Management option that appears.
3. Locate your SD card: In the Disk Management window, find your SD card among the list of drives. It should be labeled with a drive letter and its capacity.
4. Delete existing partitions (if any): If your SD card already has partitions, right-click on each partition and select “Delete Volume.” This will remove all the data on the partitions, so make sure to back up any important files before proceeding.
5. Create a new partition: Right-click on the unallocated space of your SD card and select “New Simple Volume.” Follow the on-screen instructions to set the size of the partition and assign a drive letter.
6. Format the partition: Once the new partition is created, right-click on it and select “Format.” Choose a file system (such as FAT32 or exFAT) and give the partition a name if desired. Click “OK” to start the formatting process.
7. Wait for the formatting to complete: The formatting process may take a few minutes, depending on the size of your SD card. Once it is finished, you can use the new partition to store data.
Recovering Data with SD Card Data Recovery Software
If you’re dealing with a corrupted SD card and need to recover your data, using SD card data recovery software is your best bet. Here’s a step-by-step guide on how to repair the corrupted SD card and recover your precious data.
1. First, download and install a reliable SD card data recovery software on your computer. There are many options available online, so choose one that has good reviews and a user-friendly interface.
2. Insert the corrupted SD card into your computer’s SD card reader or use an external card reader if your computer doesn’t have one.
3. Launch the SD card data recovery software and select the option to recover data from an SD card. The software will detect the connected SD card.
4. Choose the corrupted SD card from the list of available drives. Make sure you select the correct drive to avoid accidentally formatting or deleting data from another storage device.
5. Start the scanning process. The software will analyze the corrupted SD card and try to recover any recoverable data.
6. Once the scanning process is complete, the software will display a list of recoverable files. You can preview the files to confirm their integrity before proceeding with the recovery.
7. Select the files you want to recover and choose a location on your computer where you want to save the recovered files. Avoid saving the files back to the corrupted SD card to prevent further data loss.
8. Click on the “Recover” button to initiate the data recovery process. The software will restore the selected files to the specified location on your computer.
9. After the recovery process is complete, safely eject the corrupted SD card from your computer.
Remember, it’s crucial to regularly back up your data to prevent data loss in case of SD card corruption. Additionally, if your SD card is physically damaged or the data recovery software fails to recover your files, it’s recommended to consult a professional data recovery service for further assistance.
Frequently Asked Questions
Can corrupted SD card be fixed?
Yes, corrupted SD cards can be fixed using SD card data recovery software like Disk Drill, which is a reliable solution for recovering lost files from all types of SD cards including SD, SDHC, and SDXC.
How can I recover my corrupted SD card for free?
To recover your corrupted SD card for free, you can try using software like Disk Drill SD Card Recovery, PhotoRec, Recuva, EaseUS Data Recovery Wizard, or Recoverit SD Card Data Recovery. These programs have high success rates and are available for both Windows and Mac operating systems.
How do I stop my SD card from being corrupted?
To prevent SD card corruption, you can take the following precautions:
Format a new card immediately.
Instead of ‘deleting all’, format the card.
Eject the card before removing it from a reader.
Avoid running batteries to the edge.
Store cards safely.
Turn off the camera before removing the card.
Avoid using the same card on multiple cameras.
How do I restore my SD card?
To restore your SD card, you can use Disk Drill SD Card recovery software for Windows. First, download and install the software. Then, connect your SD card to your computer and launch the application. Use the “Search for lost data” feature to locate your SD card files. Preview and select the files you want to recover from the SD card.
