Is your Windows device running out of disk space? Here’s the solution.
Disk Cleanup
- Open File Explorer by pressing Windows key + E.
- Right-click on the C: drive (or the drive where you are facing insufficient disk space) and select Properties.
- In the Properties window, click on the Disk Cleanup button.
- Wait for the Disk Cleanup utility to calculate the amount of space that can be freed on your hard drive.
- In the Disk Cleanup window, check the boxes next to the types of files you want to delete. Some common options include Temporary files, Recycle Bin, and Temporary Internet Files.
- Click on the OK button to start the cleanup process.
- If prompted, click on the Delete Files button to confirm the deletion.
- Wait for the Disk Cleanup utility to delete the selected files and free up disk space.
- Once the process is complete, close the Disk Cleanup window.
Uninstall Unneeded Programs
- Open Settings by clicking on the Start menu and selecting the gear icon.
- In the Settings window, click on Apps.
- On the Apps & features page, you will see a list of installed programs.
- Scroll through the list and identify unneeded programs that you no longer use or need.
- Click on the unneeded program to select it.
- Click on the Uninstall button that appears.
- Follow the on-screen prompts to uninstall the program.
- Repeat steps 5-7 for each unneeded program you want to uninstall.
Delete Unnecessary Files
- Step 1: Open the “Disk Cleanup” utility by typing “Disk Cleanup” in the search bar and selecting the corresponding result.
- Step 2: Choose the disk drive you want to clean up from the drop-down menu and click “OK.”
- Step 3: Wait for the utility to calculate the amount of space that can be freed up on your disk. This may take a few moments.
- Step 4: Review the list of file categories that can be deleted and select the ones you want to remove. This may include temporary files, system files, recycle bin contents, and more.
- Step 5: Click on the “OK” button to start the cleanup process.
- Step 6: Confirm the deletion by clicking on “Delete Files” when prompted. Note that this action is irreversible, so ensure you have selected the files you genuinely want to delete.
- Step 7: Wait for the utility to remove the selected files. The progress bar will indicate the status of the cleanup process.
- Step 8: Once the cleanup is complete, you can close the Disk Cleanup utility and check if the disk space issue has been resolved.
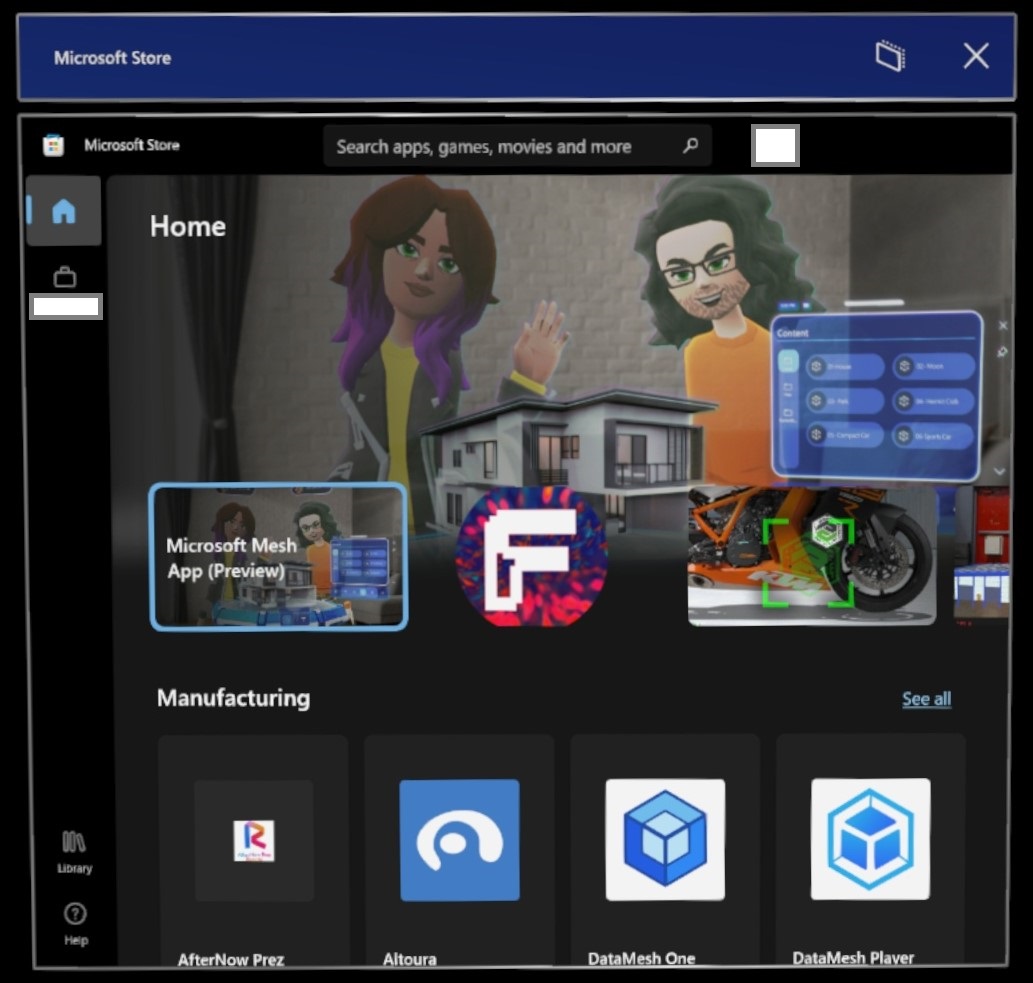
Cloud Storage for Files
![]()
Cloud storage offers a convenient solution for managing files and freeing up disk space on Windows. By uploading your files to the cloud, you can access them from any device with an internet connection.
To start using cloud storage for your files on Windows, follow these steps:
1. Choose a cloud storage provider: There are several options available, such as Google Drive, Dropbox, and Microsoft OneDrive. Research and select the one that best fits your needs.
2. Sign up for an account: Visit the provider’s website and create an account. This will typically involve entering your email address and creating a password.
3. Install the desktop app: Most cloud storage providers offer a desktop app that integrates with Windows. Download and install the app to easily synchronize your files between your computer and the cloud.
4. Configure the app settings: After installing the app, you may need to sign in using your account credentials. Once signed in, you can choose which folders on your computer you want to sync with the cloud.
5. Upload your files: To free up disk space on your Windows computer, move files from your local storage to the cloud storage folder. Simply drag and drop the files into the designated folder or use the upload button within the app.
6. Access your files: Once your files are uploaded to the cloud, you can access them from any device with the cloud storage app installed or through a web browser. This allows you to work on your files on the go or from different devices.
Remember to regularly review and clean up your cloud storage to ensure you are only keeping the files you need.
By utilizing cloud storage for your files, you can optimize your disk space on Windows and have the flexibility to access your files anytime, anywhere.
Enhance Device Lifespan and Productivity
1. Clear out unnecessary files and folders:
– Open File Explorer and navigate to the main drive (usually C:).
– Delete any temporary or unnecessary files, such as those in the Temporary folder or Recycle Bin.
– Consider moving large files to an external storage device or cloud storage services like Google Drive or Dropbox to free up space.
2. Uninstall unused applications:
– Open the Settings app and go to Apps & features.
– Select any applications you no longer need and click Uninstall.
– Alternatively, use a third-party uninstaller tool to remove any leftover files associated with the uninstalled apps.
3. Optimize storage settings:
– In the Settings app, go to System and then Storage.
– Enable Storage sense to automatically free up space by deleting temporary files and files in the Recycle Bin.
– Consider changing the default location of your files, such as downloads or documents, to an external storage device.
4. Use cloud storage or external drives:
– Take advantage of cloud storage services like Google Drive or Dropbox to store files and free up local disk space.
– Use an external USB drive or hard disk drive to offload files that are not frequently accessed.
5. Check for Windows updates:
– Open the Settings app and go to Update & Security.
– Click on Windows Update and check for any available updates.
– Keeping your Windows operating system up to date can help improve performance and resolve disk space issues.
Automatic Cleanup Apps
One popular option is Trend Micro’s Dr. Cleaner. This app scans your computer for junk files, duplicate files, and large files that you may no longer need. It also has a feature to help you uninstall unwanted applications and manage your startup items, all in one convenient place.
Another great option is CCleaner. This app not only cleans up your disk space, but it also helps protect your privacy by clearing your browsing history, cookies, and cache. It has a simple and intuitive interface that allows you to easily select which files and folders you want to clean.
If you prefer a built-in solution, Windows 10 and Windows 11 come with a Storage Sense feature. This feature automatically cleans up temporary files, empty your recycle bin, and remove files from your downloads folder that haven’t been modified in a certain amount of time. You can customize the settings to fit your needs and schedule regular cleanups.
To access Storage Sense in Windows 10, go to Settings > System > Storage. In Windows 11, go to Settings > System > Storage > Configure Storage Sense or run it now.
Regardless of the app you choose, it’s important to regularly clean up your disk space to optimize your computer’s performance and ensure you have enough storage for your important files and applications. Set a reminder to perform a disk cleanup at least once a month or whenever you notice your disk space getting low.
Community Advice
- Free up disk space: Delete unnecessary files and programs to create more storage space.
- Use Disk Cleanup: Windows provides a built-in tool to help you remove unnecessary files and clean up your disk.
- Empty the Recycle Bin: Deleted files are often stored in the Recycle Bin, so remember to empty it regularly.
- Uninstall unused programs: Identify and uninstall software that you no longer need or use.
- Clear temporary files: Use the Disk Cleanup tool to remove temporary files that are taking up space.
- Move files to an external storage device: Transfer large files or folders to an external hard drive or cloud storage.
- Disable hibernation: Hibernation files can consume a significant amount of disk space, so consider disabling this feature.
- Compress files and folders: Windows allows you to compress files or folders to save space without deleting them.
- Delete system restore points: Remove older system restore points to reclaim disk space.
- Use Storage Sense: Enable Storage Sense to automatically free up disk space by deleting temporary files and files in the Recycle Bin.
Explore Further Assistance
First, make sure to empty your trash or recycle bin. Sometimes files that you have deleted are still taking up space on your hard drive. Right-click on the trash or recycle bin icon on your desktop and select “Empty Trash” or “Empty Recycle Bin” to permanently delete these files.
Next, consider uninstalling any unnecessary applications or programs. Open the Control Panel by typing “Control Panel” into the search bar on your taskbar and selecting the corresponding result. From there, click on “Uninstall a program” under the “Programs” section. Look for any programs that you no longer use or need and select them, then click “Uninstall” to remove them from your computer.
You can also check for any large files or folders that may be taking up a significant amount of space on your hard drive. Open File Explorer by pressing the Windows key + E on your keyboard, then navigate to the drive or folder you want to check. Right-click on the drive or folder and select “Properties” from the context menu. This will show you the total size of the drive or folder and its contents. If you find any large files or folders that you no longer need, you can delete them to free up space.
Another option is to move some of your files to an external storage device, such as a USB drive or an external hard drive. This can help to free up space on your computer while still allowing you to access your files when needed. Simply connect the external storage device to your computer and copy or move the files you want to store to the device.
It may also be helpful to clear temporary files from your computer. Temporary files are created by various applications and can accumulate over time, taking up valuable disk space. To remove temporary files, type “Disk Cleanup” into the search bar on your taskbar and select the corresponding result. Select the drive you want to clean up and click “OK.” Check the boxes next to the types of files you want to delete, such as temporary files and recycle bin, then click “OK” to remove them.
If you have tried these steps and are still experiencing insufficient disk space, it may be beneficial to seek further assistance. Consider reaching out to the manufacturer of your computer or a professional technician for guidance and support. They can help you troubleshoot the issue and provide tailored solutions for your specific situation.
Discover More Solutions
If you’re dealing with insufficient disk space on your Windows computer, here are a few more solutions to help you free up storage:
1. Clear your trash: Emptying your trash bin is a simple way to reclaim disk space. Simply right-click on the trash icon on your desktop and select “Empty Recycle Bin” from the context menu.
2. Uninstall unused programs: Go to the Control Panel and navigate to “Programs” or “Apps & features” (depending on your Windows version). From there, select the programs you no longer need and click on “Uninstall” to remove them from your system.
3. Clean up temporary files: Use the built-in Disk Cleanup tool to remove temporary files and clear up space. Press the Windows key + R, type “cleanmgr” in the Run dialog box, and hit Enter. Select the drive you want to clean up, and click on “OK.” Follow the on-screen instructions to complete the process.
4. Delete unnecessary files and folders: Go through your computer and manually delete any files or folders that you no longer need. This could include old downloads, duplicate files, or large media files. Make sure to only delete files that you’re certain you don’t need anymore.
5. Move files to external storage: If you have important files that you don’t need immediate access to, consider moving them to an external hard drive or USB storage device. This will free up space on your main disk while still allowing you to access the files when needed.
6. Utilize cloud storage: Take advantage of cloud storage services like Microsoft OneDrive or Google Drive to store your files online. This not only frees up disk space but also provides an extra layer of backup and accessibility.
Evaluate Storage Management Tools
| Storage Management Tool | Description | Pros | Cons |
|---|---|---|---|
| Windows Disk Cleanup | A built-in tool in Windows that helps remove unnecessary files and free up disk space. |
|
|
| Third-party Disk Cleanup Tools (e.g., CCleaner) | External software that provides enhanced disk cleaning features and additional customization options. |
|
|
| Storage Sense | A Windows feature introduced in Windows 10 that automatically frees up disk space by deleting temporary files and managing Recycle Bin. |
|
|
| Storage Analyzer | Third-party tools that provide in-depth analysis of disk usage, identifying large files and folders taking up the most space. |
|
|
Consider External Storage Options
If you’re dealing with insufficient disk space on your Windows computer, one solution to consider is using external storage options. External storage provides additional space for your files and can help alleviate the storage constraints on your device. Here are a few options to explore:
1. USB Drives: USB drives, also known as flash drives or thumb drives, are portable storage devices that connect to your computer via a USB port. They are small, lightweight, and offer various storage capacities. Simply plug the USB drive into your computer and transfer files to free up space on your internal disk.
2. External Hard Drives: External hard drives are larger storage devices that offer even greater storage capacities compared to USB drives. They connect to your computer through a USB or Thunderbolt port and can be used to store files, backups, or even run applications directly from the external drive.
3. Network Attached Storage (NAS): NAS devices are a more advanced option for expanding your storage. They are standalone devices that connect to your home network and provide shared storage accessible by multiple computers and devices. NAS devices often offer advanced features such as RAID configurations and remote access to your files.
4. Cloud Storage: Cloud storage services, such as Microsoft OneDrive or Google Drive, allow you to store your files online and access them from any device with an internet connection. This option provides the flexibility of accessing your files from anywhere while freeing up space on your local disk.
When considering external storage options, it’s important to choose the one that best suits your needs in terms of capacity, portability, and ease of use. Additionally, make sure to regularly backup your data to avoid any potential loss.
Regular Maintenance Tips
- Clear Temporary Files:
- Open File Explorer.
- Click on the This PC or My Computer option.
- Right-click on the C: drive and select Properties.
- In the General tab, click on the Disk Cleanup button.
- Select the types of files you want to delete (e.g., Temporary files, Recycle Bin, etc.).
- Click on OK and then Delete Files.
- Uninstall Unnecessary Programs:
- Open the Control Panel by searching for it in the Start Menu.
- Click on Programs or Programs and Features.
- Locate the program you want to uninstall and click on it.
- Click on the Uninstall button.
- Follow the on-screen instructions to complete the uninstallation process.
- Move or Delete Large Files:
- Open File Explorer.
- Navigate to the location where the large files are stored.
- Sort the files by size to identify the largest ones.
- Right-click on a large file and select Cut to move it to a different location.
- If you want to delete the file, right-click on it and select Delete.
- Repeat the process for other large files.
- Disable Hibernation:
- Open the Command Prompt as an administrator.
- Type powercfg.exe /hibernate off and press Enter.
- This will disable hibernation and free up disk space occupied by the hibernation file.
- Check for System Updates:
- Open the Settings app.
- Click on Update & Security.
- Click on Check for updates.
- If updates are available, click on Download and Install.
- Restart your computer if prompted.
Digital Decluttering Strategies
- Uninstall Unnecessary Programs
- Open Control Panel by searching for it in the Start Menu or right-clicking on the Start button and selecting it from the list.
- Click on Programs or Programs and Features depending on your Windows version.
- Select the program you want to uninstall from the list and click on Uninstall.
- Follow the instructions provided by the uninstaller to complete the process.
- Repeat this step for any other unnecessary programs you want to remove.
- Delete Unwanted Files
- Open File Explorer by clicking on the folder icon in the taskbar or pressing Windows key + E.
- Navigate to the folders that contain the files you want to delete.
- Select the files you want to delete by clicking on them while holding down the Ctrl key to select multiple files.
- Right-click on the selected files and choose Delete.
- Confirm the deletion by clicking on Yes in the confirmation dialog box.
- Empty the Recycle Bin to permanently delete the files by right-clicking on the Recycle Bin icon on the desktop and selecting Empty Recycle Bin.
- Clean Up Temporary Files
- Press Windows key + R to open the Run dialog box.
- Type “%temp%” (without quotes) and press Enter.
- This will open the Temp folder containing temporary files.
- Select all the files and folders inside the Temp folder by pressing Ctrl + A.
- Press Shift + Delete to permanently delete the selected files and folders.
- Click on Yes in the confirmation dialog box to confirm the deletion.
- Use Disk Cleanup
- Press Windows key + S to open the Search bar.
- Type “disk cleanup” (without quotes) and click on the Disk Cleanup app from the search results.
- Select the drive you want to clean up (usually the C: drive).
- Click on OK to let Disk Cleanup scan the selected drive.
- Tick the checkboxes next to the file types you want to clean up (e.g., Temporary files, Recycle Bin).
- Click on OK to start the cleanup process.
- Confirm the deletion by clicking on Delete Files.
F.A.Qs
How do I fix high disk space?
To fix high disk space, you can try several methods. These include checking for viruses, resetting virtual memory, performing a clean boot, wiping the hard drive, or simply restarting your device.
How do I fix not enough disk space?
To fix not enough disk space, you can try the following methods:
1. Extend disk space.
2. Run Disk Cleanup.
3. Uninstall unnecessary apps.
4. Use external storage and cloud service.
5. Empty Recycle Bin.
How do I fix full disk space?
To fix full disk space, you can start by emptying the Recycle Bin, using Disk Cleanup to delete unnecessary files, removing temporary and duplicate files, uninstalling applications that are not needed, and configuring System Restore.
How do I free up disk space?
To free up disk space, you can perform a disk cleanup, uninstall unnecessary programs, delete unnecessary files, and consider storing files in the cloud.
