Having trouble with your internet connection? Don’t worry, I’ve got you covered. Let’s dive into troubleshooting and fixing those pesky internet connection issues.
Restart Your Equipment
1. Locate your modem and router. They are typically found near each other, and may be separate devices or combined into one unit.
2. Unplug the power cords from both the modem and router. Wait for about 30 seconds.
3. Plug the power cord back into the modem first. Wait for all the lights on the modem to stop blinking and stabilize. This may take a few minutes.
4. Plug the power cord back into the router. Wait for the lights on the router to stabilize as well.
5. Test your internet connection by opening a web browser or using an online application. If the connection is still not working, try restarting your computer or device.
Restarting your equipment can often resolve common internet connection issues. It helps refresh the network settings and clears any temporary glitches. If you continue to experience connection problems, consider contacting your Internet Service Provider for further assistance.
Check Physical Connectivity Issues
To check for physical connectivity issues, follow these steps:
1. Make sure all cables are securely connected. Check that the Ethernet cable is firmly plugged into both the modem and the computer/router. Sometimes, a loose connection can cause intermittent or no internet access.
2. Restart your modem and router. Unplug the power cords from both devices, wait for 30 seconds, and then plug them back in. This can help resolve any temporary issues that may be affecting your connection.
3. Check for physical damage to cables and devices. Inspect the cables for any signs of fraying or damage, and replace them if necessary. Additionally, check if your modem or router has any visible damage or if any lights are not lit up, indicating a potential hardware issue.
4. Move closer to the Wi-Fi router. If you’re experiencing weak or no Wi-Fi signal, try moving closer to the router to see if that improves the connection. Thick walls, interference from other devices, or distance can all affect the strength of your Wi-Fi signal.
5. Test with a different device. If possible, try connecting to the internet using a different device, such as a smartphone or tablet, to see if the issue is specific to one device. This can help determine if the problem lies with your computer or network.
By checking for physical connectivity issues, you can quickly identify and resolve any problems that may be affecting your internet connection.
Use an Ethernet Cable for Connection
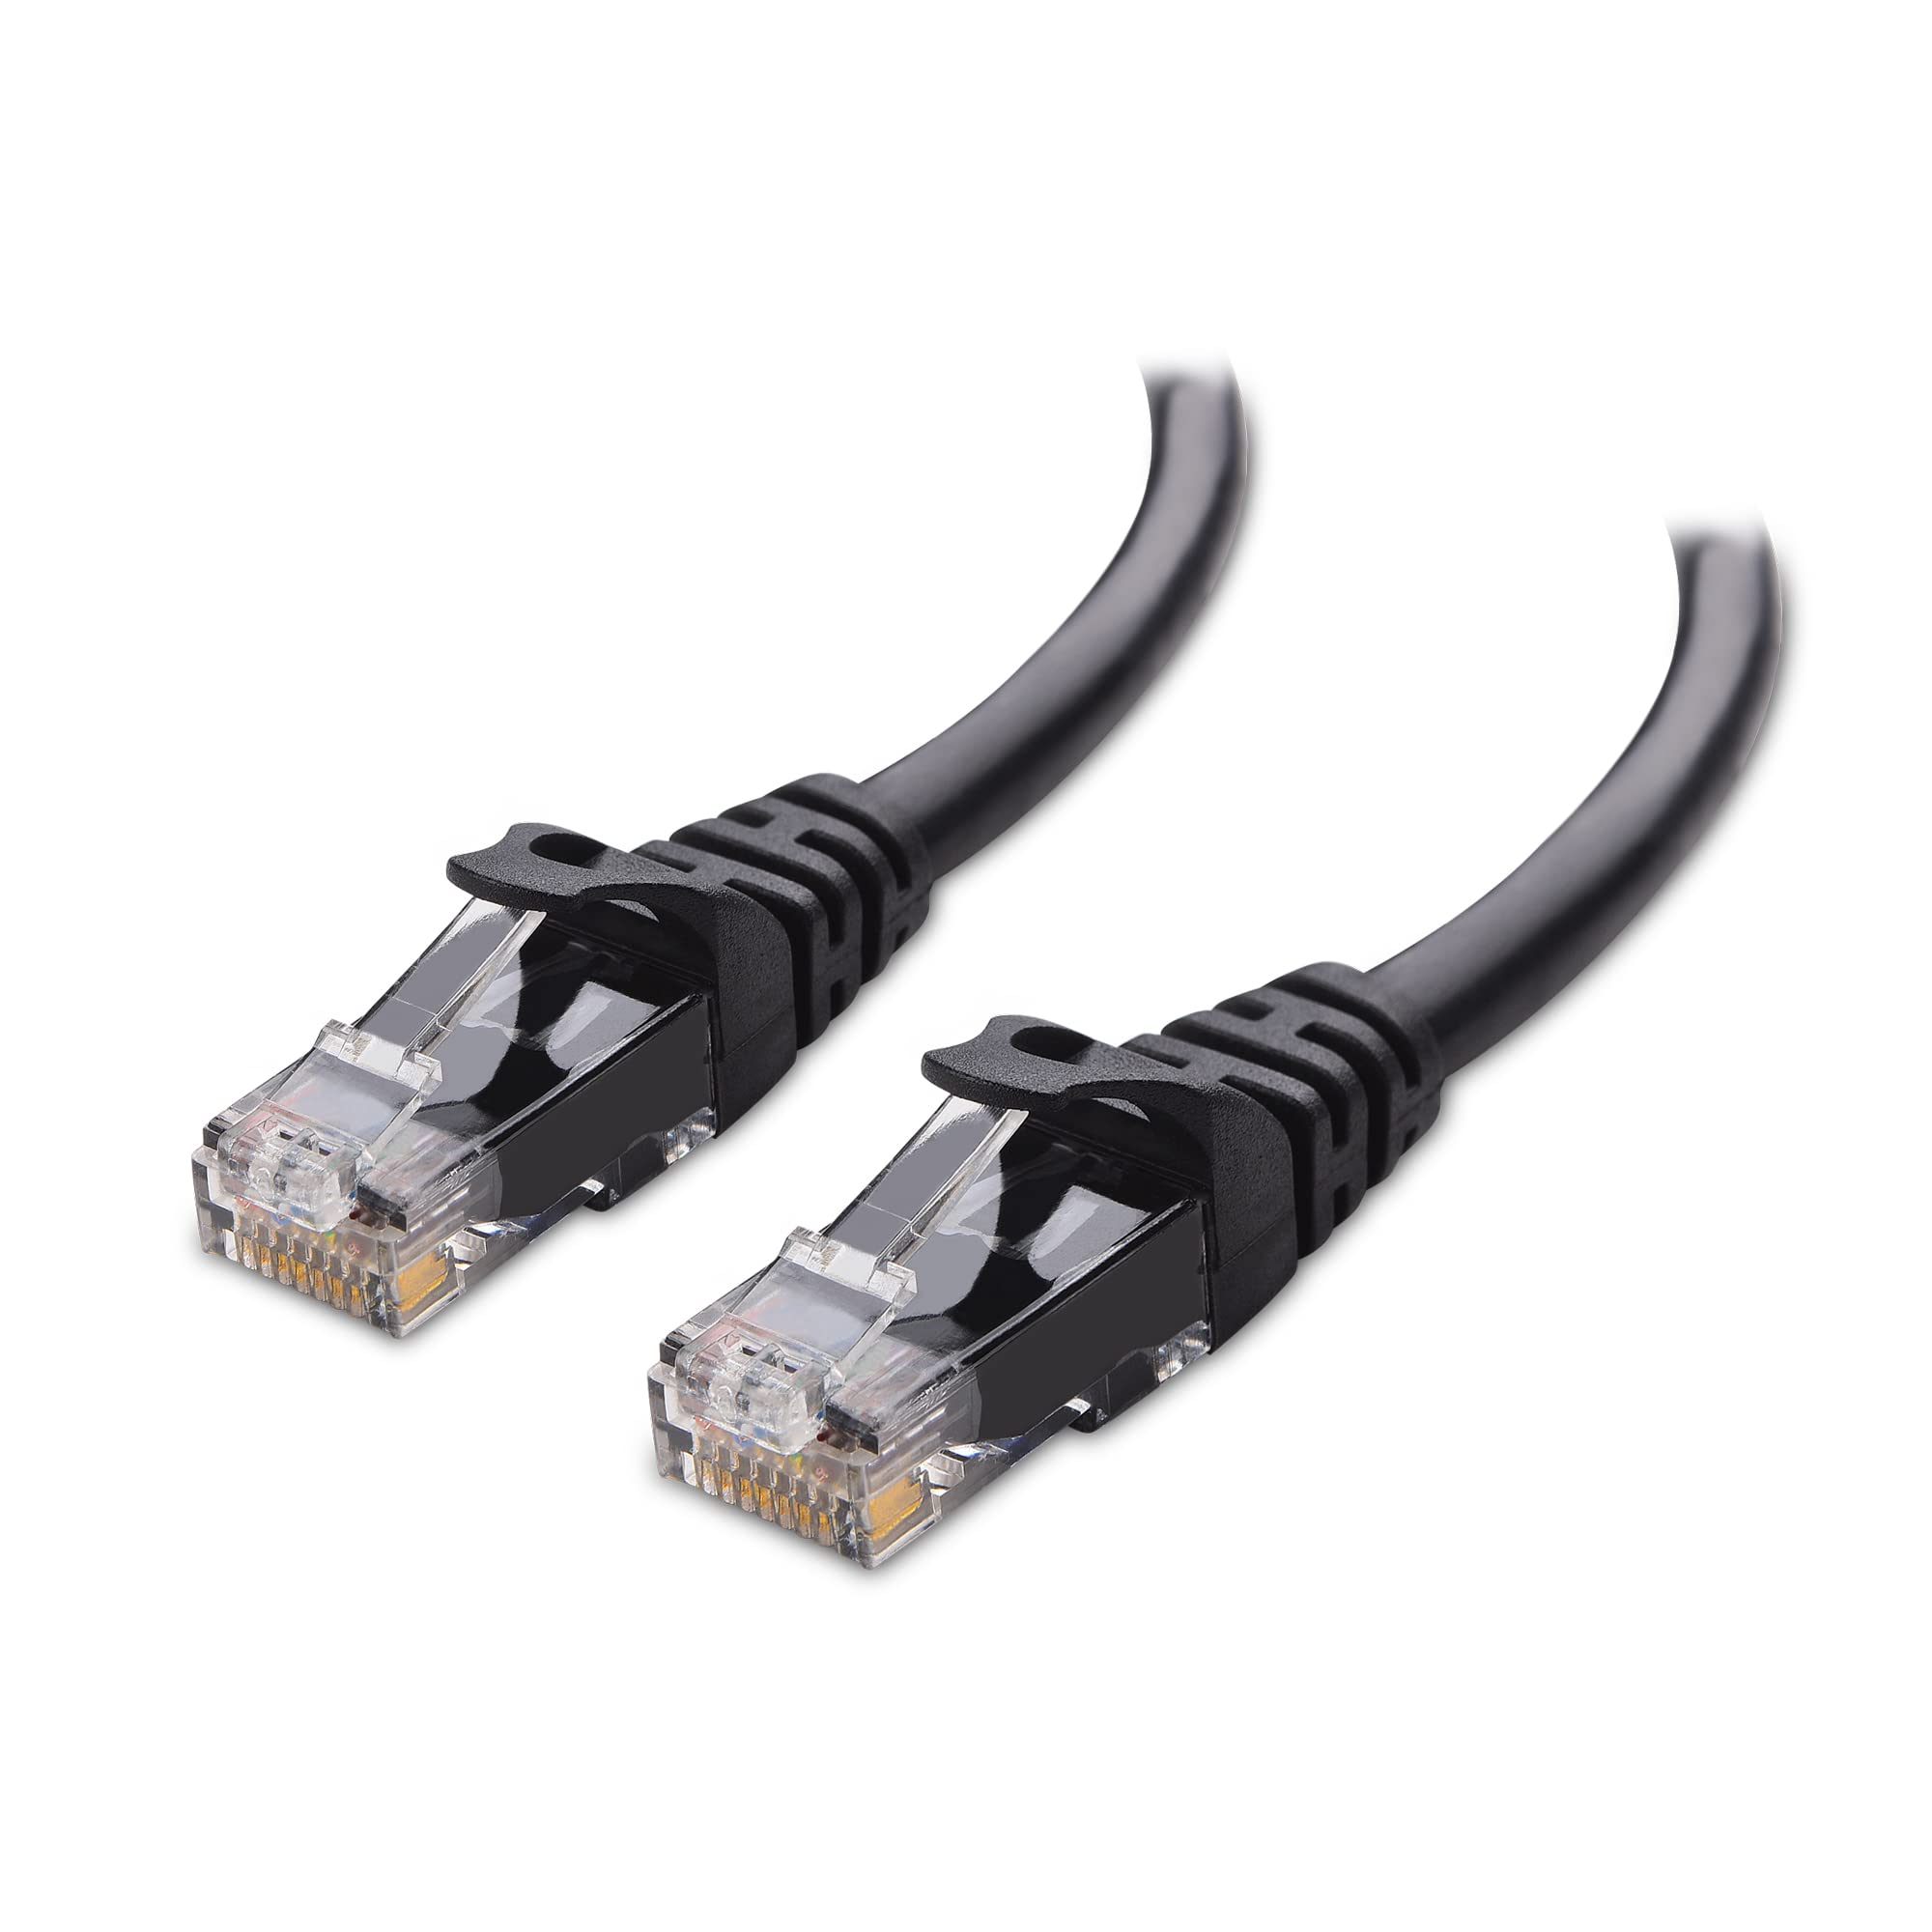
To troubleshoot and fix internet connection issues, using an Ethernet cable can be a reliable solution. This type of connection provides a direct and stable link between your device and the router, bypassing any potential wireless interference.
To use an Ethernet cable for connection:
1. Connect one end of the Ethernet cable to the Ethernet port on your device, such as your computer or laptop.
2. Connect the other end of the cable to an available Ethernet port on your router.
3. Ensure that both ends of the cable are securely plugged in.
Using an Ethernet cable eliminates the need for a wireless connection, which can be affected by factors like network congestion, radio interference, and signal strength. It also prevents potential security issues like hacking and unauthorized access.
By using an Ethernet cable, you can enjoy a more reliable and faster internet connection, especially for activities that require high bandwidth, such as streaming media or downloading large files.
Evaluate Software Problems
When troubleshooting and fixing internet connection issues, it is important to evaluate any software problems that may be causing the issue.
One common software problem is malware or security threats. Run a scan with your computer security software to check for any potential threats and remove them if necessary.
Another potential software issue is a problem with your network settings. Check your network settings on your computer to ensure they are correctly configured.
If you are using Windows 10, you can troubleshoot network problems by going to the “Network Troubleshooter” in the Control Panel.
For MacOS users, go to the “Network” section in System Preferences and use the “Assist Me” option to troubleshoot network issues.
If you are using a router, try resetting it by turning it off and on again. This can often resolve software-related connection problems.
Additionally, check for any software updates for your computer and router. Keeping your software up to date can help resolve compatibility issues that may be causing internet connection problems.
By addressing any software problems that may be affecting your internet connection, you can troubleshoot and fix the issue more effectively.
Reposition Your Router or Modem
Repositioning your router or modem can often help resolve internet connection issues.
First, ensure that your router or modem is placed in a central location, away from obstructions such as walls, furniture, or appliances that may interfere with the signal.
If you’re using a 2.4 GHz radio frequency, make sure it’s not being affected by other devices like cordless telephones, baby monitors, or microwave ovens.
Check the cables connecting your router or modem to the internet access point. Make sure they are securely plugged in and not damaged.
If you’re experiencing slow internet or network congestion, reboot your router or modem by unplugging it for 10 seconds and then plugging it back in.
Consider updating your router’s firmware to the latest version, as this can improve its performance and security.
If you’re using a wireless connection, change the channel on your router settings to avoid interference from other nearby networks.
Secure your network by setting a strong password for your Wi-Fi, enabling encryption, and using a firewall. This will help protect against security threats and unauthorized access.
Run Your Computer’s Internet Troubleshooter
1. On Windows 10, click on the Start button and select “Settings.” Then, click on “Network & Internet.”
2. In the Network & Internet settings, click on “Status” in the left sidebar.
3. Scroll down and click on “Network Troubleshooter” under the “Advanced network settings” section.
4. The troubleshooter will now run and attempt to identify and fix any issues with your internet connection.
5. Follow the on-screen instructions provided by the troubleshooter to fix the problem.
6. Once the troubleshooter has completed its task, check if your internet connection is now working properly.
7. If the troubleshooter was unable to fix the issue, you may need to try other troubleshooting methods or contact your internet service provider for further assistance.
Switch Wi-Fi Bands (2.4 GHz and 5 GHz)
To switch Wi-Fi bands on your router, follow these steps:
1. Access your router’s settings by typing its IP address into your web browser’s address bar. This is usually “192.168.1.1” or “192.168.0.1”.
2. Enter your router’s username and password. If you don’t know these, check the router’s manual or contact your internet service provider.
3. Locate the wireless settings or Wi-Fi settings section in your router’s settings.
4. Look for an option to switch between 2.4 GHz and 5 GHz bands. This option may be called “Band” or “Frequency”.
5. Select the 2.4 GHz band if you’re experiencing slow internet speeds or have trouble connecting to your Wi-Fi network. The 2.4 GHz band has a longer range but can be more crowded and prone to interference from other devices.
6. Choose the 5 GHz band if you want faster speeds and have devices that support it. The 5 GHz band offers less interference and is ideal for streaming media and online gaming.
7. Save your changes and wait for your router to restart.
Remember, some older devices may not support the 5 GHz band, so make sure your devices are compatible before switching.
By switching Wi-Fi bands, you can troubleshoot and fix internet connection issues related to signal strength and interference.
Check for Internet Service Provider Outages
To check for Internet Service Provider (ISP) outages, follow these steps:
1. Start by checking if the issue is widespread. Ask your neighbors or check online forums to see if others are experiencing the same problem.
2. Verify if your modem and router are properly connected and powered on. Make sure all cables are securely connected.
3. Reset your modem and router. Unplug them from the power source, wait for 30 seconds, and then plug them back in. This can help resolve any temporary glitches.
4. Check your ISP’s website for outage notifications. They may provide information about any known issues in your area.
5. Use your smartphone’s mobile data or a public Wi-Fi network to access your ISP’s website. If the website loads, it indicates that the issue is with your internet connection.
6. If you have access to a different device, such as a tablet or laptop, try connecting to the internet using that device. This will help determine if the problem is specific to one device or your entire network.
7. If the issue persists, contact your ISP’s customer support. They can provide further assistance and help diagnose the problem.
Secure Your Wi-Fi Network

1. Change your default network name (SSID) and password. Use a unique and strong password that includes a combination of letters, numbers, and special characters. Avoid using personal information or common words.
2. Enable network encryption. Choose WPA2 (Wi-Fi Protected Access 2) as your encryption method, as it provides better security than older versions like WEP (Wired Equivalent Privacy).
3. Disable remote management. By default, some routers allow remote access, which can be exploited by hackers. Access your router settings and disable this feature to prevent unauthorized access.
4. Update your router firmware regularly. Manufacturers release updates to fix vulnerabilities and improve security. Check your router’s settings or the manufacturer’s website for firmware updates and install them promptly.
5. Enable MAC address filtering. This feature only allows devices with specific MAC addresses to connect to your network. Add the MAC addresses of your devices to the router’s whitelist to enhance security.
6. Disable WPS (Wi-Fi Protected Setup). Although it’s convenient, WPS can be vulnerable to brute-force attacks. Disable it in your router settings to eliminate this potential security risk.
7. Consider using a virtual private network (VPN) for added security. A VPN encrypts your internet traffic and protects your data from potential eavesdroppers, especially when using public Wi-Fi networks.
Update Your Drivers (Windows)
To troubleshoot and fix internet connection issues on Windows, one important step is to update your drivers. Outdated or incompatible drivers can cause connectivity problems and slow down your internet speed.
To update your drivers, follow these steps:
1. Press the Windows key + X and select “Device Manager” from the menu.
2. In the Device Manager window, expand the “Network adapters” category.
3. Right-click on your network adapter and select “Update driver.”
4. Choose the option to search automatically for updated driver software.
5. Windows will search for the latest drivers online and install them if available.
Updating your drivers can improve your internet connection stability and speed. Make sure to check for updates regularly to ensure optimal performance.
Flush the DNS Cache
1. On a Windows computer, open the Command Prompt by pressing the Windows key + R, typing “cmd,” and hitting Enter. On a Mac, open the Terminal.
2. In the Command Prompt or Terminal, type “ipconfig /flushdns” and hit Enter. This will clear the DNS cache.
3. Restart your computer to ensure the changes take effect.
Flushing the DNS cache can help resolve issues such as slow internet or websites not loading properly. It clears outdated or incorrect DNS information, allowing your computer to establish a fresh connection to websites.
If you continue to experience internet connection problems after flushing the DNS cache, consider checking other factors such as your network settings, router configuration, or contacting your internet service provider for further assistance.
Reset Your Network Settings
1. First, make sure you are connected to your network. If you’re using Wi-Fi, ensure that you’re within range of the router and that the network name and password are correct.
2. Open your device’s settings and navigate to the network or internet settings.
3. Look for an option to reset network settings. This may be labeled differently depending on your device, but it is usually found under a “Network” or “Connections” section.
4. Once you’ve found the reset option, click on it. You may be prompted to enter your device’s password or confirm your action.
5. After resetting, your device will restart and the network settings will be restored to their default values.
6. Reconnect to your network by selecting the appropriate network name and entering the password if necessary.
By resetting your network settings, you can resolve many common internet connection issues. This can help to fix problems such as slow speeds, dropped connections, or difficulty connecting to certain websites or services.
Note: Resetting your network settings will remove any saved Wi-Fi networks and passwords, so you will need to reconnect to them again. Additionally, any custom network settings or configurations will be lost, so make sure to take note of any important settings before proceeding.
Turn Off Your Antivirus Software
First, locate your antivirus software’s icon in the system tray or taskbar, usually found in the bottom-right corner of your screen. Right-click on the icon and look for an option to disable or turn off the program.
If you can’t find the option in the system tray, open the antivirus program directly from your computer’s start menu or desktop. Look for a settings or preferences menu, and navigate to the section related to real-time protection or firewall. Disable these features temporarily.
Remember to re-enable your antivirus software later to maintain your computer’s security.
By temporarily turning off your antivirus software, you can determine if it is the cause of your internet connection issues. If the problem persists even after disabling the antivirus, you can rule it out as the culprit and continue troubleshooting.
Reset Equipment to Factory Settings
To reset your equipment to factory settings, follow these steps:
1. Locate the reset button on your router or modem. It is usually a small hole that requires a paperclip or pin to press.
2. Use a paperclip or pin to press and hold the reset button for about 10 seconds. This will reset the device to its original factory settings.
3. Release the reset button and wait for the device to reboot. This may take a few minutes.
4. Once the device has rebooted, you will need to reconfigure your network settings. This may include setting up a new password and network name.
5. If you have any other devices connected to your network, such as computers or smartphones, you may need to reconnect them to the newly reset device.
Resetting your equipment can help resolve various internet connection issues, such as slow speeds or intermittent connectivity. It can also help if you suspect that your device has been compromised by malware or if you are experiencing network security issues.
Check If You’re Outside the Wireless Signal Range
To check if you’re outside the wireless signal range, follow these steps:
1. Open your device’s Wi-Fi settings and look for the available networks.
2. Look for the network you usually connect to and check the signal strength. If it’s weak or not visible, you may be outside the range.
3. Move closer to the router or access point to see if the signal strength improves. Sometimes, obstacles like walls or furniture can weaken the signal.
4. If moving closer doesn’t help, check if there are any physical obstructions between your device and the router, such as concrete walls or metal objects. These can interfere with the signal.
5. Try connecting to the network using a different device to see if the issue is specific to one device or affects multiple devices.
6. If you’re still unable to connect or have a weak signal, consider using a wireless repeater or extender to extend the range of your network.
7. Ensure that your router’s firmware is up to date, as outdated firmware can cause connectivity issues.
8.
Use a Different Wi-Fi Channel
To troubleshoot and fix internet connection issues, you can try using a different Wi-Fi channel. This can help improve the signal strength and reduce interference.
First, you need to access your router’s settings. Open a web browser and enter the router’s IP address (usually something like 192.168.1.1 or 192.168.0.1) in the address bar.
Once you’re in the router’s settings, look for the wireless settings or Wi-Fi settings section. Here, you’ll find the option to change the Wi-Fi channel.
Switch to a different channel to avoid interference from other devices in your area. Channels 1, 6, and 11 are usually the least congested and provide better performance.
After selecting a new channel, save the settings and restart your router. This will apply the changes and help improve your internet connection.
Remember, if you’re using a dual-band router that supports both 2.4 GHz and 5 GHz frequencies, make sure to change the channel for the 2.4 GHz band.
Diagnose the Issue Using Your Computer

To diagnose internet connection issues using your computer, follow these steps:
1. Check the Wi-Fi connection: Ensure that your computer is connected to the correct Wi-Fi network. If not, select the appropriate network from the available options.
2. Restart your computer: Sometimes, a simple restart can resolve connectivity problems. Turn off your computer, wait for a few seconds, and then turn it back on.
3. Reset your router: If restarting your computer doesn’t work, try resetting your router. Unplug the router from the power source, wait for about 30 seconds, and then plug it back in.
4. Check for signal interference: Various devices and objects can interfere with your Wi-Fi signal. Keep your computer away from cordless telephones, microwaves, baby monitors, and other electronic devices.
5. Clear your cache: Open your web browser settings and clear the cache and browsing history. This can help resolve any browser-related issues affecting your internet connection.
6. Disable security software temporarily: Sometimes, antivirus or firewall software can interfere with your internet connection. Temporarily disable your security software and check if the issue is resolved.
7. Update your network drivers: Outdated or incompatible network drivers can cause connectivity problems. Visit the manufacturer’s website to download and install the latest drivers for your network adapter.
8. Contact your internet service provider (ISP): If the previous steps don’t resolve the issue, it may be a problem with your ISP. Contact their customer support for further assistance.
Contact Your Internet Service Provider
Here’s how to contact your ISP:
1. Look for the contact information on your ISP’s website or on your monthly bill. They typically provide a phone number or an online support portal.
2. Call the customer support hotline provided by your ISP. Be prepared to provide your account information and a description of the issue you are experiencing.
3. If there is an online support portal, log in using your account credentials and submit a support ticket outlining your problem. Include any relevant details or error messages you have encountered.
4. Be patient and cooperative when speaking with the ISP’s customer support representative. They may ask you to perform certain troubleshooting steps or provide additional information to help resolve the issue.
Frequently Asked Questions
How do you fix Internet connection?
To fix an Internet connection, you can try adjusting your network settings. Open the Settings app, then navigate to Network & internet or Connections. Depending on your device, these options may vary. Try turning off Wi-Fi and turning on mobile data to see if that resolves the issue. If not, try turning off mobile data and turning on Wi-Fi instead.
How do I fix my internet router?
To fix your internet router, you can start by unplugging the power cords of the router and modem from the power outlet for 15 seconds. After that, plug the power cords back in and make sure all cords and cables are securely connected. Wait a few minutes until the lights on the modem and router are functioning correctly, referring to the device manual or manufacturer’s support site for guidance if needed.
Why my internet is not working?
Your internet may not be working due to various factors. One possibility is problems with your equipment, which can be resolved by restarting your modem/router. Additionally, inadequate speeds, network congestion, and inclement weather can also affect your internet connection.
How do I get my internet back online?
To get your internet back online, you can try the following steps:
Restart your modem and router.
Ensure all wires and cables are properly connected.
Reposition your router to a better location.
Test a different website or online activity.
Check for any outages in your area.
