Having trouble with your Intel Wireless AC 9560? Let’s troubleshoot the issue together.
Troubleshoot with Network Adapter Troubleshooter
To troubleshoot Intel Wireless AC 9560 not working, you can use the Network Adapter Troubleshooter. Follow these steps:
1. Press the Windows key + R to open the Run dialog box. Type “ms-settings:troubleshoot” and press Enter.
2. In the Troubleshoot settings, scroll down and click on “Network Adapter” under “Find and fix other problems”.
3. Click on “Run the troubleshooter” and wait for the tool to detect any issues with your network adapter.
4. Follow the on-screen instructions provided by the troubleshooter to resolve the problem.
5. If the troubleshooter suggests any fixes, apply them and check if the Intel Wireless AC 9560 starts working.
6. If the troubleshooter doesn’t fix the issue, try restarting your computer and see if that resolves the problem.
7. You can also try updating the device driver for the Intel Wireless AC 9560. To do this, follow these steps:
a. Press the Windows key + X and select “Device Manager” from the context menu.
b. In the Device Manager, expand the “Network adapters” category.
c. Right-click on the Intel Wireless AC 9560 and select “Update driver”.
d. Choose the option to search automatically for updated driver software.
e. If a newer driver is found, follow the instructions to download and install it.
8. If updating the driver doesn’t work, you can try uninstalling the driver and then reinstalling it. To do this:
a. In the Device Manager, right-click on the Intel Wireless AC 9560 and select “Uninstall device”.
b. Check the box that says “Delete the driver software for this device” and click on “Uninstall”.
c. Restart your computer and Windows will automatically reinstall the driver.
9.
Check Wi-Fi and Adapter Settings
To troubleshoot Intel Wireless AC 9560 not working, start by checking the Wi-Fi and adapter settings. Follow these steps:
1. Verify that the Wi-Fi is enabled on your device. Look for a Wi-Fi switch or button on your laptop or PC. Make sure it is turned on.
2. Check the adapter settings. Right-click on the Wi-Fi icon in the system tray and select “Open Network & Internet settings” or “Open Network and Sharing Center.”
3. In the Network & Internet settings, click on “Change adapter options.” This will open the Network Connections window.
4. Look for the Intel Wireless AC 9560 adapter. If it is disabled, right-click on it and select “Enable.” If it is enabled, try disabling it and then enabling it again.
5. Restart your computer. Sometimes a simple reboot can resolve connectivity issues.
6. Check the BIOS settings. Restart your computer and enter the BIOS settings by pressing the appropriate key (usually Del or F2) during startup. Look for any settings related to Wi-Fi or network adapters and ensure they are enabled.
7. Update the device driver. Visit the website of your device’s manufacturer or Intel’s website to download the latest driver for the Intel Wireless AC 9560 adapter. Install the driver and restart your computer.
8. Reset the network settings. Open the Network Connections window again and right-click on the Intel Wireless AC 9560 adapter. Select “Disable” and then “Enable” to reset the network settings.
9. Check for Windows updates. Go to Settings > Update & Security > Windows Update and click on “Check for updates.” Install any available updates, as they may include fixes for Wi-Fi issues.
10. If all else fails, try using a wired connection. Connect your device to the internet using an Ethernet cable to bypass any potential Wi-Fi problems.
Update or Reinstall Network Adapter Driver
To troubleshoot the Intel Wireless AC 9560 not working issue, you may need to update or reinstall the network adapter driver. Follow these steps to resolve the problem:
1. Press the Windows key + X on your keyboard and select “Device Manager” from the context menu.
2. In the Device Manager window, find and expand the “Network Adapters” category.
3. Right-click on the Intel Wireless AC 9560 adapter and select “Update driver” from the context menu.
4. Choose the option to search automatically for updated driver software. Let Windows search and install the latest driver for your network adapter.
5. If the update doesn’t fix the issue, you can try reinstalling the driver. Right-click on the Intel Wireless AC 9560 adapter again and select “Uninstall device” from the context menu.
6. Confirm the uninstallation and restart your computer.
7. After the restart, Windows should automatically reinstall the driver for your network adapter. If not, you can go back to the Device Manager and click on “Action” in the menu bar. Then select “Scan for hardware changes” to trigger the reinstallation process.
8. Once the driver is successfully installed, check if the Intel Wireless AC 9560 is now working properly.
Updating or reinstalling the network adapter driver can often resolve issues with wireless connectivity. If you continue to experience problems, you may need to contact the manufacturer or seek further technical support.
Enable WLAN AutoConfig Service
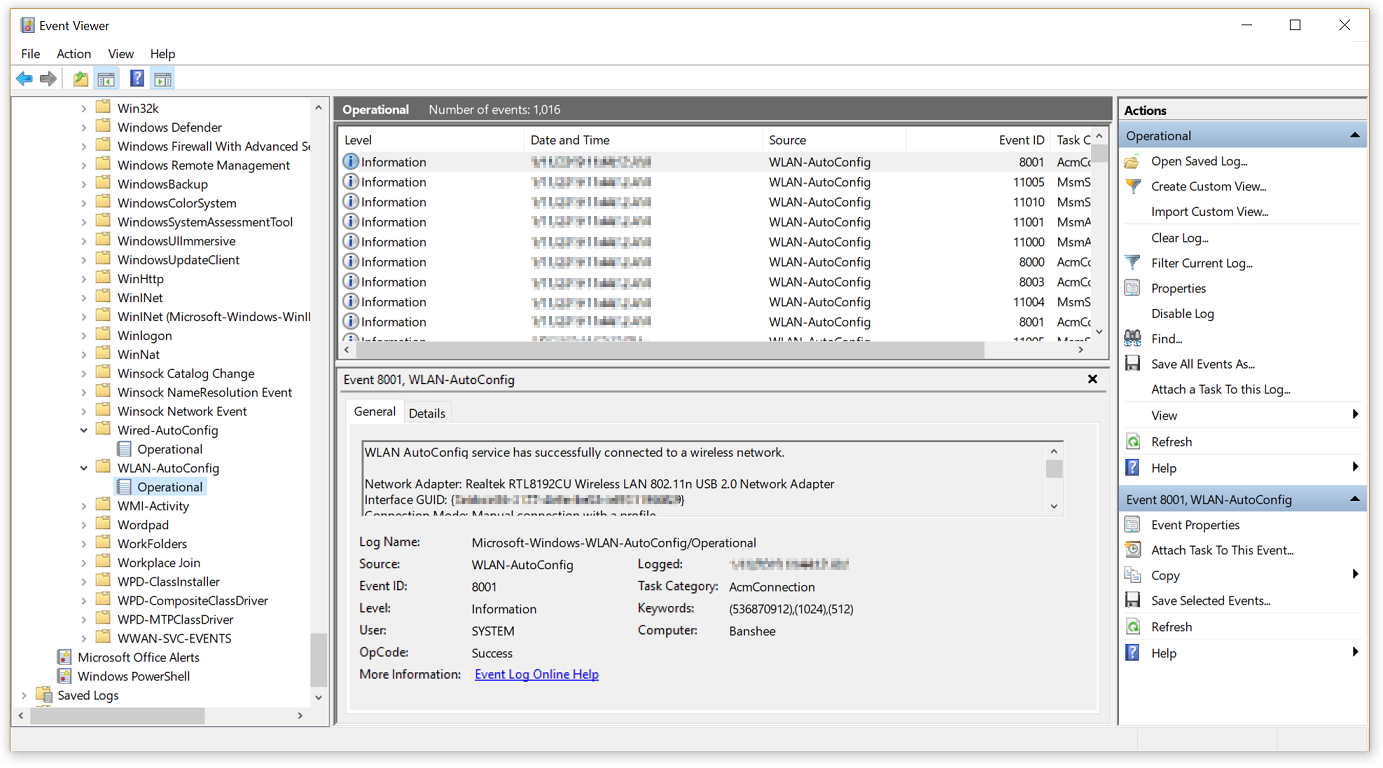
To enable the WLAN AutoConfig Service for troubleshooting the Intel Wireless AC 9560 not working, follow these steps:
1. Press the Windows key + R on your keyboard to open the Run dialog box.
2. Type “services.msc” and press Enter to open the Services window.
3. Scroll down and locate the “WLAN AutoConfig” service.
4. Right-click on the service and select “Properties” from the context menu.
5. In the Properties window, ensure that the “Startup type” is set to “Automatic.”
6. If the service is currently stopped, click on the “Start” button to start it.
7. Click on “Apply” and then “OK” to save the changes.
8. Close the Services window and restart your computer.
By enabling the WLAN AutoConfig Service, you allow your system to automatically configure and connect to wireless networks. This can help troubleshoot issues with the Intel Wireless AC 9560 not working.
Adjust Power Management Settings
Adjusting Power Management Settings can help resolve issues with the Intel Wireless AC 9560 not working. To do this:
1. Press the Windows key and type “Device Manager,” then hit Enter.
2. In Device Manager, expand the “Network Adapters” category.
3. Right-click on the Intel Wireless AC 9560 and select “Properties.”
4. Go to the “Power Management” tab.
5. Uncheck the box that says “Allow the computer to turn off this device to save power.”
6. Click “OK” to save the changes.
This will prevent the power management settings from interfering with the wireless adapter’s functionality. If the issue persists, consider updating the driver software or checking for any other software conflicts.
Reset Network Components
1. Restart your computer by clicking on the “Start” menu, selecting “Power,” and then choosing “Restart.” This will reboot the system and refresh network settings.
2. Turn off your wireless network switch on your laptop or personal computer. Wait for a few seconds, and then turn it back on. This will reset the network connection and potentially resolve any issues.
3. Check the USB connections of your wireless adapter. Disconnect it from the USB port and reconnect it firmly. Ensure that it is securely plugged in to eliminate any hardware-related problems.
4. Reset the wireless adapter using Device Manager. Press the “Windows” key and “X” simultaneously, then select “Device Manager” from the menu. Expand the “Network Adapters” category, right-click on the Intel Wireless AC 9560 adapter, and choose “Uninstall device.” Confirm the action and restart your computer. Upon restart, the driver will be automatically reinstalled.
5. Update the Intel Wireless AC 9560 driver. Visit the manufacturer’s website or use a reliable driver update tool to download and install the latest driver version. This can resolve compatibility issues and provide improved performance.
6. Ensure that the wireless adapter is enabled in the UEFI/BIOS settings. Restart your computer and enter the UEFI/BIOS by pressing the corresponding key (such as F2 or Del) during startup. Navigate to the “Advanced” or “Integrated Peripherals” section and enable the wireless adapter if it is disabled.
7. Disable Bluetooth temporarily. Some devices may experience conflicts between wireless and Bluetooth connections. Press the “Windows” key and “I” simultaneously to open the Windows Settings. Go to “Devices” and toggle off the Bluetooth switch. Restart your computer and check if the Intel Wireless AC 9560 starts working.
8. Check for any network congestion or interference. Move closer to the wireless router or access point to ensure a strong signal. Avoid placing other electronic devices or obstructions between your computer and the router.
Consider Alternative Connection Methods

- Check the Wi-Fi signal strength: Ensure that the device is within range of the Wi-Fi network and that there are no physical obstructions causing interference.
- Restart the router: Power cycle the router by unplugging it from the power source, waiting for a few seconds, and then plugging it back in.
- Update wireless drivers: Visit the Intel website and download the latest drivers for the Intel Wireless AC 9560 to ensure compatibility and optimal performance.
- Disable and re-enable the Wi-Fi adapter: Go to the Device Manager, locate the Intel Wireless AC 9560 adapter, right-click on it, select “Disable,” wait for a few seconds, and then right-click again and choose “Enable.”
- Reset network settings: Reset the network settings on the device by going to the Control Panel or Settings, selecting “Network & Internet,” and choosing “Network Reset.”
- Use an Ethernet cable: If possible, connect the device directly to the router using an Ethernet cable to bypass any potential Wi-Fi connection issues.
- Check for firmware updates: Visit the manufacturer’s website and ensure that the router’s firmware is up to date, as outdated firmware can cause compatibility issues.
- Temporarily disable antivirus/firewall: Disable the antivirus or firewall software on the device temporarily to check if it is causing any conflicts with the Wi-Fi connection.
- Contact technical support: If none of the above steps resolve the issue, reach out to Intel or the device manufacturer’s technical support for further assistance.
F.A.Q.
Why is Intel my Wi-Fi technology disabled?
Intel Wi-Fi technology may be disabled due to old firmware causing the adapter to disable itself when receiving numerous bad frames from the access point. To resolve this issue, you can change the power settings of your Wi-Fi adapter and utilize the built-in Network Reset feature in Windows 10.
How do I enable Intel Wi-Fi adapter?
To enable the Intel Wi-Fi adapter, follow these steps:
1. Right-click the My Computer icon on the desktop or from the Start menu.
2. Click Manage.
3. Click Device Manager.
4. Click the + sign to expand the Network Adapters entry.
5. Right-click the wireless adapter and click Properties.
6. Click the Advanced tab to configure the advanced settings.
Why is my Intel wireless not working?
Your Intel wireless may not be working due to various reasons such as outdated or incorrect driver version, network configuration issues, wireless adapter settings, AP/router configuration problems, or interference issues.
How do I fix the Intel R Wireless AC 9560?
To fix the Intel R Wireless AC 9560, you can follow these steps:
