Having trouble with invalid media or a track 0 bad disk? Here are six effective fixes to make your disk usable again.
Common Causes of “Invalid Media or Track 0 Bad”
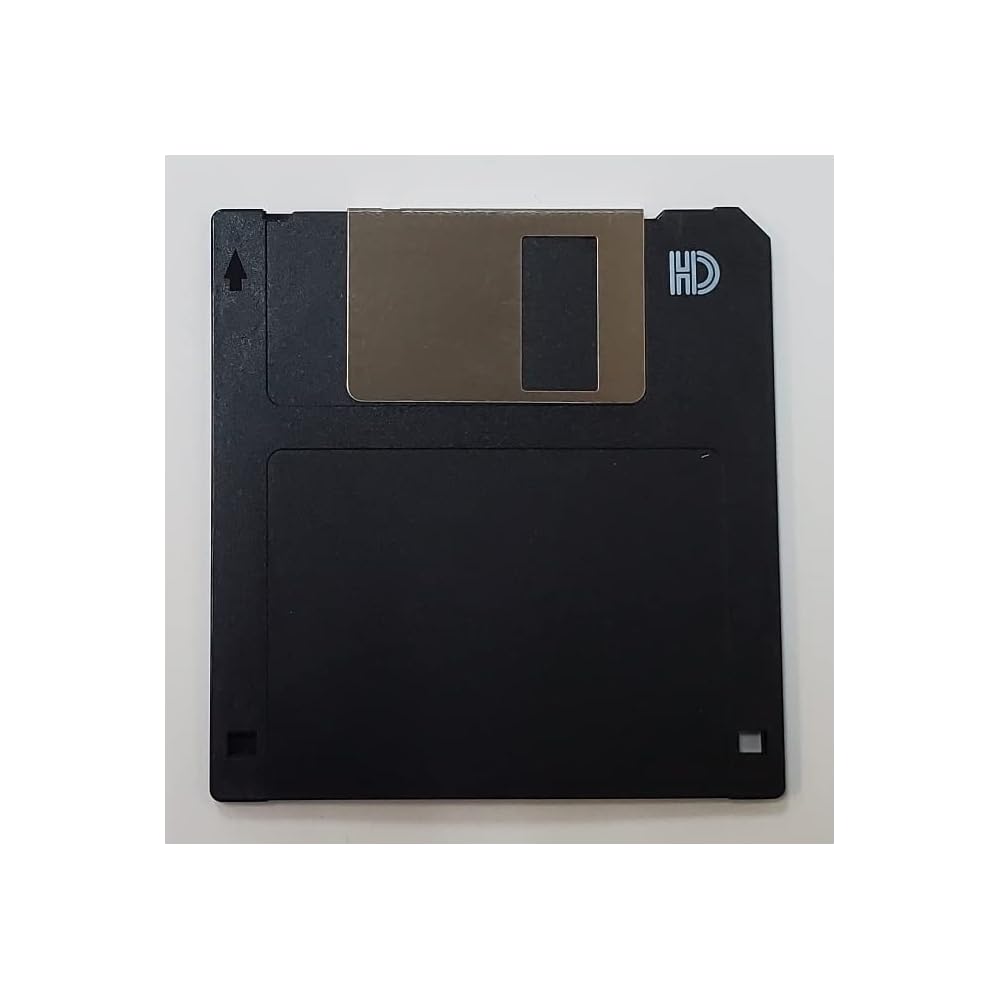
Invalid Media or Track 0 Bad is a common issue that can render a disk unusable. There are several possible causes for this error, including:
1. Disk formatting issues: If the disk has not been properly formatted or if the formatting is corrupted, it can result in the “Invalid Media or Track 0 Bad” error.
Fix: Reformat the disk using the appropriate file system (such as NTFS for Windows or FAT32 for external storage devices).
2. Data corruption: Data corruption can occur due to various factors, including power failures, improper shutdowns, or physical damage to the disk.
Fix: Use data recovery software like EaseUS Data Recovery Wizard to recover the corrupted data from the disk.
3. Bad sectors: Bad sectors are areas on the disk that cannot be read or written to. These can occur due to physical damage or wear and tear.
Fix: Use tools like Diskpart or Disk Management to check for and repair bad sectors on the disk.
4. Write protection: If the disk is write-protected, you won’t be able to perform any write operations on it, resulting in the “Invalid Media or Track 0 Bad” error.
Fix: Check if the disk has a physical write protection switch and disable it. If not, use software tools to remove the write protection.
5. File system errors: File system errors can occur due to improper shutdowns or software glitches, leading to the “Invalid Media or Track 0 Bad” error.
Fix: Use the Command Prompt or File Explorer to run a disk check and repair any file system errors on the disk.
6. Hardware issues: Sometimes, the error can be caused by faulty hardware components, such as the hard disk drive or the power supply.
Fix: Check the connections between the disk and the computer, and consider replacing any faulty hardware components.
By addressing these common causes, you can resolve the “Invalid Media or Track 0 Bad” error and make your disk usable again.
Essential Steps: Data Recovery Before Repair
1. Identify the issue: Determine if your disk is experiencing an “Invalid Media or Track 0 Bad Disk Unusable” error. This error usually occurs when the disk is damaged or corrupted.
2. Disconnect and backup: Immediately disconnect the affected disk from your computer to prevent further damage. Make sure to back up any important files or data stored on the disk before proceeding.
3. Use data recovery software: Install a reliable data recovery software such as EaseUS Data Recovery Wizard. This tool can help you recover lost or deleted files from the damaged disk.
4. Connect the disk to another computer: If possible, connect the damaged disk to another computer using a disk enclosure or USB adapter. This will allow you to access the disk and run the data recovery software.
5. Run the data recovery software: Launch the data recovery software and select the damaged disk as the target location for the recovery process. Follow the software’s instructions to initiate the scanning and recovery process.
6. Preview and recover files: Once the scanning is complete, preview the recovered files to ensure they are intact. Select the files you want to recover and save them to a different storage device, such as an external hard drive or memory card.
Comprehensive Fixes for Unusable Disks
- Open File Explorer by pressing Windows key + E.
- Right-click on the unusable disk and select Properties.
- In the Properties window, go to the Tools tab.
- Under the Error checking section, click on the Check button.
- Wait for the disk check to complete and follow any instructions provided.
Repair Method 2: Use DiskPart Command
- Press Windows key + X and select Command Prompt (Admin).
- Type diskpart and press Enter.
- Type list disk and press Enter to display a list of available disks.
- Type select disk X (replace X with the number of the unusable disk) and press Enter.
- Type clean and press Enter to remove all partitions and data from the disk.
Repair Method 3: Update Disk Drivers
- Press Windows key + X and select Device Manager.
- Expand the Disk drives category.
- Right-click on the unusable disk and select Update driver.
- Choose the option to Search automatically for updated driver software.
- Follow the on-screen instructions to install any available updates.
Repair Method 4: Use Disk Management
- Press Windows key + X and select Disk Management.
- Locate the unusable disk in the list of drives.
- Right-click on the disk and select Initialize Disk.
- Choose the appropriate disk initialization option and click OK.
- Right-click on the unallocated space and select New Simple Volume to create a new partition.
Repair Method 5: Run System File Checker
- Press Windows key + X and select Command Prompt (Admin).
- Type sfc /scannow and press Enter.
- Wait for the scan to complete and follow any instructions provided.
- Restart your computer and check if the unusable disk is now accessible.
Repair Method 6: Use Data Recovery Software
- Download and install a reputable data recovery software.
- Launch the software and select the option to recover data from an unusable disk.
- Follow the software’s instructions to perform a scan and recover any accessible data.
- Once the data is recovered, you can proceed with other repair methods or consider replacing the unusable disk.
Techniques to Rebuild or Repair Track 0
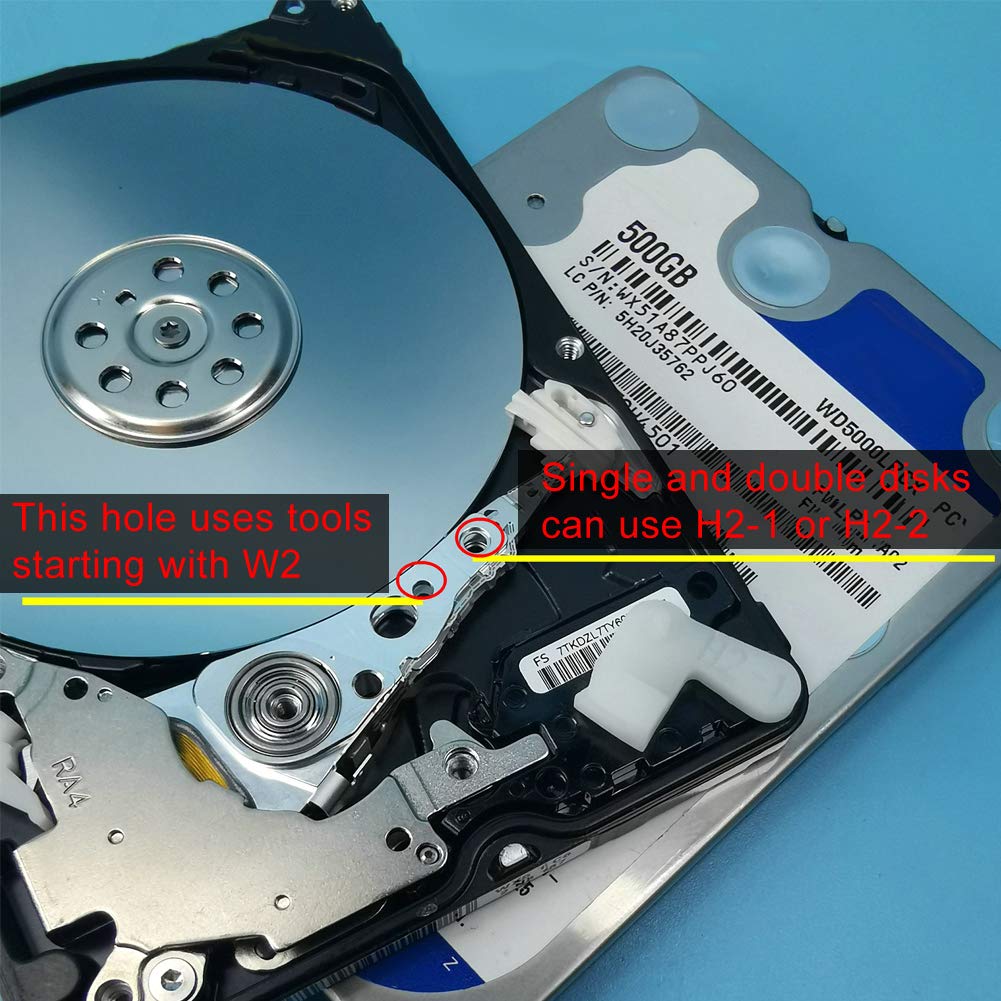
1. Boot your computer using a bootable disk or USB drive. Follow the on-screen instructions to access the command-line interface.
2. Use the diskpart command to select the disk containing the invalid media or bad track 0. Be cautious when selecting the disk to avoid data loss.
3. Run the “clean” command to remove all partitions and data from the disk. This will erase all existing data, so make sure to have a backup.
4. Use the “create partition primary” command to create a new primary partition on the disk. This will prepare the disk for formatting.
5. Format the newly created partition using the appropriate file system (e.g., NTFS). This will initialize the disk and make it usable again.
6. If the issue persists, consider using disk repair software or seeking professional help. These tools can often fix more complex track 0 issues.
Addressing Bad Sectors and Write Protection Issues
| Issue | Description | Possible Solutions |
|---|---|---|
| Bad Sectors | Physical damage to disk surface leading to unreadable sectors |
1. Run a disk repair tool to attempt sector recovery 2. Use disk imaging software to clone the disk and skip bad sectors 3. Replace the faulty disk with a new one |
| Write Protection | Unable to write data to the disk due to write protection mechanism |
1. Check for physical write protection switches on the disk 2. Disable write protection using disk management utilities 3. Modify registry settings to remove write protection 4. Use disk partitioning software to remove write protection 5. Replace the disk if write protection cannot be resolved |
Professional Repair Services for Severe Cases
Professional repair services are available for severe cases of invalid media or track 0 bad disk unusable. These services can help you recover your important data and restore your disk to a usable state.
If you are experiencing these issues, it is important to seek professional help as soon as possible to prevent further data loss. Here are some steps to follow:
1. Contact a professional repair service: Search for reputable repair services that specialize in disk recovery. They have the expertise and tools to handle severe cases and can provide you with the best solution.
2. Explain the issue: When contacting the repair service, provide them with a clear description of the problem you are facing. Mention that you are experiencing invalid media or track 0 bad disk issues.
3. Send your disk for evaluation: The repair service will likely ask you to send in your disk for evaluation. This allows them to assess the severity of the problem and determine the best course of action.
4. Follow their instructions: Once the repair service has evaluated your disk, they will provide you with instructions on how to proceed. This may involve sending your disk to their facility for repair or providing remote access for them to work on your disk.
5. Trust their expertise: Professional repair services have the knowledge and experience to handle severe disk issues. Trust their expertise and follow any recommendations they provide.
6. Recover your data: The repair service will work to recover your important data from the disk. They may use specialized software or techniques to retrieve your files.
By seeking professional repair services, you can increase your chances of recovering your data and restoring your disk to a usable state.
F.A.Qs
How to remove bad sectors from hard disk without formatting?
To remove bad sectors from a hard disk without formatting, you can use the “Command Prompt.” Open the Run box by pressing “Windows” + “R,” type “cmd,” and press “Enter” to open it. Then, enter the command “chkdsk g: /f /r /x” and press “Enter.”

