Are you struggling with iTunes Sync Error 69? Look no further, as I have the solution for you.
Understanding Error 69
Error 69 is a common issue that users encounter when syncing their iTunes with their devices. This error can occur for a variety of reasons, including issues with the computer, device, or iTunes itself.
To resolve Error 69, follow these steps:
1. Disconnect your device from the computer and close iTunes.
2. Check for any pending updates on your computer, including Windows Update or Mac software updates. Make sure your operating system is up to date.
3. Run a scan with your computer’s antivirus software, such as Microsoft Defender Antivirus, to ensure there are no viruses or malware affecting your system.
4. Restart your computer to refresh the system settings.
Once you’ve completed these steps, you can proceed with the following solutions:
Solution 1: Reconnect your device
1. Connect your device to the computer using the USB cable.
2. Open iTunes and wait for it to recognize your device.
3. If prompted, enter the passcode on your device to unlock it.
4. Check if the error message has disappeared and try syncing again.
Solution 2: Reset your device
1. Disconnect your device from the computer.
2. On your device, press and hold the Sleep/Wake button and the Home button simultaneously.
3. Continue holding the buttons until you see the Apple logo appear on the screen.
4. Release the buttons and wait for your device to restart.
5. Reconnect your device to the computer and try syncing again.
Solution 3: Restore your device from a backup
1. Disconnect your device from the computer.
2. Open iTunes and click on the device icon in the top left corner.
3. In the Summary tab, click on “Restore Backup” and select the most recent backup.
4. Follow the prompts to restore your device from the backup.
5. Once the restore is complete, reconnect your device and try syncing again.
If none of these solutions resolve Error 69, you may need to contact Apple Support for further assistance. They can provide additional troubleshooting steps or recommend alternative solutions to resolve the issue.
Causes of Syncing Issues
-
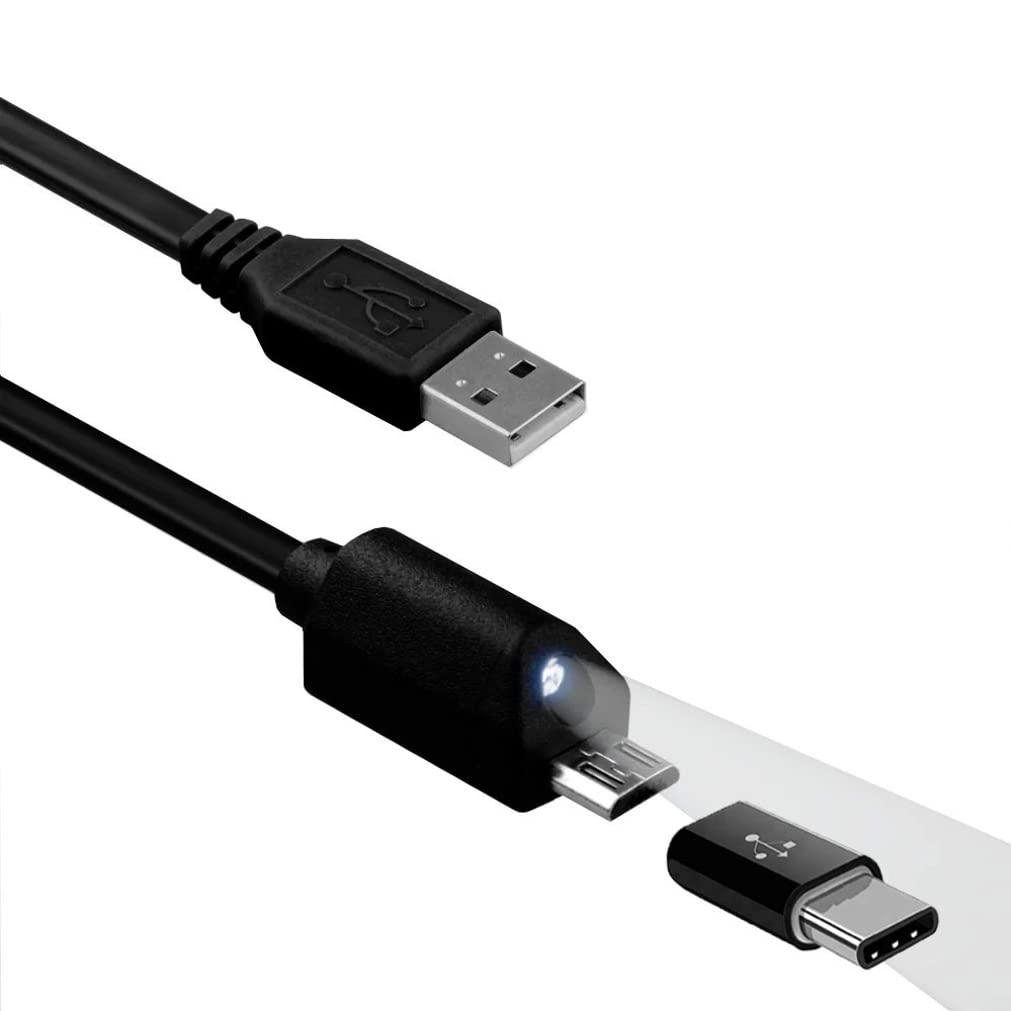
Check the USB connection and cable:
- Ensure that the USB cable is securely connected to both the device and the computer.
- If possible, try using a different USB cable to rule out any cable issues.
-
Restart the device and the computer:
- Turn off the device and then turn it back on.
- Restart the computer.
-
Update iTunes:
- Open iTunes and go to the Help menu.
- Select “Check for Updates”.
- If an update is available, download and install it.
-
Update the device’s software:
- Connect the device to the computer.
- In iTunes, select the device from the left sidebar.
- Go to the Summary tab and click on “Check for Update”.
- If an update is available, follow the prompts to download and install it.
-
Reset the device’s settings:
- On the device, go to Settings.
- Select “General” and then “Reset”.
- Choose “Reset All Settings”.
- Enter the device’s passcode if prompted.
-
Disable security software:
- If you have any security software installed on your computer, temporarily disable it.
- Some security software may interfere with the syncing process.
-
Restore the device:
- Connect the device to the computer.
- In iTunes, select the device from the left sidebar.
- Go to the Summary tab and click on “Restore”.
- Follow the prompts to restore the device to its factory settings.
- Note: This will erase all data on the device, so make sure to backup your data beforehand.
-
Contact Apple Support:
- If none of the above steps resolve the syncing issue, it’s recommended to contact Apple Support for further assistance.
- They can provide personalized troubleshooting and solutions.
Troubleshooting and Solutions
When encountering an iTunes Sync Error 69, there are a few troubleshooting steps you can take to resolve the issue. Follow these solutions to get your iTunes syncing smoothly again:
1. Update iTunes:
– Make sure you have the latest version of iTunes installed on your computer.
– Open iTunes and go to “Help” > “Check for Updates” to download and install any available updates.
2. Check your USB connection:
– Ensure that your iOS device is properly connected to your computer using a USB cable.
– Try using a different USB port on your computer or a different USB cable to rule out any connection issues.
3. Restart your computer and iOS device:
– Close iTunes and restart your computer.
– Also, restart your iOS device by pressing and holding the power button until the slider appears. Slide it to power off, then turn it back on.
4. Disable security software:
– Temporarily disable any antivirus or firewall software on your computer, such as Microsoft Defender Antivirus or third-party security programs.
– These programs may interfere with the syncing process, causing the error. Once disabled, try syncing again.
5. Check for software updates:
– Make sure you have the latest version of iOS installed on your device.
– Go to “Settings” > “General” > “Software Update” to check for and install any available updates.
6. Reset your device’s settings:
– On your iOS device, go to “Settings” > “General” > “Reset”.
– Choose “Reset All Settings” and enter your passcode if prompted.
– Note that this will reset your device’s settings but will not delete any data.
7. Reauthorize your computer:
– If you have multiple computers authorized to access your iTunes content, try deauthorizing and reauthorizing your computer.
– In iTunes, go to “Account” > “Authorization” > “Authorize This Computer” and enter your Apple ID credentials.
If you’ve tried all these solutions and are still experiencing the iTunes Sync Error 69, it may be helpful to contact Apple Support for further assistance. They can provide more specific troubleshooting steps based on your device and operating system.
Transferring Music Between Devices
| Step | Description |
|---|---|
| 1 | Connect your source device (e.g., iPhone) to your computer using a USB cable. |
| 2 | Open iTunes on your computer. |
| 3 | Select your source device within iTunes. |
| 4 | Navigate to the “Music” tab within your source device settings in iTunes. |
| 5 | Manually select the music files you want to transfer to another device. |
| 6 | Click on the “Sync” button to initiate the transfer process. |
| 7 | Disconnect your source device once the syncing process is complete. |
| 8 | Connect your target device (e.g., iPod) to your computer using a USB cable. |
| 9 | Open iTunes and select your target device. |
| 10 | Navigate to the “Music” tab within your target device settings in iTunes. |
| 11 | Ensure the “Sync Music” option is enabled. |
| 12 | Click on the “Apply” or “Sync” button to transfer the music from your computer to the target device. |
| 13 | Wait for the syncing process to complete. |
| 14 | Disconnect your target device once the transfer is finished. |
F.A.Q.
What is error code 69 on iPod?
Error code 69 on iPod typically occurs when attempting to sync a corrupted file from your computer to your device.
Why can’t I restore my iPhone on iTunes?
You may not be able to restore your iPhone on iTunes if you are using an older version of iTunes. Updating to the latest version of iTunes can help resolve this issue. To update iTunes, go to Help > Check for updates.
Why do I keep getting an error when trying to restore my iPhone?
You may be experiencing errors when trying to restore your iPhone due to a faulty cable, locked device, lack of trust, or compatibility issues with the USB port. Try using a different Apple USB cable or switching to a different USB port on your computer to resolve the issue.
How do I fix iTunes restore error?
To fix iTunes restore error, try the following steps:
– Quit and reopen iTunes if it’s already open.
– Verify and adjust any third-party security software settings.
– Ensure your USB cable, computer, and network connections are stable, and attempt to restore your device twice.
– Check for any outdated or modified software that may be causing the issue.
